Main tutorial
Lesson Overview
This lesson is about turning a classic Amen break into a smoky, warehouse-ready DnB chop inside Ableton Live 12 — the kind of edit that feels raw, hypnotic, and dangerous without turning into messy nostalgia. The goal is not just to “slice a break,” but to make it sit inside a dark rollers / jungle / techy DnB arrangement with enough swing, grit, and tension to carry a drop or switch-up.
In a real DnB track, this technique usually lives in one of three places:
1. As the main drum identity in a half-time or rolling section.
2. As a tension layer under a modern kick/snare pattern.
3. As a transition tool before the drop, during a breakdown, or in a 2nd-drop variation.
Why it matters: an Amen chop can instantly give your track that human, unstable, pressure-cooked energy that programmed drums often lack. In darker DnB, that instability is a feature. The trick is shaping it so it feels intentional, not messy.
We’re going to build a chop that has:
- tight low-mid punch
- ghost-note movement
- controlled grit
- subtle stereo width without losing mono power
- enough space to coexist with a sub-heavy bassline and reese movement
- a 4- or 8-bar loop for an intro or early drop
- a call-and-response drum idea against a bass riff
- a swingy jungle-layer underneath heavier kick/snare programming
- a warehouse-texture loop that can be resampled, reversed, or automated into fills
- a compressed, dusty Amen chop with deliberate slice selection
- a slightly off-grid groove that still locks to the bass
- a darker room-tone atmosphere around the drum hits
- a DJ-friendly, arrangement-ready loop that can survive in a full mix
- Simpler
- Drum Rack
- EQ Eight
- Drum Buss
- Saturator
- Auto Filter
- Utility
- Hybrid Reverb
- Glue Compressor
- Roar if you’re using Live 12 Standard/Suite with it available
- Over-slicing into chaos
- Making every hit equally loud
- Letting the break fight the sub
- Overusing reverb
- Flattening dynamics with too much compression
- Ignoring arrangement
- Parallel dirt is safer than full-chain destruction
- Use reverb only on selected ghosts
- Let the snare breathe
- Automate filter movement on drum returns
- Use call-and-response with bass
- Keep a mono drum core
- Resample a “damage pass”
- Slice the Amen into a controlled, phrase-based chop, not random chaos.
- Use velocity, micro-timing, and selective slices to create groove.
- Process the break on a drum bus with EQ, Drum Buss, and light compression.
- Keep the low end disciplined so the bassline has space.
- Use automation and resampling to make the chop evolve across the arrangement.
- For smoky warehouse vibes, aim for grit, room, tension, and restraint — not overcooked density.
---
What You Will Build
By the end, you’ll have a smoky Amen-style break phrase that works as:
Musically, it will feel like:
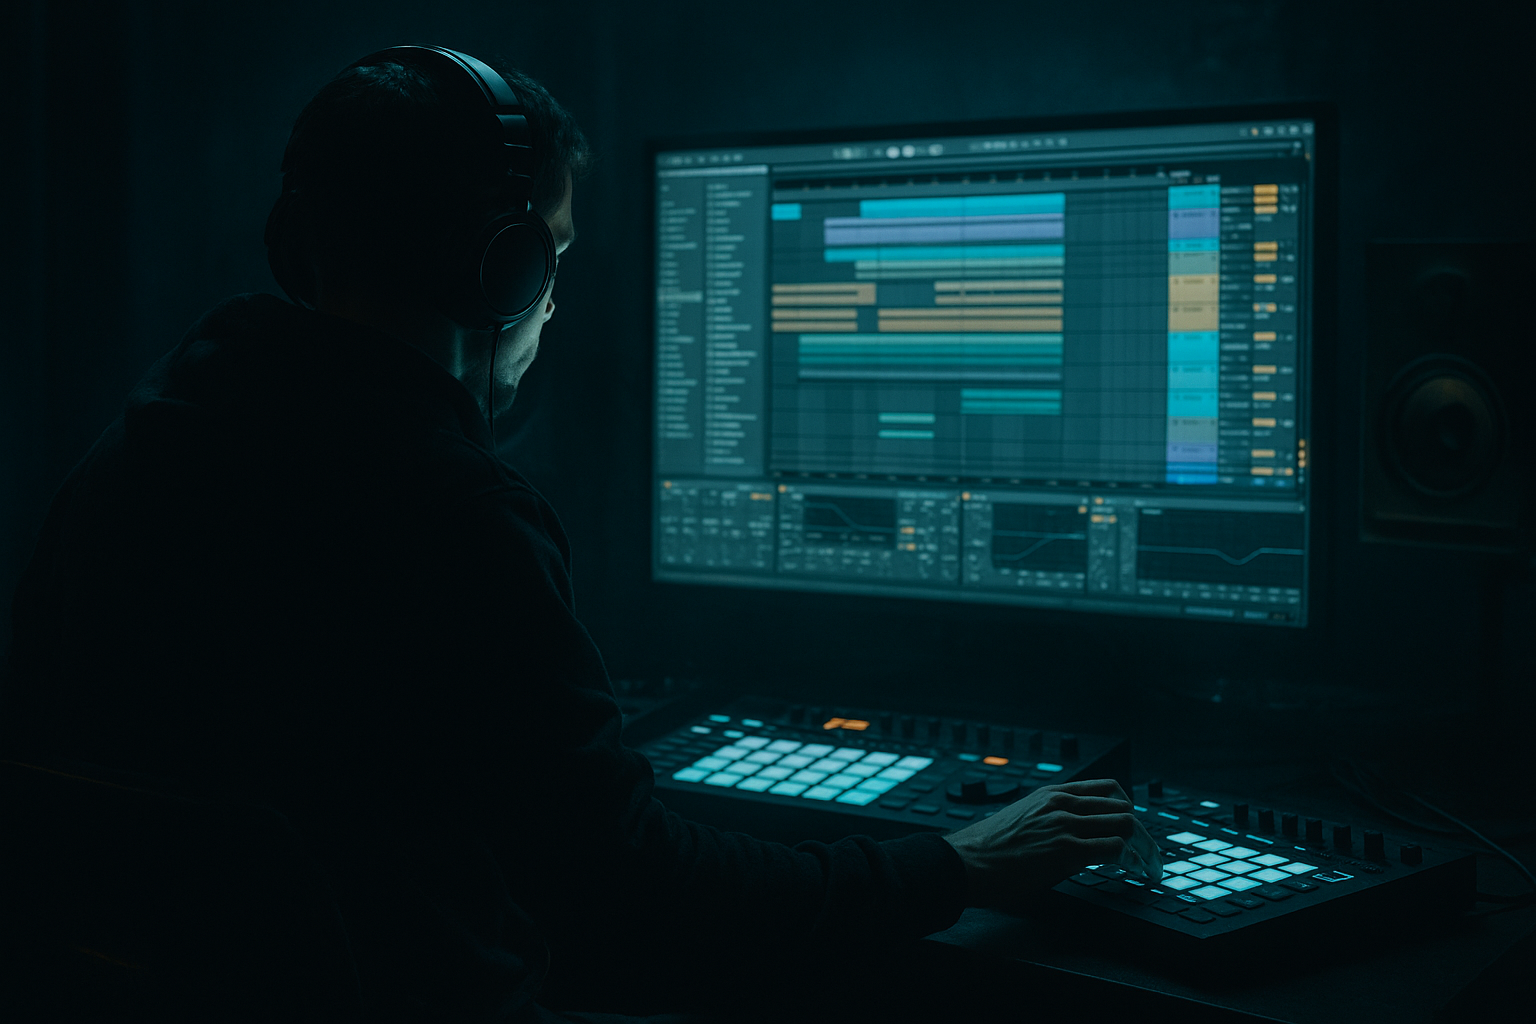
We’ll use stock Ableton Live devices like:
---
Step-by-Step Walkthrough
1. Start with the right Amen source and prep the audio
- Drag an Amen break into an Audio Track and listen for the best few bars — not every Amen sample has the same transient shape.
- Find a section with a strong kick, snare, ghost notes, and a clean ride/crash tail.
- Warp it only if needed. For this style, avoid over-warping the life out of the break.
- If the break is too bright, don’t EQ aggressively yet. First, ask whether the source itself is too clean. Dark warehouse vibes often start with a more worn sample, not just more processing.
Practical rule: if the break already has a good pocket, keep warp markers minimal and use the original groove as your starting point.
2. Slice the break into playable hits
- Right-click the audio clip and choose Slice to New MIDI Track.
- Use:
- Transient slicing for maximum control, or
- 1/8 if the break has messy transients and you want a more grid-based workflow.
- In the new Drum Rack, group your slices by function:
- kick-heavy hits on adjacent pads
- snares/claps on a few dedicated pads
- ghost notes and hat tails on separate pads
- Rename pads immediately. This is a speed move that pays off later when you start layering and resampling.
Advanced move: if one slice has a killer snare tail, duplicate it to a second pad and process that copy differently as a texture layer.
3. Build a dark 4-bar chop pattern, not a full loop first
- Start with a 4-bar MIDI clip and program a sparse pattern that leaves room for the bass.
- A strong pattern for smoky DnB usually avoids constant 16th-note flooding. Instead, place:
- one or two main kicks
- one dominant snare hit on 2 and/or 4 depending on the groove
- ghost notes before or after the backbeat
- a tiny pickup into bar 2 or bar 4
- Think in phrases, not just loops. For example:
- Bar 1: establish
- Bar 2: answer
- Bar 3: variation
- Bar 4: tension or fill
Why this works in DnB: bass music needs space for sub and midrange movement. A chopped Amen that talks in phrases instead of spraying constant detail gives the bassline room to breathe while still feeling alive.
4. Shape the groove with micro-timing and velocity
- Open the clip in the MIDI editor and start pushing the chop into a less rigid feel.
- Try these starting points:
- move ghost notes 5–15 ms late for drag
- push a pre-snare hit 5–10 ms early for urgency
- vary velocities from about 45–110 depending on the hit
- Use groove pool sparingly. A light swing groove can help, but the Amen usually sounds best when you manually refine the pocket after applying groove.
- If you want that smoky warehouse shuffle, let certain hat ghosts sit a hair behind the beat while the main snare lands more confidently.
Advanced note: the contrast between tight main hits and loose micro-details is what makes the chop feel “played” rather than programmed.
5. Process the break on a dedicated drum bus
- Route the Drum Rack to a Group Track called something like “Amen BUS.”
- On the bus, add:
- EQ Eight
- Drum Buss
- Glue Compressor or Compressor
- Start with EQ:
- high-pass very gently if needed around 25–35 Hz
- cut muddy low-mid buildup around 200–350 Hz by 1–3 dB
- tame harshness around 5–8 kHz only if the break starts to spit too hard
- Add Drum Buss:
- Drive: 5–20%
- Crunch: subtle, around 5–15%
- Transients: slightly positive for snap, or negative if the break is too spiky
- Boom: use carefully or keep off if your sub is already dominant
- Follow with Glue Compressor:
- Ratio: 2:1 or 4:1
- Attack: 10–30 ms
- Release: Auto or around 0.3–0.6 s
- Aim for 1–3 dB of gain reduction
This bus chain gives you the “one organism” feeling without flattening the chop.
6. Add texture: saturation, filtering, and controlled grime
- Put Saturator before or after Drum Buss depending on what you want:
- before Drum Buss for thicker drive into compression
- after Drum Buss for a more finished abrasive edge
- Good Saturator starting points:
- Drive: 2–7 dB
- Soft Clip: On
- Analog Clip mode if you want a denser top end
- Add Auto Filter on the bus or a return for movement:
- low-pass around 10–16 kHz for darker sections
- automate resonance lightly for tension, not whistle
- If you have Roar, use it in a parallel or insert role for controlled harmonic damage:
- keep it subtle
- focus on midrange dirt and edge, not obliteration
Strong move: automate a slow low-pass opening over 8 bars before the drop, then snap it open at the drop for contrast.
7. Layer a clean transient and a low-mid body layer
- The Amen chop often benefits from a little reinforcement.
- Duplicate the main drum chain and create two support layers:
- Transient layer: a short, clean kick/snare hit
- Body layer: a processed version with mids and low-mids emphasized
- On the transient layer, use:
- EQ Eight to remove lows below 120–180 Hz
- a short Saturator or light Transient emphasis via Drum Buss
- On the body layer, use:
- a low-pass or band-pass to keep it gritty and narrow
- slight compression so it stays tucked behind the main chop
This is especially effective if your bassline is heavy: the break gets presence without fighting the sub.
8. Carve space for the bassline and keep the low end disciplined
- Your Amen chop should not own the sub region unless that’s a deliberate jungle feature.
- Use Utility on the drum bus to keep the low end solid in mono.
- If the break has too much low-end rumble, cut it:
- high-pass around 30–50 Hz on the drum chain if the source is muddy
- sometimes even 70–90 Hz on the sliced break layer, while letting a separate kick handle the body
- For the bassline, design around call-and-response:
- let the bass hit after the busiest break moment
- leave a pocket where the snare or ghost-note cluster leads into the bass phrase
- Use mono checks early. If your chopped hats or rooms vanish or get ugly in mono, reduce stereo effects before they become a problem.
DnB rule: if the bassline is the monster, the drum chop should be the teeth and claws — not a second monster occupying the same cave.
9. Automate arrangement energy across 8-bar blocks
- Make the Amen chop evolve rather than loop unchanged.
- In a typical dark DnB arrangement, try:
- 8-bar intro: filtered, more room, fewer ghost notes
- 8-bar build: more slice density, rising filter, more reverb tail
- drop 1: full chop with dry punch
- bar 8 or 16 switch-up: one-bar fill, reverse slice, or snare dropout
- Automate:
- Auto Filter cutoff
- drum bus dry/wet if you’re using parallel reverb
- reverb send on specific ghost hits only
- clip gain on select slices for emphasis
- Add a one-bar variation at the end of every 8 bars so the loop doesn’t feel looped.
Musical context example: in a 172 BPM roller, use the Amen chop as the “conversation starter” in the first 16 bars, then strip it down under a reese-led second phrase so the bass can take the spotlight before bringing the break back with a fill.
10. Resample the result for final control
- Once the chop is working, bounce or resample it to a new audio track.
- This lets you:
- cut cleaner transient tails
- reverse a few slices
- create manual stutters
- print effects and commit to a final vibe
- After resampling, use Warp only if necessary.
- Consider a final EQ Eight and very light Limiter only if the printed chop needs catching.
Advanced workflow move: resampling lets you stop thinking like a programmer and start thinking like an arrangement designer. In darker DnB, that often produces better results than endlessly tweaking the MIDI version.
---
Common Mistakes
- Fix: keep the pattern focused on a few signature slices. Too many edits can destroy the Amen’s pulse.
- Fix: ghost notes need lower velocity. The groove comes from contrast.
- Fix: high-pass unnecessary low end, keep the drum bus mono, and let the bass own the real sub region.
- Fix: use short rooms or tiny sends. Warehouse vibes come from space and texture, not washed-out drums.
- Fix: aim for control, not squash. The Amen needs transient life.
- Fix: vary the chop every 4 or 8 bars. Even one changed slice can make the loop feel like a record.
---
Pro Tips for Darker / Heavier DnB
- Duplicate the break, distort one copy harder, and blend it underneath the clean-ish main chop.
- Send just a few ghost notes to a short Hybrid Reverb room to create distance without blurring the whole loop.
- In dark rollers, the snare is often the anchor. Don’t bury it under endless hats and edits.
- A slow low-pass closing before the drop creates that “doors shutting in the warehouse” feeling.
- A chopped Amen phrase can answer a reese stab or a sub slide. That dialogue creates tension without overcrowding the spectrum.
- If you want atmosphere, add stereo to room tails or effects layers, not the fundamental punch.
- Print a version with extra saturation and filtering, then use it only in transitions or second-drop variation. That keeps the main drop clear.
---
Mini Practice Exercise
Spend 10–20 minutes building a mini dark DnB phrase:
1. Find a single Amen loop and slice it to Drum Rack.
2. Build a 4-bar pattern with:
- one strong snare anchor
- two ghost notes
- one small fill at the end of bar 4
3. Add EQ Eight and Drum Buss on the group.
4. Make one version bright-ish and one version dark:
- Version A: cutoff around 14–16 kHz
- Version B: cutoff around 8–10 kHz
5. Program a bass note or reese phrase that leaves space after the busiest drum moment.
6. Resample both versions and compare which one feels more “warehouse.”
7. Export or save the better one as a reusable loop.
Goal: finish with a loop that works at 170–174 BPM and could realistically sit in a dark intro, a drop, or a switch-up.
---

