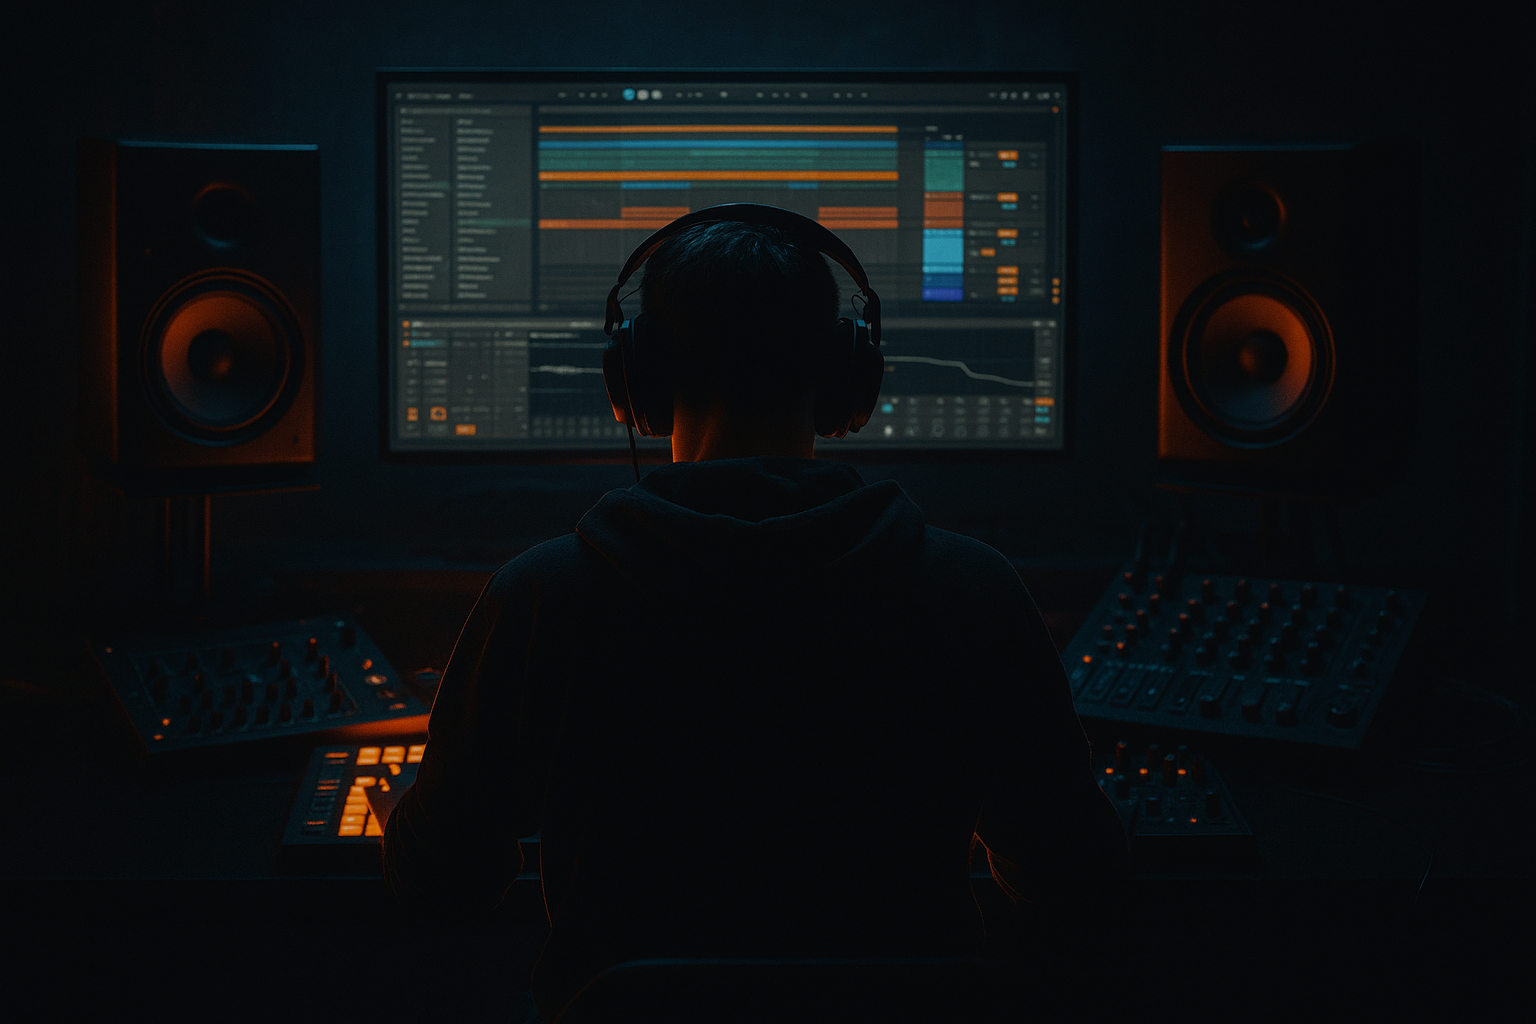
Main tutorial
Pull an Amen-style Ghost Note with Breakbeat Surgery in Ableton Live 12 🥁⚡
1. Lesson overview
In this lesson, you’re going to learn how to extract a ghost note from an Amen break, reshape it in Ableton Live 12, and reinsert it so it feels like an intentional part of a rolling drum and bass / jungle groove rather than a chopped-up accident.
This is an advanced mastering-aware drum programming technique: the goal is not just to make the ghost note audible, but to make it sit cleanly, musically, and powerfully in a dense DnB mix.
You’ll be working with:
- Warping and transient editing
- Slice-to-new-MIDI workflow
- Micro-timing and velocity shaping
- Layering with drum racks
- Subtle processing for ghost-note presence
- Mix decisions that survive mastering
- Amen-based jungle edits
- Rolling DnB loops
- Dark half-time to full-time transitions
- Building humanized hats/snare movement inside a tight modern mix
- A main Amen loop
- A pulled-out ghost note from the break
- A clean, processed one-shot or mini-slice
- A drum rack layer that makes the ghost note feel embedded in the groove
- A mastering-friendly drum bus that keeps transients controlled and punchy
- A low-level ghost hit
- Slightly behind or ahead of the grid depending on groove
- Tucked under the main snare / kick pattern
- Felt more than heard, but still adding motion and tension
- old-school jungle movement
- modern DnB precision
- subtle breakbeat surgery with weight and clarity
- Decent transient definition
- Not too much room reverb
- Full frequency range, especially mid snare content
- Stable tempo or easy-to-warp phrasing
- Simpler for quick slicing
- Audio Warp for timing correction
- EQ Eight to isolate the ghost note’s frequency zone
- Warp mode: `Complex Pro` for full break loops
- Transients: leave natural unless the loop is drifting
- Segment BPM: set correctly if known
- Preserve: keep formants neutral unless you want texture changes
- Beats mode for transient-heavy material
- A quiet snare tap
- A low-level kick bleed
- A soft shuffle hit
- A ghosted stroke before or after the main snare
- A transient that changes the swing feel
- A small accent that leads into the main snare
- A hit with useful midrange body, not just noise
- Clip Gain / Volume Envelope to isolate listening
- Loop brace around the exact moment
- The Arrangements wave view for surgical zooming
- A Drum Rack
- Each slice on its own pad
- MIDI triggering for resampling and arrangement
- Shorten the start to remove unnecessary pre-noise
- Tighten the decay so it doesn’t clutter the groove
- Remove tails that clash with the kick or snare
- Clip Fade In/Out if you need smoother edges
- Simpler envelope to shorten sustain
- Transient shaper-style movement via Drum Buss or Glue Compressor later
- Keep the hit short
- Keep the body intact
- Avoid ringing tail unless it’s a deliberate texture
- Pitch it slightly up or down by 1–3 semitones
- Check whether it supports the bassline key or clashes with it
- Pitching down slightly can add weight
- But don’t overdo it or you’ll lose the attack
- Sampler/Simpler Transpose
- EQ Eight for tonal shaping
- Spectrum for checking energy placement
- Just before the main snare to create lift
- Between kick and snare to increase momentum
- Late by a few milliseconds for a laid-back jungle feel
- Ahead slightly for a tighter modern push
- Use the MIDI editor to nudge notes manually
- Set Grid to 1/32 or 1/64
- Disable snap if needed for micro-placement
- Forward pull: ghost note slightly before the beat
- Backbeat drag: note a tiny bit late to create weight
- Swing-aware placement: align it with your groove pool rather than a rigid grid
- Velocity range: around 15–60
- Most ghost hits sitting between 20–40
- Occasional accents up to 50–70 for variation
- Draw a subtle velocity curve
- Alternate ghost note dynamics every 2 or 4 bars
- Use quieter ghost hits on the fill bars
- High-pass gently if needed to remove sub rumble
- If it’s snare-like, boost lightly around 180–250 Hz for body
- Add presence around 2–5 kHz if it needs to cut
- Cut harshness around 6–8 kHz if the break is brittle
- Drive: low to moderate
- Boom: usually off or very subtle for ghost notes
- Transient: slightly up if the note needs attack
- Damp: adjust if the top end is too sharp
- Use Soft Sine or Analog Clip
- Drive just enough to bring harmonics forward
- Keep output compensated
- Use lightly if the note jumps too much
- Fast attack, moderate release
- Aim for control, not flattening
- Layer it at a lower level under the original loop
- Trigger it only on select bars
- Use it as a transition fill before the drop
- Combine it with a snare layer for a stacked accent
- Keep the original Amen for movement
- Use the ghost note as a micro-accent
- Don’t turn it into an obvious second snare unless that’s the goal
- Bars 1–8: no ghost note, establish groove
- Bars 9–16: introduce the ghost note subtly
- Pre-drop: automate volume up by 1–2 dB for tension
- Drop 2: add an extra ghost note every 4 bars
- Fill bars: pitch the ghost note down slightly for variation
- Resample the processed ghost note into audio
- Reverse a copy for a pre-snare pickup
- Chop it into a mini fill with Consolidate
- Use Repitch for jungle-style pitch movement
- Are the ghost notes adding peak spikes?
- Are they creating unwanted high-mid glare?
- Are they making the snare feel smaller?
- Glue Compressor: 1–2 dB gain reduction max
- EQ Eight: tiny cleanup cuts if needed
- Drum Buss: subtle glue and harmonic density
- Saturator: if you need peak rounding before mastering
- perceived groove
- transient density
- rhythmic interest
- inflate peaks
- create harshness
- make limiting work harder later
- Saturator
- Redux
- Overdrive
- Compressor with sidechain
- Glue Compressor
- Utility for mono control
- Identify a useful ghost note inside an Amen break
- Slice it cleanly in Ableton Live 12
- Tighten and tune it for DnB use
- Place it with micro-timing
- Process it for clarity and weight
- Integrate it into a mastering-friendly drum bus
- a matching Ableton device chain preset
- a MIDI clip template for Amen ghost-note placement
- or a full dark DnB drum bus chain built around this technique.
This is especially useful for:
---
2. What you will build
By the end, you’ll have:
The specific target sound:
Think:
---
3. Step-by-step walkthrough
Step 1: Choose the right Amen source
Start with a clean Amen loop or a well-recorded break.
Best source characteristics:
If your Amen is messy, use Ableton’s:
Tip: For dark DnB, a slightly gritty Amen is often better than a hyper-clean one. You want character, but not uncontrolled smear.
---
Step 2: Warp the break correctly
Drag the Amen loop into an audio track.
#### Recommended Warp settings:
If the break is only one or two bars and you want accuracy, switch to:
Goal: keep the groove intact while you identify the exact ghost note you want to extract.
---
Step 3: Find the ghost note
Now zoom in and listen for the ghost note. In Amen-style breaks, this is often:
Solo the loop and identify the hit that gives the groove human tension.
What to look for:
Use:
---
Step 4: Slice out the ghost note
You have two solid Ableton Live 12 workflows here.
#### Workflow A: Slice to New MIDI Track
Best for maximum control.
1. Right-click the Amen audio clip
2. Choose Slice to New MIDI Track
3. In the slicing dialog, choose:
- Slicing preset: `Built-In > Drum Rack`
- Slice by: `Transient` or `1/16` depending on break density
Now Ableton creates:
Find the pad containing your ghost note slice and audition it.
#### Workflow B: Simpler Single-Slice Extraction
Best if you only want one note.
1. Load the Amen into Simpler
2. Set mode to Slice
3. Create slices by transients
4. Trigger the relevant pad/note
5. Copy that slice into its own Simpler instance if needed
For a ghost note, I often prefer Slice to Drum Rack, because it lets you duplicate, pitch, and process the note separately without damaging the original break.
---
Step 5: Trim the slice aggressively
Now the important part: ghost notes need to be small and intentional.
On the extracted slice:
Use:
For a ghost note in DnB:
---
Step 6: Tune the ghost note
This is where advanced DnB detail matters.
If the ghost note is a snare-like tap:
If it’s a kick ghost:
Useful stock devices:
Rule: If the ghost note is mainly rhythmic, tune for timbre, not melody.
---
Step 7: Place the ghost note against the groove
Now write the ghost note into the drum pattern.
Common DnB placements:
In Ableton Live 12:
Try these timing approaches:
If your main drum loop has swing, the ghost note should inherit that same relationship.
---
Step 8: Shape velocity and human feel
Ghost notes should almost never be full velocity.
Try:
In MIDI:
This is especially effective in rolling DnB, where micro-dynamics create motion without cluttering the low end.
---
Step 9: Process the ghost note for mix presence
Now we make it audible without making it loud.
#### Recommended device chain:
1. EQ Eight
2. Drum Buss
3. Saturator
4. Transient shaping or compression
5. Optional Utility
#### EQ Eight settings:
#### Drum Buss:
#### Saturator:
#### Compressor / Glue Compressor:
If the ghost note is being used as a texture layer, use Utility to narrow stereo width or keep it mono.
---
Step 10: Layer it with the main break
To keep the surgery natural, place the ghost note under the original break or alongside your drum rack pattern.
Options:
Best practice:
For a darker DnB mix, this gives you that classic “the break is breathing” feel.
---
Step 11: Automate or resample for arrangement
This technique really shines in arrangement.
#### Arrangement ideas:
You can also:
---
Step 12: Mastering-aware drum bus check
Since this lesson sits in the mastering category, you need to make sure the ghost note helps the final loudness chain, not fights it.
Check the drum bus:
On the drum bus, consider:
The ghost note should enhance:
It should not:
---
4. Common mistakes
1. Making the ghost note too loud
If you hear it as a separate event every time, it’s no longer a ghost note.
2. Leaving too much tail
A long tail turns a subtle rhythmic detail into clutter.
3. Using the wrong transient
Not every quiet slice is useful. Pick the one that actually contributes movement.
4. Ignoring timing feel
If it’s locked rigidly to the grid, it may lose the broken, human feel that makes Amen edits special.
5. Overprocessing
Too much saturation, compression, or brightness will make the note stick out in a bad way.
6. Letting the ghost note fight the snare
The point is support, not competition.
---
5. Pro tips for darker/heavier DnB 🔥
Tip 1: Make it murky, not muddy
Use a small boost in the low-mid body region but cut unnecessary low rumble. Dark DnB lives in controlled density.
Tip 2: Parallel dirt works well
Duplicate the ghost note layer and process one copy with:
Then blend it quietly underneath the clean layer.
Tip 3: Use transient contrast
Pair a soft ghost note with a hard snare or kick. Contrast makes both feel larger.
Tip 4: Try micro-panning only if the break is sparse
A tiny stereo offset can add realism, but keep ghost notes mostly mono in heavy arrangements.
Tip 5: Sidechain the ghost note lightly to the bass
If the bassline is thick, a tiny amount of ducking can keep the ghost note audible without turning up the fader.
Useful devices:
Tip 6: Resample after processing
In heavier DnB, resampling the ghost note into audio often gives a tighter, more “finished” sound than leaving a live chain on it forever.
---
6. Mini practice exercise
Exercise: Build a 4-bar Amen ghost-note variation
1. Load an Amen break into Ableton Live 12.
2. Slice it to a Drum Rack.
3. Find one ghost note slice and isolate it.
4. Create a 4-bar loop with:
- Main kick on 1
- Main snare on 2 and 4
- Ghost note before one of the snares
5. Duplicate the loop.
6. In bar 2, move the ghost note slightly late.
7. In bar 3, reduce its velocity.
8. In bar 4, process it with:
- EQ Eight
- Drum Buss
- Saturator
9. Resample the result and compare it to the unprocessed version.
Goal
By the end, the ghost note should feel like a natural part of the groove, not an added effect.
---
7. Recap
You’ve now learned how to:
The key takeaway:
In drum and bass, ghost notes are not tiny leftovers — they’re groove architecture.
Handled well, they create tension, momentum, and that unmistakable jungle pulse 🧨
If you want, I can also give you:

