Main tutorial
1. Lesson Overview
This lesson teaches you how to protect the sound quality of your tracks when uploading to YouTube using Ableton Live 12. You’ll learn a practical master-chain and workflow inside Live 12 to prevent codec clipping, loudness normalization artifacts, and lost low-end or harshness caused by YouTube’s re-encoding. The focus is on realistic, beginner-friendly steps using Live’s stock devices where possible so your Drum & Bass mixes translate to YouTube with minimum loss of punch, clarity and bass.
2. What You Will Build
A simple master chain and export workflow in Ableton Live 12 that:
- Keeps headroom and prevents inter-sample peaks
- Targets YouTube’s loudness expectations (≈ -14 LUFS integrated)
- Controls sub-bass, taming low-end that can be ruined by codecs
- Exports at the right sample rate/bit depth and file type for best upload results
- Open your Drum & Bass Live set. Solo the full arrangement or the 30–60s section you’ll master.
- Insert Utility on the Master. Lower the Volume by -6 dB to create safe headroom while you adjust the rest of the chain. This prevents you from chasing limiting early.
- Use Spectrum (Master send/return or device on Master) to eyeball low-end energy and overall frequency balance.
- On non-bass tracks (pads, synths, vocals), add EQ Eight high-pass filters. Suggested HP cut: 40–60 Hz for bass-instruments keep full, others at 60–150 Hz depending on role. This prevents unnecessary sub rumble that codecs mishandle.
- Check kick and sub alignment (phase). Use Utility’s Phase invert if necessary. Mono low-end: on bass tracks, reduce stereo width (Utility Width to 0–40%) to avoid phase-cancellation after YouTube encoding.
- Set Gain to 0 dB initially (we used -6 dB earlier on startup). Use Utility later to make smaller global adjustments.
- Use Width control to check mono-compatibility during tweaks.
- High-pass only if you need a bit more sub cleanup (e.g., 30–35 Hz).
- Use gentle cuts in 2–6 kHz if mix is harsh. Avoid big boosts. Quick notch any resonances.
- Ratio around 1.5:1 to 2:1, Attack 10–30 ms, Release auto, Gain Reduction aim 1–3 dB on transients. This tames peaks but preserves punch.
- Set low band crossover ~120 Hz. Gently compress/attenuate the sub band by 1–3 dB if the sub is too dominant. This guards against codec pumping or loosened bass.
- Drive lightly (0.5–2 dB of perceived gain). Mode: “Soft Sine” or “Analog Clip” low drive. Purpose: add harmonic content so the mix survives re-encoding. Avoid hard clipping here.
- Place Ableton’s Limiter last. Set Ceiling to -1 dB (or -1.0 dBTP if your limiter reports true peak).
- Set Lookahead to 1–3 ms, if available. Apply very modest gain reduction; do not crush the master.
- Goal: ensure nothing hits 0 dBFS and to prevent inter-sample peaks that cause distortion after YouTube re-encoding.
- Measure integrated LUFS. If Live 12 has a Loudness/LUFS meter device, insert it just before the Limiter to monitor integrated LUFS. Otherwise use a LUFS plugin (Youlean).
- Target Integrated LUFS: about -14 LUFS (±1 LU). This aligns with YouTube’s normalization target and avoids YouTube turning your track down and potentially altering dynamics.
- How to get there: Use the Limiter’s Gain (or Utility at start of chain) to raise/lower loudness while watching integrated LUFS. If you need >3–4 dB gain to reach LUFS target, step back and reduce compression/limiting or adjust individual track levels.
- True Peak: keep peaks ≤ -1 dBTP to prevent overshoots after codec resampling.
- Export: File > Export Audio/Video. Settings recommended:
- If you must upload audio-only (no video), create a 48 kHz 320 kbps AAC (or 320 kbps MP3) file from the 24-bit WAV; but uploading a lossless 24-bit WAV embedded in your video is safest.
- Upload the exported file to YouTube as an Unlisted or Private video first. Listen on multiple devices (phone, laptop, cheap earbuds, and TV). Pay attention to:
- If YouTube reduced loudness noticeably, check your integrated LUFS: if it was much louder than -14 LUFS, YouTube normalized it downward. If it was much quieter you may want to increase loudness slightly but keep -1 dBTP ceiling.
- Mastering to 0 dBFS with no headroom — leads to inter-sample clipping after YouTube re-encode.
- Aiming for ultra-loud (-6 to -8 LUFS) and then having YouTube normalize dynamically — results in loss of punch and unnatural compression.
- Overusing limiting/brickwall limiting — squashes transients and flattens DnB energy.
- Ignoring true-peak (only monitoring sample peaks) — results in distortion after encoding.
- Too much stereo width on low frequencies — causes phase cancellation on YouTube/mobile playback.
- Exporting at 44.1 kHz or low bit depth for video — can introduce resampling artifacts; use 48 kHz/24-bit for video.
- Relying only on monitors; not checking how YouTube’s re-encoded audio sounds on phone speakers/headphones.
- Keep a YouTube reference: pick Drum & Bass tracks on YouTube you like; measure their LUFS and spectral balance. Match roughly to -14 LUFS and similar low-end energy.
- Create two masters: one optimized for streaming platforms (-14 LUFS) and one for competitive loudness if needed (-8 to -9 LUFS) — but use the streaming one for YouTube.
- Use subtle mid-side EQ: tighten the sides above ~200–300 Hz to keep low-end focused in the center.
- If you need to add perceived loudness without heavy limiting, use parallel compression on drum bus (compress copied bus and blend in) rather than crushing the master limiter.
- After uploading, listen to the video after a few minutes — YouTube may reprocess; compare the uploaded result to your WAV. If you notice issues, iterate.
- Label exported files clearly (e.g., TrackName_YT_48k_24b.wav) to avoid confusion with other masters.
- Load or create a 45–60s Drum & Bass loop in Live 12 (kick, sub, snares, bassline, pads).
- On Master do this:
- Monitor integrated LUFS with Live’s Loudness meter or Youlean. Adjust Utility/Limiter to hit ~ -14 LUFS integrated.
- Export as 48 kHz / 24-bit WAV.
- Upload privately to YouTube and note differences. Tweak master chain if bass is lost or transients are over-squashed.
- Leave headroom (start with -4 to -6 dB) and avoid 0 dBFS peaks.
- Target YouTube’s loudness (~ -14 LUFS integrated) so the platform won’t aggressively normalize or alter dynamics.
- Control sub and true peaks (multiband for sub, limiter ceiling -1 dB / -1 dBTP) to avoid inter-sample clipping and codec artifacts.
- Export at the right specs (48 kHz, 24-bit WAV) and always do a private upload test to check how the re-encoded result sounds on real devices.
You’ll apply this to a short Drum & Bass mix (or a 30–60s loop) and produce a master ready for YouTube.
3. Step-by-Step Walkthrough
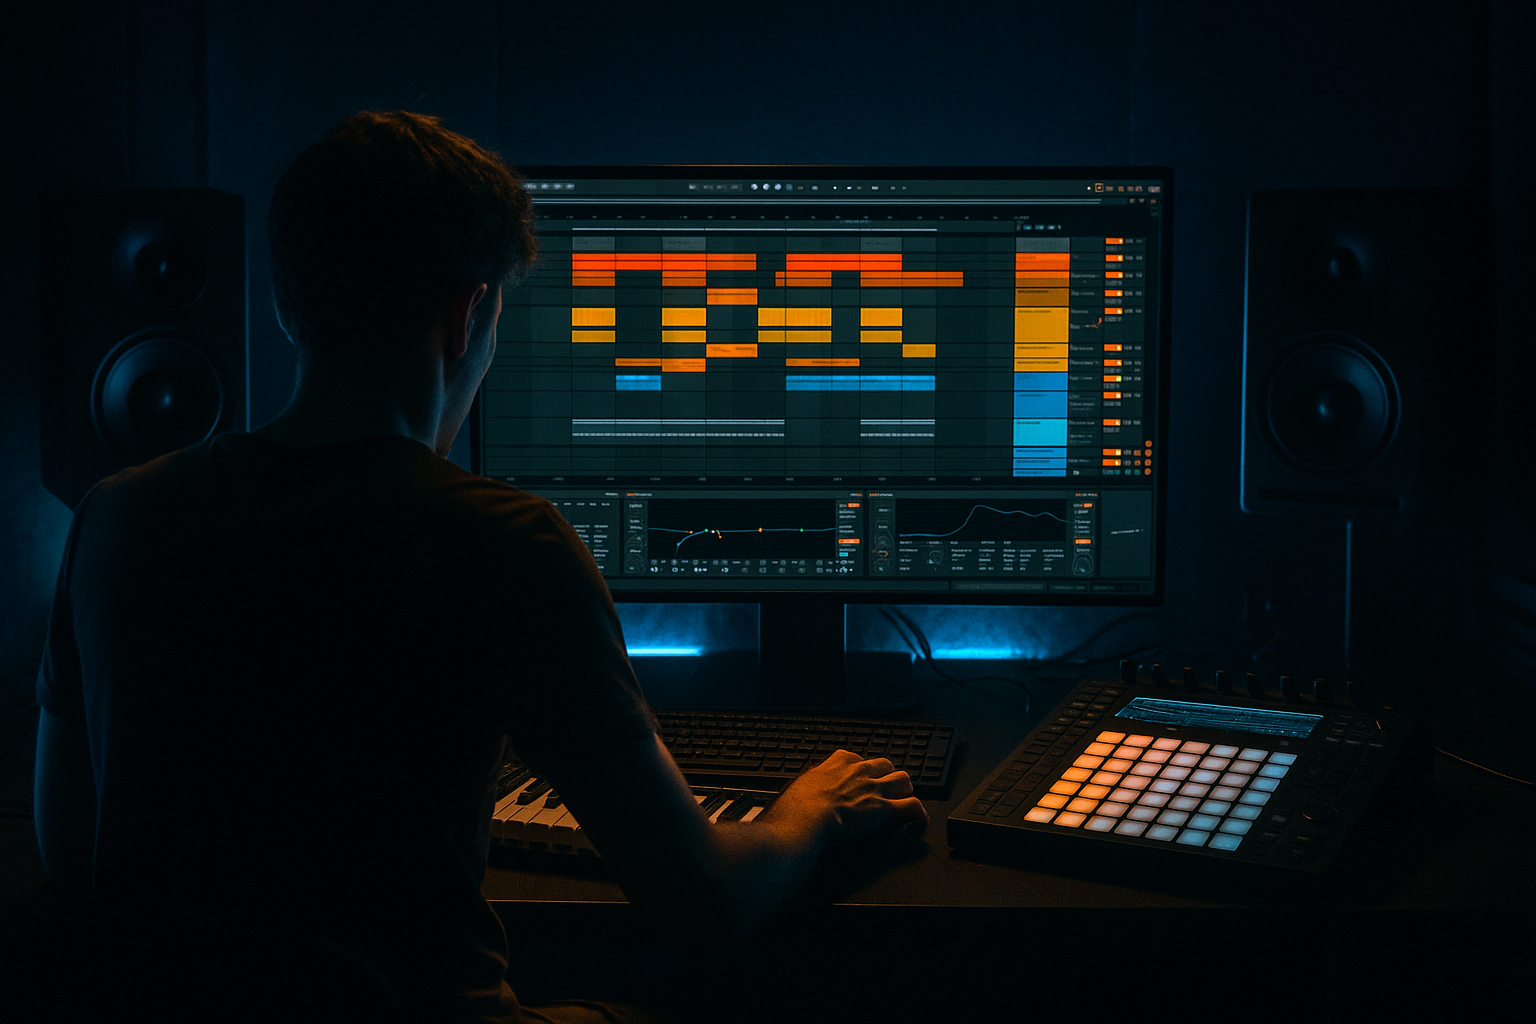
Note: Use Ableton stock devices where possible: Utility, EQ Eight, Glue Compressor, Multiband Dynamics, Saturator, Limiter, Spectrum. If you don’t have a built-in LUFS meter in your Live 12 installation, use a free LUFS plugin (Youlean Loudness Meter) for the integrated LUFS and True Peak readouts.
A. Prep and Gain Staging
B. Clean up individual tracks (quick passes)
C. Master Insert Chain (order and typical settings)
Place these devices in the Master channel in this order:
1) Utility — Final gain staging
2) EQ Eight — broad surgical fixes
3) Glue Compressor — gentle bus glue
4) Multiband Dynamics — tame sub and upper mids
5) Saturator — tasteful warmth
6) Limiter — ceiling and true-peak control
D. Loudness Targeting
E. True Peak and Export Settings
- Rendered Track: Master
- Sample Rate: 48000 Hz (YouTube uses 48 kHz for video)
- Bit Depth: 24-bit WAV
- Normalize: Off (do loudness control manually)
- Dither: Off (only apply dithering if reducing bit depth to 16-bit — we’re exporting 24-bit, so no dither)
F. Test Upload
- Sub-bass presence (not boomy or missing)
- Transient clarity (kick/snare)
- Harshness in 2–6 kHz
- Overall loudness (Does it sound like your reference tracks on YouTube?)
4. Common Mistakes
5. Pro Tips
6. Mini Practice Exercise
1. Insert Utility, reduce by -6 dB to create headroom.
2. Add EQ Eight: HP non-bass tracks at 60 Hz, slight cut at 3.5 kHz if harsh.
3. Insert Glue Compressor (Ratio 2:1, Attack 15 ms, Gain Reduction 1–3 dB).
4. Insert Multiband Dynamics: reduce Low band by 1.5 dB when it crosses threshold.
5. Insert Saturator: 1 dB Drive, Soft Sine.
6. Insert Limiter: Ceiling -1 dB, Lookahead 2 ms. Raise Limiter Gain just until short-term loudness feels right but limit gain reduction to 3–5 dB max.
7. Recap
Protecting the sound quality of your tracks when uploading to YouTube using Ableton Live 12 comes down to four practical things:
Follow this chain and workflow in Live 12, iterate with a private YouTube upload, and your Drum & Bass mixes will translate to YouTube with better preserved punch, bass, and clarity.

