Main tutorial
```markdown
Polish Oldskool DnB Riser for Ragga-Infused Chaos in Ableton Live 12
1. Lesson overview
In this lesson, you’ll build a classic oldskool drum and bass riser with a ragga/jungle attitude using Ableton Live 12. The goal is not a glossy EDM-style uplifter — it’s a gritty, escalating tension tool that feels right at home in jungle, ragga DnB, dark rolling DnB, and oldskool breakbeat arrangements. ⚡
We’ll make a riser that:
- starts raw and filtered
- builds energy with noise, pitch, and automation
- uses breakbeat-friendly textures
- lands with a nasty impact or drop transition
- white noise sweep
- filtered break slice / percussive chatter
- pitch-rising synth layer
- ragga-style vocal FX or dub shout texture
- sidechained movement
- delay/reverb tail for transition space
- a drop
- a drum fill
- a bass switch-up
- a rewind-style turnaround
- Tempo: `170–174 BPM` for classic DnB
- Time signature: `4/4`
- Create these tracks:
- Operator or Analog
- Use a Noise oscillator if available, or a simple synth patch with noise character
- Filter type: Low-pass 12 or 24 dB
- Cutoff: Start around `150–300 Hz`
- Resonance: `10–25%`
- Automate cutoff upward over 4 bars
- Drive: `2–6 dB`
- Soft Clip: On
- This adds grit and helps the riser cut through a dense DnB mix
- Keep stereo width at `100%` initially
- Later automate to widen slightly if needed
- Wavetable
- Analog
- or Operator
- Oscillator: Saw
- Unison: `2–4 voices`
- Slight detune: `5–15%`
- Filter: Low-pass
- Envelope: medium attack, short decay, low sustain, moderate release
- Start cutoff low, around `200 Hz`
- Automate it up to `6–10 kHz`
- Sync: `1/8` or `1/4`
- Feedback: `15–35%`
- Filter inside Echo: high-pass the repeats slightly so it doesn’t muddy the low end
- Decay: `2.5–5 seconds`
- Pre-delay: `10–25 ms`
- Dry/Wet: `10–25%`
- High-pass at `150–250 Hz`
- If it gets harsh, dip around `2.5–5 kHz`
- Start on a root note
- Move up by semitones or a small scale fragment
- Keep it simple and tense
- Amen-style break fragment
- Think break
- Any dusty funk break
- A short percussive fill from your arrangement
- Drive: `5–20%`
- Boom: use carefully, maybe very low
- Damp: adjust to keep hats sharp
- Crunch: a little goes a long way
- Use a band-pass or low-pass for movement
- Automate the cutoff to open over time
- Bit depth reduction can add grimy oldskool texture
- Use subtly: `10–20%` mix or lower resolution settings
- Light glue only
- Ratio: `2:1` or `3:1`
- Attack: `10–30 ms`
- Release: `Auto` or around `100–200 ms`
- a recorded vocal phrase
- a chopped MC shout
- a “yo!”, “come again!”, “rewind!” style sample
- a dub siren or reggae-style vocal stab
- Set warp mode to Complex Pro for vocals
- Or Beats if it’s a rhythmic chop
- Mix: `10–25%`
- Feedback: moderate
- Filter the lows out of the delay
- Make it large, but don’t wash out the mix
- High-pass the reverb return around `200–400 Hz`
- Cut mud below `150–250 Hz`
- Tame harsh highs if needed
- Noise filter cutoff: low to high
- Synth filter cutoff: low to high
- Reverb dry/wet: subtle increase
- Delay feedback: more intensity near the end
- Utility width: slightly wider toward the drop
- Volume: tiny rise into the final hit
- Very filtered
- Low volume
- Minimal width
- Open filters slightly
- Add more delay movement
- Introduce break texture
- More brightness
- More vocal presence
- Increase tension
- Full open filter
- Strongest delay/reverb tail
- Final vocal shout
- Optional reverse crash or impact
- Reverse crash
- Sub drop
- Impact hit
- Downlifter after the riser if you want a hard transition
- High-pass around `120–180 Hz`
- Remove any muddy buildup
- Ratio: `2:1`
- Attack: `10 ms`
- Release: `Auto`
- Keep gain reduction mild, around `1–3 dB`
- Add just enough harmonics to help the riser read on smaller speakers
- Before a drop
- Before a bass switch
- Before a restart
- Before a rewind
- At the end of an 8-bar phrase
- 8 bars drums and bass
- 4-bar riser with vocal hype
- 1-bar gap or stop
- drop hits with full break and sub
- natural minor
- Phrygian
- harmonic minor
- simple root + minor 2nd movement
- dusty breaks
- vocal attitude
- a little distortion
- abrupt arrangement decisions
- a rough-edged final hit 😎
- Noise layer
- Saw synth rise
- Gentle reverb
- Smooth filter automation
- Vocal shout
- Break slice
- Delay throws
- Faster filter opening
- More saturation
- Lower-pitched synth
- Distorted break
- Less reverb
- More compression
- Subtle frequency shifting
- keep the low end clean
- make the final half-bar more intense than the first
- end with a clear transition point
- Use noise, synth, breakbeat, and vocal FX together
- Shape the rise with automation
- Keep the low end clean
- Add grit and movement with Ableton stock devices
- Make the riser serve the drop, phrase, or rewind moment
- Auto Filter
- Saturator
- Drum Buss
- EQ Eight
- Echo
- Reverb
- Utility
- Compressor
- Redux
- Frequency Shifter
This is beginner-friendly, but it’s also the kind of technique you can reuse in serious DnB arrangements.
---
2. What you will build
You will create a 4-bar riser that combines:
By the end, you’ll have a riser that can lead into:
Think: pressure building, jungle tension, and a ragga MC hype-up moment 😈
---
3. Step-by-step walkthrough
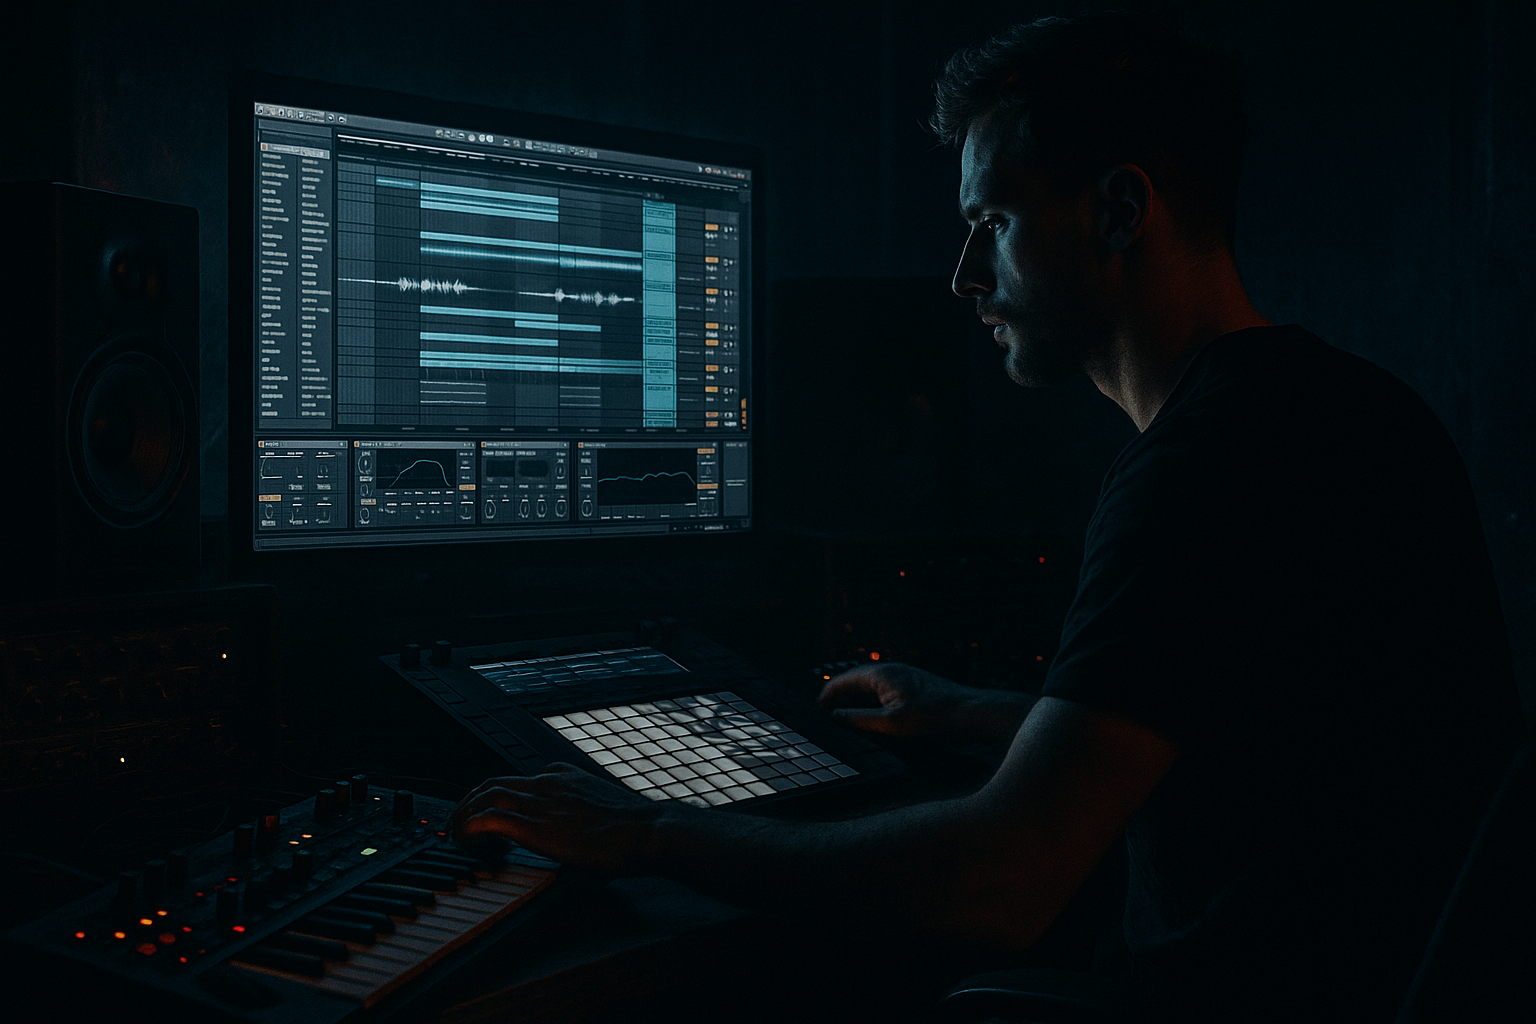
Step 1: Set up your project
Open Ableton Live 12 and set:
1. Audio track – Break texture
2. Instrument track – Noise riser
3. Instrument track – Synth rise
4. Audio track – Vocal/ragga FX
5. Return track – Reverb
6. Return track – Delay
If you already have a drum break in your project, duplicate a short slice or use a spare bar from the break loop. That gives your riser more DnB DNA than using pure synths alone.
---
Step 2: Build the noise layer
This is the backbone of a classic riser.
Add an instrument
On the Noise riser track, load:
If using Operator:
1. Initialize the patch
2. Turn on Oscillator A
3. Set it to Noise if your setup allows the noise option
4. If not, use a very bright waveform and filter it heavily
Add effects in this order:
1. Auto Filter
2. Saturator
3. Utility
Suggested settings:
#### Auto Filter
#### Saturator
#### Utility
MIDI note
Draw in a single long note that lasts 4 bars.
Why this works
Oldskool DnB tension often comes from simple sources made exciting through automation. You don’t need a massive sound design patch — you need movement.
---
Step 3: Add a pitched synth rise
This gives the riser tonal direction.
Load a synth
On the Synth rise track, use:
A simple saw-based patch works best.
Suggested patch in Wavetable
Add FX chain:
1. Auto Filter
2. Echo
3. Reverb
4. EQ Eight
Suggested settings:
#### Auto Filter
#### Echo
#### Reverb
#### EQ Eight
MIDI writing tip
Use a rising note pattern:
For ragga-infused chaos, you can pitch the synth up while the drums stay locked.
---
Step 4: Add breakbeat energy underneath
This is where it becomes proper DnB.
Import or slice a break
Use a classic break sample or a chopped loop. In oldskool/jungle style, even a tiny break fragment adds identity.
Options:
Place it rhythmically
Put the break texture in the last 2 bars of the riser, or use a chopped loop that gradually increases in density.
Processing chain:
1. Drum Buss
2. Auto Filter
3. Redux or Saturator
4. Compressor
#### Drum Buss
#### Auto Filter
#### Redux
#### Compressor
DnB workflow idea
Duplicate the break track and make one copy filtered and distant, then bring in the dry copy in the final bar for a more aggressive transition.
---
Step 5: Add a ragga vocal FX layer
This is what gives the riser personality.
Source options
Use:
Keep it short. One or two words is enough.
Process with:
1. Warp
2. Filter Delay
3. Reverb
4. EQ Eight
5. Gate or Compressor if needed
Warp tip
FX settings
#### Filter Delay
#### Reverb
#### EQ Eight
Arrangement tip
Place the vocal FX in the final half-bar or final bar of the riser. That makes it feel like a callout before the drop.
---
Step 6: Automate the build
This is the most important part. Without automation, it’s just layers.
Automate these parameters:
Suggested automation curve over 4 bars
#### Bar 1
#### Bar 2
#### Bar 3
#### Bar 4
Ableton Live 12 workflow tip
Use automation lanes in Arrangement View and draw smooth curves. For a more organic feel, make the cutoff open slowly at first, then faster near the end.
---
Step 7: Add a reverse swell or impact
To make the riser land properly, add one of these:
Easy method
1. Take a crash or hit sample
2. Reverse it
3. Place it so it ends exactly on the drop
4. Add Reverb and Auto Filter for extra drama
For darker DnB
Use a low, cinematic hit or a distorted tom instead of a shiny crash. That keeps it heavy and moody.
---
Step 8: Glue the whole thing together
Now group your riser tracks and process them lightly as a bus.
On the group, try:
1. EQ Eight
2. Glue Compressor
3. Saturator
#### EQ Eight
#### Glue Compressor
#### Saturator
Important
Do not overcompress. Risers should build tension, not collapse into a flat slab of sound.
---
Step 9: Place it in the arrangement
A great DnB riser needs context.
Common arrangement placements
Oldskool ragga DnB arrangement idea
That stop before the drop can be huge in jungle and ragga DnB. Silence is a weapon.
---
4. Common mistakes
1) Too much low end in the riser
Your riser should not fight the kick and sub.
Fix: High-pass everything above the sub region, usually `120–250 Hz`, depending on the sound.
---
2) Overly clean sound
Oldskool DnB is not polished in a sterile way.
Fix: Use Saturator, Drum Buss, Redux, or subtle distortion to add grit.
---
3) Too many layers
Beginners often stack too much and lose impact.
Fix: Use 2–4 strong layers, not 10 weak ones.
---
4) No automation
A static riser sounds like a held note.
Fix: Automate filter, reverb, delay, stereo width, and level.
---
5) Vocal FX too long
Ragga chants work best when they’re sharp and energetic.
Fix: Keep vocal slices short and place them near the end of the build.
---
6) Harsh high frequencies
Risers can become painfully bright.
Fix: Use EQ Eight to tame the 3–8 kHz range if needed.
---
5. Pro tips for darker/heavier DnB
Use minor or modal notes
For a darker vibe, try:
That creates tension without sounding cheesy.
Add a sub-drop beneath the transition
A very short sub slide or pitch drop can make the riser land harder.
Use resampling
Once your riser works, resample it to audio and reverse or chop it. This gives you more control and can create unique transition edits.
Use Frequency Shifter
A tiny amount of frequency shifting can add unstable jungle weirdness. Keep it subtle.
Try Shaper or LFO
If you have modulation tools available in your setup, automate the filter or volume movement rhythmically for a more alive build.
Make it “rude”
A ragga DnB riser usually benefits from:
---
6. Mini practice exercise
Build three different 4-bar risers in Ableton Live:
Version A: Clean tension
Version B: Ragga chaos
Version C: Dark heavyweight
Challenge
For each version:
Export all three and compare which one feels most “DnB ready.”
---
7. Recap
You’ve now learned how to build a polished oldskool DnB riser with ragga energy in Ableton Live 12.
Key takeaways:
Best stock Ableton devices for this job:
If you want, I can also turn this into:
1. a one-page cheat sheet,
2. a rack preset blueprint, or
3. a full 8-bar DnB build-up arrangement example. 🚀
```

