Main tutorial
Lesson Overview
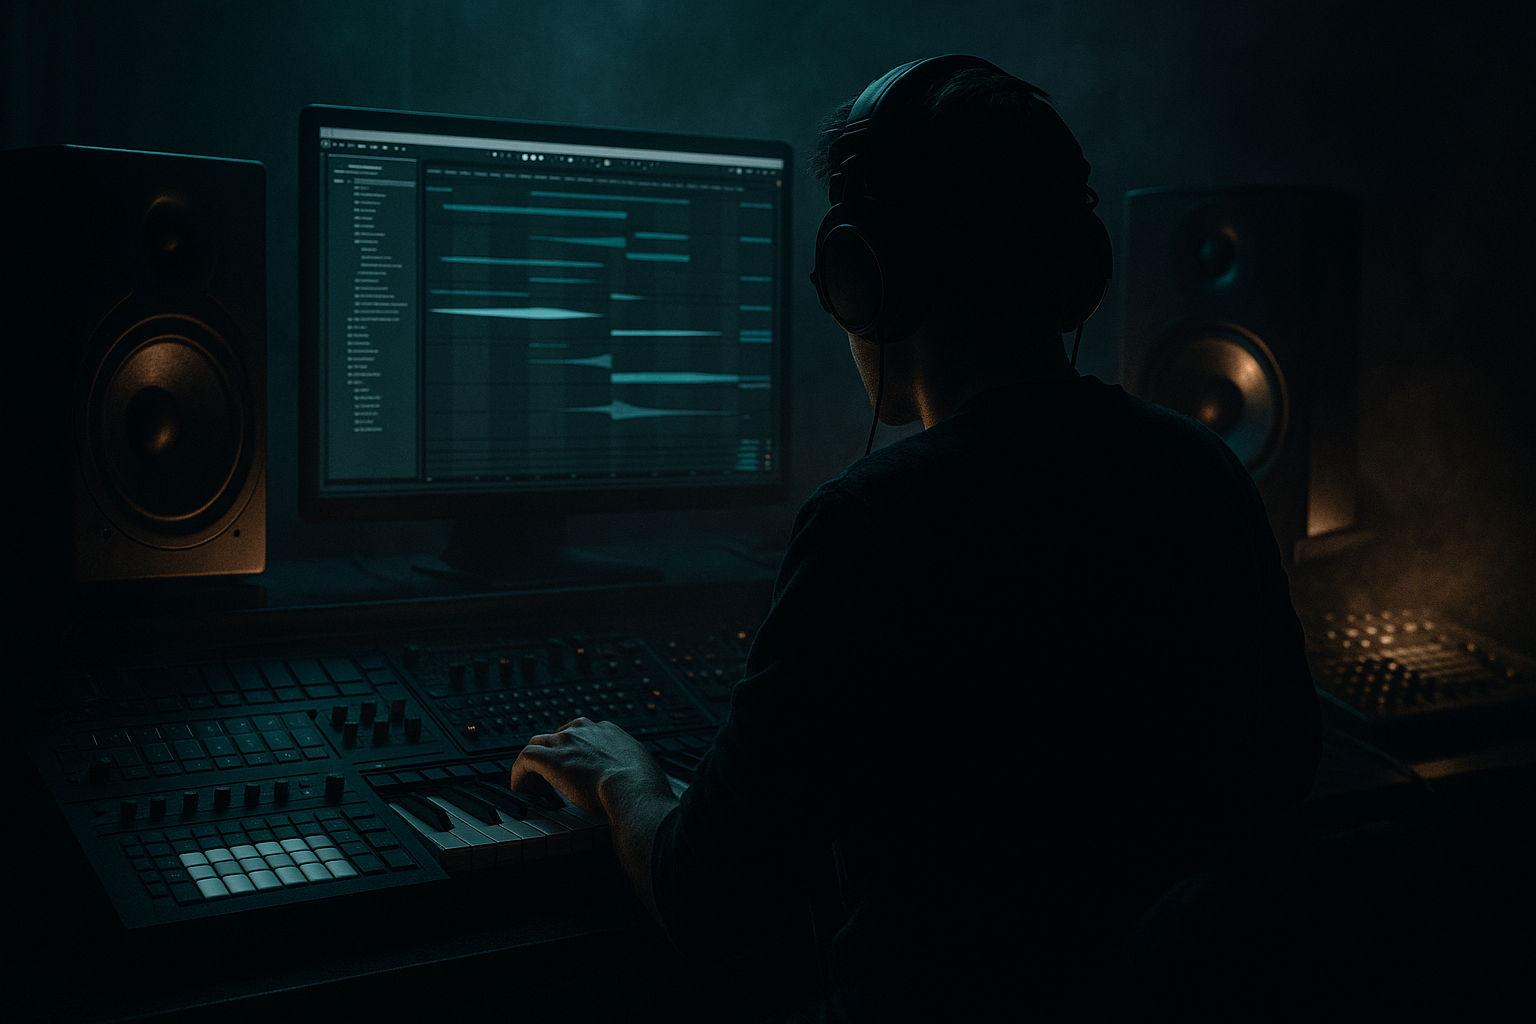
This lesson is about building a polished oldskool DnB mid bass in Ableton Live 12 using an automation-first workflow. The goal is to create a bassline that feels rooted in classic jungle / rollers energy: gritty, rhythmic, musical, and constantly evolving without sounding over-designed.
In oldskool-inspired DnB, the mid bass often carries the character of the drop just as much as the drums do. It sits above the sub, below the vocal presence zone, and works like a moving call-and-response layer between the break, the kick/snare grid, and any vocal chops or atmospheres. If your bass stays static, the track can feel flat. If it moves in the wrong way, it can swallow the drum groove. The sweet spot is a bassline that feels alive through automation, resampling, filtering, and arrangement choices rather than too many notes or too much processing.
Why this matters: in DnB, especially darker or more authentic oldskool-influenced styles, movement is arrangement. A great mid bass doesn’t just sound good in isolation — it gives the drop shape, creates tension before the snare hits, and leaves space for vocal snippets, FX, and break edits to speak. This lesson will help you build that feeling inside Ableton using stock devices only. 🎛️
What You Will Build
By the end, you’ll have a polished two-part bass system:
- A tight mono sub supporting the root notes
- A mid bass layer with a controlled reese / saw hybrid character
- A band-pass and filter-automated movement shape that evolves across 8 or 16 bars
- A vocal-chop-friendly arrangement pocket where short phrases or callouts can sit above the bass without clashing
- A drop-ready loop that sounds like it belongs in an oldskool DnB roller or darker jungle-leaning tune
- Bar 1–4: restrained, teasing, minimal movement
- Bar 5–8: more filter opening, extra grit, subtle rhythmic change
- Bar 9–16: stronger energy, more modulation, small switch-up, and a clear place for a vocal stab or phrase response
- Making the mid bass too wide in the low end
- Using too much distortion too early
- Letting the bass play over every snare hit
- Automating random changes with no phrase logic
- Ignoring the vocal pocket
- Over-compressing the bass group
- Use band-pass automation for “ghost bass” moments
- Automate Saturator Drive in tiny amounts
- Layer a faint reese texture above the main bass
- Use short drum fills to answer the bass
- Duck the bass slightly with the kick only if needed
- Resample filtered versions of the bass
- Check mono early
Musically, the result should feel like:
Think: a bassline that can sit under a chopped vocal like “come again,” “check it,” or a short atmospheric phrase, while the drums stay punchy and the low end remains disciplined.
Step-by-Step Walkthrough
1. Set up a clean bass routing structure first
In a fresh Ableton Live 12 set, create three tracks:
- SUB
- MID BASS
- VOCAL CHOP / FX
Route both bass tracks to a Bass Group so you can process them together later if needed. Keep the vocal chop separate so you can judge space properly.
On the SUB track, load Operator or Wavetable and create a simple sine wave. Keep it mono and clean:
- Oscillator: sine
- Unison: off
- Volume: stable, no drive yet
- Filter: off or fully open
On the MID BASS track, load Wavetable, Analog, or Operator depending on your taste. For an oldskool DnB mid bass, a good starting point is:
- Two detuned saws or a saw + square blend
- Mild unison only if it doesn’t widen the low end too much
- Filter on the synth itself set to low-pass or band-pass for movement later
Why this matters in DnB: splitting sub and mid keeps the low-end stable while letting the mid bass move aggressively without muddying the kick and snare foundation.
2. Write a simple bassline that works with the break, not against it
Oldskool DnB basslines often work best when they are rhythmic and supportive, not overly busy. Start with a 1- or 2-bar MIDI pattern, then extend it to 8 bars.
Use notes that lock to the kick/snare pulse and create room for drums:
- Try root-note phrasing with occasional octave jumps
- Leave holes on the snare backbeat
- Add one short pickup note before a phrase change
A strong starting pattern might be:
- Bar 1: root note held for 1 beat, then short syncopated note
- Bar 2: same idea, but end with a stutter or small fill
- Bar 3–4: repeat with one note change to create a question/answer feel
Keep note lengths tight. If the bass is too legato, it can smear over the drum groove. For oldskool rollers, short notes with controlled sustain usually work better than long, smooth phrasing.
If you’re using a vocal chop later, leave a gap after the snare hit or before the end of the bar so the vocal can land cleanly.
3. Shape the mid bass tone before automating anything
On the MID BASS track, build the core tone with stock Ableton tools:
- Wavetable/Analog
- Saturator
- EQ Eight
- Auto Filter
Suggested starting settings:
- Oscillator detune: subtle, around 5–15 cents
- Filter cutoff: start around 180 Hz to 600 Hz depending on note range
- Saturator Drive: +2 to +6 dB
- EQ Eight: cut some low-end below 100–140 Hz so the sub stays clean
Keep the bass slightly raw. The polish comes from control, not from over-smoothing. You want enough harmonic content so the bass cuts through on smaller systems, but not so much that it competes with the vocal or cymbals.
If the tone feels too polite, add a touch of Overdrive before the Saturator, but keep the output under control. A small amount can make the bass speak better on midrange monitors.
4. Build the automation-first movement plan
This is the key workflow shift: instead of trying to make the bass “finished” with one static sound, decide what should move over time.
In Ableton, automate:
- Auto Filter cutoff
- Auto Filter resonance
- Saturator drive
- Wavetable position or Analog oscillator mix
- Device on/off or dry/wet on Return FX
For a polished oldskool DnB feel, the movement should be intentional and musically timed. Try this:
- Bars 1–4: cutoff around 250–400 Hz, moderate resonance
- Bars 5–8: open the filter gradually to 700–1,200 Hz
- Bars 9–16: add short dips or bumps before snare hits or phrase ends
Use the Arrangement View to draw long automation curves for structural movement, then switch to short clip envelopes in Session View if you want tighter loop-based control.
A good rule: long automation for arrangement, short automation for groove. That distinction keeps the bass from sounding random.
5. Add rhythmic modulation using an LFO-like approach inside Ableton stock devices
If you want more motion without writing extra notes, use Auto Filter or Shaper-like movement via Envelope Follower alternatives is not necessary here — keep it stock and simple.
A practical Ableton approach:
- Use Auto Filter with filter cutoff automation in eighth-note or quarter-note pulses
- Add LFO-style movement by drawing repeated automation points in clip envelopes
- Or use Frequency Shifter very subtly for metallic movement if the bass is darker and more industrial
Suggested settings:
- Auto Filter: band-pass or low-pass
- Resonance: 10–25%
- Drive: slight, enough to emphasize the motion
- Filter envelope: subtle, not synth-squelch heavy
For a more oldskool / jungle vibe, make the movement feel like it’s reacting to the break, not dominating it. Let the bass “breathe” around the snare and kick accents.
This is one of the reasons automation-first works so well in DnB: the genre relies on constant micro-shifts that keep looped material sounding alive across a long drop.
6. Create call-and-response with the vocal lane
Since this is a vocals category lesson, think like a producer arranging space for a short vocal phrase, spoken tag, or chopped atmospheric line. The mid bass should answer the vocal, not fight it.
On your VOCAL CHOP / FX track, place a short sample or phrase that lands:
- On the end of bar 2 or bar 4
- After a bass gap
- Before a small bass response
Keep it sparse. In DnB, a vocal does not need to sing continuously to be effective. A single phrase can become the hook if the bassline leaves it room.
To make space:
- Use EQ Eight on the vocal to high-pass around 120–200 Hz
- Add a gentle dip around 250–500 Hz if it masks the bass character
- Use Simple Delay or Echo on a send return for atmosphere, but automate the send so the delay blooms only at the end of a phrase
A strong arrangement trick: mute or filter the bass slightly under the vocal hit, then bring it back in immediately after. That tiny drop in density makes the vocal feel bigger without needing more volume.
7. Resample the mid bass to lock in the movement
Once the automated bass feels good, resample it. This is a very DnB-friendly workflow because it turns sound design into arrangement material.
In Ableton:
- Create a new audio track called BASS RESAMPLE
- Set input to resample or route from the MID BASS track
- Record a full 8 or 16 bars while automation plays
Then edit the audio:
- Trim the best moments
- Reverse a short tail for a transition
- Consolidate a 1-bar motif if it hits hard
- Warp only if needed; don’t over-fix timing if the groove is already strong
Why this works in DnB: resampling lets you commit to the bass’s rhythmic behavior and makes it easier to build fills, switch-ups, and drop variations that feel intentional rather than copy-pasted.
8. Tighten the drum-bass relationship with bus processing
Put the Drum Group and Bass Group in context together. The bass should sound huge, but the kick and snare must still punch through.
On the Bass Group, try:
- EQ Eight: high-pass the mid bass gently if needed, but don’t strip the weight away
- Glue Compressor: 1–2 dB gain reduction max, slow attack, medium release
- Saturator: very light to add density
On the Drum Group, keep transient control clean:
- Use Drum Buss carefully for punch and glue
- If the snare loses crack, reduce bass group compression before touching the drums
A useful check: loop the drop and mute the bass for a second. If the drums suddenly feel too thin or too aggressive, your balance is probably off. The bass should enhance the drum pocket, not cover it.
9. Shape the 8/16-bar arrangement like a proper DnB drop
The polished part comes from arrangement. A looping bass sound is not enough — the listener needs tension and release.
Use a structure like this:
- Bars 1–4: dry, minimal, teasing intro to the drop
- Bars 5–8: first full bass statement, vocal hit at bar 7 or 8
- Bars 9–12: automation opens up, slight variation in note rhythm
- Bars 13–16: switch-up, filter dip, or fill leading into the next section
Add small transitions:
- Noise sweep into the vocal
- Downlifter after the phrase
- Reverse crash before the bass returns
For oldskool DnB, don’t over-stack the arrangement. The groove should remain DJ-friendly and mixable. A good drop can be functional and still feel exciting.
Common Mistakes
Fix: keep the sub mono, and check the mid bass in Utility with Bass Mono or Width control reduced. Low frequencies should stay centered.
Fix: start with tone and rhythm first, then add saturation gradually. Overdriven mids can bury vocal chops and cymbal detail.
Fix: leave gaps. DnB groove depends on the snare being clear and confident.
Fix: make movement happen on 4-bar or 8-bar phrasing so the listener feels structure, not clutter.
Fix: high-pass the vocal, carve a little space in the 300–800 Hz zone if needed, and mute or thin the bass briefly when the vocal lands.
Fix: if the groove loses bounce, back off. Too much glue can flatten the oldskool swing.
Pro Tips for Darker / Heavier DnB
A narrow band-pass opening can create a classic darker roller effect, especially before a snare or vocal hit.
Try moving from +2 dB to +5 dB across a phrase. Subtle drive changes can make the bass feel like it’s evolving in intensity.
Keep it low in the mix and high-passed so it adds menace without mud. This works especially well under sparse vocal chops.
A ghost snare or break edit at the end of a bass phrase can make the whole drop feel more alive and more “producer-made.”
In some rollers, a tiny sidechain dip helps the kick speak. Keep it subtle so the bass still feels continuous.
A darker filtered bounce can become a transition layer, intro texture, or breakdown motif. This is excellent for tension building in jungle and neuro-leaning arrangements.
Use Utility on the master or bass group and listen in mono. If the bass loses identity, simplify the stereo processing.
Mini Practice Exercise
Spend 10–20 minutes building a one-drop bass phrase with vocal space:
1. Make a 2-bar MIDI bass pattern using Operator or Wavetable.
2. Add a Sub layer with a sine wave following the root notes.
3. Insert Auto Filter on the mid bass and automate the cutoff across 8 bars.
4. Add Saturator and automate Drive slightly higher in bars 5–8.
5. Place one vocal chop or spoken phrase on bar 4 or bar 8.
6. Make the bass leave a gap where the vocal lands.
7. Resample the full 8 bars onto audio.
8. Pick the best 1-bar section and loop it with a short fill at the end.
Goal: by the end, you should have a bassline that feels like it belongs in a real DnB drop, with the vocal acting as a hook rather than an overlay.
Recap
The core idea is simple: in oldskool DnB, bass movement should be arranged, not just programmed. Build a clean sub, shape a characterful mid bass, and use automation to make the line evolve over time. Keep the groove tight, leave space for vocals, and resample the best moments so the track gains identity fast. If the bass supports the drums, gives the vocal room, and develops across the phrase, you’re in the right zone.

