Main tutorial
Lesson Overview
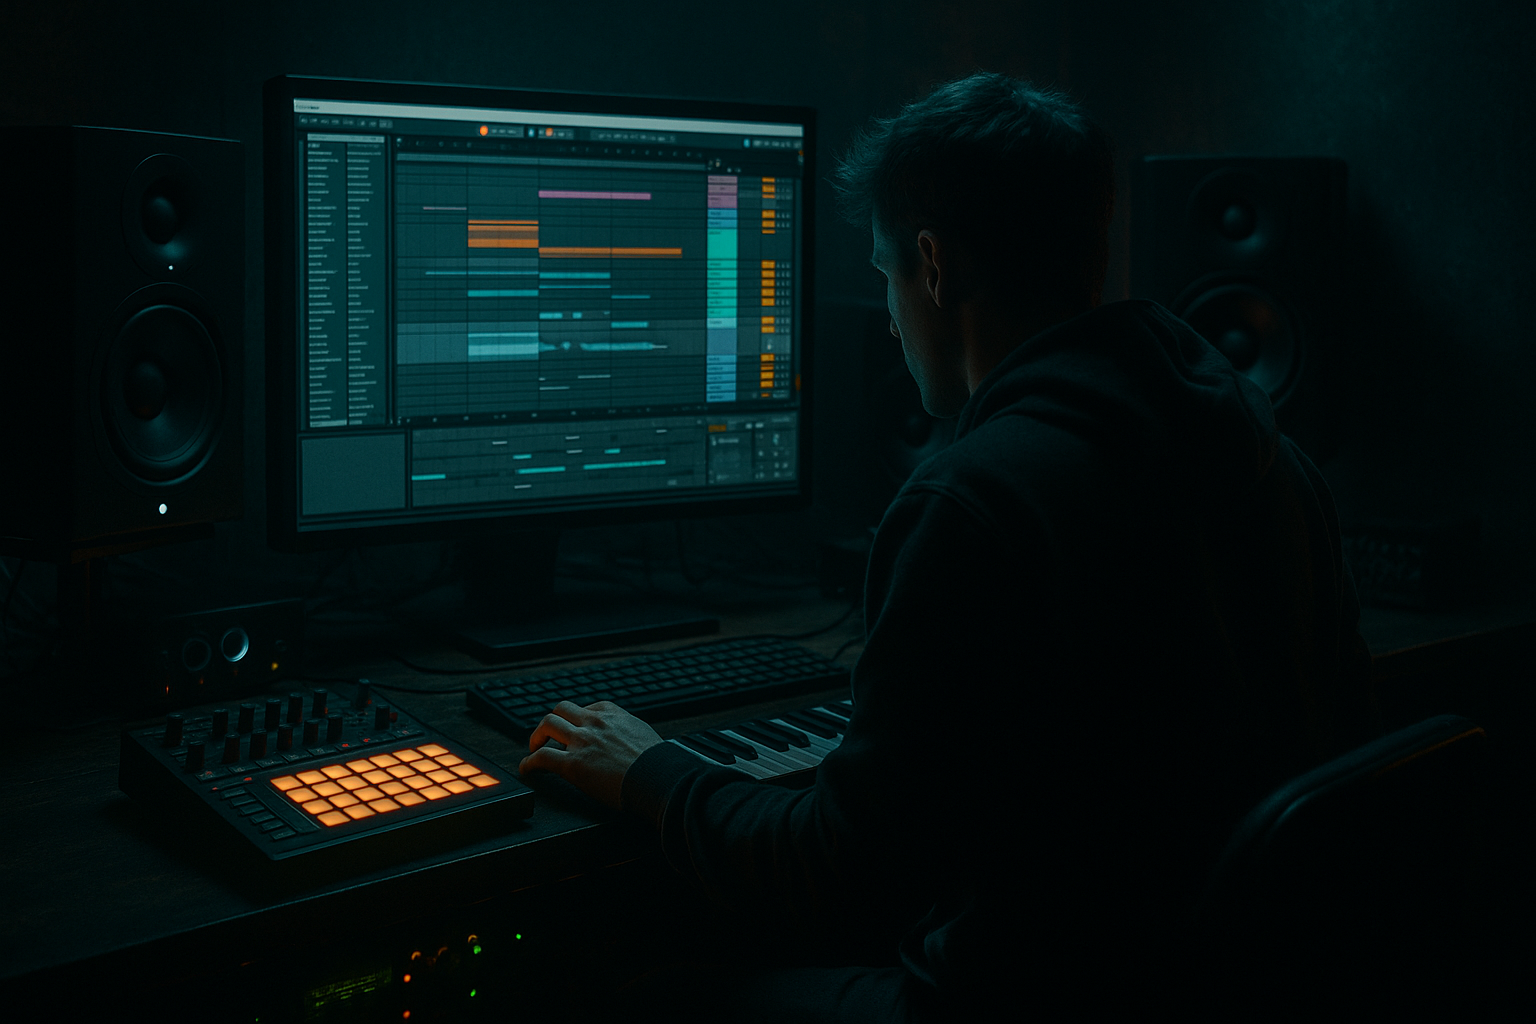
Polishing an Amen-style breakbeat with macro controls in Ableton Live 12 is one of the fastest ways to turn a raw jungle loop into a performance-ready DnB drum part. The goal here is not to “fix” the Amen into something unrecognizable — it’s to keep the swing, grit, and human chaos, while making it controllable, mixable, and arrangement-friendly.
This matters in DnB because the break is often doing more than just keeping time. In rollers, it can drive the groove under a subline. In jungle, it can be the main hook. In darker neuro-adjacent tracks, the Amen can add urgency and organic motion between synthetic bass hits. If you can map the break’s energy into macros, you can automate tension, create fills on demand, and move from raw loop to full track structure faster.
In this lesson, you’ll build a rack that lets you shape an Amen-style loop with a few performance-friendly controls: punch, grit, stereo width, transient snap, and reverb throw. You’ll use stock Ableton devices and a workflow that makes editing, arranging, and variation much quicker in a real session.
What You Will Build
You’ll end up with a polished Amen break processing chain in Ableton Live 12 with a Macro-controlled Drum Rack or Audio Effect Rack that can:
- tighten or loosen the break’s transient attack
- add controlled saturation and dirt
- shift the break from dry/intimate to wide/ambient
- push ghost notes and hats forward without destroying the groove
- create fill moments and switch-ups for 8-, 16-, or 32-bar phrasing
- stay mixable against a sub-heavy bassline and dark atmospheres
- a jungle intro that evolves into a drop
- a rolling DnB groove with subtle break movement under a Reese or sub
- a halftime-to-fulltime switch for tension
- a darker breakdown where the break becomes textural, then snaps back into place for the drop
- Over-warping the Amen and destroying the swing
- Making the Dirt macro too extreme
- Letting the width macro ruin mono compatibility
- Compressing the break too hard
- Boosting too much low-mid body
- Automating too many parameters separately
- Forgetting arrangement context
- Use narrower stereo on the main break, then widen only the top layer for controlled menace.
- Push Drum Buss Transients before saturation if you want the snare to cut through a distorted reese wall.
- Add a very small amount of Reverb on the last hit of a phrase, not the whole loop, for tension without wash.
- Try Auto Filter with a slightly resonant band-pass sweep for pre-drop pressure; it feels more underground than a generic riser.
- If the break feels too polite, resample it through a more aggressive macro setting, then blend the resample quietly under the clean version.
- For neuro-influenced darker rollers, keep the break tighter and use the macros to create movement around the bass rather than on every hit.
- Use call-and-response: let the break open up while the bass is minimal, then clamp it down when the bass phrase returns.
- A subtle clip gain drop of 1–2 dB before saturation can create more headroom and a denser hit after processing.
- Keep the Amen’s groove intact, then use macros to shape energy, dirt, width, and tension.
- Use stock Ableton devices like EQ Eight, Drum Buss, Saturator, Utility, Auto Filter, and Compressor.
- Process the break as a performance-ready rack, not just a loop.
- Automate macro moves by section so your arrangement feels intentional and DnB-focused.
- Protect low-end clarity so the break works with sub-heavy basslines.
- Resample once the settings feel right to speed up finishing and variation.
Musically, this is ideal for:
Step-by-Step Walkthrough
1. Set up your Amen for editing, not just looping
Start with an Amen-style break sliced or loaded as audio on one track. If you have a clean sampled loop, drag it into Arrangement or Session and warp it carefully. For this style, you usually want to preserve the original feel rather than quantize every hit.
In Ableton Live:
- Turn Warp on, but avoid aggressive transient warping unless the loop is drifting badly.
- If the break is already in time, consider disabling Warp entirely to keep the original envelope intact.
- Route the break to its own group or track called something like “DRK AMEN BUS” so you can process it as a unit.
Practical starting point:
- Warp mode: Beats if needed for minor timing correction
- Preserve: 1/16 or 1/8 for transient-rich break material if Warp must be used
- Clip gain: trim so the loop peaks around -12 to -9 dB before heavy processing
Why this matters: in DnB, the break’s groove is part of the character. Over-tightening it can kill the shuffle that makes jungle and rollers feel alive.
2. Split the break into a controllable processing rack
Put your break on an Audio Track, then build an Audio Effect Rack on that track. This gives you macro control over the whole chain without destroying the source.
Add these stock devices in this order:
- EQ Eight
- Drum Buss
- Saturator
- Utility
- Auto Filter
- Glue Compressor or Compressor
- Reverb or Hybrid Reverb, but keep it subtle
Then map important parameters to macros. A strong starting rack could use 6 macros:
- Macro 1: Punch
- Macro 2: Dirt
- Macro 3: Snap
- Macro 4: Width
- Macro 5: Air/Room
- Macro 6: Tension
Use Live’s Macro Mapping Mode to assign multiple parameters to each macro. Keep ranges narrow and musical.
Example mappings:
- Punch: Drum Buss Drive 0–25%, Transients 0–35, Compressor Threshold slightly lower as macro rises
- Dirt: Saturator Drive 0–8 dB, Soft Clip on, Dry/Wet 20–60%
- Snap: EQ Eight high-shelf +0 to +4 dB at 7–10 kHz, Drum Buss Transients +0 to +25
- Width: Utility Width 70–140%, but never let full-on width wreck mono compatibility
- Air/Room: Reverb Dry/Wet 0–18%, Decay 0.3–1.4 s, High Cut around 8–12 kHz
- Tension: Auto Filter cutoff 200 Hz–8 kHz with Resonance 0.7–1.8
Keep the rack clean. If a macro does too much, split its job.
3. Shape the low-end of the break so it doesn’t fight the bass
A polished Amen in DnB is not just about top-end crunch. The low mids and kick residue can easily clash with your sub or reese.
Use EQ Eight before heavy compression:
- High-pass somewhere around 25–40 Hz to clear unnecessary rumble
- If the break is muddy, make a gentle cut around 180–350 Hz by 2–4 dB
- If the snare body is weak, consider a small boost around 180–220 Hz, but only if the bass arrangement allows it
Then use Utility on the rack to control stereo discipline:
- Keep low frequencies mono with width under control
- If the break is too wide in the hats, use Utility Width around 80–110% as a safe range
- For darker rollers, narrower often feels heavier and more direct
Why this works in DnB: the sub is usually the foundation. If the break steals energy in the same range, the drop loses weight fast. Cleaning the low end makes the drum groove feel bigger without simply turning it up.
4. Add controlled punch and density with Drum Buss and Compressor
Drum Buss is one of the best stock devices for DnB break polishing because it adds punch, saturation, and weight quickly.
Recommended starting settings:
- Drive: 5–18%
- Crunch: low, around 0–10% unless you want lo-fi aggression
- Damp: use to tame top-end harshness if the break gets fizzy
- Transients: +10 to +30 for more crack and slice
- Boom: use carefully, often 0–15% or off for Amen breaks if the kick body already exists
After Drum Buss, add Compressor or Glue Compressor for glue, not squash:
- Ratio: 2:1 to 4:1
- Attack: 10–30 ms to let transients through
- Release: Auto or 80–150 ms
- Aim for 1–3 dB of gain reduction on peaks
Map Punch macro to both Drum Buss Transients and Compressor Threshold so you can “lean into” the break as the section intensifies.
Workflow tip: use Live 12’s device chain order strategically. Put distortion before compression if you want the compression to tighten the harmonics. Put compression before distortion if you want the distortion to react to a more even signal.
5. Build ghost-note movement with filtered layers and selective enhancement
Amen breaks feel alive because of tiny ghost hits, hat chatter, and snare tail movement. You can emphasize this without rewriting the entire break.
Duplicate the break onto a second chain or layer, then process the duplicate as a high-detail layer:
- Use EQ Eight to high-pass around 400–700 Hz
- Add Saturator or Pedal for edgy detail
- Add Auto Filter with a band-pass or high-pass shape
- Keep this layer low in the mix, around -12 to -20 dB under the main break
Map a macro like Snap or Ghost to:
- filter cutoff
- saturation drive
- high-shelf gain
- a tiny delay send if you want extra motion
This is especially useful in rolling DnB where the main break drives the groove but the ghost layer adds shimmer during 8-bar phrases.
Arrangement example: bring the ghost layer up in bars 9–16 of a build so the groove subtly intensifies before the drop. Pull it back on the first bar of the drop for impact, then reintroduce it later as a variation.
6. Use automated filter motion to create fills and tension
The Amen becomes much more useful when it can “perform” transitions. Use the Tension macro to automate movement over the section.
Good options:
- automate a high-pass filter upward during a 2- or 4-bar fill
- add resonance for a rising edge, but keep it moderate
- automate Reverb Wet slightly up on the last snare hit before a drop
- automate a short delay send on selected break hits for a call-and-response feel
Practical ranges:
- Filter cutoff sweep: from 250 Hz to 4–8 kHz over 2 bars
- Resonance: 0.8–1.4 for tension, but avoid self-oscillation
- Reverb wet: 5–12% on transition moments only
- Return delay feedback: 15–30% for a subtle tail
The key is to automate the macro, not every individual device. That makes your arrangement fast to revise and keeps the session organized.
7. Turn the rack into a performance tool with clip automation and scene variation
Once the macros feel musical, use them as arrangement controls. This is where the workflow payoff happens.
In Session View:
- Create 2–4 clip variations of the same break
- One clip can be “dry and punchy”
- One clip can be “wide and dirty”
- One clip can be “filtered intro”
- One clip can be “fill / turn-around”
Use clip automation to change macros per scene:
- Intro: Punch 30%, Dirt 15%, Width 80%, Air 5%
- Drop A: Punch 70%, Dirt 35%, Width 95%, Air 8%
- Drop B: Punch 75%, Dirt 45%, Width 105%, Tension 20%
- Break / outro: Punch 25%, Tension 60%, Air 12%
This is a very DnB-friendly way to write in phrases. You’re not just processing drums — you’re shaping energy over 16-bar blocks so the track feels like it’s constantly moving.
8. Refine with resampling if the rack starts to “over-process” the break
A common intermediate mistake is trying to keep every option open forever. Sometimes the best workflow is to resample the break with the macro positions that feel right.
Do this:
- Set the rack to a good moment: maybe Punch at 60, Dirt at 30, Width at 90
- Resample the processed break to a new audio track
- Slice the resampled audio into a Drum Rack if you want further edit control
- Keep the original track muted but saved
This gives you a “committed” version that is easier to arrange and mix. You can still keep a second version for transition fills or breakdowns.
In darker DnB, this is especially effective because the resampled break can become a texture layer under synthetic drums, almost like a rhythmic atmosphere.
9. Balance the break against bass and mix decisions before finalizing
An Amen polished with macros still has to sit with the bassline.
Check:
- sub and kick relationship
- snare peak versus bass mids
- mono compatibility
- harsh hat energy around 6–10 kHz
Use Utility to mono-check the low end and EQ Eight to tame any boxiness or harshness. If the break is too forward, reduce the Punch macro range slightly rather than manually riding every section.
Good DnB workflow:
- build the drum rack first
- then write the bass around it
- then revisit macro ranges
- then automate only where the arrangement needs contrast
This keeps you from fighting your own processing later.
Common Mistakes
Fix: use minimal warp or none at all if the timing is already close.
Fix: cap Saturator drive and use Dry/Wet limits so the break stays crisp.
Fix: keep low-end mono and test in Utility with Width reduced.
Fix: aim for glue, not flattening. If the groove loses bounce, back off the threshold.
Fix: cut mud around 200–350 Hz before adding any enhancement.
Fix: map them to one macro so changes stay musical and easy to revise.
Fix: use macro scenes for intro, drop, variation, and breakdown instead of one static setting.
Pro Tips for Darker / Heavier DnB
Mini Practice Exercise
Spend 15 minutes building a 3-version Amen rack.
1. Load one Amen-style break into Ableton and make a basic Audio Effect Rack.
2. Map 5 macros: Punch, Dirt, Snap, Width, Tension.
3. Set two extreme but usable presets:
- Version A: intro/filtered, with Tension high, Punch low
- Version B: drop/punchy, with Punch and Snap higher, Dirt moderate
4. Duplicate the clip and automate macro changes over 8 bars:
- bars 1–4: build tension
- bars 5–8: release into a heavier setting
5. Check mono compatibility with Utility and make one adjustment if the break loses focus.
6. Bounce one resampled version and compare it to the live rack.
Goal: finish with a break that feels like it can carry an intro, a drop, and a transition without rebuilding the chain.

