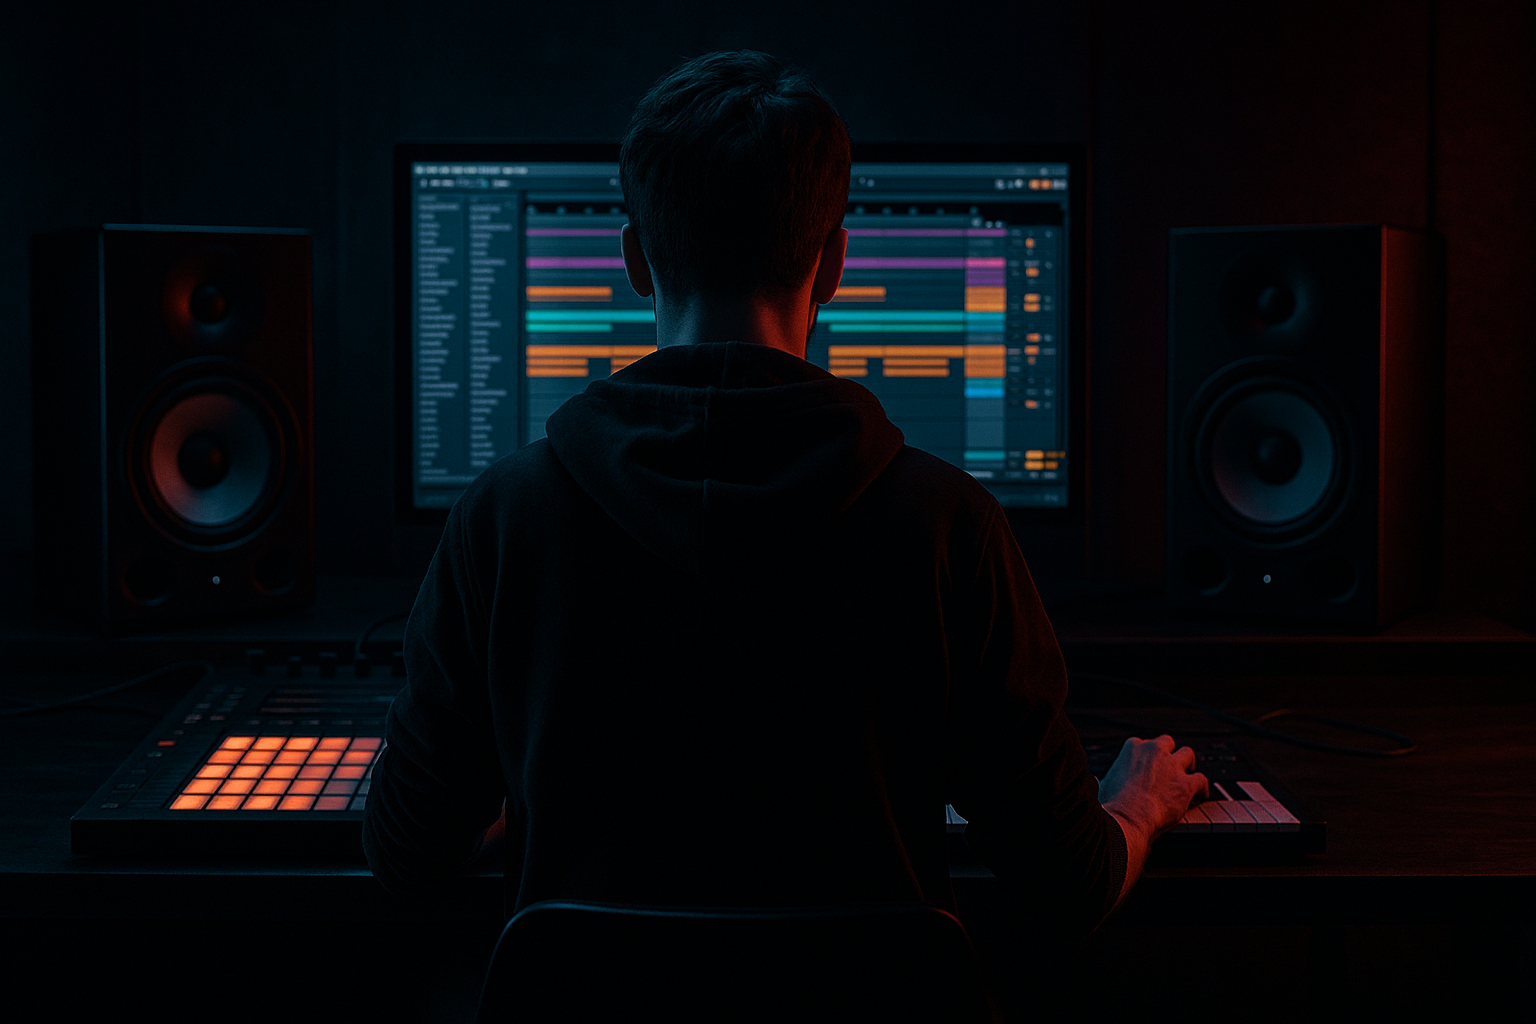
Main tutorial
Lesson Overview
Oldskool rave pressure in DnB is all about making the sub feel like it’s pushing air through the room, not just filling low end. In Ableton Live 12, that means building a bass system that has deep mono foundation, midrange attitude, and phrasing that locks to breakbeat energy. This lesson focuses on a practical playbook for designing and arranging a sub-led bassline that hits like early jungle / rave pressure but still works in a modern rollers or darker DnB context.
This technique matters because the sub is not just “the lowest note.” In a real DnB mix, the sub is the anchor that gives the breakbeats weight, makes the drop feel expensive, and creates the contrast between tension and release. If your low end is vague, overwide, or too harmonically busy, the whole tune loses drive. If it’s disciplined, the entire arrangement feels bigger without needing more elements.
You’ll build a system that combines:
- a clean mono sub
- a mid-bass layer with oldskool character
- call-and-response phrasing that leaves space for break edits
- automation and arrangement tricks that make the drop feel alive
- a mix-safe workflow that keeps the kick, break, and bass working together
- a solid mono sub centered under the kick and break
- a raspy, slightly unstable mid layer for oldskool rave character
- a riff that uses short notes, offbeat pushes, and gaps
- a drop arrangement that feels like a proper DnB turnaround
- a drum-and-bass-safe low end that stays focused in mono
- a controlled amount of saturation, motion, and grit without turning into mush
- a tight 2-step / broken break hybrid
- a sub note hitting on the “answer” after a snare
- a reese-ish upper bass that briefly opens on the second bar
- a 16-bar drop with a DJ-friendly intro, a switch-up at bar 9, and a filtered breakdown return
- Letting the sub get wide or stereo-processed
- Writing bass notes that fight the break
- Using too much distortion on the whole bass
- Overlong notes causing low-end smear
- Ignoring mono compatibility
- Too much movement in the wrong place
- Overwriting the phrase with too many notes
- Use subtle pitch movement on the mid layer only
- Resample through saturation twice, but lightly
- Automate filter opening only at phrase ends
- Use ghost notes in the bass only if the drum groove can carry them
- Try short feedback on Echo for atmosphere, not obvious delay
- Sidechain deliberately, not heavily
- Keep one section drier than you think
- separate sub and mid pressure
- phrase the bass around the breakbeat
- keep the sub mono, clean, and disciplined
- use the mid layer for rave grit, movement, and attitude
- automate in small phrase-based moves
- resample when the sound starts to feel right
- mix with space, headroom, and contrast
This is especially useful for breakbeat-led DnB, where the drums often carry the groove and the bass must hit in gaps, not fight the pocket. Think early rave pressure updated for modern sub control. 🔊
What You Will Build
By the end of this lesson, you’ll have an Ableton Live 12 bass rack or group that delivers:
Musically, imagine a 174 BPM tune with:
The result should feel like oldskool rave pressure translated into modern DnB arrangement logic: functional, heavy, and repeatable.
Step-by-Step Walkthrough
1. Build a bass group with separate sub and character layers
In Ableton, create a Group Track called `BASS`. Inside it, make two MIDI tracks:
- `SUB`
- `MID PRESSURE`
Keep the sub and character separate from the start. This gives you proper control over stereo, distortion, and arrangement. Route both tracks to the group so you can process them together later with light glue, but not lose individual control.
On `SUB`, load Operator or Wavetable. Use a simple sine or triangle-based patch:
- Oscillator: sine
- Octave: -1 or -2 depending on the MIDI register
- Filter: low-pass open, or bypass if the sound is already clean
- Amp envelope: short attack, medium decay, no sustain issues if the notes are held
On `MID PRESSURE`, load Wavetable, Analog, or even Operator if you want to keep it pure and later distort/resample. Start with a saw/pulse-style base. The goal is not a huge supersaw; it’s a focused mid layer that can be pushed and filtered.
Why this works in DnB: the sub stays stable and mono while the mid layer can move, distort, and create the “rude” character without destroying the low-end anchor.
2. Write a bass phrase that leaves room for breakbeats
Open an 8-bar MIDI clip for the `SUB` track. At 174 BPM, write something that behaves like a drummer would phrase around a snare:
- Put primary notes on offbeats and after-snare responses
- Avoid constant 1/8-note chugging unless you want a very specific rollers pattern
- Leave at least one gap per bar where the kick and break can breathe
A strong starting point:
- Bars 1–2: one note per bar, long tail, establishing the key center
- Bars 3–4: add a response note on the “and” after beat 2 or 4
- Bars 5–6: vary the note length, maybe a shorter pickup into the next bar
- Bars 7–8: add a small climb or rhythmic variation to hint at the switch-up
For oldskool rave pressure, use simple notes with strong rhythm, not overly complex melodic movement. The tension comes from placement and repetition, not busy harmony.
Good starting range for note lengths:
- 1/8 to 1/2 bar for punchy sub hits
- 3/4 to 1 bar for sustained notes under space
- avoid long overlaps if the break and kick need clarity
3. Lock the sub to the kick and snare relationship
In DnB, the sub must feel like it’s “answering” the rhythm. Open the kick and break audio, then make sure your sub notes are supporting the main drum punctuation. If your main snare lands on beat 2 and 4, try positioning sub notes:
- slightly before the snare for anticipation
- immediately after the snare for response
- or sustaining across the snare only when the groove still feels open
Use Simpler or Drum Rack if you want to audition how a bass note behaves against a sliced break. But for the actual sub, keep the MIDI part direct and controlled.
On the `SUB` track:
- Add Utility and set Bass Mono behavior by keeping width at 0%
- Use EQ Eight to roll off ultra-low junk only if necessary; don’t carve the real sub
- If using Compressor, keep it gentle, around 1.5:1 to 2:1, only to tame uneven notes
Important: check the sub against the kick in mono. In Ableton, use Utility on the master or bass group and temporarily set Width to 0% to verify that the weight remains centered.
4. Create the mid layer with rave texture and controlled instability
On `MID PRESSURE`, write the same MIDI notes as the sub or a simplified harmonic variation. This layer should carry the oldskool attitude:
- detune slightly
- add movement
- saturate into the upper mids
- remain rhythmically tight
A practical Ableton chain:
- Wavetable or Analog
- Auto Filter
- Saturator
- Echo very lightly, if needed for movement
- EQ Eight
- Utility
Suggested starting settings:
- Wavetable: saw/pulse mix or dual saw with mild detune
- Filter cutoff: around 180 Hz to 600 Hz depending on how much body you want
- Saturator: Drive between +2 dB and +6 dB, Soft Clip on if it helps
- Auto Filter LFO: very slow, subtle motion only, not wobble-city
- Utility width: 100% on the mid layer only if it sits above the sub and remains controlled
If you want more oldskool rave edge, automate the filter opening at the end of each 4-bar phrase. That “whoosh of pressure” can make the drop feel like a live system being pushed harder.
5. Resample the bass for character and commit to the sound
Advanced DnB production often improves when you stop endlessly tweaking synthesis and start resampling. Once your `MID PRESSURE` layer feels close, record it to audio:
- Create a new audio track called `BASS PRINT`
- Set input to resample or the bass group
- Record a few bars of the riff
Now you can:
- chop transients
- reverse small sections
- add fades
- process audio more aggressively than MIDI
Use Warp only if needed, and keep transients clean. You can apply:
- Saturator for density
- Drum Buss lightly for punch and low-end weight
- EQ Eight to clean muddy 150–300 Hz buildup
- Gate if you need tighter note tails between break fills
This is useful because resampling lets you create a more “finished” rave bass tone fast, and it often sounds more authentic than perfectly pristine synthesis.
6. Shape the groove around the breakbeat, not against it
Now bring in your main break or break hybrid. Whether you’re using a chopped Amen, a Think-style loop, or your own drum rack edits, the bass should support the break’s syncopation.
In Ableton Live 12:
- Use Drum Rack for sliced break hits
- Add Groove Pool swing if the break needs more human push
- Use Transient shaping with Drum Buss if the break needs more snap
- Apply EQ Eight on the break bus to reduce low-end conflict below roughly 80–120 Hz
Then test the bass phrase against the break:
- if the snare feels masked, shorten the sub note
- if the groove feels flat, move a bass response note later by a 16th
- if the break loses intensity, reduce mid-bass sustain and create more air
This is the key DnB principle: bass should create space for drum punctuation, not just fill every moment. The most effective oldskool pressure often comes from restraint.
7. Add call-and-response movement for drop energy
A strong rave bassline usually has a question-and-answer feel. In a 16-bar drop, try this structure:
- Bars 1–4: establish the core riff
- Bars 5–8: repeat with one altered response note or octave move
- Bars 9–12: strip back the mid layer for tension
- Bars 13–16: reintroduce full pressure and add a switch-up
In Ableton, automate:
- `MID PRESSURE` filter cutoff
- Saturator drive
- Utility width on the mid layer
- send level to a short Reverb or Delay return for just the last note of a phrase
Keep the sub mostly stable, but let the mid layer tell the story. A subtle rise in cutoff from 250 Hz to 1.2 kHz over four bars can create a convincing lift without needing a huge riser.
Musical context example: in a darker 174 BPM roller, your first four bars can be mostly one-note sub hits. On the eighth bar, you answer with a higher note or slightly shorter rhythm, then drop back into the pocket. That contrast makes the return feel heavy.
8. Use drum bus shaping and bass control to finish the low end
Group your drums into a `DRUM BUS` and lightly shape them so they sit with the bass instead of competing:
- Glue Compressor with 1–2 dB gain reduction
- Drum Buss with Drive at a modest setting
- EQ Eight to clear low mud if needed
On the bass group:
- keep a small amount of headroom
- use Utility on the `MID PRESSURE` layer to manage width
- use EQ Eight to notch harsh resonances in the 700 Hz to 2 kHz zone if the distortion gets nasal
A practical mix target:
- sub is dominant below ~90 Hz
- mid bass occupies the 150 Hz to 1.5 kHz range
- kick and snare have clear transient space
- master bus remains comfortably below clipping while writing
If the track feels too crowded, don’t immediately add more EQ cuts everywhere. First shorten note lengths, remove overlaps, and simplify the rhythm. In DnB, arrangement often fixes mix problems faster than processing.
Common Mistakes
Fix: keep the real sub mono with Utility and avoid stereo widening on anything below the low-mids.
Fix: shift notes so they answer the drum phrasing, especially around snare hits and ghost-note clusters.
Fix: split sub and mid. Distort the character layer more than the sub.
Fix: shorten MIDI note lengths and let the groove breathe.
Fix: check the bass group in mono regularly. If the weight disappears, the arrangement or stereo treatment is wrong.
Fix: keep modulation subtle below the low mids. Big movement belongs in the mid layer, not the true sub.
Fix: simplify. Oldskool pressure often comes from one strong idea repeated with small variations.
Pro Tips for Darker / Heavier DnB
Automate a tiny pitch drift or wavetable position change over 2–4 bars. Keep it restrained so it feels unstable rather than wobbly.
A first pass with Saturator, then resample, then a second gentle clip can create density without obvious fuzz.
Opening the mid bass filter for the last 1/8 or 1/4 note before a drop is a classic tension trick that still feels fresh in darker DnB.
Tiny offbeat notes can add menace, but if the break is already busy, they can clutter the pocket fast.
A very low send or a short filtered echo on the mid bass can create haunted movement in intros and switch-ups.
If needed, use Compressor or Auto Pan-style rhythmic shaping on the bass group to let the kick transient breathe. Keep it musical; don’t flatten the groove.
In darker DnB, a dry, almost rude bass repeat can hit harder than a heavily treated one. Contrast is power.
Mini Practice Exercise
Spend 10–20 minutes building a two-bar oldskool rave pressure loop at 174 BPM.
1. Create `SUB` and `MID PRESSURE` tracks inside a bass group.
2. Program a two-bar sub phrase with only 3–5 notes total.
3. Make the notes answer the breakbeat rather than the kick alone.
4. Add a mid layer with the same rhythm, then distort it lightly with Saturator.
5. Automate the mid filter cutoff across the second bar.
6. Chop your break so there’s one obvious gap where the bass can dominate.
7. Bounce the bass group to audio and listen in mono.
8. Make one edit only: either shorten a note, remove a note, or move a response note by a 16th.
Goal: get the loop to feel like a real drop starter, not just a sound design test.
Recap
The core playbook is simple but powerful:
If you want oldskool pressure in modern Ableton Live 12 DnB, the winning formula is not “more bass.” It’s better bass phrasing, better drum interaction, and better control of where the energy lives.

