Main tutorial
1. Lesson Overview
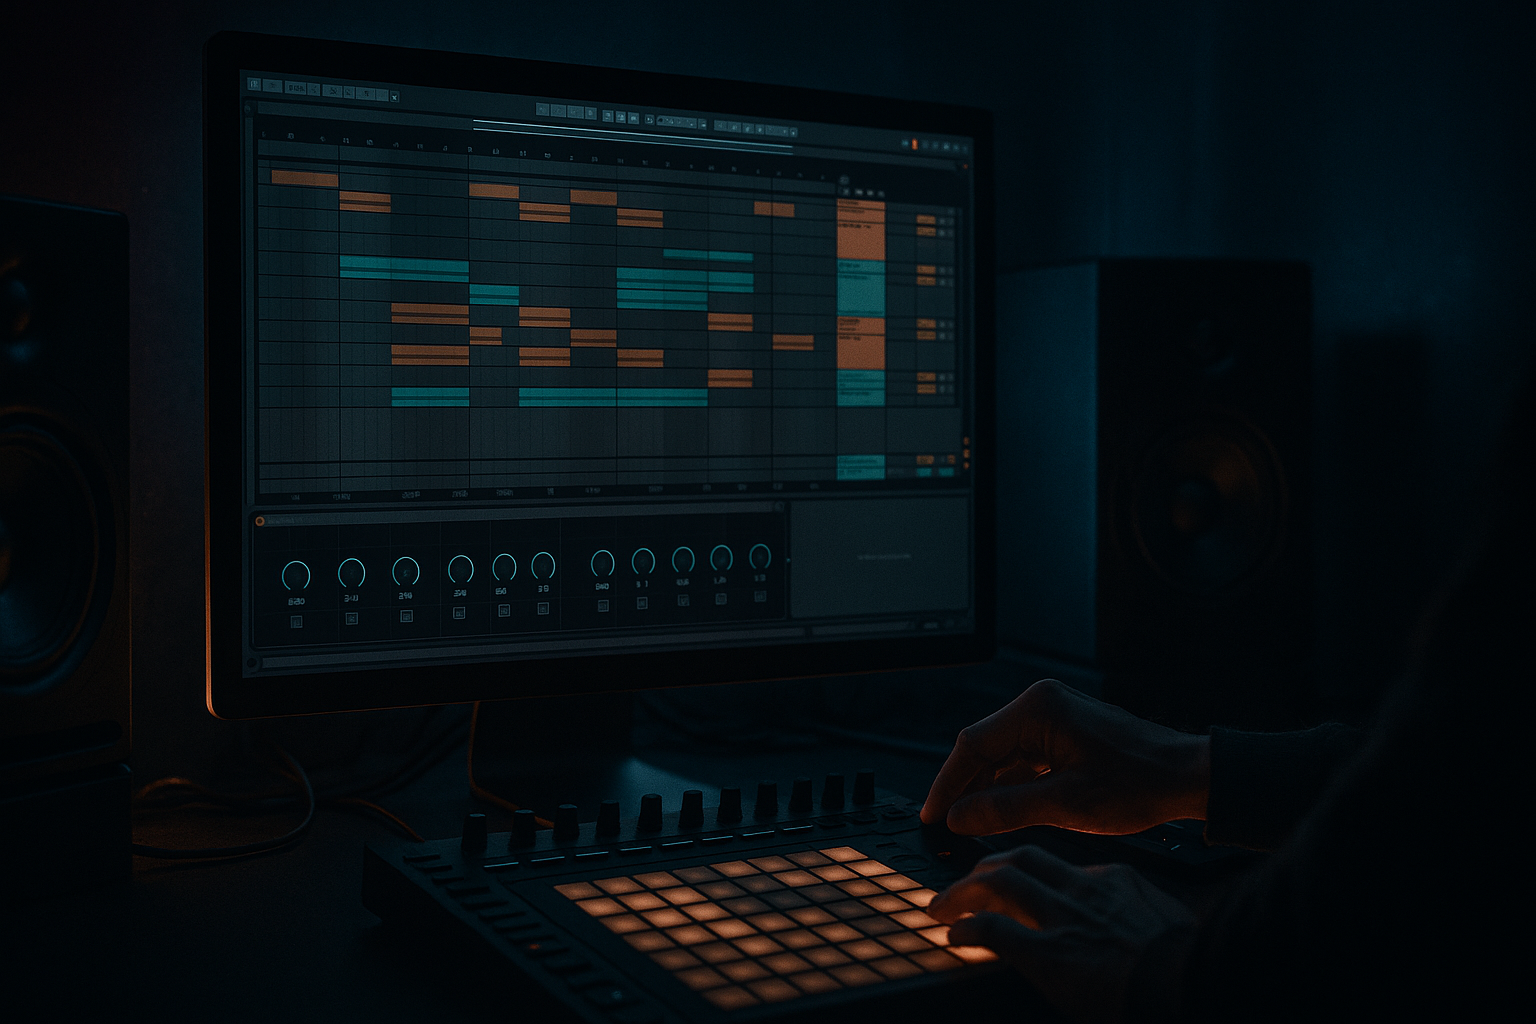
This lesson teaches the "Pirate Signal approach: a subsine workflow flip in Ableton Live 12" — a beginner-friendly mixing workflow that starts your Drum & Bass mix from a purpose-built subsine and then shapes the higher-frequency body and processing to sit around that sub. Instead of building a full bass patch and trying to carve space for the sub afterward, we flip the workflow: lock the sub first (mono, phase-correct, consistent level), then split and process the mid/high bass body with Ableton stock devices so everything fits cleanly in the low end.
2. What You Will Build
- A dedicated mono subsine track (clean and stable) using Operator or Wavetable.
- An audio-effects rack (stock devices) that splits bass into a sub chain and a body chain.
- A routing and sidechain setup so the kick and sub breathe together.
- A simple mixing chain using EQ Eight, Utility, Saturator, Compressor, Multiband Dynamics and Glue Compressor to integrate the subsine into a Drum & Bass context.
- Sub is mono (Utility Width 0).
- Sub low-pass cutoff ~80–120 Hz.
- Body high-pass cutoff matches low-pass.
- Body gets saturation/harmonic generation, sub remains clean.
- Sidechain/sub ducking to kick is set up.
- Monitor with Spectrum and check mono compatibility.
- Treating the sub and body as the same track: don’t put saturation on the subsine chain—this pollutes the sub.
- Cutting sub frequencies out of the body too aggressively and losing presence; maintain enough body energy above 120 Hz.
- Making the sub stereo (Utility Width >0) — causes phase issues and loss on club systems.
- Over-compressing the sub bus — crushing dynamics kills DnB groove.
- Not tuning the subsine to the track key — an out-of-tune sub feels muddy and unstable.
- Setting sidechain attack too long so the sub is cut unnaturally; keep attack short for a clean duck.
- Use 60–90 Hz as your target energy zone for DnB subs; adjust by genre and club systems.
- If your sub is audible on cheap speakers but too loud on club systems, use a small multiband compressor to tame the lowest octave rather than a full-band limiter.
- Automate the Sub / Body Balance Macro for drops vs fills to emphasize subs in breakdowns and body in heavier sections.
- For phase-safe layering with sampled bass hits, invert phase (Utility > Phase L/R) temporarily to debug cancellations.
- Use a short transient clipper only on the Body chain to preserve punch without affecting sub fundamentals.
- Save this Audio Effects Rack as a template named "PirateSignal_SubFlip" so you can reuse the exact split and macros in future projects.
3. Step-by-Step Walkthrough
Important: The walkthrough uses the exact topic name: Pirate Signal approach: a subsine workflow flip in Ableton Live 12
Preparation
1. Create a new Live set and import a Drum & Bass kick + hat loop (or use stock Drum Rack clips). Set tempo ~174 BPM.
2. Add a new MIDI track and load Operator (or Wavetable) for your subsine generator.
Make the subsine
3. In Operator: set oscillator A to a pure sine wave (no detune, no additional oscillators active). In Wavetable: choose a pure sine partial table or simple sine preset.
4. Tune the oscillator to the root note of your track. Keep the envelope sustain full, decay long enough for the note length (for continuous subs use sustained MIDI notes in the bassline).
5. Set global voices to 1 (mono) and enable portamento/legato if you want slides; keep it simple for now.
Clean up the low end
6. Insert Utility (stock) after Operator. Set Width to 0% — this mono-izes the sub below so it sits centered in the mix. This is key to the Pirate Signal approach: a stable center sub.
7. Add EQ Eight after Utility. Use a low-pass (select Filter Type 1, low-pass) at ~120 Hz with a gentle slope (12 dB/oct) to ensure only the intended sub region lives here. Label this chain "Sub - Mono".
Create a split rack for Sub vs Body
8. Group the Operator track effects into an Audio Effects Rack (Cmd/Ctrl+G on the device chain) and create two chains inside the rack:
- Chain A: Sub - put the Utility (Width 0) + EQ Eight low-pass here.
- Chain B: Body - duplicate the original chain and place an EQ Eight high-pass at ~120 Hz (12 dB/oct) so this chain contains everything above the sub region.
9. In the rack, use a single Macro to control the gain balance between Sub and Body: map the Chain volumes and label the Macro "Sub / Body Balance".
Process the body chain (mid/high harmonics)
10. On the Body chain: add Saturator (Soft Sine) with Drive 2–4 dB to create harmonic content that will be audible above the subs. Follow with EQ Eight to notch out any frequencies that clash with the kick (e.g., 200–300 Hz muddy bump).
11. If you want more movement, add Multiband Dynamics lightly to tighten the low-mid region (set Low band threshold subtle and reduce gain on transients).
Routing and sidechain (kick & sub breathing)
12. Create a Kick track and on the Sub track add a Compressor. Enable Sidechain input and select the Kick. Use fast attack (1–5 ms), medium release (50–150 ms), ratio 4:1, and threshold so you get a 2–4 dB dip on kick hits. This ensures the subsine ducks for the kick — a key DnB mixing move within the Pirate Signal approach: a subsine workflow flip in Ableton Live 12.
13. Alternatively for tighter control, use a dedicated Compressor on the Sub chain only and leave the Body chain less ducked or compressed differently.
Monitoring and measurement
14. Place Spectrum at the end of the bass track chain (stock device) and set the display to show 20–200 Hz range. Aim for clear energy concentrated under ~80 Hz with no visible phase smear or sudden peaks that clip the master.
15. Put Utility on the master during checks and toggle Width to ensure the sub’s mono compatibility and that the body still has stereo interest.
Glue and bus processing
16. Create a Bass Group: route the subsine track and any mid/high bass tracks into a Group Track (Cmd/Ctrl+G). Add Glue Compressor set for gentle 1–2 dB gain reduction, and a final EQ Eight to roll off below 30 Hz to remove inaudible rumble.
17. Use Limiter sparingly only if needed on the master bus.
Quick checklist for the Pirate Signal approach: a subsine workflow flip in Ableton Live 12
4. Common Mistakes
5. Pro Tips
6. Mini Practice Exercise
Goal: Build an 8-bar Drum & Bass loop demonstrating the Pirate Signal approach: a subsine workflow flip in Ableton Live 12.
Steps:
1. Create a kick and a simple drum loop (hats + snare) at 174 BPM.
2. Make a subsine MIDI track with Operator, one sustained note per bar following your root note.
3. Build the Audio Effects Rack as described (Sub & Body chains, 120 Hz split).
4. Add Saturator on the Body, Utility Width 0 on Sub, and sidechain compressor from kick to sub.
5. Balance Sub and Body using the Macro. Export or bounce the 8-bar loop and listen on headphones, small monitors, and phone to check translation.
Objective: The sub should remain centered and steady, the body should provide audible texture without interfering with the kick, and the kick + sub should not collide.
7. Recap
This lesson demonstrated the Pirate Signal approach: a subsine workflow flip in Ableton Live 12 — a beginner-friendly mixing workflow that begins with a stable, mono subsine and then builds/Processes the higher-body elements around it using Ableton stock devices (Operator/Wavetable, Utility, EQ Eight, Saturator, Compressor, Multiband Dynamics, Spectrum, Glue Compressor). The core advantages are cleaner low-end, better mono compatibility, easier kick-sub relationship, and faster mixing decisions. Practice the mini exercise and save the rack as a template to make this flip your default bass-mixing workflow.

