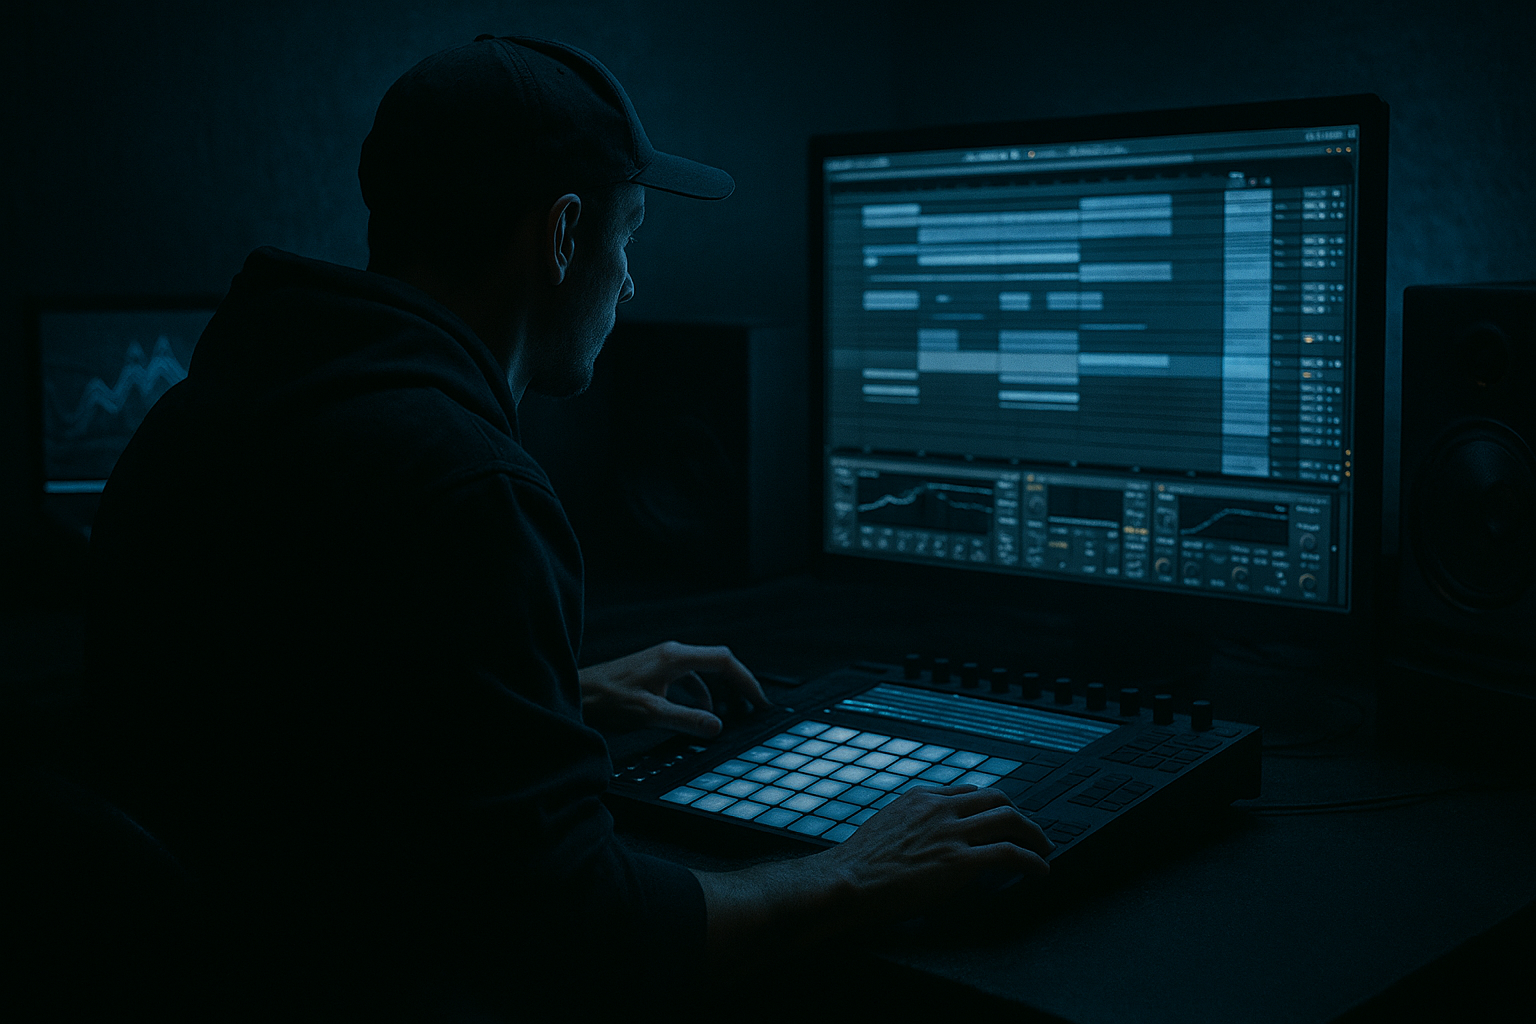
Main tutorial
Lesson Overview
A Pirate Signal think-break switchup is one of those DnB arrangement tricks that instantly makes a track feel smarter, dirtier, and more “real” on the dancefloor. The idea is simple: you take a recognisable break or think-style drum moment, then flip it halfway through the phrase so the listener feels a jolt of energy without losing the groove.
In Drum & Bass, this kind of switchup is gold because it gives you:
- a fresh second-half phrase before the drop repeats too predictably
- a chance to reintroduce tension right after a bass statement
- a way to make sampled drums feel intentional instead of looped
- a strong bridge between classic jungle energy and modern roller/neuro weight
- First half: a gritty break-driven groove with strong swing and forward motion
- Second half: a sharper, more chopped “think-break” response with stutters, reverses, and ghost-note detail
- Bass support: a simple sub/reese phrase that leaves space for the drums, then answers the switchup with a short call-and-response stab
- FX movement: filtered noise, short uplifters, tape-stop-style tension, and a clean reset into the next phrase
- Arrangement shape: a DJ-friendly 8-bar idea that can sit before a drop, between drop sections, or as a breakdown-to-drop transition
- bars 1–4: a moody drum loop with low-mid crack and rolling momentum
- bar 5: a clear switch moment
- bars 5–8: a chopped, more aggressive re-entry with edited break hits and bass punctuation
- a solid kick/snare backbone
- small hat chatter
- room tone or texture between hits
- 170–174 BPM for modern rollers and darker club pressure
- 165–168 BPM if you want a slightly looser jungle feel
- For tight, modern switchups, try Beats mode
- Set transient preservation around 60–80 for punchy, snappy breaks
- If the break is more washed or atmospheric, use Complex Pro lightly, but avoid over-smearing the attack
- Transient for a natural break chop workflow
- Warp Markers if you already placed clean timing points
- 1/16 if you want a more deliberate, quantised grid-based edit session
- put the main snare on the backbeat
- place kick fragments to reinforce the original break feel
- add a couple of ghost snares or hat ticks just before the snare
- Drum Rack for the slices
- Simpler inside each pad if you need to adjust start/end or loop points
- Utility on the Drum Rack for mono checking if the break has stereo room noise you don’t want dominating
- main snare stays strong and consistent
- hats alternate between full and chopped hits
- use a few note repeats on the same slice for urgency
- leave small gaps so the groove breathes
- duplicate one snare slice and nudge it a few milliseconds early for a subtle push
- pitch one ghost hit down -2 to -5 semitones for a darker, heavier accent
- reduce the velocity of ghost notes to around 35–70 so they sit behind the main hits
- try a 55–58% swing feel from a funkier break groove
- apply only lightly to avoid turning the pattern sloppy
- cut the last hit of bar 4 slightly short
- add a reverse slice or reversed cymbal tail into bar 5
- replace one strong snare with a chopped fill: e.g. two 1/16 hits followed by a rest
- automate an Auto Filter on the break bus
- start bar 4 with a low-pass around 8–12 kHz if the top is busy
- open the filter sharply at bar 5, then duck it slightly again if you want a “blink-and-you-miss-it” impact
- use a short bass stab, sub drop, or distorted reese hit
- keep it brief — think one beat, not a full phrase
- Sub: Operator or simpler sine wave, mono, clean
- Reese/mid bass: Wavetable, Operator, or a resampled bass layer with movement
- keep it mono using Utility
- high-pass nothing on the sub itself
- keep notes short and aligned to the kick/snare conversation
- use a detuned saw or resampled reese with Saturator or Overdrive
- try Auto Filter with slow movement or envelope modulation
- keep the low end out of this layer with a high-pass around 90–140 Hz
- Saturator Drive: start around 3–6 dB for controlled grit
- Auto Filter resonance: keep moderate, around 0.20–0.45, so movement stays musical and not whistly
- bass hits on bar 1 and bar 3
- drums dominate bar 2 and bar 4
- after the switch, let the bass answer the new break pattern with a short stab or glide
- route the break/bass bus to it
- record a clean pass of 4–8 bars
- capture both the groove and the transient interactions
- drag the recording back into Simpler
- slice on transients again
- create new fills, reverses, or stuttered fragments
- reduce sample rate just enough for edge, not full destruction
- keep the effect subtle so it adds bite rather than digital mush
- Glue Compressor with gentle gain reduction, around 1–3 dB
- Drum Buss for transient focus and density
- EQ Eight to clean up low-mid buildup around 200–400 Hz
- Drive: low to moderate, around 5–15%
- Crunch: just enough to thicken the snare and hats
- Boom: use carefully, or keep it off if the sub bass already owns the low end
- Auto Filter cutoff on the break bus
- Reverb send for the last snare or reverse tail
- Delay send on a single hat or vocal chop
- Utility gain for tiny dropouts before the switch
- Reverb Freeze moment on a selected hit if you want a tension cloud
- pull the drum bus down by 1–2 dB for one beat before the switch
- hit a reverse cymbal into the new phrase
- reopen the bass filter or bring back the sub exactly on the downbeat
- Over-slicing the break
- Letting the sub fight the break
- Making the switchup too busy
- Using too much reverb on drums
- Ignoring the second half of the phrase
- No contrast in tone
- Resample through saturation stages
- Use mono discipline aggressively
- Add controlled grime in the 300–900 Hz range
- Create tension with near-silence
- Pair the switchup with a bass phrase reset
- Use transient shaping instead of brute force compression
- Make the second half darker than the first
- a well-chosen break sample
- clean slicing and groove editing in Ableton Live 12
- a clear first-half/second-half contrast
- simple, disciplined bass support
- automation that creates tension and release
- bus processing that glues without flattening
In this lesson, you’ll build a Pirate Signal-style think-break switchup in Ableton Live 12 using stock tools only: break sampling, slicing, drum editing, resampling, saturation, routing, automation, and arrangement. The result will be a tight 8-bar DnB switchup you can drop into an intro, a pre-drop section, or a mid-track reset. 🔥
Why this matters: in darker DnB, your drums and bass often repeat in long phrases. A well-designed switchup keeps the track moving while preserving the low-end pressure. It’s not about random fills — it’s about controlled disruption.
What You Will Build
By the end of this lesson, you’ll have a two-part think-break switchup in Ableton Live 12 that feels like a Pirate Signal-style edit:
Musically, this will feel like:
Think jungle DNA with modern roller discipline.
Step-by-Step Walkthrough
1) Pick the right source material and set the tempo first
Start with a break that has strong midrange character and enough ghost detail to edit. Good candidates are classic break-style samples, dusty drum loops, or your own recorded one-bar drum performance. You want something with:
Set your project tempo to a DnB range that fits your track concept:
Drop the break into audio, then use Warp carefully:
Why this works in DnB: fast tempos expose sloppy timing immediately. A clean, well-warped break gives you the clarity needed for precise edits and strong low-end separation.
2) Slice the break into playable pieces
Right-click the break and choose Slice to New MIDI Track. This is where the sampling workflow becomes fast and creative.
Use slicing by:
Once sliced, you’ll have a Drum Rack with individual break hits. Now build a simple 2-bar groove first:
For intermediate-level control, don’t over-edit yet. Keep the first pass close to the source so the break retains its personality.
Useful stock devices here:
3) Shape the first half into a “think” groove
Now turn the sliced break into a think-style roll. The goal is movement, not density for its own sake.
Program the first 2 bars using a repeatable pattern:
Try these practical moves:
Add Groove Pool swing if needed:
Why this works in DnB: think-break switchups rely on micro-variation. The listener recognises the loop, but the small rhythmic changes keep tension alive and stop the phrase from sounding copied-and-pasted.
4) Build the “Pirate Signal” switch moment in bar 5
The switchup needs a clear identity change. Bar 5 should feel like the floor drops a gear, then snaps into a new angle.
Create the switch using three elements:
1. Break edit change
2. Filter/tone change
3. A short bass response or FX punctuation
For the break:
For tone:
For the punctuation:
A good arrangement example: in a 16-bar intro, bars 9–12 can establish the break groove, bar 13 can be the switch, and bars 13–16 can answer with heavier bass movement before the drop.
5) Add a bass layer that leaves room for the drums
A switchup falls apart if the bass crowds the break. Keep the bass simple and intentional.
Create two bass elements:
For the sub:
For the mid bass:
Two useful parameter suggestions:
Use call-and-response:
6) Resample the groove for more character
This is where the sampling lesson gets more interesting. Once the edited break and bass idea are working, resample them together to create a unique switchup texture.
Set up a new audio track and:
Now you can chop the resampled audio:
This gives you more control over the exact shape of the switchup. It’s especially useful for darker DnB because you can pull out one-shot moments with character instead of depending on a loop to do all the work.
Try adding Redux lightly if the resample feels too clean:
7) Use bus processing to glue the drums without flattening them
Route your break chops to a Drum Bus and process there. This is where the switchup starts to feel like one record instead of multiple samples.
On the drum bus, try:
Suggested Drum Buss settings:
If the snare loses impact, back off the compression and let the transient breathe. The switchup should hit hard, not collapse into a flat wall.
8) Automate the transition so the switchup feels engineered, not random
The best switchups are arranged, not merely programmed. Use automation to shape the listener’s attention.
Useful automation targets:
A strong DnB transition move:
Keep it tight. In club DnB, too much FX wash can blur the groove. Your automation should feel like a controlled edit, not a breakdown.
Common Mistakes
- Fix: keep enough original feel intact. If every hit is different, the groove loses identity.
- Fix: mono the sub, shorten notes, and clear low-mid space in the drum bus.
- Fix: the bar-5 switch should simplify one thing while changing another. For example, fewer hats but a more aggressive snare fill.
- Fix: keep ambience short and selective. Use sends for specific hits, not the entire break.
- Fix: build a real answer after the switch, not just a one-bar fill. The listener should feel a new section, even if it’s only 4 bars long.
- Fix: automate filtering or layering so the switchup has a different colour from the first half.
Pro Tips for Darker / Heavier DnB
- Print your break through Saturator, then resample again. Two subtle passes often sound heavier than one extreme setting.
- Keep sub and kick centered. Let only the upper drum texture and atmospheres spread wide.
- This is where a lot of “body” lives in darker breaks and basses. Use EQ Eight and saturation carefully to enhance, not clutter.
- Drop out a hat pattern for half a bar before the switch. The space makes the next hit feel bigger.
- Even a 1-note bass reply can make the switch feel intentional and track-like.
- Drum Buss can make the switch hit harder without destroying the sample’s character.
- Filter the break slightly lower after the switch, or replace one airy top layer with a more mid-heavy chop. That tonal descent adds underground weight.
Mini Practice Exercise
Spend 10–20 minutes making one 8-bar switchup:
1. Choose one break sample and warp it cleanly.
2. Slice it to a Drum Rack.
3. Program a 2-bar groove that repeats twice.
4. On bar 5, change the rhythm using one fill, one reverse, and one missing hit.
5. Add a mono sub line with only 2–4 notes across the full 8 bars.
6. Create one bass stab that answers the switchup on bar 5 or 6.
7. Put Auto Filter on the drum bus and automate a quick open on the switch.
8. Bounce the result to audio and listen back once in mono.
9. Ask: does the second half feel like a proper answer, or just a fill?
Goal: finish with one usable switchup that could sit in a real DnB arrangement.
Recap
A strong Pirate Signal-style think-break switchup is built from:
The key lesson: in DnB, the switchup works because it changes the energy without breaking the dancefloor momentum. Keep it tight, keep it dark, and let the drums and bass talk to each other.

