Main tutorial
Lesson Overview
In this lesson, you’ll build a classic Pirate Radio-style reese bass for oldskool jungle / DnB, but with a modern Ableton Live 12 workflow: bouncy low-end movement, crisp transients, and dusty mids that feel rough, immediate, and speaker-rattling. This is the kind of bass you hear in rewinds, tape-sounding intro sections, and those raw first-drop moments where the bassline needs to feel alive without getting messy.
This technique matters because in DnB, the bass is not just “big” — it has to groove with the drums, leave space for the kick and snare, and still carry attitude on small systems. A good Pirate Radio reese usually has:
- a strong mono sub
- a midrange layer with movement
- a clean attack or transient
- a slightly dusty, degraded texture
- enough control to work in a club, on headphones, and on a laptop speaker
- a wide, snarling reese mid layer
- a tight mono sub underneath
- crisp note attacks that help the bass cut through breaks
- a dusty, slightly overdriven midrange that feels vintage and worn-in
- an 8-bar loop with a simple, hypnotic DnB phrase
- a version that can sit under a breakbeat and oldskool snare pattern without fighting the drums
- 1 MIDI track for bass
- 1 Drum Rack track or audio track for breaks
- optional return track with Reverb or Delay for atmosphere
- root note repeated with a small jump up a 4th or 5th
- a call-and-response pattern with one lower note and one higher note
- syncopated notes that leave space for the snare and break
- F1, F1, C2, Eb2, F1
- or F1, Ab1, F1, C2
- Oscillator 1: a saw wave
- Oscillator 2: another saw wave
- Detune slightly between the oscillators: around 5–12 cents
- Unison: 2 to 4 voices, not too many
- Reduce the level if it gets too wide or blurry
- On one oscillator, slightly shift the wavetable position or use a different wavetable with a similar saw-ish shape.
- Add a touch of LFO to the wavetable position or filter cutoff.
- Keep the movement subtle: think slow wobble, not dubstep wobble.
- Filter type: Low-pass
- Cutoff: around 150–400 Hz to start, then open it if needed
- Resonance: low to moderate, around 5–20%
- LFO rate: 1/4 to 1 bar if you want slow evolution
- Oscillator A: Sine
- Turn off other oscillators
- Keep it mono
- Set the amplitude envelope with a short attack and controlled release
- Attack: 0–5 ms
- Decay: short or off
- Sustain: full
- Release: 80–150 ms
- Width: 0% for mono
- Lower volume so it supports, not dominates
- Saturator
- Auto Filter
- Compressor or Drum Buss if the attack needs more punch
- Drive: 2 to 6 dB
- Soft Clip: On
- If it gets too harsh, reduce Drive slightly
- Filter type: Low-pass or Band-pass
- Use a small envelope or automation to open the filter on accented notes
- A tiny cutoff move can make the notes feel more animated
- In the clip envelope or note velocity, make accented notes louder
- Keep ghost notes lower
- Shorten note lengths slightly so the bass has a defined start and release
- Saturator
- Drum Buss
- or a subtle Redux if you want lo-fi edge
- Put Drum Buss after Saturator
- Keep Drive modest: around 5 to 15%
- Use Boom carefully or leave it off at first
- If transient punch is needed, use the Transient control a little above zero
- Cut unnecessary low mids around 200–400 Hz if the sound gets boxy
- Tame harshness around 2–5 kHz if the bite becomes painful
- High-pass the reese layer very gently if it’s fighting the sub, but don’t remove its body
- On EQ Eight, try a small dip of 2–4 dB around 300 Hz
- Try a broader dip of 1–3 dB around 3 kHz if the top edge is too aggressive
- Use Utility
- Keep the sub frequencies mono
- If the patch is too wide, reduce width slightly
- Put Utility before or after your effects
- If the sound is too spread out, reduce width to around 70–90%
- For the sub track, keep width at 0%
- one sub/mid-low mono layer
- one mid-only width layer
- put notes around the gaps in the break
- avoid fighting the snare
- let some notes answer the drums rather than sit on top of them
- bars 1–2: simple two-note motif
- bars 3–4: repeat with one note changed
- bars 5–6: add a higher pickup note
- bars 7–8: leave more space before the loop resets
- automate filter cutoff slightly on the first note of each 2-bar phrase
- automate reverb send very lightly for one tail note if you want atmosphere
- automate saturation drive a tiny amount during a switch-up
- Intro: filtered bass hint, no full sub yet
- Drop: full reese + sub
- Mid section: slightly simplified bassline or a call-and-response break
- Outro: remove some low end so another track can mix in cleanly
- low-pass filter opening over 8 or 16 bars
- bass entering in pieces: first mids, then sub, then full rhythm
- kick/snare/break and bass in tight synchronization
- leave 1-bar or 2-bar spaces for impact
- lower the bass until the kick and snare feel clear
- then bring it back until the bass feels powerful but not swampy
- use EQ Eight on the break if the low end is stepping on the sub
- high-pass the break if needed
- cut a little low-mid mud on the drum bus
- use Compressor or Drum Buss lightly on the drum bus for glue
- Making the reese too wide
- Using too much distortion
- Letting the sub and reese fight
- Too many notes
- No transient definition
- Ignoring the break
- Bad low-end monitoring
- Use subtle pitch movement
- Try call-and-response riffs
- Automate filter cuts on phrase endings
- Add a touch of noise for dusty attack
- Use Drum Buss on the bass bus, not the sub
- Make the intro mixable
- Reference oldskool jungle and darker rollers
- build the reese mids with detuned saws and subtle motion
- keep the sub separate and mono
- shape crisp transients with note lengths, velocity, and gentle saturation
- add dusty midrange grit without ruining clarity
- write the bass around the breakbeat and snare
- arrange it like a DJ tool with clean intro/drop/outro energy
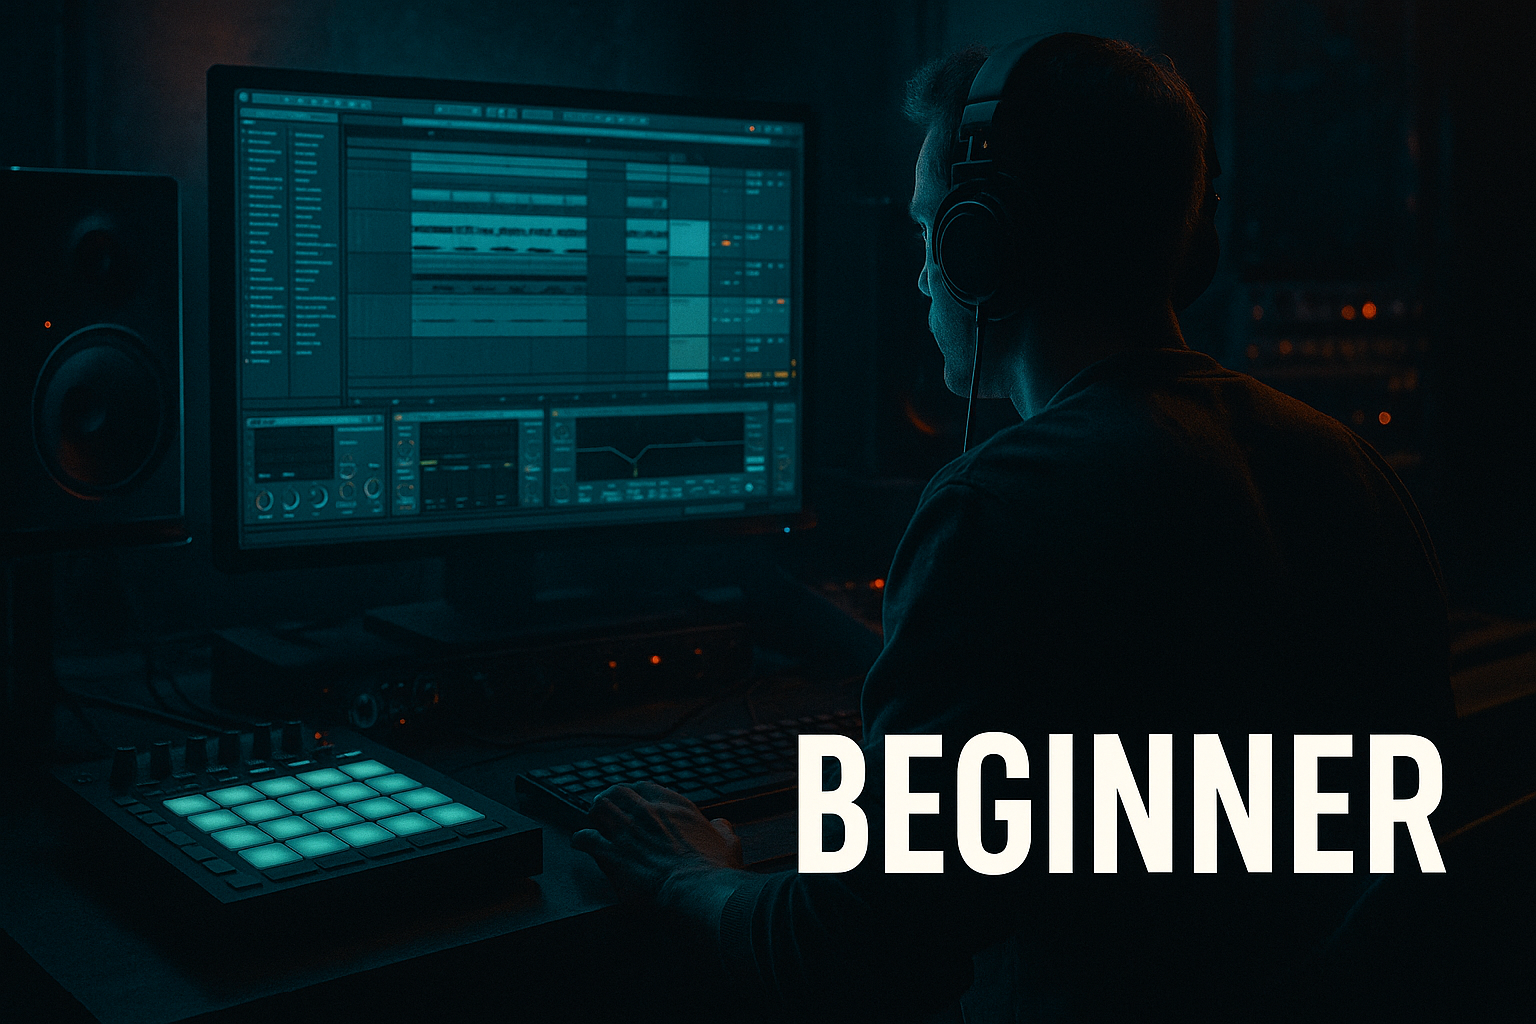
We’ll keep this beginner-friendly and use mostly Ableton stock devices: Wavetable, Operator, Saturator, Auto Filter, EQ Eight, Drum Buss, Compressor, Utility, and Reverb/Delay if needed. We’ll also think like DnB arrangers: making a bass that works in a DJ-friendly intro, drop, and switch-up.
Why this works in DnB: oldskool jungle and pirate radio basslines often rely on simple riffs, strong rhythmic placement, and character-heavy sound design rather than huge complexity. A reese patch with the right bounce gives you that rolling pressure while the dusty mids add the “from the tape / from the warehouse / from the pirate broadcast” vibe.
What You Will Build
By the end, you’ll have a bass sound and loop that feels like:
Musically, this could fit a track around 170 BPM, in a dark minor key like F minor or G minor, with a half-time-feeling bass motif that locks to a break and a snare on 2 and 4. It’ll work in a classic jungle drop, a rollers section, or a darker intro that needs to open into a DJ-friendly mixdown.
Step-by-Step Walkthrough
1) Start with a simple DnB session setup
Open a new Ableton Live 12 project and set the tempo to 170 BPM. This is a comfortable oldskool/jungle starting point. Create:
For the bass MIDI track, drop in Wavetable first. If you prefer a more classic synth feel, Operator also works, but Wavetable gives you quick movement with simple controls.
Before sound design, create a short MIDI clip of 2 bars with just 3–5 notes. Keep the riff simple. Good beginner pattern ideas:
Example phrasing in F minor:
Why keep it simple? In DnB, especially jungle and pirate radio styles, the groove often comes from timing, articulation, and tone, not complex note writing.
2) Build the reese core in Wavetable
Load Wavetable on the MIDI track. Start with a basic patch and make it dirty and moving.
Suggested starting point:
Now add movement:
Suggested settings:
If the reese gets too bright or too sharp, lower the filter or soften the oscillator levels. The goal is a gritty midrange growl, not a glassy supersaw.
3) Add a dedicated sub layer for weight
A reese alone usually won’t give you enough foundation for DnB. Add a second MIDI track with Operator for the sub.
Set Operator:
Suggested envelope:
Play the same MIDI notes as the reese, but make sure the sub stays simple and steady. In DnB, the sub should feel like the floor underneath the dance. It should not compete with the reese mids.
Add Utility on the sub track:
Why this works in DnB: the sub gives you the physical weight needed in a club or on a sound system, while the reese handles movement and character in the mids. Splitting them keeps the mix cleaner and lets you process each one differently.
4) Shape the attack so the bass punches through the break
Now make the bass feel more “snappy” at the front of each note. This is the part that helps the sound sit with oldskool drums and makes it feel more “played.”
On the reese track, insert Amp or Saturator before heavier effects if needed. But for a beginner-friendly workflow, use:
Try this chain on the reese:
1. Saturator
2. Auto Filter
3. EQ Eight
Saturator settings:
Auto Filter settings:
For crisp transients, use volume shaping in the MIDI clip:
This is a huge part of the bounce. In DnB, crisp transients help the bass lock to the drums instead of smearing over them.
5) Dirty up the mids without wrecking the mix
Now make the reese feel dusty and oldskool. This is where the pirate radio vibe really comes alive.
Add a bit of controlled grit using:
Beginner-safe approach:
Then use EQ Eight:
A good target is to let the reese own the mid-bass character zone while the sub owns the deep lows.
Parameter suggestion:
You want “dusty mids,” not fuzzy mush. Think worn tape, overdriven mixer, compact speaker energy — but still clear enough to read the riff.
6) Control stereo width and keep the low end mono
In DnB, stereo discipline is non-negotiable. Wide bass sounds cool until it destroys your low-end power.
On the reese track:
Practical approach:
If you want extra control, split the reese into two layers:
Beginner version: keep one bass patch, but use EQ and Utility to protect the low end.
Also check your mix in mono occasionally by collapsing the width or using Utility on the master temporarily. If the bass disappears, the patch is too dependent on stereo phase tricks.
7) Make the bounce with note placement and micro-automation
Now we make the “Pirate Radio bounce.” This is less about sound design and more about how the bassline moves against the drums.
Create an 8-bar loop using a simple rhythm:
Good oldskool phrasing example:
Add automation for life:
Keep automation subtle. In DnB, small moves are often enough to make the loop feel like it’s breathing.
8) Place the bass with the drums like a DJ tool
Because this is under DJ Tools, think about how the sound helps transitions and mixing. A Pirate Radio bass patch should be useful in a track intro, a drop, and a mix-out.
Build a simple arrangement:
For the intro, you can automate:
For the drop, let the bass hit with the drums:
This is what makes it DJ-friendly: the track has clean entry and exit points and the bassline doesn’t clutter the arrangement. Oldskool DnB often works because it feels ready to be mixed by a selector.
9) Balance the bass against the break
Drop your breakbeat in and listen to how it interacts with the bass. Use a classic break or a sliced amen-style loop if you like, but keep the focus on the bassline balance.
Basic mixing check:
Helpful moves:
A practical rule: if the break and bass both feel huge but unclear, the problem is usually not “more volume” — it’s too much low-mid overlap.
Common Mistakes
- Fix: reduce width, keep sub mono, and avoid huge unison counts on the main bass.
- Fix: use smaller Saturator/Drum Buss amounts and EQ out harsh zones after saturation.
- Fix: keep the sub on a separate track, mono, with a sine wave only.
- Fix: simplify the MIDI pattern. In jungle and rollers, space is part of the groove.
- Fix: tighten note lengths, use velocity accents, and add mild saturation for front-edge clarity.
- Fix: write the bass around the drum loop, not on top of it. The bass should answer the drums.
- Fix: check in mono and at low volume. If the bass vanishes quietly, the core may be too weak.
Pro Tips for Darker / Heavier DnB
- A tiny pitch LFO or very slight wavetable movement can make the reese feel unstable and alive without sounding wobbly.
- One short note phrase, then a gap, then a reply. This works great in dark roller sections and makes the bass feel more intentional.
- A quick low-pass dip at the end of 2 or 4 bars can create tension before the next hit.
- In Wavetable, a low-level noise layer can help the bass feel more like worn circuitry or tape grit.
- Keep the sub clean. Let the mids get the attitude.
- Start with filtered mids only, then bring in the sub on the drop. That gives you classic DJ-tool arrangement behavior.
- Listen for how often the bass leaves space for snares and breaks. The best lines are usually simpler than they first sound.
Mini Practice Exercise
Set a timer for 15 minutes and do this:
1. Create a new 170 BPM project.
2. Program a 2-bar MIDI bass riff in F minor using only 4 notes.
3. Build a reese in Wavetable with two detuned saws.
4. Add a sine sub in Operator on a separate track.
5. Put Saturator and EQ Eight on the reese.
6. Make the reese slightly dusty with mild Drive and a small EQ dip around the muddy low-mids.
7. Add Utility to keep the sub mono.
8. Loop a breakbeat and adjust the bass notes so they sit around the snare.
9. Automate the reese filter opening over 8 bars.
10. Export a rough bounce and listen on headphones at low volume.
Goal: by the end, your loop should feel like a rough pirate radio fragment — not polished, but powerful, clear, and playable.
Recap
The core idea is simple:
If you get the balance right, you’ll have a bass patch that instantly feels like oldskool jungle pirate radio but still works in a modern Ableton Live 12 session.

