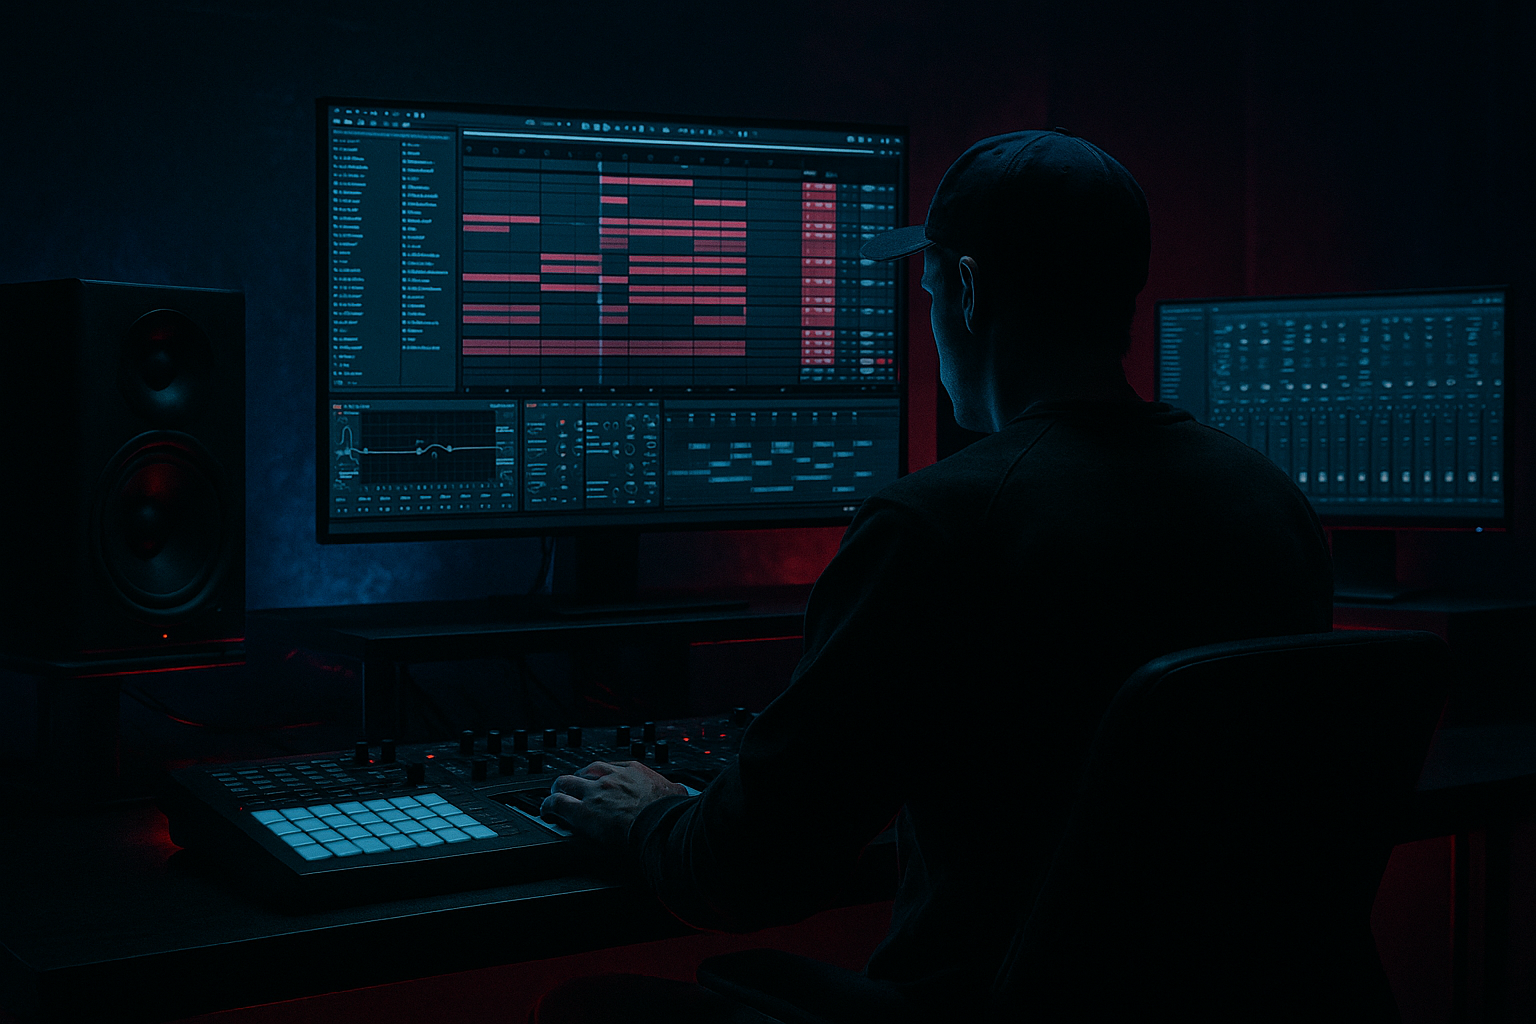
DNB COLLEGE

Drum & Bass Ableton Live 12 Tutorials

LESSON DETAIL

Pirate Radio jungle riser: transform and arrange in Ableton Live 12 (Beginner)

An AI-generated beginner Ableton lesson focused on Pirate Radio jungle riser: transform and arrange in Ableton Live 12 in the Edits area of drum and bass production.

Back to lessons
Pirate Radio jungle riser: transform and arrange in Ableton Live 12 (Beginner) cover image

Narrated lesson audio

The voice track includes the tutorial plus extra teacher commentary.

Open audio file

Main tutorial

```markdown

Pirate Radio Jungle Riser: Transform and Arrange in Ableton Live 12

1. Lesson overview

In this lesson, you’ll build a pirate radio-style jungle riser inside Ableton Live 12 and then arrange it so it works like a proper DnB transition edit. This is the kind of FX move that helps you slam from a breakdown into a drop with urgency, attitude, and that grimy old-school jungle energy 📻⚡

We’ll focus on:

  • turning a simple audio sample into a rising transition effect
  • using stock Ableton devices to stretch, filter, pitch, and destabilize the sound
  • arranging the riser so it feels musical in a drum and bass context
  • adding movement, tension, and impact without overcomplicating the process
  • This is beginner-friendly, but the result will sound properly usable in a real DnB project.

    ---

    2. What you will build

    You’ll create a 4- or 8-bar riser that sounds like:

  • a pirate radio vocal / signal / jungle FX snippet
  • gradually rising in pitch and intensity
  • getting filtered, widened, and more chaotic as it approaches the drop
  • ending in a hard impact, drum fill, or reverse crash to launch the next section
  • Typical use in a DnB arrangement

    You can place this:

  • at the end of an 8-bar breakdown
  • before a drop
  • between two drum patterns
  • under a vocal chop section
  • as a transition into a half-time breakdown or jungle switch-up
  • ---

    3. Step-by-step walkthrough

    Step 1: Choose the right source sound

    Start with one audio clip. Good options include:

  • a pirate radio voice snippet
  • a jungle stab or old rave vocal
  • a static/noise recording
  • a short amen chop
  • a synth hit or atmospheric texture
  • If you don’t have a pirate radio sample, you can fake the vibe using:

  • a vocal word or phrase
  • white noise
  • a radio-style filtered loop
  • a chopped break hit with noise layered on top
  • #### Good sample characteristics

    Pick something:

  • short and punchy
  • slightly gritty or lo-fi
  • easy to hear once processed
  • not too busy in the low end
  • Step 2: Warp the audio correctly

    Drag the sample into an Audio Track.

    In Live 12:

    1. Double-click the clip

    2. Turn on Warp

    3. Try Complex Pro for vocal/sample material

    4. For noisy or percussive material, try Beats or Repitch

    #### Practical tip

    If the sample has a natural rhythm, set the first downbeat accurately before stretching it. This makes the riser feel tight in the arrangement.

    Step 3: Build the pitch rise

    A riser needs motion. The fastest way is with clip transpose automation or pitch shifting.

    #### Option A: Use clip transposition

    1. Open the clip envelope

    2. Automate Transpose

    3. Start at 0 semitones

    4. End at +7, +12, or even +24 semitones depending on how dramatic you want it

    This works especially well for:

  • vocal snippets
  • synth-like samples
  • old jungle FX
  • #### Option B: Use Ableton’s stock device chain

    Add this chain:

    1. Auto Filter

    2. Shifter or Frequency Shifter

    3. Reverb

    4. Delay

    5. Utility

    For beginners, Auto Filter and Reverb are enough to start.

    ---

    Step 4: Add filtering for tension

    Put Auto Filter on the track.

    #### Suggested starting settings

  • Filter Type: Low-pass
  • Slope: 12 dB or 24 dB
  • Frequency: start around 200–500 Hz if you want it muffled
  • automate it up toward 10–18 kHz over the riser
  • Resonance: 10–25% for a slightly sharper edge
  • #### Why this works

    A DnB riser usually feels powerful because it opens up over time.

    Starting dark and closing open creates a classic build.

    #### Extra move

    Try automating the filter in the opposite direction too:

  • start open
  • then briefly dip darker before the drop
  • This creates tension and makes the drop feel bigger.

    ---

    Step 5: Create movement with reverb and delay

    Add Reverb after the filter.

    #### Reverb settings to try

  • Decay Time: 2–6 seconds
  • Pre-Delay: 10–30 ms
  • Size: medium to large
  • Dry/Wet: 10–35%
  • For a pirate radio vibe, don’t go too glossy. You want space, but still want the sound to feel rough and urgent.

    Then add Echo or Delay.

    #### Delay settings

  • Sync: on
  • Time: 1/8 or 1/16 dotted
  • Feedback: 15–40%
  • Filter: roll off some low end
  • Dry/Wet: keep subtle, around 8–20%
  • This adds a trail that helps the riser smear into the drop.

    ---

    Step 6: Add grit and instability

    If you want the riser to sound more like battered pirate radio transmission, add a little degradation.

    Useful stock devices:

  • Saturator
  • Redux
  • Erosion
  • Overdrive
  • #### Simple grime chain

    Try this order:

    1. Saturator

    - Drive: 2–6 dB

    - Soft Clip: on

    2. Erosion

    - Mode: Noise

    - Frequency: midrange area

    - Amount: very subtle at first

    3. Redux

    - Bit reduction: light use only

    - Downsample just a little if you want lo-fi edge

    #### Important

    Don’t destroy the source completely. In DnB, the riser needs to cut through the mix, not disappear.

    ---

    Step 7: Widen the sound near the end

    As the riser approaches the drop, you can make it feel bigger.

    Use Utility:

  • automate Width from 100% to 120–150%
  • don’t overdo it if the sound is already stereo-heavy
  • If you want a stronger top-end spread, you can also:

  • duplicate the track
  • high-pass one layer
  • pan layers slightly apart
  • #### Beginner-friendly layering idea

  • Layer 1: original riser, centered
  • Layer 2: high-passed copy, wider and quieter
  • This makes the transition feel larger without needing fancy sound design.

    ---

    Step 8: Add automation for drama

    Now create your actual riser movement over 4 or 8 bars.

    #### Good automation targets

  • pitch up
  • filter cutoff up
  • reverb dry/wet slightly up
  • delay feedback up
  • utility width up
  • volume up very slightly
  • optional tremolo-style movement using Auto Pan
  • #### Auto Pan trick

    Use Auto Pan very subtly:

  • Rate: 1/2 or 1 bar
  • Amount: 10–30%
  • Phase: 180° for stereo movement
  • This can make the riser feel more alive, especially on atmospheric jungle material.

    ---

    Step 9: Arrange it like a proper DnB transition

    A good riser is not just a sound — it’s a structural device.

    #### A simple 8-bar arrangement

  • Bars 1–4: filtered, low energy, distant
  • Bars 5–6: pitch starts rising, more reverb tail
  • Bars 7–8: filter opens fully, distortion increases, width expands
  • Final beat before drop: cut the riser sharply or reverse into the drop
  • Drop 1: impact lands with drums, bass, and maybe a crash
  • #### Add supporting elements

    To make the transition stronger, layer in:

  • a snare roll
  • reverse crash
  • short sub drop
  • impact hit
  • amen fill
  • vocal tag or rewind effect
  • This is very common in jungle and DnB edits where energy jumps hard into the next phrase.

    ---

    Step 10: Create a final impact

    At the end of the riser, you want a clear transition point.

    You can do one of these:

    #### Option A: Hard stop into drop

  • mute the riser right before the drop
  • let the first kick/snare hit clean
  • #### Option B: Reverse tail into drop

  • bounce the last half-bar
  • reverse it
  • fade it into the first downbeat
  • #### Option C: Impact + sub hit

    Layer:

  • crash
  • kick
  • sub boom
  • impact sample
  • This is especially effective in darker jungle and neuro-influenced DnB.

    ---

    4. Common mistakes

    1. Making the riser too loud

    If the riser is huge all the way through, the drop won’t feel special.

    Start smaller and build up.

    2. Too much low end

    A riser with heavy low frequencies can muddy the drop.

    Use EQ Eight or Auto Filter to remove low end below roughly 120–200 Hz.

    3. Overusing reverb

    Too much reverb can blur the timing and wash out the transition.

    Keep it controlled so the groove stays tight.

    4. No contrast

    A riser only works if the drop is clearly different.

    If everything is full-energy all the time, the arrangement loses impact.

    5. Forgetting the drum context

    DnB transitions should feel connected to the drums.

    Make sure your riser doesn’t fight the snare fills or break edits.

    ---

    5. Pro tips for darker/heavier DnB

    Use a band-pass build

    For a darker look, try Auto Filter in Band-Pass mode:

  • start narrow and mid-focused
  • gradually widen it
  • this gives a more tense, underground feel
  • Add controlled distortion

    For heavier DnB:

  • use Saturator before reverb
  • add a little Overdrive to emphasize the midrange
  • keep the low end clean with EQ
  • Layer with a break edit

    A classic jungle move:

  • use your riser on top
  • underneath, place chopped amen hits or a tight break loop
  • automate the break filter so it opens with the riser
  • Use pitch down before pitch up

    For extra drama:

  • briefly dip the sample down 2–5 semitones
  • then begin the rise
  • This creates a more “winding up” feeling, which suits heavy edit sections.

    Add pirate radio texture

    You can fake pirate radio with:

  • EQ Eight: roll off lows and highs
  • Redux: subtle bit depth reduction
  • Erosion: light noise in the mids
  • Saturator: gentle drive
  • This gives the riser a rough transmission quality without killing clarity 📻

    ---

    6. Mini practice exercise

    Exercise: Build a 4-bar pirate radio riser

    Do this in a new Ableton set:

    1. Find a short vocal, noise, or jungle FX sample

    2. Warp it and place it on bar 1

    3. Add Auto Filter, Saturator, and Reverb

    4. Automate:

    - filter cutoff from low to high

    - transpose up 7–12 semitones

    - reverb dry/wet up slightly

    - volume up by 1–3 dB

    5. Add a reverse crash on the last beat

    6. Finish with a clean drop entry using kick, snare, and bass

    #### Challenge version

    Make two versions:

  • Version A: clean and atmospheric
  • Version B: gritty, distorted, and darker
  • Compare which one works better for a jungle-style drop.

    ---

    7. Recap

    You’ve now built a Pirate Radio jungle riser in Ableton Live 12 using real DnB-friendly workflow:

  • chose a usable source sample
  • warped and transformed it
  • automated pitch, filter, and space
  • added grit and width
  • arranged it to lead into a drop like a proper jungle edit
  • Key takeaway

    A great riser is about tension, movement, and timing — not just noise going up.

    In drum and bass, the best transition effects support the groove, hype the drop, and keep the energy flowing.

    If you keep practicing this process, you’ll be able to build custom transitions for:

  • jungle rewinds
  • rolling DnB drops
  • dark edit sections
  • pirate radio-style breakdowns
  • high-energy mixdowns

Keep it tight, keep it musical, and let the drop land with authority 🔥

```

Ask GPT about this lesson

Chat with the lesson tutor, get follow-up help, or use quick actions.

Bigup 👽 Ask me anything about this lesson and I’ll answer in context.

Narration script

Show spoken script
Welcome back. In this lesson, we’re building a pirate radio jungle riser in Ableton Live 12, then arranging it so it actually works like a proper drum and bass transition. This is that classic FX move that helps you slam out of a breakdown and into the drop with urgency, attitude, and a bit of grime.

The big idea here is simple: we’re taking one audio sample and turning it into a rising build that feels musical, energetic, and useful in a real DnB track. We’re not overcomplicating it. We’re using Ableton stock tools, a few smart automation moves, and some arrangement choices that make the whole thing hit harder.

First, pick your source sound. You only need one short audio clip to start with. A pirate radio vocal, a gritty jungle stab, a noise hit, a chopped break, or even a little atmospheric texture all work well. If you don’t have an actual pirate radio sample, no stress. You can fake the vibe with a vocal word, some white noise, a radio-style loop, or a chopped amen hit layered with noise. The main thing is that the sample should be short, slightly rough, and not too heavy in the low end.

Once you’ve got your sample, drag it into an audio track. Double-click the clip and turn Warp on. For vocal or sample material, try Complex Pro. If the sound is more noisy or percussive, Beats or Repitch can work nicely too. And here’s a quick coach tip: if the sample has a natural rhythm, make sure the first downbeat is lined up properly. That one detail can make the whole riser feel much tighter in the arrangement.

Now we need motion. A riser has to rise, obviously, and the easiest way to do that is with pitch automation. You can automate the clip’s Transpose, starting at zero semitones and moving upward over the length of the build. Depending on how dramatic you want it, you might end around plus seven, plus twelve, or even plus twenty-four semitones. This works especially well with vocal snippets and synth-like jungle FX.

If you want to do it with devices instead, you can build a simple chain using Auto Filter, Shifter or Frequency Shifter, Reverb, Delay, and Utility. But for beginners, Auto Filter and Reverb are already enough to get a solid result.

Let’s talk about the filter, because this is where a lot of the tension comes from. Put Auto Filter on the track and start with a low-pass filter. A 12 dB or 24 dB slope is a good starting point. Begin with the cutoff down around 200 to 500 Hz if you want it dark and muffled, then automate it upward toward 10 to 18 kHz across the riser. A little resonance, around 10 to 25 percent, can give it extra edge.

Why does this work so well? Because a DnB riser often feels powerful when it opens up over time. Starting dark and ending bright gives you a classic build shape. And if you want a slightly nastier twist, you can even automate the filter to open and then dip darker again right before the drop. That little moment of tension can make the drop feel bigger.

Next, add space with Reverb. Keep it musical, but don’t drown the sound. Try a decay between two and six seconds, a short pre-delay around ten to thirty milliseconds, and a dry/wet amount somewhere in the 10 to 35 percent range. For pirate radio energy, you want atmosphere, but you still want the sound to feel rough and urgent. Glossy isn’t the goal here.

After that, add a Delay or Echo. Keep it subtle. Sync it to the project, and try a time value like one-eighth or one-sixteenth dotted. Feedback somewhere around 15 to 40 percent is plenty, and you’ll want to roll off some low end in the delay so it doesn’t muddy up the transition. A little delay smear helps the riser trail into the drop in a more exciting way.

If you want the riser to sound more battered and pirate-radio-ish, add some grit. Ableton gives you great stock devices for this. Saturator is a great first step. Try a drive of around 2 to 6 dB and turn Soft Clip on. Then you can add a bit of Erosion for noisy midrange texture, and maybe a touch of Redux if you want some lo-fi bit reduction. The key here is to be subtle. You want the sound to have attitude, not vanish into distortion. In drum and bass, the riser still needs to cut through the mix.

As the riser gets closer to the drop, widen it a bit. Utility is perfect for this. You can automate Width from 100 percent up to 120 or even 150 percent, depending on the sound. Just don’t overdo it if the sample is already very stereo-heavy. Another nice beginner move is to duplicate the track, high-pass the copy, and pan it slightly or keep it wider and quieter underneath. That layering trick makes the transition feel bigger without making the sound design too complicated.

Now let’s automate the drama. Over four or eight bars, you can move several things at once: pitch up, filter cutoff up, reverb up a little, delay feedback up a little, width up, and maybe even volume up by a small amount. Tiny changes often sound more professional than huge jumps. That’s a great rule to remember. You can also add subtle motion with Auto Pan. Keep it gentle, maybe a rate of half a bar or one bar, with a low amount and stereo phase set for movement. That can help the riser feel alive, especially if the source is a more atmospheric jungle sound.

Now comes the important part: arranging it like a real DnB transition. A riser is not just a sound effect. It’s a structural tool. A simple eight-bar layout might go like this: the first four bars feel filtered, distant, and low energy. Bars five and six start introducing the pitch rise and a little more space. Bars seven and eight open up fully, the distortion increases, and the stereo image gets wider. Then, right on the final beat before the drop, you either cut the riser sharply or reverse it into the downbeat. After that, the drop lands with the drums, bass, and maybe a crash or impact.

And this is where you can support the transition with other elements. A snare roll, a reverse crash, a short sub drop, an impact hit, an amen fill, or even a vocal tag can all help sell the moment. That’s very common in jungle and DnB edits. The riser is doing the main build, but the supporting sounds make the transition feel complete.

At the end, you want a clear impact point. You’ve got a few options. You can hard stop the riser right before the drop and let the first drum hit land clean. You can bounce the last half-bar, reverse it, and fade it into the drop. Or you can stack a crash, kick, sub boom, and impact sample for a heavier, darker hit. All three approaches work. Pick the one that suits the energy of your track.

A couple of common mistakes to avoid here. First, don’t make the riser too loud from start to finish. If it’s massive the whole time, the drop has nowhere to go. Start smaller and let it grow. Second, keep an eye on the low end. A riser with too much bass can muddy the whole transition, so use EQ Eight or Auto Filter to remove low frequencies below roughly 120 to 200 Hz. Third, don’t drown it in reverb. Too much wash can blur the groove. And finally, remember the drum context. This is drum and bass, so the riser has to work with the snare fills and break edits, not fight them.

If you want a darker or heavier result, try a band-pass build instead of a regular low-pass. Start narrow and mid-focused, then widen it gradually. That gives you a more underground feel. You can also add controlled distortion with Saturator or Overdrive, as long as you keep the low end clean. Another classic jungle move is layering the riser over chopped amen hits or a tight break loop, then automating the break filter so it opens with the riser. That can sound huge.

Here’s a really useful coach thought: think in phrases, not just effects. A riser works best when it has a beginning, middle, and end. Even if it’s only four bars long, it should feel like it’s moving somewhere. And if the riser sounds great on its own but weak in the track, the problem is usually the context. Make room in the drums, tighten the last beat before the drop, and increase the contrast between the breakdown and the drop.

For practice, try building a four-bar pirate radio riser from scratch. Find a short vocal, noise, or jungle FX sample. Warp it, drop it on bar one, and add Auto Filter, Saturator, and Reverb. Automate the filter cutoff from low to high, pitch it up by seven to twelve semitones, raise the reverb a little, and bring the volume up by one to three dB. Then add a reverse crash on the last beat and finish with a clean drop entry using kick, snare, and bass.

If you want to push yourself a little further, make two versions. One clean and atmospheric. One gritty, distorted, and darker. Then compare which one works better in the context of your DnB drop. That kind of A/B listening is how you start making better arrangement decisions fast.

So to recap: you chose a usable source sample, warped and transformed it, automated pitch, filter, and space, added grit and width, and arranged it so it leads into the drop like a proper jungle edit. The main takeaway is that a great riser is about tension, movement, and timing, not just noise going upward. In drum and bass, the best transition effects hype the drop, support the groove, and keep the energy flowing.

Keep practicing this process, and you’ll be able to build custom transitions for jungle rewinds, rolling DnB drops, dark edit sections, pirate radio breakdowns, and all kinds of high-energy mixdowns. Keep it tight, keep it musical, and let the drop land with authority.

mickeybeam

Go to drumbasscd.com for +100 drum and bass YouTube channels all in one place - tune in!

Generating PDF preview…