Main tutorial
1. Lesson Overview
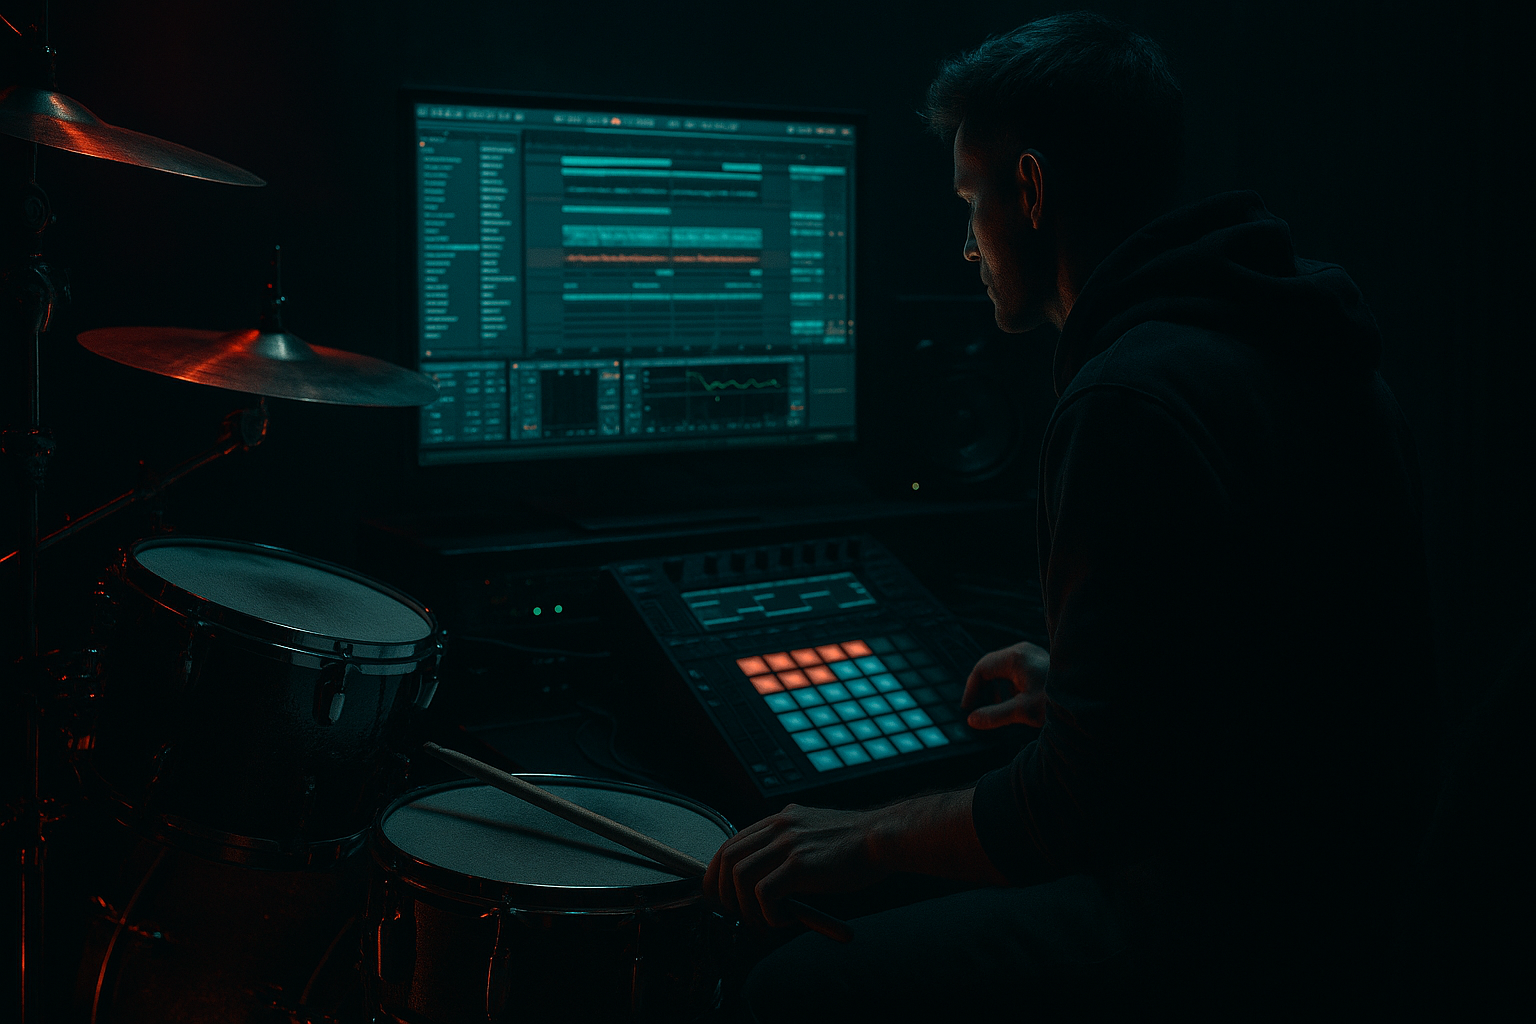
"Photek masterclass: warp the bass wobble in Ableton Live 12 for rave-laced tension" — this intermediate mixing lesson shows how to take a bass-wobble audio loop or recorded synth wobble and turn it into a tense, rave-ready low-end element using Ableton Live 12 stock tools. We focus on creative warping (timing and spectral), surgical mixing (sub control, multiband dynamics), and automation-based modulation so the wobble breathes and pins the energy across builds and drops without muddying the low end. Techniques are practical, Ableton-native, and suited for Drum & Bass.
2. What You Will Build
- A processed bass wobble audio track (or recorded synth wobble) that:
- Utility (pre) — for gain staging and mono/sub handling
- EQ Eight — surgical cuts & M/S shaping
- Multiband Dynamics — tame wobble-mid energy
- Grain Delay — metallic texture & rhythmic ghosting
- Frequency Shifter — micro pitch/formant texture
- Saturator (on a send or parallel track) — harmonic weight
- Compressor (Glue style or stock Compressor) — gentle glue and sidechain
- Utility (post) — final width & gain
- Over-warping the base clip: pushing Texture Grain Size and Flux to extremes can destroy pitch intelligibility. Start subtle.
- Letting stereo artifacts sit in the sub: forgetting to mono the sub leads to phase cancellation on club systems.
- Applying too much Saturator pre-sub control: heavy distortion before sub-monoing will make the sub uncontrollable and muddy.
- Over-sidechaining: too aggressive sidechain removes drive; aim for movement, not total disappearance.
- Automating too many parameters simultaneously: this can make the wobble sound inconsistent; prefer 2–3 focal automations per tension build.
- Use tiny, musical Clip Transpose ramps (0.1–0.5 semitones) for perceived energy; big jumps should be reserved for effect moments.
- Duplicate the wobble track: keep one version dry/clean (low frequencies only) and one for texture (high-pass at 120 Hz) so you can destroy the top end without harming the sub.
- For ultra-tight Photek-esque editing, edit transient distances manually rather than relying on quantize — human micro-timing gives tension.
- Use Gain Staging: set Utility pre to -6 dB if your chain saturates easily. Check meters after each device.
- For dramatic pre-drop tension, automate a narrow band boost (~1–2 kHz) plus Frequency Shifter and rapidly increase Grain Delay feedback — then cut to the drop.
- Holds a tight mono sub under 120 Hz
- Warps rhythmically and texturally for tension via Texture warp mode, clip transpose automation, Grain Delay, and Frequency Shifter
- Sits cleanly with sidechain, multiband dynamics, and parallel saturation
- Uses automation to increase “rave-laced” tension before drops
3. Step-by-Step Walkthrough
Note: import a bass wobble audio clip (wav) or record a short wobble from Wavetable/Operator and drop it into an Audio Track named “WOBBLE”.
A. Session Prep & Clip Warping (texture + micro-timing)
1. Set the project tempo and drag your wobble into the track. Double-click to open Clip View.
2. Enable Warp and choose Warp Mode = Texture. Texture is ideal for tonal/looped wobble because it granularly resynthesizes pitch/timbre.
- Set Grain Size to 30–60 ms for a thick wobble; smaller values (10–25 ms) for crispy, jittery texture.
- Set Flux to ~10–30% to add movement without turning the wobble into noise.
3. Use the Clip’s Transpose envelope (Clip > Envelopes > Sample > Transpose) to create pitch jumps or slow detunes:
- For subtle tension, automate ±0.2–1.0 semitones (micro pitch drifts).
- For stuttered tension sections, automate quick jumps of ±2–6 semitones before a drop.
- Draw short, tempo-synced ramps to make pitch changes glide over 1/16 or 1/8 notes.
4. Tighten micro timing: add Warp Markers at transient peaks and nudge select markers a few ms off-grid (left or right) to create “elastic” timing — Photek-style precision: small moves, big feel.
B. Device Chain — foundational mixing
Create this chain (insert devices in order on the Audio Track):
C. Sub / Mono control (important for DnB)
1. Insert an EQ Eight early in the chain:
- High-pass at 20–30 Hz (slope 24 dB/octave) to remove inaudible rumble.
- If you use M/S mode (EQ Eight > Mode > MS), gently reduce the S (side) low-energy below 120 Hz so the sub remains mono: use a low-shelf cut in the Side channel starting at 120 Hz around -6 dB.
2. For rock-solid mono sub: duplicate the wobble track to a “SUB MONO” track and put an Auto Filter (low-pass) at 120 Hz, set Utility Width = 0% on the duplicate, and low-pass to isolate only sub content. Blend back to taste. (This keeps the character while locking sub energy.)
D. Multiband control for wobble clarity
1. Add Multiband Dynamics:
- Band split roughly: Low (20–120 Hz), Mid (120–800 Hz), High (800 Hz+).
- Compress the Mid band lightly (ratio 2:1–3:1, attack 10–30 ms, release 80–200 ms) to tame wobble resonances that compete with kick/snare.
- Keep Low band very light or bypass compression on it so the sub stays punchy.
- Use the High band to control fizz and audible harmonics if the wobble is too bright.
E. Add textural warp with Grain Delay (stock)
1. Insert Grain Delay after Multiband Dynamics.
- Set Delay Time to a tempo-synced value (1/16 or dotted 1/16) for rhythmic ghosting.
- Spray: 0–20% for subtle randomness, up to 40% for chaotic texture.
- Pitch: small cents +/- 5–20 for chorus-like detune, larger values for pitched repeats.
- Repeat: lower values (~0.2–0.5) to avoid too-long tail; set to taste.
2. Automate Grain Delay Dry/Wet and/or Pitch:
- Ramp Dry/Wet up to 20–40% on pre-drop bars for more metallic ghosting — a good way to add rave-laced tension without changing the low end.
F. Frequency Shifter for micro-formant and widening
1. Insert Frequency Shifter after Grain Delay:
- Use small Shift values (0.1–2.0 Hz for palpably shifting phase/formant; larger for ring-mod textures).
- Use Mix/Dry-Wet automation: keep at 0–15% normally, spike to 30–50% in buildup bars.
- For stereo width character, set the device to stereo mode and offset left/right slightly (e.g., +0.5 Hz left, -0.5 Hz right using separate instances on parallel sends) then blend.
G. Parallel saturation & harmonic reinforcement
1. Send to a Return called SAT-PAR:
- On the return: Saturator (Drive 2–6 dB, Soft Clip), then Utility (Width 100% for full-spectrum) or a high-pass above 40 Hz if you only want mid/high saturation.
- Blend the send to taste. This adds “rave” harmonic grit without overloading the sub.
H. Glue + sidechain to make space for kick
1. On the wobble track, add Compressor (use Ableton’s Compressor in Sidechain mode):
- Sidechain input: Kick bus.
- Ratio: 3:1; Attack 1–5 ms; Release 80–150 ms.
- Threshold: dial until you get 2–6 dB of ducking on hit.
- This keeps the wobble breathing with the kick and prevents masking.
I. Automation to sculpt tension
1. Automate these parameters across arrangement:
- Clip Transpose (from step A.3) — small pitch ramps going up toward a drop increase perceived tension.
- Grain Delay Dry/Wet & Spray — increase in the last 4–8 bars of a build.
- Frequency Shifter Mix & Shift — automate slow rise across the build.
- Send to SAT-PAR — raise send during last 2 bars for added grit.
- Multiband Dynamics Mid band threshold — slightly more compression during build for sucked-in tension.
2. Use volume automation for a quick gating/stutter effect: create short drops in the wobble’s volume (draw 1/32 or 1/16 note envelopes) to create rhythmic tension reminiscent of Photek’s tight editing.
J. Final Checks & Glue Bus
1. Put a Spectrum analyzer on the master or a dedicated buss to verify the sub stays clean. Use an Analyzer device or Spectrum to ensure no unwanted bumps at 40–80 Hz.
2. Use a buss compressor on the bass group (if you group with kick) with mild gain reduction (1–2 dB) to glue the low-end elements.
4. Common Mistakes
5. Pro Tips
6. Mini Practice Exercise
Goal: Create a 4-bar build where the wobble becomes increasingly tense and then cuts to silence on the downbeat.
Steps:
1. Take a 4-bar loop of your wobble and enable Texture warp mode (Grain Size 40 ms, Flux 15%).
2. Set up Grain Delay (1/16), Frequency Shifter, and a Saturator return.
3. Automate:
- Clip Transpose: ramp +1 semitone over the 4 bars.
- Grain Delay Dry/Wet: 0% → 40% (linear).
- Frequency Shifter Mix: 0% → 35% (linear).
- Send to Saturator: 0% → +6 dB send level.
4. Add a sidechain compressor keyed to a four-on-the-floor kick but only engage sidechain on the last 2 bars.
5. Automate Utility Gain to -inf on the downbeat to cut to silence; export and compare with your earlier dry version.
7. Recap
This lesson, "Photek masterclass: warp the bass wobble in Ableton Live 12 for rave-laced tension", taught a mixing-focused workflow to transform a bass wobble into a tense, rave-ready low-end element using Ableton stock tools. Key methods: use Texture warp for granular control, clip Transpose envelopes for micro pitch warble, add Grain Delay and Frequency Shifter for texture, control low-end with EQ Eight/Utility and sub-mono techniques, tame and shape with Multiband Dynamics, add parallel saturation for harmonic weight, and use sidechain and automation to preserve clarity and build tension. Apply the mini exercise to lock in these skills, and iterate with subtlety — small changes create that precise Photek-like tension.

