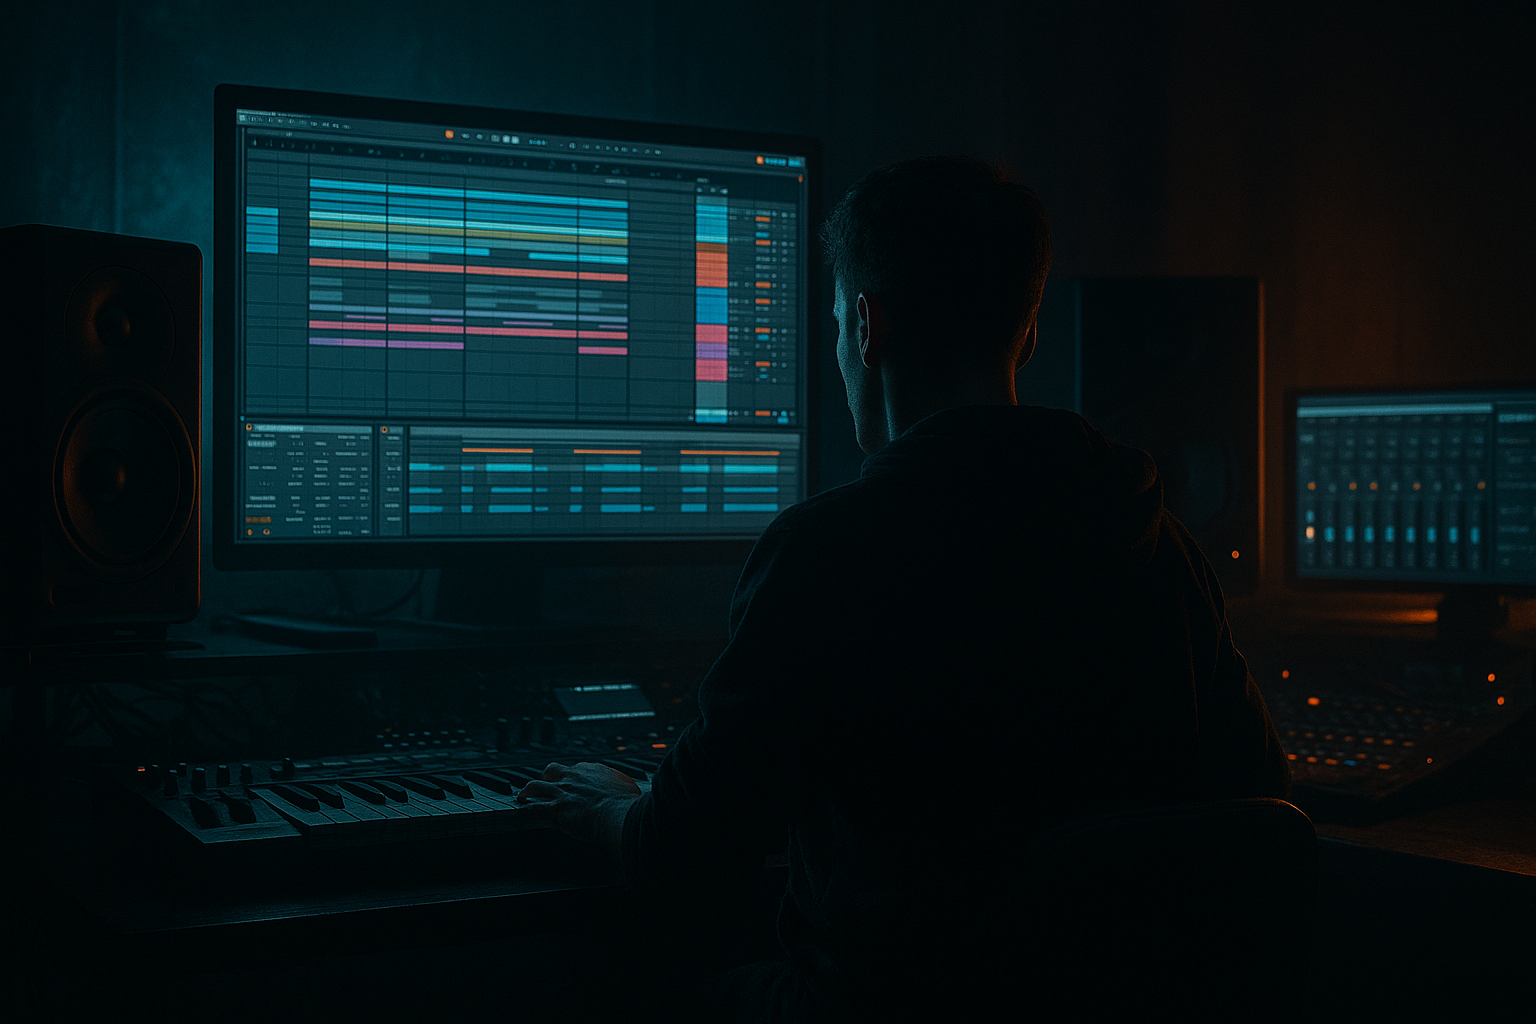
Main tutorial
1. Lesson Overview
This lesson teaches a beginner-friendly, workflow-focused method for creating a Drum & Bass snare body from scratch and then resampling it to a single audio hit with minimal CPU load in Ableton Live 12. We’ll build a quick synthetic snare body (low tone + noise snap), resample the result to audio, and replace the synth instruments with a lightweight Simpler/one-shot so your project stays CPU-efficient — a practical “Photek edit: resample a snare body from scratch in Ableton Live 12 with minimal CPU load” workflow you can repeat across your tracks.
2. What You Will Build
- A single polished snare body suitable for layering in Drum & Bass: a pitched low “thump” body plus a noisy transient “snap.”
- A rendered one-shot audio file of that snare body loaded into Simpler (One-Shot), replacing the synth stack so CPU stays minimal.
- A reusable template track and tips for keeping the rest of your session light on CPU.
- Recording too long takes or not trimming properly: leaving silence or extra tails uses unnecessary disk RAM and causes phasing when layered.
- Leaving polyphony/voices high on synths or Simpler: this increases CPU even for single hits. Always set voices = 1 for one-shot snares.
- Over-processing before resampling: heavy live FX (multiple reverbs, convolution, oversampled devices) make resampling slow and bigger files. Print a clean version and add final FX at clip level if needed.
- Not deactivating original synth tracks: forgetting to remove or deactivate the originals keeps CPU load high.
- Poor phase between body and snap: if the noise and sine are out of phase, the snare can sound thin. Flip phase or nudge start times before resampling.
- Use short pitch envelopes on the body to mimic acoustic snare “thump” — a rapid pitch drop adds perceived low-end without heavy EQ boost.
- When designing, set Ableton’s Wavetable/Device oversampling off; use it only during final bounce if absolutely necessary.
- Keep a “Snare One-Shots” rack: save multiple Simpler instruments with different tuning and processing for quick layering.
- If you want multiple variations but low CPU, create several Simpler instances with the same sample and use MIDI note transposition rather than separate samples.
- Use Drum Buss sparingly — great sound but heavier than basic EQ + Saturator. If you like Drum Buss, use it before resampling and then replace it with the printed audio.
- Use Freeze Track on complex VSTs you can’t print, but prefer resampling + Simpler for portability and lowest CPU.
- Time: 20–30 minutes
- Build a pitched sine body (Operator) + quick noise snap (Wavetable).
- Resample the combined sound to audio using the Resampling input, trim, and lightly process.
- Replace the synths with a Simpler one-shot (voices = 1) and delete/deactivate the originals to drastically reduce CPU usage.
- Save the one-shot to your library for fast reuse across Drum & Bass tracks.
3. Step-by-Step Walkthrough
Note: The phrase "Photek edit: resample a snare body from scratch in Ableton Live 12 with minimal CPU load" is the exact approach we’ll follow — create, resample, and swap to a lightweight sampler. Follow each numbered step in Ableton Live 12.
Preparation
1. Create a new Live Set (or use your Drum & Bass project). Set BPM typical for DnB (e.g., 174 BPM).
2. Create two MIDI tracks:
- Track A: “Body – Operator”
- Track B: “Snap – Wavetable” (or another lightweight noise source)
3. Create a third Audio track: “Resample” — set its input to “Resampling” (in the I/O chooser) and record-arm it.
Build the low body (Track A)
4. Load Operator onto Track A.
- Set Oscillator A to Sine wave.
- Reduce voices to 1 (Operator’s global/poly settings or set a mono behavior) to save CPU.
- In Operator’s Amp Envelope, set Attack = 0 ms, Decay = 120–260 ms (experiment ~160 ms), Sustain = 0, Release = 30–60 ms. This gives a short pitched body.
- Use a Pitch Envelope (Operator’s Pitch EG) for a quick downward pitch drop: amount around −12 to −24 semitones with a fast decay (10–40 ms) to add punch at the transient.
- Tune the oscillator to a snare body region: try around C2–G2 (about 100–200 Hz) — adjust by ear.
Build the noise snap (Track B)
5. Load Wavetable (or a noise-capable device) onto Track B.
- In Wavetable, enable the Noise oscillator (or pick a noise-based wavetable).
- In the Amp Envelope, set Attack = 0 ms, Decay = 30–80 ms (very short), Sustain = 0, Release = 10–30 ms for a tight snap.
- Add a filter (lowpass) and open it slightly to taste; you want high-frequency content but not too harsh. A Light EQ Eight high-shelf trim can help later.
- Reduce voices to 1. Lower Unison and disable any oversampling in device settings to save CPU while designing.
Program the MIDI
6. Create a 1-bar MIDI clip on each synth track:
- Place a single MIDI note at the start (C1 or C2) to trigger the body + snap. Use the same MIDI note for both tracks so they are in phase.
- Make sure both clips are the same length (e.g., 1/4 or 1/2 bar) so they play together.
Mix & quick processing (still on synth tracks)
7. On each synth track, use very light CPU-friendly processing:
- Utility: adjust gain and phase if needed (flip phase on the noise if cancellation occurs).
- EQ Eight: high-pass below ~40–60 Hz on the noise track; cut around conflicting mids if body masks snap.
- Saturator: light drive on the body only if required (use built-in soft clipping).
- Compressor: set a fast attack and medium release if you want to glue the body and snap slightly.
Keep device count minimal — these are temporary design moves before resampling.
Resample to audio (the CPU-saving critical step)
8. Solo both Track A and Track B (or set them to only audible group), so you capture only the snare elements.
9. On the “Resample” audio track (input = Resampling), record a few bars of you triggering the MIDI note(s). Hit record in Arrangement to capture 4–8 consecutive hits — this gives multiple takes to choose from.
10. Stop recording and select the best single hit. Zoom in and trim silence at the front and tail. Use small fades (5–15 ms) at the start/end to avoid clicks. Consolidate (Cmd/Ctrl + J) the trimmed audio to a single clip.
Edit and process the audio hit
11. Duplicate the trimmed audio clip to create variations and pick the best one.
12. Lightly process the audio clip (still audio):
- EQ Eight: remove sub rumble below 30–40 Hz; gently shape mids and highs.
- Saturator or Drum Buss: subtle distortion/warmth to taste.
- Compressor: glue and control transient if needed. A fast-but-mild compressor rather than heavy transient shapers keeps CPU low.
- Normalize the clip (right-click → Normalize) if you want uniform level.
Keep chain short — these will be printed, so heavy live processing is unnecessary.
Replace synths with a lightweight sampler
13. Once you’re happy, deactivate/delete the original synth tracks (Track A & B) to save CPU.
14. Drag the consolidated audio clip into Simpler on a new MIDI track or drop it into a Drum Rack pad (Simpler inside Drum Rack is ideal for sequenced snares).
- In Simpler, set Mode = One-Shot (or Classic with no loop) so it plays the whole hit.
- Set Voices = 1, Mono, and disable any unneeded modulation LFOs.
- Adjust Start/End and a micro fade if needed.
- If you need pitch mapping, reduce the range to avoid artifacts; set transpose in semitones rather than enabling complex sample warping.
Final tuning and CPU savings
15. Replace any use of heavy synths or Wavetable voices across your project with resampled Simpler hits where possible.
16. Freeze and Flatten any other instrument tracks you still need to keep CPU low, or deactivate unused devices. Lower global oversampling in device settings where acceptable.
17. Save your new one-shot snare to the User Library for reuse (drag the Simpler + sample to the Browser).
Reminder: this is the exact "Photek edit: resample a snare body from scratch in Ableton Live 12 with minimal CPU load" approach — design with lightweight synth voices, resample to audio, then swap to Simpler to keep CPU minimal.
4. Common Mistakes
5. Pro Tips
6. Mini Practice Exercise
1. Create the synth body + noise snap as described (10 minutes).
2. Record 8 hits to a Resampling audio track, pick and consolidate one hit (5 minutes).
3. Replace synths with a Simpler one-shot, set Voices = 1, and save to User Library (5 minutes).
4. Duplicate the Simpler in a Drum Rack and create a 2-bar breakbeat pattern using your snare one-shot alongside a kick and hi-hat to audition how it sits (5–10 minutes).
7. Recap
You learned a practical “Photek edit: resample a snare body from scratch in Ableton Live 12 with minimal CPU load” workflow:
This workflow gives you the sound-design control of synths and the efficiency of single-sample playback — ideal for Drum & Bass production where many layered drum hits and effects can otherwise overwhelm CPU resources.

