Main tutorial
Percussion Layer in Ableton Live 12: Resample from Session View → Arrangement (Oldskool Jungle / DnB) 🥁⚡
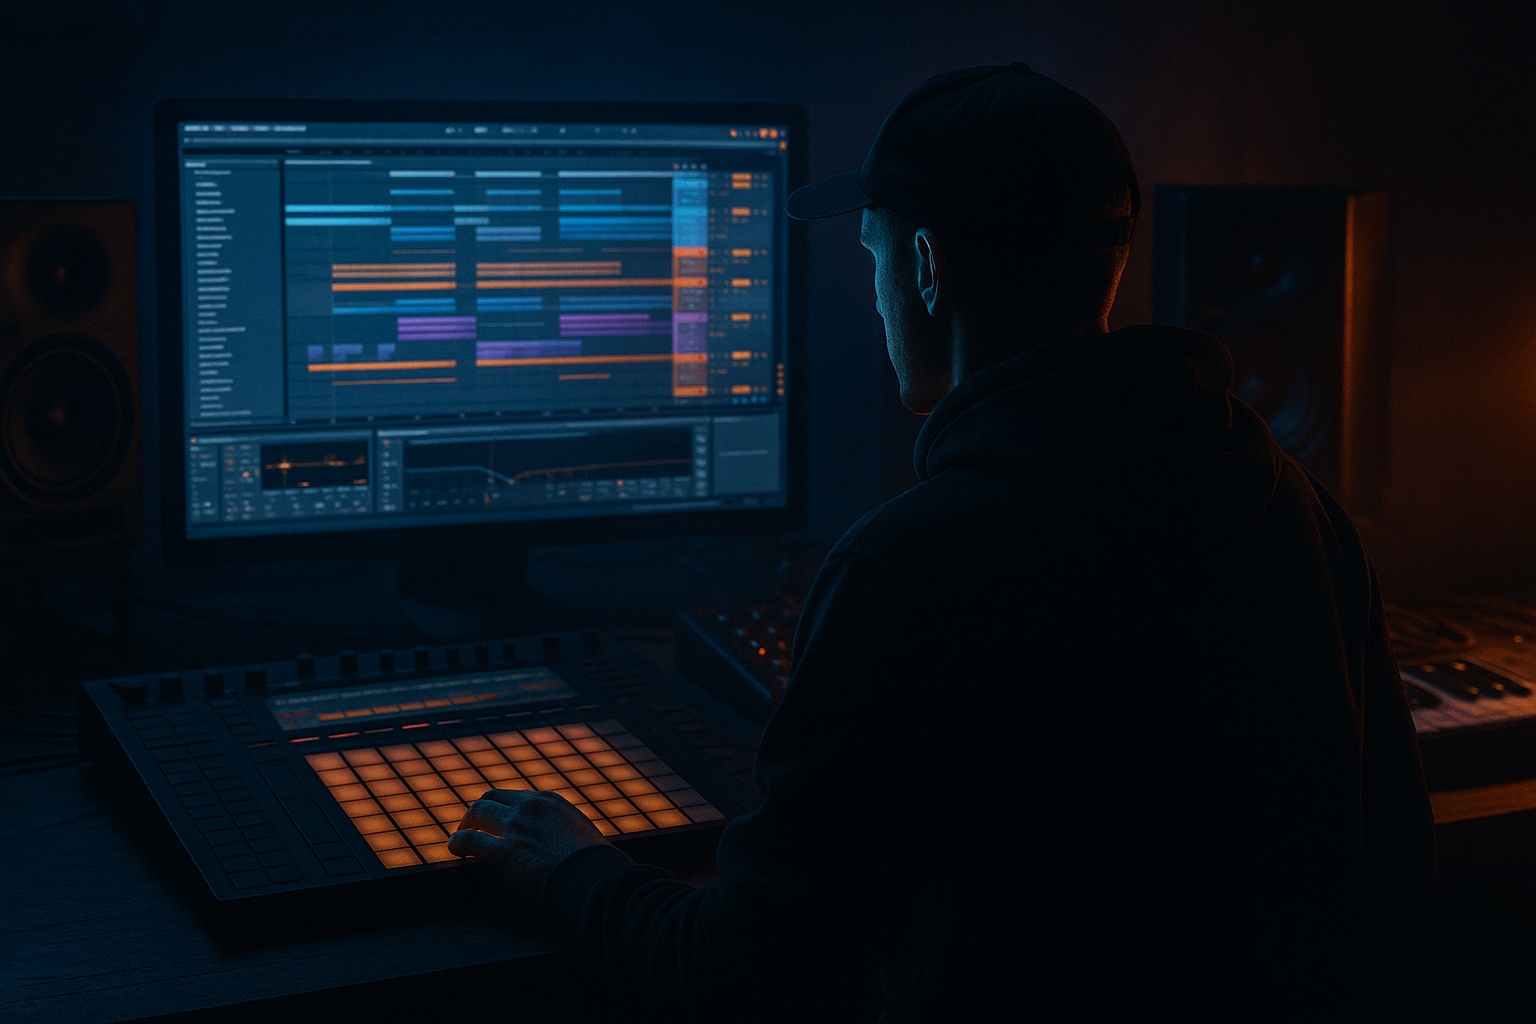
1. Lesson overview
In jungle and oldskool DnB, the percussion layer is where the groove gets its swagger—shakers, rides, congas, ghost hits, and noisy toppers that make the breakbeat feel alive.
In this lesson you’ll build a percussion layer in Session View, then resample it cleanly into Arrangement View so you can slice, re-edit, and “tape” it into your track like classic sampler workflows.
We’ll focus on:
- A practical Session View performance workflow
- Resampling methods (fast + flexible)
- Editing for jungle bounce (gaps, fills, swing, stutters)
- Stock Ableton devices that nail that gritty, rolling vibe
- A dedicated Percussion Bus (multiple layers: hats/shakers/rides/percs)
- A resampled audio loop printed from Session View into Arrangement
- A set of edit-ready audio clips you can chop, reverse, gate, and rearrange for that oldskool jungle energy 🎚️
- Closed hats: steady 16ths, remove steps 1.3.3 and 1.4.4 (example) to create a lilt.
- Shaker: on 1.2, 1.3, 1.4, 2.1 style placements (depending on grid).
- Perc: small rim on the “and” after 2, conga on 4.
- Printing with your master limiter on (Resampling mode) and then wondering why it’s smashed.
- Too much low end in the percussion layer (mud + bass masking).
- Over-swinging everything so the track feels late and sluggish.
- No variation for 32 bars.
- Texture layer: Add a quiet noise loop (vinyl, room tone, cassette hiss) and print it with the percussion. Then band-pass it (EQ Eight) around 2–10 kHz to add grit without mud.
- Downsample vibe (stock): Use Redux on the PERC BUS:
- Transient control: If hats are spiky, use Drum Buss Damp and a small Glue clamp rather than crushing with a limiter.
- Stereo discipline: Keep core hats narrower so the break feels wide by comparison.
- Arrangement trick: In a dark roller, drop the percussion layer for 1 bar before the drop, then slam it back in with a fill. Instant impact.
- Build percussion as clips in Session View so you can perform variations.
- Route to a PERC BUS and shape it with EQ Eight → Drum Buss → Saturator → Glue.
- Print it into Arrangement via a dedicated `PERC PRINT` track (prefer Audio From: PERC BUS).
- Warp in Beats mode, then chop and edit like oldskool jungle: stutters, reverses, dropouts, gated movement.
- Keep it bright, tight, and varied—and leave space for the break + bass.
---
2. What you will build
By the end, you’ll have:
---
3. Step-by-step walkthrough
Step 0 — Set the project up for jungle/DnB editing
1. Tempo: set 165–174 BPM (try 170 BPM for classic jungle feel).
2. Global Quantization: set to 1 Bar (top middle of Live).
- For faster performance-style capturing later, you can temporarily switch to 1/4 or None, but start at 1 Bar.
---
Step 1 — Build a Percussion Group (Session View)
Create a tight “top layer” that complements your main break (Amen/Think/etc.).
1. Create 3–5 MIDI tracks (or audio tracks if using one-shots as audio):
- `HATS (Closed hats / 16ths)`
- `SHAKER (8ths / swung)`
- `RIDE/OPEN HAT (offbeat / occasional)`
- `PERC (conga, rim, foley)`
- Optional: `NOISE TOP (vinyl/noise ticks)`
2. Load Drum Rack on each MIDI track (or one Drum Rack with multiple pads—your choice).
- If you want classic “sampler” behavior, use Simpler on pads (one-shot mode).
3. Program patterns (DnB-minded):
- Closed hat: 16th notes, then delete a few hits to create breath.
- Shaker: 8th notes, add swing (later).
- Perc hits: place 1–3 per bar, not constant—think call-and-response with the break.
- Ride/open hat: sparse, often bar 2 or bar 4 to lift energy.
Quick pattern idea (1 bar at 170 BPM):
---
Step 2 — Groove it: Swing + micro-timing (without wrecking punch)
Old jungle is rarely perfectly robotic.
1. Open Groove Pool (hotkey: `Ctrl/Cmd + Alt + G`).
2. Drag in a groove:
- Try Swing 16-65 or Swing 16-58 as a starting point.
3. Apply groove to shaker + hats (not your kick/snare if you want them locked).
4. Groove settings:
- Timing: 10–25%
- Velocity: 5–15% (subtle)
- Random: 2–6% (tiny humanization)
Pro workflow: Keep kick/snare tight; let tops breathe.
---
Step 3 — Create a Percussion Bus with a stock device chain
Route all percussion to a single bus so you can “print” it like a classic hardware mix.
1. Select your percussion tracks → `Ctrl/Cmd + G` to Group them.
2. Name it: PERC BUS.
Suggested PERC BUS device chain (stock):
1. EQ Eight
- HP filter: 150–250 Hz (24 dB/Oct)
- Optional: small dip 3–5 kHz if harsh, small boost 8–12 kHz for air (careful).
2. Drum Buss
- Drive: 5–15%
- Crunch: 0–10
- Boom: Off (usually don’t want low end here)
- Damp: to taste if brittle
3. Saturator
- Mode: Analog Clip
- Drive: 1–4 dB
- Soft Clip: On
4. Glue Compressor
- Attack: 3 ms
- Release: Auto (or 0.3s)
- Ratio: 2:1
- Aim for 1–3 dB gain reduction on peaks
5. Optional Auto Filter (for movement)
- 12 dB LP
- Envelope: small amount, or automate cutoff for transitions
This chain gives you that “printed” cohesion—like bouncing tops through a cheap mixer/tape vibe 🔥
---
Step 4 — Prepare Session View for resampling
You want to perform/launch clips, then capture the output into Arrangement as audio.
Option A (Fast + clean): Resample onto a new audio track
1. Create a new Audio Track named: `PERC PRINT`.
2. In the Input Type chooser of that track, select:
- Resampling
This records the master output (post-master).
⚠️ If you have heavy master processing, this will print that too.
Option B (More controlled): Record just the PERC BUS
This is usually best for DnB mixing flexibility.
1. Create a new Audio Track named: `PERC PRINT`.
2. Set Audio From to: `PERC BUS`.
3. Set monitoring:
- Monitor: Off (avoids doubling/feedback)
4. On the `PERC BUS` group:
- Set Output to Master as usual (or route to a dedicated bus).
Why Option B rocks: You can print tops without printing your limiter/master chain.
---
Step 5 — Record Session View performance into Arrangement View
Now we “commit” the vibe like an old sampler bounce.
1. Hit Tab to go to Arrangement View.
2. Arm the `PERC PRINT` track.
3. At the top, click the Arrangement Record button (big circle).
4. Go back to Session View (Tab) and launch your percussion clips:
- Try launching variations every 4 or 8 bars:
- `HATS A` → `HATS B` (more gaps)
- `SHAKER A` → `SHAKER B` (more swing)
- `PERC Fill` on bar 8
5. Record for 32–64 bars so you have lots of material.
Stop recording. You should now have a long audio recording in Arrangement on `PERC PRINT`.
---
Step 6 — Turn that recording into editable jungle audio
Here’s where oldskool edits happen.
1. Consolidate clean loops
- Select a tight 8 or 16 bar region → `Ctrl/Cmd + J` (Consolidate).
2. Warp settings (important!)
- Click the consolidated clip → Clip View:
- Warp: On
- Mode: Beats
- Preserve: Transients
- Envelope: 0–20% (lower = tighter transients)
3. Slice and rearrange
- Duplicate the clip and create alt edits:
- Remove the first 1/8 note of bar 1 (creates a little “suck-in”)
- Reverse a tiny 1/16 hat at the end of bar 4
- Create a 1-bar stutter (repeat a 1/4 or 1/8) into transitions
4. Gate the tops for rhythmic pumping (classic jungle trick)
- Add Gate on the printed audio:
- Threshold: adjust so hats chop slightly
- Return: short
- Floor: -inf to -12 dB depending on taste
- Or use Auto Pan (phase 0°, square wave) for rhythmic chopping:
- Rate: 1/8 or 1/16
- Shape: square-ish
- Amount: 20–60%
---
Step 7 — Make it sit with your breakbeat and bass
Your printed tops should support the break, not fight it.
1. On `PERC PRINT`:
- EQ Eight
- High-pass: 180–300 Hz
- If clashing with snare snap: tiny dip 2–4 kHz
2. Sidechain it gently to the snare/kick if needed:
- Compressor on `PERC PRINT`
- Sidechain from your DRUM BUS or SNARE
- Ratio 2:1, Attack 5–10 ms, Release 50–120 ms
- Just 1–2 dB reduction—subtle groove glue
---
4. Common mistakes ❌
→ Use “Audio From: PERC BUS” if you want control.
→ High-pass aggressively; tops don’t need sub.
→ Swing hats/shakers, keep kick/snare stable.
→ Jungle lives on micro-edits: tiny mutes, fills, dropouts.
---
5. Pro tips for darker/heavier DnB 🖤
- Bit Reduction: 10–14
- Sample Rate: 10–18 kHz
- Mix: keep it subtle or automate for fills.
- Use Utility on PERC PRINT:
- Width: 70–110%
- Bass Mono: (if you have Live’s Utility options; otherwise just high-pass first)
---
6. Mini practice exercise 🎯
Goal: Create a 32-bar percussion performance in Session View and print it to Arrangement with 3 distinct edits.
1. Build two hat clips:
- A = steady 16ths with 2–3 gaps
- B = more gaps + one offbeat open hat
2. Build two shaker clips:
- A = straight 8ths
- B = same but with groove applied (Timing 20%)
3. Record 32 bars into `PERC PRINT` using “Audio From: PERC BUS”.
4. In Arrangement, create:
- Edit 1: bar 8 mini-stutter (repeat last 1/4 note)
- Edit 2: bar 16 dropout (mute 1/2 bar of tops)
- Edit 3: bar 31–32 filter sweep (Auto Filter automation)
Export a quick bounce and check: does it feel more “jungle alive” without getting messy?
---
7. Recap ✅
If you want, tell me your current BPM and whether you’re using Amen/Think/other breaks, and I’ll suggest a percussion clip set that locks to that specific groove.

