Main tutorial
Lesson Overview
In this lesson, you’ll build a dark percussion layer in Ableton Live 12 that pushes a 90s-inspired jungle / oldskool DnB bassline forward instead of sitting on top of it. The goal is not just “more drums” — it’s to create a supporting rhythmic texture that makes the bassline feel nastier, deeper, and more alive.
In real DnB tracks, percussion layering is often what gives a bassline its forward motion and attitude. A raw reese or sub-heavy phrase can feel flat without a complementary top layer: chopped hats, ghosted clicks, rim textures, metal hits, break fragments, and subtle drive. In darker jungle and oldskool DnB, these layers often sit in the mid/high range but are designed to interact with the bassline’s rhythm and the breakbeat’s pocket.
Why this matters:
- It helps the bassline feel more urgent and more musical
- It adds weight perception without overloading the sub
- It creates call-and-response with the drums and bass
- It gives you arrangement momentum in drops, switch-ups, and 16-bar phrases
- Reinforce a dark bassline phrase with offbeat rhythmic accents
- Add ghosted syncopation between kick/snare hits
- Create a loopable 2- or 4-bar percussion hook for the drop
- Stay clear of the sub by keeping low end controlled and the stereo image disciplined
- Feel authentic to jungle / oldskool DnB, but flexible enough for rollers or darker neuro-influenced sections
- Strong transient presence
- Midrange grit around 700 Hz to 4 kHz
- No uncontrolled low end under roughly 120 Hz
- Tight mono-compatible punch with a slightly wider texture layer
- Too much low end in the percussion layer
- Over-layering every possible hit
- Making the percussion too wide
- Flattening the groove with hard quantization
- Driving saturation into harshness
- Ignoring the bassline rhythm
- Use micro-resampling to create character
- Layer a very quiet noise hit with the percussion
- Try parallel grit
- Use Drum Buss carefully
- Automate filter movement in phrase lengths
- Let the percussion leave space for the bass sustain
- Reference oldskool records for groove, not just sound
- Build percussion around the bassline, not independently from it
- Use break fragments, ghost notes, and small texture hits for jungle character
- Keep the low end clear and the core accents mostly mono
- Use Saturator, EQ Eight, Auto Filter, Drum Buss, and Utility to shape weight and grit
- Automate movement over 8- and 16-bar phrases for real arrangement energy
- Resample and re-chop to create signature fills and darker detail
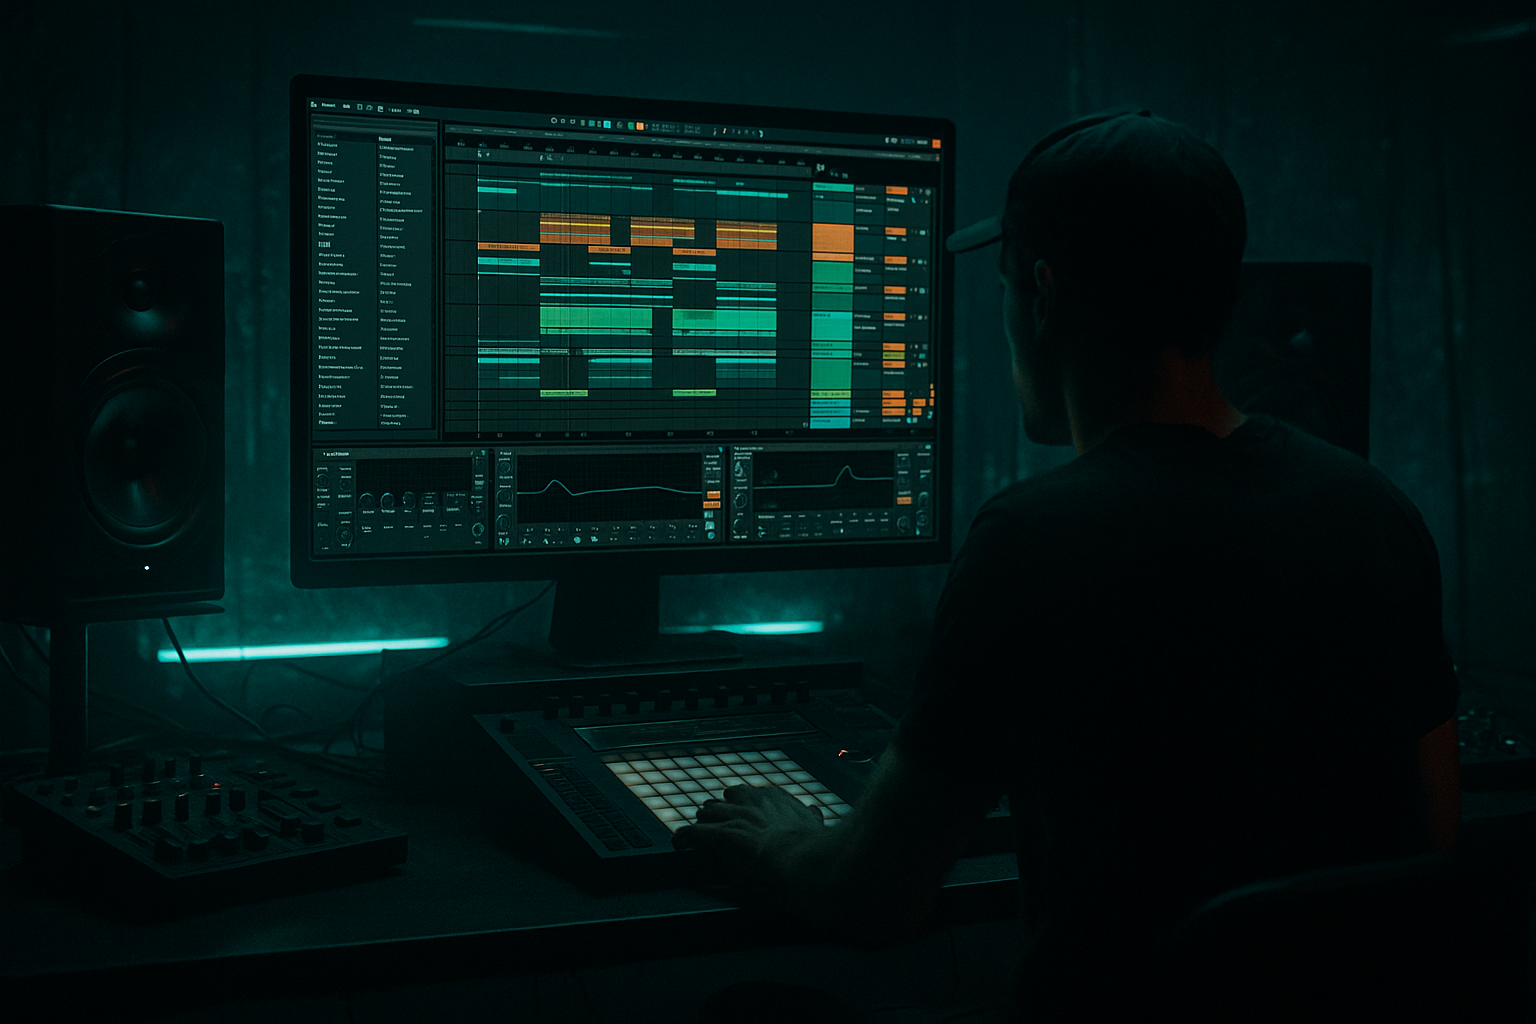
We’ll use Ableton Live 12 stock devices and a practical routing approach to make a percussion layer that feels like it belongs in a grimy 90s jungle roller, but still translates in a modern mix. 🥁
What You Will Build
By the end, you’ll have a two-part percussion layer that works alongside a bassline:
1. A main percussion bus built from chopped break fragments, metallic hits, and tightly shaped transient layers
2. A driven texture layer that adds grit and movement through saturation, filtering, and controlled stereo width
Musically, it will:
We’ll aim for a sound that sits around:
Step-by-Step Walkthrough
1. Start with a bassline-first loop so the percussion can lock to it
Open a blank Live set and create a simple 8-bar loop:
- One subby bassline with a short rhythmic phrase
- A basic kick/snare backbone in DnB format
- Keep the bassline in the 160–174 BPM zone if you want it to feel naturally DnB
For the bassline, use an Ableton instrument like Operator or Wavetable:
- Keep the note pattern sparse: try a 1-bar motif with 2–4 notes
- Use a low-pass filter around 80–150 Hz if you’re building a sub-reese hybrid
- Add a little movement with LFO or filter envelope, but don’t over-design it yet
Why this works in DnB: percussion in jungle/DnB is often written in response to the bassline. If you build the percussion against a static bassline, you’ll hear where the groove really needs space, and where the extra energy should land.
2. Load a breakbeat and slice only the useful percussion fragments
Drag in a classic break or drum loop into an audio track. In Clip View, use:
- Warp On
- Warp mode: Beats
- Preserve the transient behavior so the hits stay sharp
Right-click the clip and choose Slice to New MIDI Track. Use:
- Transient slicing for a more natural break feel
- Or 1/16 slicing if you want very precise control
Now you have a MIDI track containing break slices. Don’t keep the whole break playing constantly. Instead:
- Pull out only the ghost hats
- A few snare tail fragments
- Small shaker-ish or rim-like hits
- One or two accented top percussion chops
Build a 1-bar MIDI pattern using these slices:
- Put a light hit on the “&” of 1
- Another on the “a” of 2 or just before 3
- A ghost hit before the main snare on 4
Keep velocity varied:
- Main accents: around 90–110
- Ghost hits: around 25–60
This creates that oldskool broken-feel movement without cluttering the arrangement.
3. Create a dedicated percussion layer track and group it for control
Route your break slices, one-shot hats, and texture hits into a Percussion Layer Group. Inside the group, use:
- One track for break fragments
- One track for one-shot metallic or rim hits
- One track for noise/click support
Stock Ableton choices:
- Drum Rack for one-shot percussion
- Simpler in Classic or One-Shot mode for chopped hits
- Auto Filter for shaping each element
- Utility for gain and width control
Suggested starting gain staging:
- Break fragment track: peak around -12 to -10 dB
- One-shot layer: peak around -14 to -12 dB
- Noise/click layer: very low, around -20 dB or quieter
This keeps the percussion lively without fighting the kick/snare or the bassline.
4. Shape the percussion rhythm so it answers the bassline, not just the drum loop
Now write the percussion as a call-and-response layer.
If your bassline hits on beat 1 and again on the “&” of 2, put your percussion accents:
- Just before beat 1 for tension
- On the offbeat after the snare for push
- Around the gaps in the bassline phrase
In a 4-bar pattern, try this kind of relationship:
- Bar 1: sparse, establish the groove
- Bar 2: add a ghost fill into beat 4
- Bar 3: repeat bar 1 but with a different top hit
- Bar 4: use a small variation leading into the next phrase
Keep the rhythm tight:
- Quantize lightly, or use Groove Pool with a subtle swing around 54–58%
- Don’t hard-quantize every hit if you want a more authentic jungle feel
- Leave some micro-imperfections, especially on ghost notes
If your bassline is driving hard, the percussion should often answer in the cracks rather than mask the bass notes.
5. Drive the percussion with saturation and filtering for 90s darkness
This is where the layer gets its grit. Add the following on the Percussion Layer Group:
- Saturator
- Drive: start around 2–5 dB
- Turn on Soft Clip
- If it starts sounding harsh, reduce Drive before cutting highs too early
- Auto Filter
- Use a High-Pass around 120–180 Hz on the percussion bus
- If you want more oldskool weight, move it down carefully to 90–120 Hz, but only if it doesn’t clash with the sub
- Add slight resonance if you want the filter to “speak” more
- Drum Buss if you want more smack
- Drive: 5–15%
- Crunch: very light, around 5–10%
- Boom: usually off for this layer unless you’re intentionally thickening a mid percussion hit
For a darker 90s-inspired tone, the goal is not polished shine — it’s a slightly worn, compressed, tape-ish edge. The percussion should feel like it came from the same world as the bassline, not a clean loop dropped on top.
6. Use EQ Eight to carve space for the sub and highlight the character zone
Insert EQ Eight on the percussion bus and do practical shaping:
- High-pass below 100–150 Hz
- If the layer sounds boxy, dip around 250–500 Hz
- If it feels harsh, reduce around 2.5–5 kHz
- If you want more bite, add a subtle boost around 1.5–3 kHz
Concrete starting moves:
- High-pass slope: 24 dB/oct
- Boxiness cut: -2 to -4 dB at 350 Hz
- Presence boost: +1 to +3 dB at 2.2 kHz
Use your ears against the bassline:
- If the bassline is already gritty in the mids, keep the percussion mids narrower
- If the bassline is clean and sub-heavy, let the percussion carry more mid texture
This is a classic DnB balance move: the percussion creates excitement in the mids while the bass owns the low end.
7. Add a controlled stereo layer, but keep the punch mono-safe
Oldskool jungle often feels wide because of the break texture, not because the core hit is wide. Keep the percussion punch central, then widen only the texture.
On the Percussion Layer Group:
- Put Utility first and keep width at 100% for the main hit layer
- For the texture layer, try Width 120–140%
- Use Auto Pan very subtly for movement, with rate synced to 1/8 or 1/16
- Keep the depth low, around 10–25%
Check mono:
- Collapse to mono with Utility
- Make sure the groove still feels strong
- If it disappears, your width is doing too much work
A good rule: the important rhythmic accents stay centered, while the hiss, break dust, or top noise can spread out a little.
8. Automate movement so the percussion evolves through the drop
Static percussion gets old fast in DnB. Use automation to keep the layer alive over 8- or 16-bar phrases.
Good automation targets:
- Auto Filter cutoff
- Saturator Drive
- Reverb Dry/Wet
- Utility Width
- EQ Eight high shelf for subtle lift into fills
Example arrangement:
- Bars 1–8: filtered percussion, more muted
- Bars 9–16: open the filter by 10–20%
- Final 2 bars before the switch-up: increase Drive slightly and add a small reverb throw on one accent
- On the drop return, pull everything back tighter for impact
For a 90s-inspired section, you can automate a short reverb tail on the last ghost hit before the next phrase. Keep it small so it feels like space, not wash.
9. Resample a few bars and re-chop the best moments
This is where the sound starts to feel like a real DnB record rather than a loop. Solo the percussion group and resample 4 bars to a new audio track. Then:
- Find the most effective hits
- Slice them again in Simpler or on the Arrangement timeline
- Turn a great accidental texture into a repeatable fill
You can make a new “hero” percussion lick from:
- A reversed tail
- A clipped hat burst
- A distorted rim knock
- A short noise swell leading into the snare
This works especially well for darker DnB because it creates signature details without adding more raw tracks. It also helps when you need a fill for bar 8 or bar 16 in the arrangement.
10. Place the layer in a DJ-friendly arrangement
In a classic DnB arrangement, your percussion layer should help define sections:
- Intro: filtered fragments only, maybe 8–16 bars
- Drop: full version of the percussion layer with bassline interplay
- Mid-drop switch-up: remove one element, add a fill or reverse hit
- Outro: strip the layer back so DJs can mix out cleanly
A practical 16-bar drop idea:
- Bars 1–4: main groove, minimal variation
- Bars 5–8: add a top percussion counter-rhythm
- Bars 9–12: slight saturation increase and one fill
- Bars 13–16: open the pattern, then thin it for the transition
This is very much a bassline category move: the percussion layer should support the phrase shape of the bass, not just sit there as decoration.
Common Mistakes
Fix: high-pass more aggressively with EQ Eight or Auto Filter. If the layer competes with the sub, it stops feeling heavy and starts feeling muddy.
Fix: keep only the strongest fragments. In DnB, less can sound heavier if the rhythm is sharper.
Fix: keep the transient hits centered and use width only on texture. Always mono-check.
Fix: use subtle swing or leave ghost notes slightly loose. Jungle energy often comes from controlled imperfection.
Fix: back off Saturator Drive before you start carving too much high end. A slightly dirty layer is useful; a painful layer is not.
Fix: rewrite the percussion to answer the bass phrases. If the bass is busy, the percussion should simplify.
Pro Tips for Darker / Heavier DnB
- Resample a 2-bar loop, then slice only the best transients
- This gives a more “found sound” jungle texture
- Use Operator noise or a short noise sample in Simpler
- High-pass it above 3–5 kHz
- Great for making ghost hits feel more urgent
- Duplicate the percussion bus
- On the copy, use heavier Saturator and EQ Eight
- Blend it quietly under the clean layer for thickness without losing attack
- Great for pushing percussion forward
- Keep Boom low or off unless you’re shaping a specific tom-like impact
- Move cutoffs in 8- or 16-bar arcs, not randomly
- This keeps the dark vibe musical instead of chaotic
- If your reese holds a note, use thinner percussion
- If the bass stutters, use slightly busier ghost percussion
- The feel often comes from where the accents sit, not from special effects
Mini Practice Exercise
Spend 10–20 minutes building a dark percussion layer around a bassline loop:
1. Make an 8-bar DnB bassline phrase in Operator or Wavetable.
2. Load one breakbeat into an audio track and slice it to MIDI.
3. Extract only 3–5 useful percussion fragments.
4. Add one extra hat, rim, or click layer in Drum Rack.
5. Route everything into a percussion group.
6. Add EQ Eight, Saturator, and Auto Filter.
7. High-pass the group and add just enough drive to rough it up.
8. Write a 4-bar rhythm that answers the bassline.
9. Automate the filter opening over the second half of the loop.
10. Resample the result and re-chop one fill.
Goal: by the end, you should have a loop that feels like a dark jungle percussion hook, not just a drum loop pasted over a bassline.
Recap
If you want the percussion to feel like 90s-inspired darkness, the secret is simple: tight rhythm, controlled dirt, and space for the bassline to breathe.

