Main tutorial
```markdown
Percussion Call & Response: Modern Control with Vintage Tone (DnB in Ableton Live) 🥁⚡
1) Lesson overview
Call-and-response in drum & bass is a conversation between percussion layers: one phrase “asks” (call) and another “answers” (response). Done right, it creates rolling momentum without cluttering the kick/snare.
In this lesson you’ll build a tight, modern-controlled percussion system (clean timing, consistent dynamics, sidechain discipline) while preserving vintage tone (grit, subtle saturation, movement, imperfect texture).
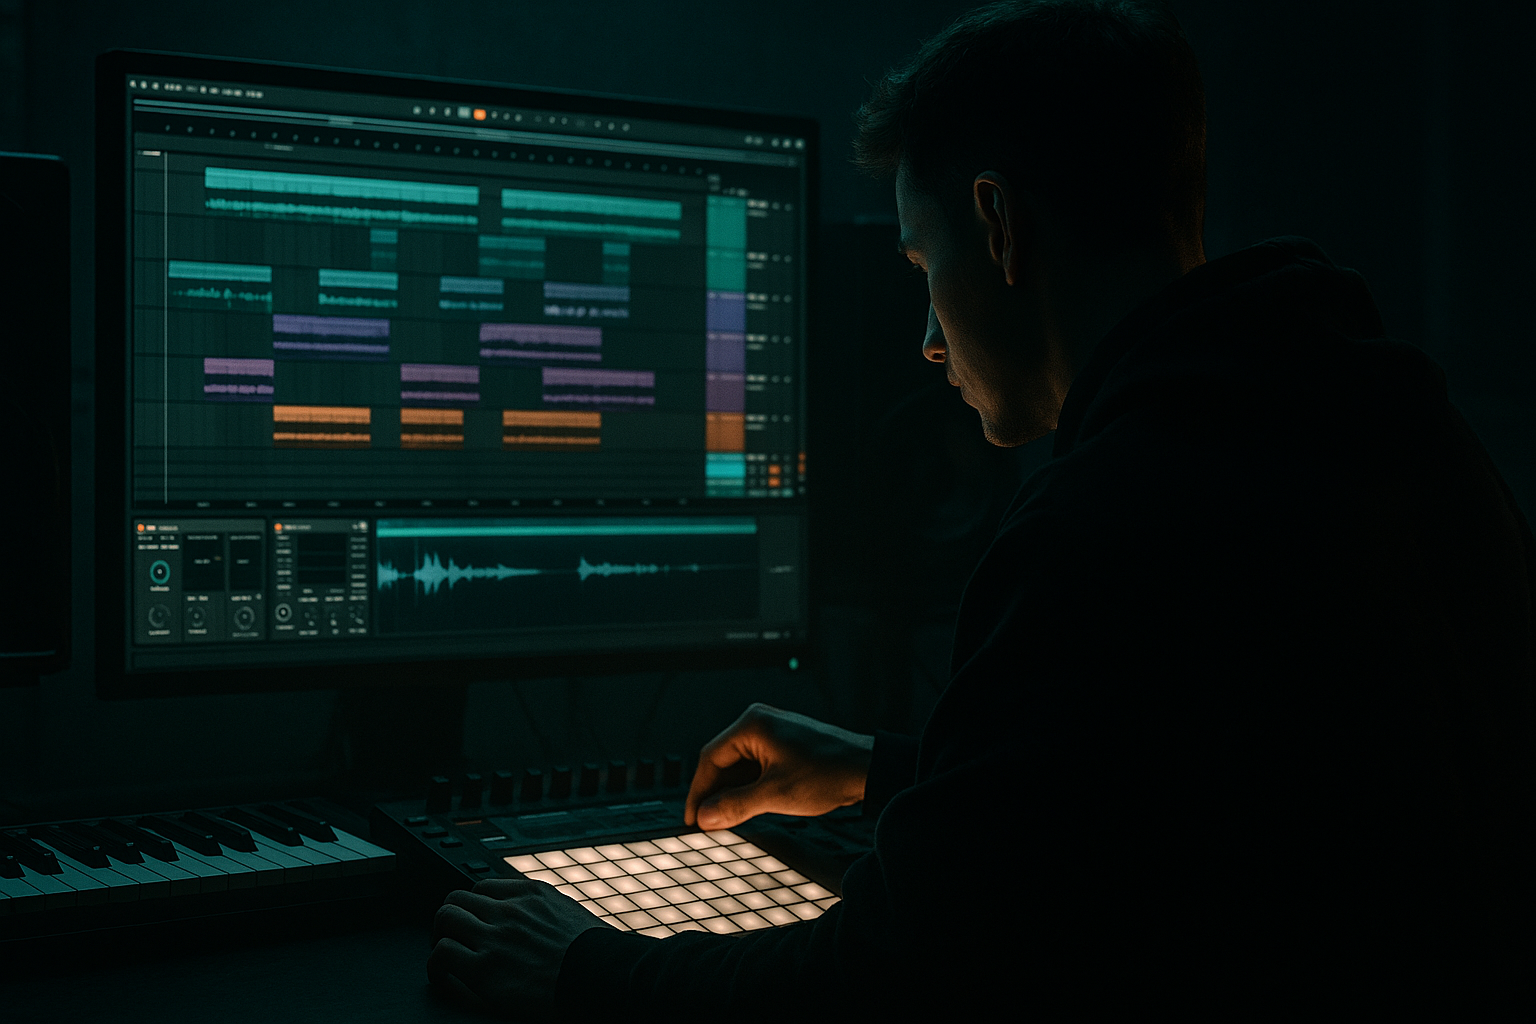
You’ll work in Ableton Live using mostly stock devices: Drum Rack, Simpler, Saturator, Drum Buss, Auto Filter, Echo, Hybrid Reverb, Redux, Roar (if available), Glue Compressor, EQ Eight, plus Groove Pool.
---
2) What you will build
A DnB percussion layer that sits around the main break/2-step:
- Call layer: bright/forward “leader” percussion (rim/clave/wood, shaker burst, tiny bongo hit, hat accent).
- Response layer: darker “reply” percussion (tom, foley tick, brushed hit, filtered hat, ghost conga).
- Both routed to a Percussion Bus with:
- A 2–4 bar arrangement that breathes and evolves like rolling/jungle percussion.
- Call ideas: rimshot, clave, tight shaker, brushed stick, short metal tick
- Response ideas: small tom, conga, foley knock, filtered hat, muted perc
- Drum Rack: best for fast patterning + per-pad processing.
- Simpler (One-Shot mode): great for individual control and quick pitching.
- Slightly imperfect samples (recorded room, older drum machine hits, break-derived one-shots)
- Avoid super-clean EDM “top loops” as your main vibe layer (you can layer them quietly later)
- Use 1/16 grid, then add a few 1/32 nudges.
- Put calls after the snare or leading into it.
- Place hits around:
- Accent 1–2 hits at 90–110
- Ghost the rest at 40–70
- You’re creating a phrase, not a loop of identical taps.
- Nudge 1–2 notes +5 to +12 ms late for pocket.
- Keep one “anchor” hit dead-on grid so it doesn’t feel drunk.
- If the call is bright and up-front, the response should be darker/rounder and slightly more “behind”.
- Put response hits:
- Two soft hits (ghosts) leading into the snare:
- One more obvious reply at the end of the bar to “close the sentence”.
- Transpose -2 to -5 semitones (small tom/conga becomes weighty fast).
- Adjust Start slightly to avoid the click and soften attack.
- Use a gentle distortion model with band split
- Distort mostly mids/highs, keep lows clean.
- Bars 1–2: Call only (establish motif)
- Bars 3–4: Add response quietly (support)
- Bars 5–6: Response gets a variation (extra ghost note or pitch change)
- Bars 7–8: Drop out call for half a bar → response “answers alone” → then both return
- Auto Filter cutoff on response: open slightly every 2 bars
- Send to `TAPE DIRT`: +1–2 dB at phrase endings
- Reverb send: small “tail” on last hit of bar 4/8
- Add a single reverse percussion swell into a snare every 4 or 8 bars (keep it quiet).
- Make the response “shadowy”: low-pass it (6–10 kHz) and add harmonic weight with Drum Buss or Saturator.
- Create tension with repetition + one twist: every 2 bars, add one extra ghost note or flam (don’t rewrite the whole pattern).
- Stereo discipline:
- Transient hierarchy:
- Jungle nod: layer a very low break-derived shaker texture under your programmed hits, then HP at 300–500 Hz.
- Call-and-response percussion is a phrased conversation that adds roll without clutter.
- Use contrast (bright call vs dark response), space, and velocity/micro-timing to make it feel musical.
- Keep it modern with bus glue + snare sidechain, and keep it vintage with parallel dirt + small room.
- Arrange in 2–8 bar sentences so it evolves like real DnB/jungle percussion.
- modern control: EQ, transient/dynamics, sidechain rules
- vintage tone: subtle pitch drift, tape-ish saturation, lo-fi width tricks, room glue
---
3) Step-by-step walkthrough
Step 0 — Session setup (DnB-ready)
1. Tempo: set to 172–176 BPM (try 174).
2. Create these tracks:
- `DRUMS MAIN` (your kick/snare/break core)
- `PERC CALL` (Audio or MIDI)
- `PERC RESP` (Audio or MIDI)
- `PERC BUS` (Return or Group bus)
3. Routing:
- Group `PERC CALL` + `PERC RESP` into a group called PERCUSSION.
- Put bus processing on the PERCUSSION group.
> Goal: keep percussion controlled as one unit, while still allowing call/response contrast inside.
---
Step 1 — Choose “vintage-toned” sources without losing punch
Pick 2–4 one-shots that feel organic:
Ableton workflow options:
Quick vintage vibe checklist:
---
Step 2 — Build the Call pattern (1–2 bar phrase)
Create a MIDI clip on `PERC CALL` (1 bar to start).
Keep it simple, intentional, and slightly syncopated.
DnB-friendly placements (grid tips):
Example (1 bar at 174):
- 1.2.3 (a little nudge after beat 2)
- 1.3.4 (late 16th before beat 4)
- Optional: 1.4.2 (tiny pickup)
Velocity shaping (modern control):
Micro-timing:
> Call should be “readable” even at low volume.
---
Step 3 — Build the Response pattern (answer the gaps)
Duplicate the clip to `PERC RESP`, then remove hits and rewrite to fill spaces left by the call.
Rule of thumb:
Example response strategy:
- right after the call, or
- in the gaps before snare, like little “rolls” that don’t collide with the snare transient.
Try this:
- 1/16–1/32 before the snare, but lower velocity (30–55)
Pitch difference = character
In Simpler on response hits:
---
Step 4 — Glue the groove using Groove Pool (but keep it DnB-tight) 🎛️
1. Open Groove Pool.
2. Load a groove:
- Try Swing 16-XX (start subtle) or
- If you use breaks, extract groove from a break loop (right-click clip → Extract Groove).
3. Apply groove to both `PERC CALL` and `PERC RESP` clips:
- Timing: 10–25%
- Velocity: 5–15%
- Random: 0–5%
> You want “human”, not “house swing.” DnB needs precision with just a hint of push/pull.
---
Step 5 — Per-sound control chains (modern discipline)
Do light corrective processing on each layer before the bus.
#### On `PERC CALL` (make it present but controlled)
Device chain (stock):
1. EQ Eight
- HP filter: 200–400 Hz (steep-ish if needed)
- Small dip if harsh: 3–6 kHz (1–3 dB)
- Optional presence: +1–2 dB around 8–10 kHz (wide)
2. Saturator
- Mode: Soft Sine or Analog Clip
- Drive: 1–3 dB
- Output: match level (don’t get louder just because it’s saturated)
3. Utility
- If it’s too wide/phasey: set Width 80–100%
- Keep call fairly centered so it “leads” reliably.
#### On `PERC RESP` (make it darker and “reply-ish”)
1. Auto Filter
- Low-pass: 6–12 kHz, gentle resonance (5–15%)
- Tiny envelope amount if you want movement: Env +5 to +15
2. Drum Buss
- Drive: 5–15%
- Crunch: 0–10 (watch high-end)
- Boom: usually off for response (unless it’s a tom feature)
3. EQ Eight
- HP at 120–250 Hz to stay out of sub/bass
- If boxy: dip around 300–600 Hz
---
Step 6 — Create the “Vintage Tone” layer (without losing modern mix control) 📼
Here’s the trick: vintage character should be parallel or band-limited so it doesn’t smear transients.
#### Option A: Parallel “Tape Dirt” Return (recommended)
1. Create a Return Track called `TAPE DIRT`.
2. Add:
- Saturator (Analog Clip, Drive 3–6 dB)
- Redux
- Downsample: 10–18 kHz
- Bit reduction: 0–2 (subtle)
- Dry/Wet: 10–25%
- EQ Eight
- HP: 250–500 Hz
- LP: 8–12 kHz (keep it vintage and controlled)
3. Send `PERC CALL` and `PERC RESP` to `TAPE DIRT` lightly:
- Start at -18 to -12 dB send level.
> This adds “age” and texture while your main signal stays punchy.
#### Option B: Roar (if you have it)
---
Step 7 — Percussion bus processing (make it sit like a record)
On the PERCUSSION group, insert:
1. EQ Eight (cleanup)
- HP: 120–200 Hz (depends on how tom-heavy you went)
- Small dip if it fights snare crack: ~2–4 kHz
2. Glue Compressor (light glue)
- Attack: 3–10 ms
- Release: Auto or 0.1–0.3 s
- Ratio: 2:1
- Aim for 1–2 dB gain reduction on peaks
3. Sidechain control (critical in DnB)
- Add Compressor after Glue
- Sidechain from SNARE (and optionally Kick)
- Settings:
- Ratio 3:1
- Attack 0.5–2 ms
- Release 60–120 ms
- Threshold: enough for 1–3 dB duck on snare hits
4. Hybrid Reverb or Reverb (tiny room, vintage glue)
- Decay: 0.3–0.8 s
- Pre-delay: 0–10 ms
- HP: 300–600 Hz
- Dry/Wet: 5–12%
- Keep it small—DnB rooms should imply space, not wash.
> Sidechain makes it “modern.” Subtle room + dirt makes it “vintage.”
---
Step 8 — Arrangement: make call/response evolve over 4–8 bars 🎚️
A rolling loop becomes music when it changes.
Try this 8-bar plan:
Automation ideas (easy, high impact):
DnB/jungle flavor trick:
---
4) Common mistakes
1. Too many hits: call/response needs space or it becomes a messy top loop.
2. Fighting the snare transient: if percussion is snapping at 2 & 4, it will dull your snare. Sidechain or move it.
3. Over-swinging: heavy swing makes DnB feel late and weak. Keep groove subtle.
4. Vintage processing on the whole signal: full-wet lo-fi destroys clarity. Use parallel dirt.
5. Ignoring pitch: pitching percussion is one of the fastest ways to make it sound intentional and “composed.”
---
5) Pro tips for darker/heavier DnB 🖤
- Keep the main call mostly mono/center.
- Widen only the dirt return or a filtered layer (Utility width 120–160% on the parallel).
- Snare > kick > main hats > call > response.
- If response starts sounding like another snare, reduce attack (Simpler fade-in or soften sample).
---
6) Mini practice exercise (15–20 minutes) ⏱️
1. Program a 1-bar call with 3 hits max.
2. Program a 1-bar response with 4 hits max (including 1–2 ghosts).
3. Apply one groove to both at Timing 15%, Velocity 10%.
4. Build a TAPE DIRT return and send both layers lightly.
5. Arrange it across 8 bars using this rule:
- Every 2 bars, change only ONE thing (velocity accent, pitch -2 st, extra ghost, reverb send bump).
6. Bounce/export a quick loop and check:
- Does it roll at low volume?
- Does the snare still punch?
- Can you “hear” the conversation?
---
7) Recap ✅
If you want, tell me whether you’re building around a 2-step or a break-led jungle beat, and what your main snare sounds like—I'll suggest exact hit placements and a matching call/response palette.
```

