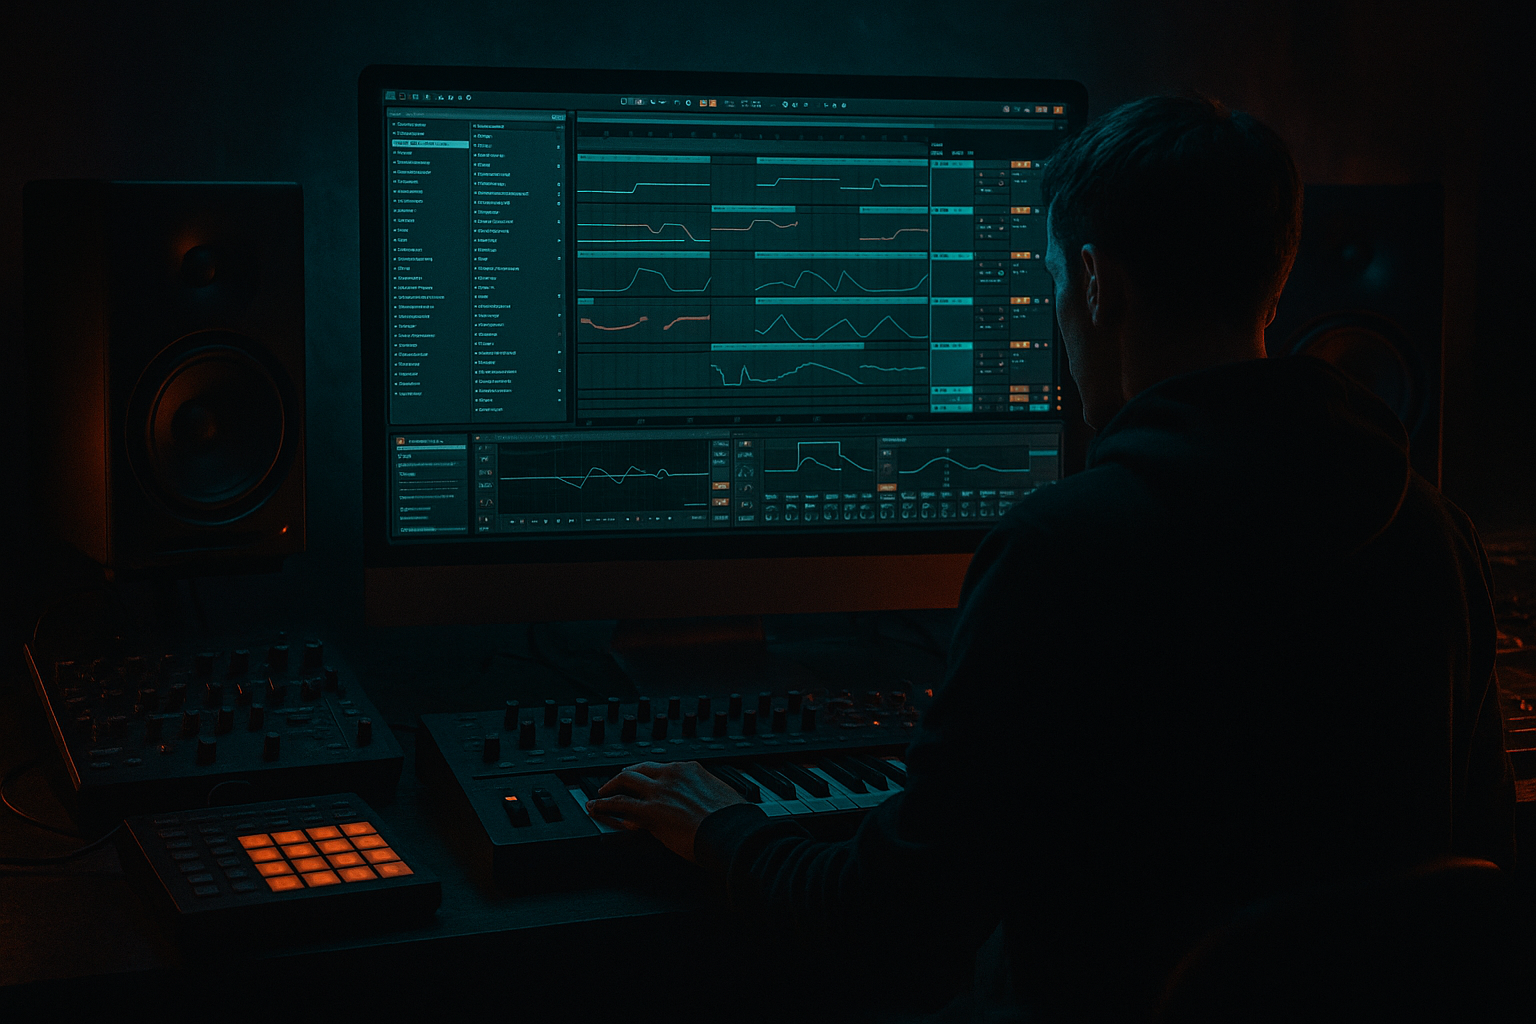
DNB COLLEGE

Drum & Bass Ableton Live 12 Tutorials

LESSON DETAIL

Pad counter-melodies: with clean routing (Intermediate)

An AI-generated intermediate Ableton lesson focused on Pad counter-melodies: with clean routing in the Composition area of drum and bass production.

Back to lessons
Pad counter-melodies: with clean routing (Intermediate) cover image

Narrated lesson audio

The voice track includes the tutorial plus extra teacher commentary.

Open audio file

Main tutorial

```markdown

Pad counter-melodies (with clean routing) — Drum & Bass in Ableton Live 🎛️🌌

1. Lesson overview

Pad counter-melodies in drum & bass are the glue between drums and bass: they add atmosphere, emotion, and forward motion without stealing the spotlight. In rolling DnB/jungle, a pad “answering” your lead or bass phrase can make the drop feel wider and more musical—if it’s routed and controlled properly.

In this lesson you’ll learn:

  • How to write simple, effective pad counter-melodies that sit behind the groove
  • How to set up clean routing (groups, returns, sidechain, EQ lanes) so the pad never muddies the low-end
  • How to arrange pads for intros, drops, and second halves like a proper DnB tune 🔥
  • ---

    2. What you will build

    A tight Ableton Live pad system for DnB that includes:

  • A Pad Instrument Rack (layered, filtered, stereo-managed)
  • Dedicated pad bus routing (Pad Group + Pad Bus processing)
  • Sidechain ducking from the kick/snare (and optional ghost trigger)
  • Return FX for space (reverb/delay) that you can automate cleanly
  • A counter-melody pattern that complements a rolling bassline
  • ---

    3. Step-by-step walkthrough

    Step 0 — Session prep (so routing stays clean)

    Project settings / workflow

  • Tempo: 172–176 BPM
  • Create three main groups:
  • 1. DRUMS

    2. BASS

    3. MUSIC (pads, leads, FX, vocals)

    Inside MUSIC, create a PAD group specifically.

    This is the key: pads get their own lane, their own processing, and don’t “accidentally” hit your bass chain.

    Why this matters: pads are wide + sustained = they mask everything fast. Clean grouping lets you control them like a single instrument later.

    ---

    Step 1 — Write a DnB-friendly counter-melody (fast + effective) 🎹

    We’ll assume your tune is in F minor (common in darker DnB). Your bass might be riding F with movement to Eb/G.

    Rule of thumb for pads in DnB:

  • Keep pad notes above ~200 Hz (either by voicing or filtering)
  • Use short, repeated motifs rather than long chord holds in the drop
  • Counter-melody = response phrase, often syncopated against drums
  • Example: 2-bar counter phrase (notes)

  • Bar 1: Ab (1/2), G (1/4), F (1/4)
  • Bar 2: C (1/2), Bb (1/2)
  • Rhythm idea (classic rolling feel):

  • Let the pad “answer” after the snare:
  • - Put the first note slightly after beat 2 (DnB snare usually on 2 & 4)

    Ableton MIDI tip:

    In the MIDI Clip:

  • Turn on Fold (to stay in key)
  • Use 1/8 or 1/16 grid, but don’t over-quantize—try Quantize Settings: 1/16, Amount 70–85% for groove.
  • ---

    Step 2 — Build your pad sound with stock devices (Instrument Rack)

    Create a MIDI track: PAD – Counter

    Add Instrument Rack and build this chain:

    #### A) Layer 1: Clean body (Wavetable)

  • Wavetable
  • - Osc 1: Basic Shapes → Sine/Triangle-ish (soft fundamental)

    - Osc 2: Basic Shapes → slightly brighter

    - Voices: 6–8

    - Unison: Classic, Amount 20–35%

    - Filter: LP24, cutoff around 600–2k (automate later), drive 1–3

    - Amp Env: Attack 25–60 ms, Release 1.5–3 s (pad tail)

    #### B) Layer 2: Air + texture (Analog or Operator)

  • Operator
  • - Use a brighter waveform (triangle/saw blend)

    - Add subtle Filter LP with cutoff 2–5k

    - Keep this layer quiet: it’s for shimmer, not dominance

    #### C) Glue and control (in the Rack after instruments)

    Add these in order after the instruments:

    1. EQ Eight

    - HP filter: 24 dB/Oct @ 180–300 Hz (start at ~220 Hz)

    - Small dip if boxy: -2 to -4 dB @ 300–600 Hz

    - Gentle shelf if needed: +1 to +3 dB @ 6–10 kHz

    2. Saturator

    - Mode: Soft Sine

    - Drive: 1–3 dB

    - Soft Clip: On

    - This helps pads speak on small speakers without making them loud.

    3. Chorus-Ensemble (or Chorus if older Live)

    - Use subtly—DnB pads get wide quickly.

    - Rate low, Amount moderate. If it gets “seasick,” back it off.

    4. Utility

    - Width: 120–160% (watch correlation—don’t overdo)

    - Bass Mono: On, set around 200–300 Hz

    - Gain: use this for quick balancing

    Checkpoint: Solo with drums+bass. If the pad makes the bass feel smaller, raise the HP filter and reduce width.

    ---

    Step 3 — Clean routing: Pad Group, Pad Bus, Returns (proper pro layout) 🧼

    Now the “clean routing” part that keeps your session pro-grade.

    #### A) Grouping

  • Put PAD – Counter inside your PAD group
  • Any other atmospheric pads go here too (not leads)
  • #### B) Pad Bus processing (on the PAD group)

    On the PAD group track, add:

    1. EQ Eight

    - HP again if needed (150–250 Hz) (small adjustments)

    - Tiny notch if clashing with snare snap (often ~2–4 kHz)

    2. Glue Compressor

    - Attack: 10 ms

    - Release: Auto

    - Ratio: 2:1

    - Aim for 1–2 dB gain reduction max

    This makes multiple pad layers feel like one controlled instrument.

    3. Limiter (optional)

    - Only for safety if you automate reverb/delay heavily.

    #### C) Return tracks for space (clean + automatable)

    Create two Return tracks:

  • A – PAD Verb
  • B – PAD Delay
  • A – PAD Verb (Hybrid Reverb)

  • Mode: Convolution (dark rooms) or Algorithmic (lush)
  • Decay: 2–5 s
  • Pre-delay: 15–30 ms (keeps initial pad clear)
  • EQ in the reverb:
  • - HP 250–500 Hz

    - LP 7–10 kHz (darkens for DnB)

    B – PAD Delay (Echo)

  • Time: 1/8 Dotted or 1/4
  • Feedback: 20–35%
  • Filter: HP 300 Hz, LP 6–9 kHz
  • Modulation: small (adds movement)
  • Routing rule: Keep PAD track dry-ish, send to returns for controlled space. This keeps your mix stable when you automate.

    ---

    Step 4 — Sidechain ducking (kick/snare-friendly pad movement) 🥁➡️🌌

    Pads in DnB must breathe with the drums.

    #### Option 1: Sidechain from the actual kick (simple)

    On PAD group (or on the pad track itself), add Compressor:

  • Sidechain: On
  • Audio From: DRUMS → Kick track (or the kick channel inside the group)
  • Ratio: 4:1
  • Attack: 1–5 ms
  • Release: 80–160 ms (sync by feel)
  • Threshold: set for 2–5 dB reduction on kick hits
  • #### Option 2: Ghost trigger (cleaner + more consistent)

    Create a MIDI track called SC TRIG:

  • Load a short click (Simpler) or a tight closed hat sample
  • Program a pattern: often 1/4 notes, or just on kick + snare moments
  • Set track output to Sends Only (or turn its fader down) so you don’t hear it
  • Then sidechain the pad compressor from SC TRIG.

    This gives consistent ducking even if your kick pattern changes.

    DnB trick: Add a slight duck on snare too for that “breathing around 2&4” pulse.

    ---

    Step 5 — Arrangement: where pads should enter and evolve (DnB structure) 🧱

    Pads work best when they evolve across sections:

    Intro (16–32 bars)

  • Wider pad, more reverb, less sidechain
  • Filter closed (LP lower), gradually open
  • Add subtle pitch drift or slow LFO for life
  • Build

  • Reduce reverb size slightly (tighten)
  • Introduce the counter-melody rhythm (shorter MIDI notes)
  • Drop (first 16–32 bars)

  • Less reverb, more definition
  • Stronger sidechain
  • Counter-melody becomes more rhythmic (1/8/1/4 pulses)
  • Second half / variation

  • Transpose counter phrase up +3 or +5 semitones for lift
  • Or swap one chord tone (e.g., Ab → A natural for tension) briefly
  • Automate width slightly narrower during densest drum fills
  • ---

    4. Common mistakes 🚫

    1. Pads too low-frequency

    - If your pad has energy below 150–250 Hz, it will fight the bass every time.

    2. Over-wide stereo that collapses in mono

    - Check with Utility → Width 0% temporarily to confirm it still feels present.

    3. Too much reverb in the drop

    - Big verb during full drums = instant haze. Use sends and automate down on impact.

    4. Counter-melody is actually a lead

    - If you notice yourself “following the pad,” it’s too dominant. Lower velocity, soften attack, filter more.

    5. Messy routing

    - Pads scattered across tracks with random reverbs = hard to mix and impossible to automate cleanly.

    ---

    5. Pro tips for darker/heavier DnB 🖤🔩

  • Dissonance in moderation: Try adding a note a semitone away briefly (passing tone) right after the snare for tension.
  • Resample and degrade: Freeze/Flatten the pad, then use:
  • - Redux (very light) or

    - Saturator + EQ Eight for gritty tone

  • Make space for the Reese: If your bass is wide/chorused, keep pads narrower (Utility width closer to 100–120%) and push them higher in pitch.
  • Movement without chaos: Use Auto Filter on the PAD group:
  • - LFO Rate: 1/8 or 1/4

    - Amount: small

    - This creates subtle rhythmic breathing that locks to tempo.

  • Clip automation > device tweaking: Automate filter cutoff and send amounts in Arrangement View for repeatable results.
  • ---

    6. Mini practice exercise 🎯

    1. Pick a key (e.g., F minor).

    2. Program a 2-bar bass loop and a rolling drum loop.

    3. Create a pad counter-melody using only 3–5 notes total.

    4. Build the pad rack:

    - Wavetable + Operator layers

    - EQ Eight HP at ~220 Hz

    - Saturator (1–3 dB)

    5. Route it into a PAD group with:

    - Glue Compressor (1–2 dB GR)

    - Sidechain Compressor (2–5 dB GR) triggered by kick or ghost

    6. Add PAD Verb return and automate:

    - High send in intro

    - Low send at drop

    7. Bounce a 16-bar loop and listen on low volume:

    - If the pad still reads emotionally at low volume without muddying the bass, you nailed it.

    ---

    7. Recap ✅

  • A great DnB pad counter-melody is simple, syncopated, and filtered to stay out of the bass.
  • Clean routing = PAD group + bus processing + return FX + sidechain.
  • Use Ableton stock tools:
  • - Wavetable/Operator, EQ Eight, Saturator, Utility, Glue Compressor, Hybrid Reverb, Echo

  • Arrange pads like a producer: wide + wet in intro, tighter + ducked in drop, with subtle evolution.

If you want, tell me your track key + vibe (liquid, neuro, jungle rollers, dark minimal), and I’ll suggest a specific 2–4 bar counter-melody and an exact pad rack macro layout for it. 🎚️

```

Ask GPT about this lesson

Chat with the lesson tutor, get follow-up help, or use quick actions.

Bigup 👽 Ask me anything about this lesson and I’ll answer in context.

Narration script

Show spoken script
Title: Pad counter-melodies: with clean routing (Intermediate)

Alright, let’s build something that instantly makes a drum and bass track feel wider, deeper, and more emotional… without messing up the punch of your drums or the weight of your bass.

This lesson is all about pad counter-melodies, and specifically doing them with clean routing in Ableton Live. Because pads are sneaky: they sound gorgeous solo, and then the moment the full drop hits, they can mask your bass, blur your snare, and smear the whole mix. The goal is to get the musical benefit of pads, with none of the mess.

By the end, you’ll have a pad setup that behaves like a pro session: a pad instrument rack, a dedicated pad group with bus processing, returns for reverb and delay that you can automate cleanly, and sidechain ducking that makes the pad breathe with the groove.

Let’s jump in.

First, session prep. This is the boring part that saves you later.

Set your tempo somewhere in the classic DnB range: 172 to 176 BPM.

Now create three main groups in your project: DRUMS, BASS, and MUSIC. MUSIC is where all your musical layers live: pads, leads, vocals, FX. Inside MUSIC, create another group called PAD.

This is the whole “clean routing” philosophy in one move: pads get their own lane. Not scattered across random tracks with random reverbs. When pads are grouped, you can control them like one instrument: one EQ strategy, one sidechain strategy, one automation lane for space and width. That’s how you keep the low-end safe.

Now let’s write the actual counter-melody.

We’re going to assume a dark DnB-friendly key: F minor. Super common. Your bass is probably anchored around F with little moves to Eb or G. Perfect.

Here’s the mindset: write the pad like a second vocalist, not a chord bed. It should answer your main idea, not copy it. And a quick test I use all the time: mute your lead. If the pad suddenly becomes the hook, it’s doing too much. The pad should support the groove, not steal the spotlight.

Also, aim for upper-mid intention, not low-mid emotion. In drum and bass, a lot of the emotion comes from interval choices and movement, not from big low chords. So keep pad notes higher, and let tone, rhythm, and space provide the mood.

A simple two-bar example in F minor could go like this.

Bar one: Ab for half a bar, then G for a quarter, then F for a quarter.
Bar two: C for half a bar, then Bb for half a bar.

That’s it. Five notes. The simplicity is the power.

Rhythm is where it starts to feel like DnB. Instead of landing exactly on the downbeat, try letting the first note arrive just after beat two, right after the snare. In most DnB, the snare is on two and four, and a pad that “answers” after the snare creates that rolling conversation with the drums.

In Ableton, make a MIDI clip, turn on Fold so you stay in key, and use an eighth-note or sixteenth-note grid. But don’t hard-quantize everything. Try quantize settings at one-sixteenth, but only 70 to 85 percent. You want it tight, but not robotic.

Cool. Now sound design: we’ll build a pad that sits behind the groove using only stock Ableton devices.

Create a MIDI track and name it PAD – Counter.

Drop an Instrument Rack on it. We’ll use two layers: one for body, one for shimmer.

Layer one is your clean body. Add Wavetable. Choose Basic Shapes, go for a sine-ish or triangle-ish tone on Osc 1, and a slightly brighter option on Osc 2. Set voices around six to eight. Turn on unison, Classic mode, and keep the amount subtle, like 20 to 35 percent. That gives width without turning into a blurry mess.

Put a low-pass filter on it, LP24. Start the cutoff somewhere between 600 Hz and 2 kHz. We’ll automate this later. Add a tiny bit of drive, like one to three, just to give it presence.

Then set the amp envelope like an actual pad: attack around 25 to 60 milliseconds, and release around 1.5 to 3 seconds. You want a tail, but you don’t want it to wash over every drum hit.

Layer two is air and texture. Add Operator. Use something a little brighter, like a triangle or saw blend, and then tame it with a low-pass filter around 2 to 5 kHz. And keep this layer quiet. It’s not the pad. It’s the sheen on the pad.

Now, after the instruments in the rack, we add the control chain.

First, EQ Eight. This is non-negotiable in DnB pads.
High-pass it hard: 24 dB per octave, somewhere around 180 to 300 Hz. A good starting point is about 220 Hz.
If it feels boxy, do a small dip in the 300 to 600 area, maybe two to four dB.
And if it needs just a touch of air, do a gentle shelf up one to three dB around 6 to 10 k.

Second, Saturator. Soft Sine mode, drive one to three dB, soft clip on. This helps the pad read on smaller speakers without simply turning it up.

Third, Chorus-Ensemble, very subtle. DnB pads get wide fast. If it starts feeling seasick, you’ve gone too far. Back off.

Fourth, Utility. Set width around 120 to 160 percent, but don’t go wild. And turn on Bass Mono around 200 to 300 Hz. Even though we’re high-passing, this is an extra safety net to keep the pad stable in mono and out of the sub’s territory.

Quick checkpoint: play drums and bass, then bring the pad in. If the bass suddenly feels smaller, don’t turn the pad down first. Raise the high-pass frequency a bit, and reduce width. Pads often “steal size” by masking, not by volume.

Now let’s do the clean routing part: grouping, busing, and returns.

Put PAD – Counter inside your PAD group. Any other atmospheric pads go in there too, but not your lead. Leads should live elsewhere so your pad bus doesn’t accidentally reshape your hook.

On the PAD group track itself, add bus processing.

Start with EQ Eight. You might add a little extra high-pass between 150 and 250 if needed, but keep it gentle because you already filtered the individual pad.

Also listen for snare clarity. Pads often blur that snare snap zone, commonly around 2 to 4 kHz. If the snare suddenly feels less “present,” make a tiny notch on the pad bus, just one to three dB. Small moves. We’re mixing, not carving a statue.

Then add Glue Compressor. Attack 10 milliseconds, release on Auto, ratio 2:1. You only want one to two dB of gain reduction. This is just to make multiple pad layers feel like one controlled instrument, not to squash anything.

Optional: a limiter for safety if you know you’ll be automating heavy reverb and delay later.

Now the space. Space should be on returns, not slapped directly on the pad track, because returns give you consistency and easy automation.

Create two return tracks.
Return A: PAD Verb.
Return B: PAD Delay.

On PAD Verb, load Hybrid Reverb. Use either a darker convolution room or an algorithmic lush mode. Set decay around 2 to 5 seconds. Predelay around 15 to 30 milliseconds so the pad stays clear at the start and the reverb blooms behind it.

Inside the reverb EQ, high-pass the reverb itself around 250 to 500 Hz. Low-pass around 7 to 10 kHz to keep it dark and DnB-friendly.

On PAD Delay, load Echo. Set the time to one-eighth dotted or one-quarter, feedback around 20 to 35 percent. Filter it: high-pass around 300 Hz, low-pass 6 to 9 kHz. Add only a little modulation for movement.

And here’s the routing rule: keep the pad track relatively dry. Use sends for space. That way when the drop hits, you can pull the sends down and the whole mix tightens instantly, without changing the musical part.

This is basically a two-lane pad workflow: PAD DRY is the musical information, PAD WET is the space. It makes automation simple and your drop stays punchy.

Now we make it breathe: sidechain ducking.

Option one is sidechain from your actual kick. Add a Compressor on the PAD group. Turn on sidechain. Set Audio From to your kick track. Ratio 4:1. Attack one to five milliseconds. Release around 80 to 160 milliseconds. Then set threshold so you get about two to five dB of gain reduction on each kick.

But there’s an even cleaner option: ghost sidechain.

Create a MIDI track called SC TRIG. Put a very short click in Simpler, or a tight closed hat sample. Program a pattern that hits where you want the pad to duck. Common approach is quarter notes, or just matching kick and snare moments. Then make sure you don’t actually hear it: set its output so it’s silent, like Sends Only, or pull the fader all the way down.

Now set the pad sidechain input to SC TRIG instead of the kick. This keeps your ducking consistent even if the drum pattern changes, and it often feels more controlled.

DnB trick: duck slightly on the snare as well. That breathing around two and four is part of the genre’s pulse.

And one more advanced clean-mix move: pre-duck your reverb. Put a compressor on the PAD Verb return, key it from the same SC TRIG, and duck the reverb tail one to three dB on hits. The pad can stay lush, but the groove stays readable. Huge difference in busy drops.

Now let’s talk arrangement, because pads aren’t just a sound. They’re a structure tool.

In the intro, you can go wider, wetter, less sidechain. Close the filter more, and slowly open it so the track feels like it’s revealing itself. Add subtle movement, like a slow LFO or gentle drift.

In the build, tighten the reverb slightly. Start introducing the counter-melody rhythm, maybe shorter notes, so it becomes more “call and response” and less “background fog.”

In the drop, go tighter. Less reverb send, stronger sidechain, and more rhythmic note lengths. Think eighths and quarters, not long held chords. If you want that pad feeling without the mix problems, do “answer chord” stabs: shorten the notes to eighths or quarters, increase release a bit, and let the reverb tail fill the gap.

For the second half variation, you have a few easy moves.
Transpose the counter phrase up three or five semitones for lift.
Or keep the same notes but shift the clip by plus or minus one-sixteenth note. Same harmony, different pocket, instant evolution.
Or do a mix-based evolution: turn layer one down one or two dB, layer two up one or two dB, and open the filter slightly. It feels like a new pad without rewriting anything.

And here’s a really effective drop trick: create an air pocket. On the very first kick of the drop, mute the pad for about one-eighth note, or automate the pad bus Utility gain to negative infinity for that tiny moment. The drop hits harder, and then the pad blooms after impact. It sounds intentional and expensive.

Let’s cover common mistakes so you can avoid the classic pad disasters.

Mistake one: pads too low. If your pad has energy below about 150 to 250 Hz, it will fight the bass. Every time. High-pass and voice higher.

Mistake two: too wide, collapses in mono. Do a mono check: throw Utility on the pad bus, set width to zero. If the pad disappears, you relied too much on stereo tricks. Bring more stable mid content back in.

Mistake three: too much reverb in the drop. Big drums plus big verb equals haze. Use sends and automate down on impact.

Mistake four: the counter-melody is actually a lead. If you find yourself following the pad line emotionally more than the bass or lead, it’s too dominant. Filter more, lower velocity, soften brightness, or reduce note density.

Mistake five: messy routing. Random reverb on each track makes it impossible to automate and impossible to mix fast. Group and return everything.

Now, one coach technique that upgrades your mixing decisions: mask-checking.

Put an EQ Eight on your BASS group temporarily. While the pad plays, sweep a narrow boosted bell between 200 and 600 Hz. If the bass suddenly loses definition at a certain spot, that’s not a mystery. That’s your pad conflict zone. Go to the pad bus EQ and cut that frequency by one to three dB. You just solved the problem with evidence, not guessing.

Also, for sidechain consistency: set your compressor so the pad ducks about the same amount each hit. Then, if you want musical dynamics, automate Utility gain, or automate the pad’s MIDI velocity. That prevents random pumping when your voicing changes.

Now a quick practice plan you can do in one sitting.

Pick a key, like F minor. Program a two-bar bass loop and a rolling drum loop. Create a pad counter-melody using only three to five notes total.

Build the pad rack: Wavetable plus Operator. EQ high-pass around 220 Hz. Saturator one to three dB. Utility for width and bass mono.

Route it to the PAD group. Add Glue Compressor for one to two dB of control. Add sidechain for two to five dB of ducking, either from kick or a ghost trigger.

Set up PAD Verb return. In the intro, push the send up. In the drop, pull it down. Bounce a 16-bar loop and listen at low volume. That low-volume test is real: if you still feel the harmony emotionally without mudding the bass, you nailed it.

Let’s recap the core idea.

A great DnB pad counter-melody is simple, syncopated, and filtered to stay out of the bass. Clean routing is the difference between a cool idea and a mix that actually survives the drop: pad group, bus processing, return FX, and sidechain.

And remember: pads aren’t there to be impressive. They’re there to make everything else feel bigger.

If you tell me your track key and whether your bass is more subby or more wide Reese-style, I can suggest two counter-melody interval sets: one “safe,” one “tense,” plus a macro layout for your pad rack so you can automate like a machine.

mickeybeam

Go to drumbasscd.com for +100 drum and bass YouTube channels all in one place - tune in!

Generating PDF preview…