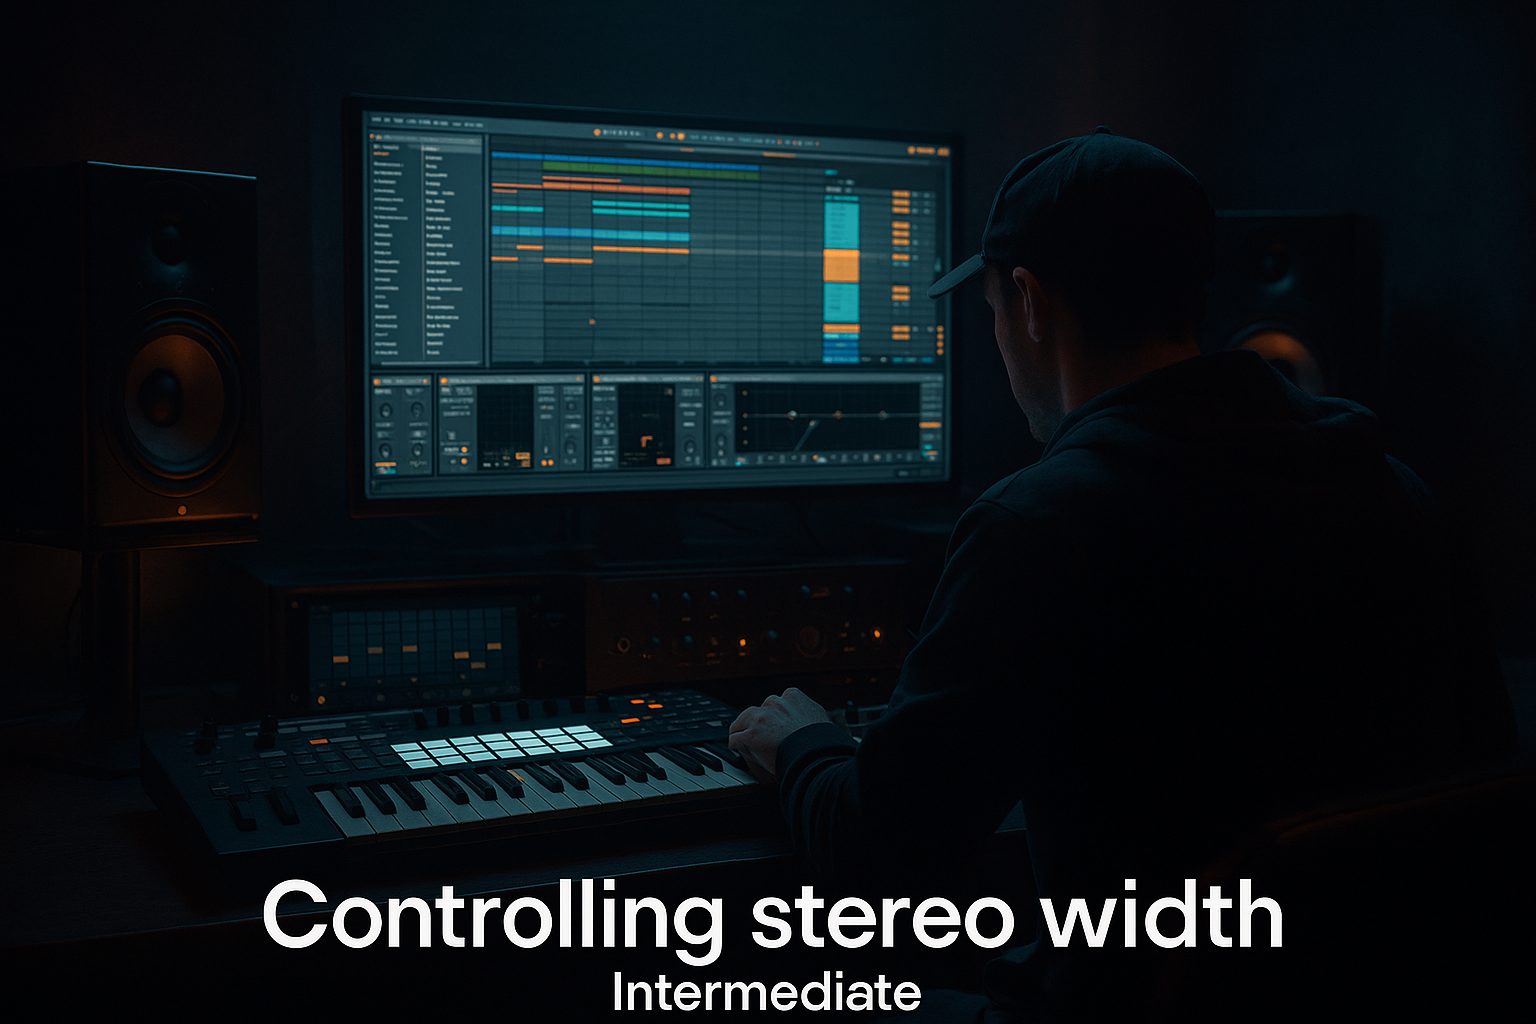
Main tutorial
Oldskool Rave Bass Hooks Masterclass (Clean Routing) — Ableton Live (DnB/Jungle) 🎛️🔊
1. Lesson overview
In this lesson you’ll build classic oldskool rave-style bass hooks (think early jungle / rave stabs turned into bass riffs) while keeping your Ableton project super clean, mix-ready, and easy to arrange.
We’ll focus on:
- A two-layer bass system (Sub + Rave Hook layer)
- Clean routing with Groups, Returns, and resampling
- Movement via filtering, saturation, chorus/unison, and automation
- DnB-friendly mix control: mono sub, controlled mids, tight transients
- Sub (mono, solid, consistent)
- Rave Hook layer (mid-bass / reese-ish / hoover-ish vibe with oldskool attitude)
- A Bass Bus for glue + safety processing
- Optional FX returns for reverb/delay without washing out the low end
- Inside it, create:
- `A - Bass Room` (short reverb)
- `B - Echo Throw` (tempo delay)
- Group your drums into `DRUM BUS`
- Your bass already has `BASS` group
- `SUB` sends = OFF (no reverb/delay, ever)
- `RAVE HOOK` can use sends but keep them subtle
- Both layers output to the `BASS` group (default)
- Offbeat + syncopation (leave space for snare)
- Short “call and response” phrases
- Repeating 2-bar motif with 1–2 notes changed in bar 4/8
- Bars 1–8: simpler bass rhythm (rolling)
- Bars 9–16: introduce the rave hook phrase
- F / F# / G (common heavy roots)
- Minor scale vibes (dark but musical)
- Write the `SUB` first (simple rhythm)
- Duplicate MIDI to `RAVE HOOK`
- Then change only a few notes on the hook layer so it “sings” without wrecking the low end.
- Sidechain: ON
- Input: Kick track
- Ratio: 4:1
- Attack: 0.1–3 ms
- Release: 50–120 ms (tune to groove)
- Threshold: set for 2–5 dB gain reduction
- Hybrid Reverb (or Reverb)
- Decay: 0.4–0.9s
- Predelay: 10–25 ms
- High-pass in the reverb (or EQ after):
- Send only from `RAVE HOOK`, very low (like -20 to -12 dB send)
- Echo
- Time: 1/8 or 1/4 (sync)
- Feedback: 15–35%
- Filter: roll off lows heavily
- Automate sends on the last note of a phrase for classic throw effects 🎯
- Filter cutoff (Auto Filter or Simpler filter)
- Distortion drive (Saturator Drive)
- Reverb send (tiny boosts at phrase ends)
- Pitch envelope amount (if using Simpler/Wavetable) for “yelp” moments
- 1–4: drums + sub only (tease)
- 5–8: introduce hook quietly (filter closed)
- 9–12: hook full (filter opens)
- 13–16: variation (different last 2 notes + delay throw)
- Minor 2nd notes = instant menace: add a quick passing note one semitone above/below the root in the hook.
- Layer controlled noise: on `RAVE HOOK`, add a tiny noise layer (Operator noise or Wavetable noise) and distort it lightly for aggression.
- Parallel grit: duplicate `RAVE HOOK`, high-pass harder (200–400 Hz), smash it with Saturator/Drum Buss, then blend low.
- Mid/Side discipline: keep sub mono, allow width in 300 Hz+ but check mono often (Utility width toggle).
- Call-and-response with breaks: leave holes where an Amen fill or snare ghost can speak—dark DnB is about space as much as weight.
- You built a two-layer DnB bass system: clean mono SUB + character RAVE HOOK.
- You used clean routing (Group + Returns) so your mix stays organized and controllable.
- You shaped the hook using filtering, saturation, chorus/unison, automation, and optional resampling.
- You arranged it like real DnB: tease → reveal → variation, with space for drums and breaks. 🔥
Skill level: Intermediate — you should already be comfortable with MIDI clips, basic synthesis, and Ableton’s mixer.
---
2. What you will build
A modern DnB-ready bass setup that delivers:
By the end, you’ll have a 16-bar rolling DnB loop with an 8-bar hook that feels like it could sit in jungle / 94-style rave, but hits clean like modern productions. 🚀
---
3. Step-by-step walkthrough
Step 0 — Session prep (tempo, meters, and a reference)
1. Set tempo to 170–174 BPM (try 172).
2. Create a basic drum loop (or load a break + modern drums) so you can write bass to the groove.
- If you don’t have drums yet: drop a Drum Rack with a tight kick + snare and a simple hat pattern.
3. Add a reference track (optional) and turn it down.
---
Step 1 — Clean routing blueprint (do this first) 🧼
We’ll build a routing structure that makes mixing and resampling painless.
#### Tracks to create:
A) Group: `BASS`
1. `SUB` (audio/MIDI track)
2. `RAVE HOOK` (audio/MIDI track)
3. (Optional) `MID SUPPORT` (for extra grit or resampled layer)
B) Returns
C) Mix busses (optional but recommended)
#### Routing rules:
---
Step 2 — Build the SUB (simple, reliable, and mono) 🧱
Device choice: Operator (stock, perfect for subs)
1. On `SUB`, load Operator.
2. Oscillator A:
- Waveform: Sine
3. Envelope:
- Attack: 0–5 ms
- Decay: short or medium (depends on your bass rhythm)
- Sustain: -inf to taste (or keep sustain up for sustained notes)
- Release: 60–120 ms (avoid clicks)
4. Add Saturator after Operator:
- Drive: 2–6 dB
- Soft Clip: ON
- Output: adjust so it’s not louder, just richer
5. Add EQ Eight:
- Low cut: OFF (don’t cut the sub fundamental)
- Gentle dip around 200–350 Hz if it boxes up
6. Add Utility (last):
- Width: 0% (force mono)
- Gain: adjust later for balance
✅ Goal: a sub that is boring in solo and perfect in the mix.
---
Step 3 — Create the RAVE HOOK source (two strong methods) 🎹
#### Method 1 (fast + authentic): Resampled rave stab turned bass hook
This is the “oldskool” sauce.
1. Find/load a rave stab or hoover stab sample (short chord hit).
2. Put it in Simpler (Classic mode).
3. Set Simpler:
- Warp: OFF (Simpler doesn’t warp like audio clips, but keep it “clean”)
- Snap: ON (optional)
- Voices: 1 (start mono for tightness)
- Glide: OFF for now
4. Shape it:
- Filter: LP24
- Cutoff: start around 200–800 Hz depending on how bright the stab is
- Drive: 2–6
- Envelope amount: small to medium (so the note has “pluck”)
Now turn it into a bass hook:
5. Add Saturator:
- Drive 4–10 dB (oldskool stabs love distortion)
- Soft Clip ON
6. Add Redux (optional, careful):
- Downsample: 2–6 (subtle!)
- Bit reduction: tiny or none (DnB doesn’t need full 8-bit unless you want it)
7. Add Auto Filter after distortion:
- Use as a movement filter
- Map cutoff to a Macro (we’ll automate it)
#### Method 2 (synth): “Rave reese/hoover-ish” in Wavetable
If you want it purely synth-based:
1. On `RAVE HOOK`, load Wavetable.
2. Osc 1:
- Choose something harmonically rich (e.g., Saw family)
3. Osc 2:
- Slightly different wavetable or another saw-ish wave
4. Detune:
- Unison: 2–4 voices
- Amount: 10–25%
5. Filter:
- LP24
- Drive: medium
6. Add Chorus-Ensemble (stock, great for width):
- Mode: Chorus
- Amount: 10–25%
- Rate: slow
7. Add Saturator and EQ Eight after.
✅ Either way: you want a mid-bass/hook that sounds ravey, not like modern neuro bass.
---
Step 4 — Write a hook that screams “oldskool” (but rolls like DnB) 🏁
Open a MIDI clip on both `SUB` and `RAVE HOOK`. Keep them rhythmically linked.
DnB/jungle hook patterns that work:
#### Practical example (16 bars, hook on bars 9–16)
Tip: In oldskool jungle, the hook often lands around:
Workflow suggestion:
---
Step 5 — Tighten the relationship: sub stays clean, hook gets character 🎯
#### On `RAVE HOOK` add:
1. EQ Eight
- High-pass around 80–120 Hz (important!)
- Gentle presence boost around 1–3 kHz if it needs bite
2. Compressor (optional, for control)
- Ratio: 2:1–4:1
- Attack: 10–30 ms
- Release: 50–120 ms
- Aim for light GR (1–3 dB)
#### Sidechain (DnB essential)
On the `BASS` group (or just on `SUB`, depending on your style), add Compressor with sidechain from the kick:
This keeps your low end punchy and stops kick/sub fights. ✅
---
Step 6 — Bass Bus processing (glue + safety) 🧩
On the `BASS` group, keep it minimal and purposeful:
Suggested chain:
1. EQ Eight
- Tiny cut around 250–400 Hz if muddy
- Tiny dip around 2–4 kHz if harsh (depends on your hook)
2. Glue Compressor
- Attack: 10 ms
- Release: Auto or 0.1–0.3s
- Ratio: 2:1
- Aim for 1–2 dB glue, not smashing
3. Limiter (safety, not loudness)
- Ceiling: -0.3 dB
- Only catching peaks (1–2 dB max)
---
Step 7 — Returns: “Oldskool space” without ruining the low end 🌫️
#### Return A: `Bass Room` (Reverb)
- EQ Eight after reverb: high-pass around 200–400 Hz
#### Return B: `Echo Throw` (Delay)
---
Step 8 — Automation & arrangement: make it a hook, not a loop 🧠
Oldskool rave energy comes from movement.
Automate these on the `RAVE HOOK`:
#### 16-bar arrangement idea (DnB-friendly)
---
Step 9 — Resample for extra grit (optional, very DnB) 🎚️
Resampling is where oldskool sound design becomes “yours.”
1. Create a new audio track: `RAVE RESAMPLE`.
2. Set its input to Resampling (or the `RAVE HOOK` track output).
3. Record a few bars of the hook.
4. Warp mode:
- Try Beats (for choppy) or Complex Pro (if tonal)
5. Chop the audio into new rhythms.
6. Process with:
- Drum Buss (Drive low, Crunch small)
- Auto Filter for rhythmic gating
- Utility for mono compatibility checks
---
4. Common mistakes (and how to fix them) ⚠️
1. Letting the hook layer have too much low end
- Fix: high-pass `RAVE HOOK` around 80–120 Hz.
2. Stereo sub
- Fix: Utility on `SUB` at Width 0%.
3. Over-distorting the whole bass group
- Fix: distort the hook layer, not the sub; keep bus gentle.
4. No sidechain / poor release timing
- Fix: adjust release until the bass “breathes” with the kick.
5. Too much reverb on bass
- Fix: use short room, HP the reverb return, and send lightly.
---
5. Pro tips for darker/heavier DnB 🕶️
---
6. Mini practice exercise 📝
Goal: 8-bar hook + clean routing, ready for a drop
1. Build the routing exactly as described (`SUB`, `RAVE HOOK`, `BASS` group, 2 returns).
2. Write a 2-bar bass motif in F minor (or your preferred key).
3. Duplicate it to make 8 bars, then change:
- The last note of bar 4
- Add a delay throw on the last note of bar 8
4. Add automation:
- Filter opens gradually from bar 1→8 on the hook layer
5. Export a quick bounce and listen on:
- Headphones
- Mono check (Utility width 0% on master temporarily)
Deliverable: a clean 8-bar bass section that feels like it could drop under a rolling break.
---
7. Recap ✅
If you tell me your target vibe (94 jungle, happy hardcore edge, darker techstep, modern rollers with oldskool hook), I can suggest a specific scale, rhythm template, and device chain tailored to that sound.

