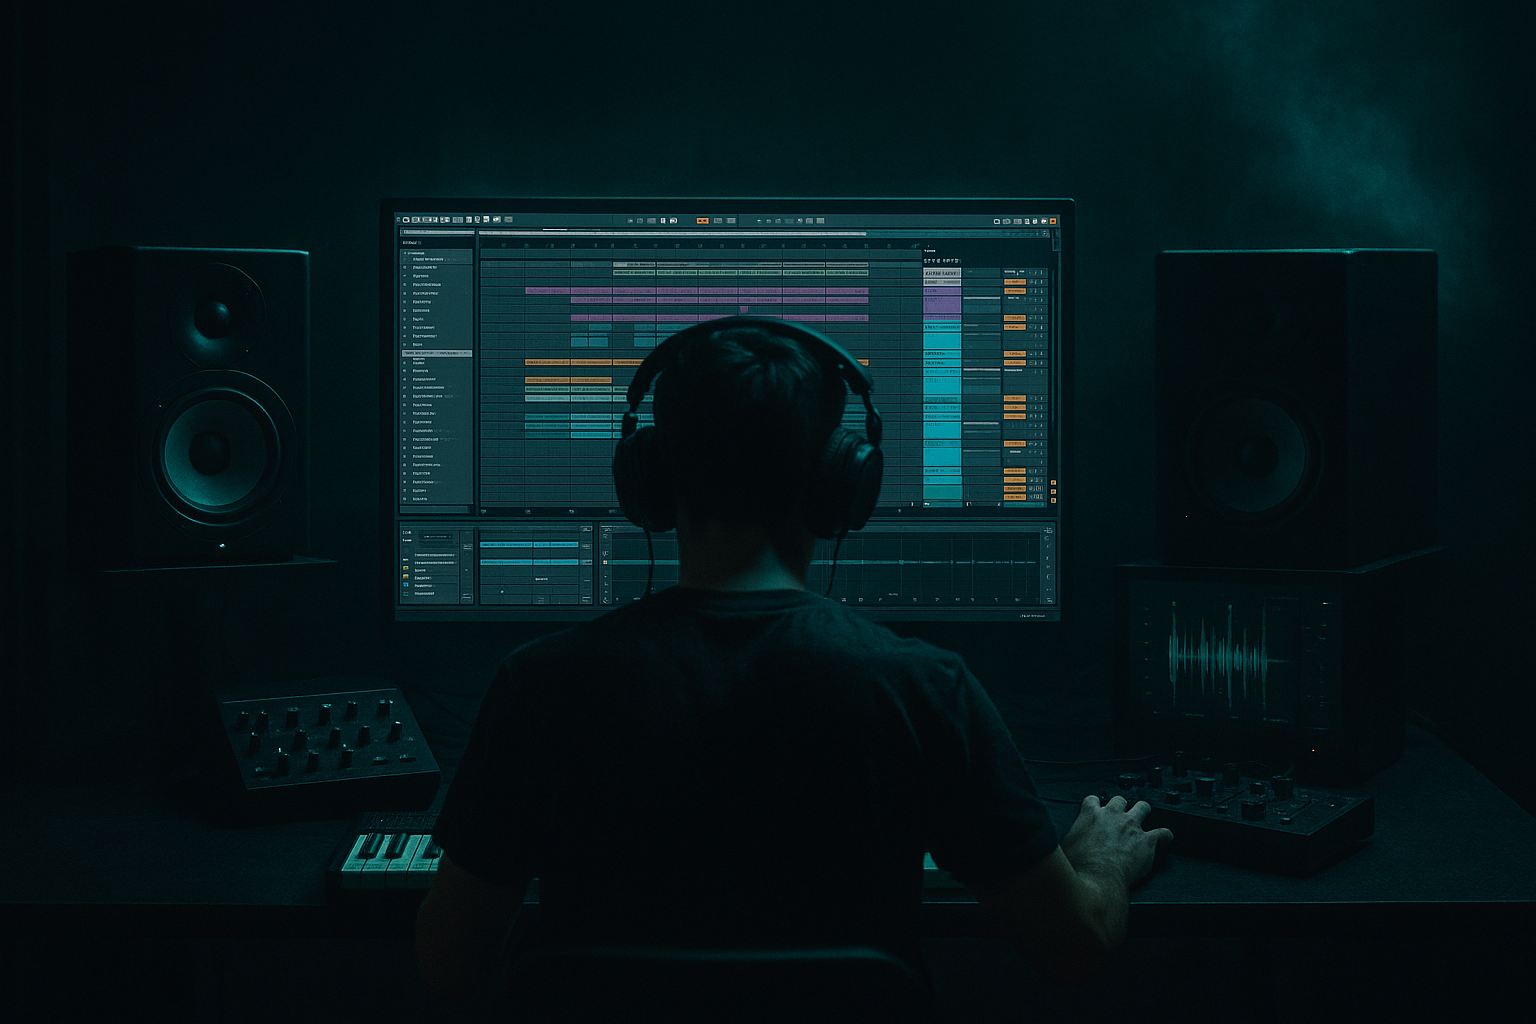
Main tutorial
Lesson Overview
This lesson is about rebuilding an oldskool VHS-rave stab in Ableton Live 12 and making it function like a real jungle / oldskool DnB groove element, not just a nostalgia pad. The target is that hard-to-describe sound you get from late-80s / early-90s rave synth chords: short, brassy, slightly pitch-wobbled, noisy, and laced with that worn tape character. In a DnB track, this kind of stab usually lives as a hook, call-and-response hit, or tension punctuation between break phrases and bass movement.
Why it matters: a well-built stab gives you instant identity and movement without crowding the sub. Musically, it can make a simple drum loop feel like a full tune. Technically, it teaches you how to keep the midrange alive, the low-end clean, and the stereo width controlled while still sounding dirty and old. For jungle and oldskool DnB, this is especially valuable because the genre thrives on short, memorable motifs that can be repeated, chopped, and re-voiced across the arrangement.
By the end, you should be able to create a stab that sounds sampled, worn, rhythmic, and intentionally imperfect—something that can sit on top of breaks and bass without flattening the groove. A successful result should feel like it could come from a battered rave tape: aggressive but musical, compact but alive, and immediately usable in a drop or turnaround.
What You Will Build
You will build a short, punchy VHS-rave stab made from a simple chord or synth hit, then degrade and shape it into an oldskool jungle-friendly phrase. Sonically, it should feel grainy, mid-forward, slightly unstable, and harmonically rich, with enough transient edge to cut through breaks.
Rhythmically, it should work as a syncopated stab pattern that locks against amen-style drum edits or rolling breaks, leaving space for the kick, snare, and bass. The role in the track is not to carry long harmony; it is to jab, answer, and punctuate.
Mix-wise, it should be close to finished: loud enough to test against drums, filtered so it doesn’t fight the sub, and shaped to sit in a DJ-friendly arrangement. Success sounds like this: when you loop it with a break and bassline, it immediately creates a rude, jungly push-pull—tight enough to bounce, dirty enough to feel vintage, and controlled enough to survive a proper mix.
Step-by-Step Walkthrough
1. Create the source stab: start simple and percussive
In Ableton, make a MIDI track and load a stock synth that can give you a clean harmonic source. Wavetable or Analog both work; keep the starting patch plain. Build a short chord stab rather than a huge pad: a minor 7th, minor 9th, sus2, or simple power-chord voicing all work well for oldskool energy.
Good starting point:
- Decay short: roughly 150–400 ms
- No sustain, or very low sustain
- Release short enough that notes don’t smear into the next hit
- Filter cutoff moderately open so the chord has bite, then shape later
Why this works in DnB: jungle and oldskool DnB stabs are often percussive harmonies. They behave more like rhythmic instruments than lush chords. If the source is too long, it blurs the groove and competes with the break’s transients.
What to listen for:
- A stab that has a clear attack and dies quickly
- Enough harmonic information to read as “rave,” not just a synth blip
2. Program the stab rhythm against the break, not on top of it
Put the stab into a 1-bar or 2-bar MIDI clip and place the hits with intention. Don’t just land them on every downbeat. Try:
- Offbeat answers after the snare
- Early push notes before a kick
- Small clusters around bar 2 or bar 4 to create call-and-response
For a classic jungle feel, a common starting move is a stab on the “and” of 1, another after the snare, and a variation on the second bar. Keep the pattern sparse enough that it breathes.
A useful phrasing strategy:
- Bar 1: establish the motif
- Bar 2: repeat with one note moved or dropped
- Bar 3–4: add a fill, higher inversion, or extra stab for tension
What to listen for:
- Whether the stab makes the break feel more urgent
- Whether it steals the groove from the snare. If the snare feels smaller, the stab is probably too busy or too long
3. Turn the clean chord into a VHS-rave source with degradation, not random dirt
Now add a stock processing chain that creates the “worn tape” character without destroying the rhythm. A strong starter chain is:
Wavetable/Analog → Saturator → Auto Filter → Chorus-Ensemble → Echo or Reverb → EQ Eight
Here’s how to use it:
- Saturator: start with soft drive around 2–6 dB. Use Soft Clip if needed. This gives density and a slightly crushed front edge.
- Auto Filter: low-pass around 3–8 kHz, or high-pass if the raw sound is too thick. Add a little envelope or movement if you want the stab to “swell.”
- Chorus-Ensemble: keep it subtle. Mix low, depth modest. You want VHS drift, not 90s trance widening.
- Echo: short, filtered slap or very short repeat can add tape-memory vibe. Keep feedback low.
- EQ Eight: trim any ugly low-mid bloom around 200–500 Hz, and tame harsh bite if it becomes brittle.
Why this works in DnB: the classic rave stab is powerful because it’s harmonically simple, timbrally unstable, and rhythmically decisive. Saturation makes the harmonics feel sampled. Filtering creates the “heard through a system” quality. Chorus and short echo suggest old tape playback without turning the sound into a wash.
4. Decide on A versus B: sampled smash or synth-led precision
At this point, choose the flavour you want:
A: more sampled / battered
- Push Saturator harder
- Add more filtering and slight resonant movement
- Use Echo very quietly for grime and smear
- Let the stab feel like it was ripped off a tape and re-recorded
B: more club-tight / controlled
- Keep saturation moderate
- Use less chorus
- High-pass more cleanly around 120–200 Hz
- Keep the transient clearer so it punches in modern DnB systems
This is an important decision because oldskool character can either be the texture or the entire identity. If the track has already got heavy breaks and a dirty bassline, option B may give you enough flavour without turning the midrange into mud. If the tune is intentionally raw and nostalgic, option A leans harder into the era.
5. Resample the stab and print the character into audio
Once the sound is close, commit it to audio by resampling or freezing/bouncing the MIDI track into a new audio track. This is where the oldskool method becomes powerful: after printing, you can treat the stab like a sample, which is exactly how a lot of jungle phrasing feels.
After resampling:
- Slice the audio if needed
- Nudge individual hits by a few milliseconds for groove
- Reverse tiny tails or chop the start of a note for a more broken feel
- Repetition can become variation through editing rather than more synth tweaking
Workflow efficiency tip: once you print the first usable version, duplicate the audio track and create two variants:
- one with a slightly lower filter and more dirt
- one with a brighter, more present attack
This saves you from endless sound-design dithering and gives you arrangement contrast quickly.
6. Shape the attack and tail so it locks with drums
Use Simpler, Transient shaping by clip gain, or plain clip gain adjustments to refine the note front. For this style, the front edge matters a lot. If the stab is too soft, it won’t cut through the break. If it’s too sharp, it can sound modern and lose the VHS feel.
Practical adjustments:
- Trim the start to remove dead air
- Shorten the tail so the stab leaves space before the next drum hit
- If the note is poking too hard, reduce initial transient slightly rather than killing the whole sound
- If it feels too polite, add a touch more saturation instead of making it louder
Stop here if the stab already sits in the groove with the break and bass. Do not keep “improving” it with extra effects just because it feels unfinished in solo. In this style, a stab that works in context is better than a hyper-detailed sound that weakens the groove.
7. Check it in context with drums and bass immediately
Loop the stab with your breaks and sub/bassline. This is where you judge whether it’s actually a DnB element. The stab should support the snare impact and the bass movement, not float above them.
Listen for:
- The snare still feeling like the anchor
- The bassline remaining readable underneath the midrange
- The stab adding excitement without making the groove feel crowded
If the low mids start to cloud the kick/snare relationship, use EQ Eight and carve gently around 200–400 Hz. If the stab feels too thin when the bass comes in, consider a small boost around 700 Hz–1.5 kHz instead of adding more low end. In jungle and oldskool DnB, presence usually beats thickness.
Mono-compatibility note: if you used chorus or widening, check the stab in mono. The core hit should still feel strong. If it collapses, reduce stereo movement on the main stab and keep width only in the very top texture or reverb return.
8. Add movement with automation, but keep it phrase-based
The VHS-rave vibe comes alive when the stab evolves over a 4-, 8-, or 16-bar phrase. Automate one or two meaningful parameters, not ten tiny ones.
Strong automation choices:
- Auto Filter cutoff opening slightly into a drop
- Saturator drive increasing on the last bar of a phrase
- Echo feedback or send amount rising on a transition hit
- Reverb amount briefly increasing before the next section
A useful arrangement example:
- Bars 1–4: dry, tight stab phrase
- Bars 5–8: add a bit more saturation and a touch of delay
- Bars 9–12: introduce a higher inversion or an extra pickup note
- Bars 13–16: strip it back before the next drop
This keeps the tune DJ-friendly and gives dancers a reason to feel the section shift without changing the whole sound palette.
9. Create a second variation for the drop or breakdown return
Oldskool DnB benefits from simple but meaningful evolution. Duplicate your stab and make a second version that differs in one clear way:
- Higher voicing
- More band-pass filtering
- A slightly longer tail
- More tape wobble and grime
- A chopped call-and-response edit
The key is contrast, not reinvention. You want the listener to recognise the motif while feeling the section has moved forward. For a second drop, a darker and more stripped version often works better than a bigger one. If the first drop is wide and noisy, make the second more focused and hostile.
10. Finish with drum hierarchy and mix balance in mind
Put the stab where it belongs in the spectrum. A good oldskool stab does not need much below 120–180 Hz, and often needs a gentle trim below that to protect the kick and sub. If the track is very break-led, the stab can live mostly in the midrange around 500 Hz to 4 kHz, with the top end carefully controlled so it doesn’t hiss over the hats.
If the stab and break both live in the same gritty zone, use a small dip where the snare crack or bass growl needs room. The goal isn’t perfect separation; it’s readable priority. In DnB, the dancefloor needs to instantly know what the backbeat is and where the sub lives.
If you want a final polish chain, try:
- EQ Eight to clean
- Saturator lightly for density
- Compressor only if the stab has inconsistent peaks
- Keep any widening subtle and mostly above the core midrange
The final sound should feel like it can survive a loud system and still read as a rhythmic musical statement.
Common Mistakes
1. Making the stab too long
Why it hurts: the tail smears into the break and steals momentum from the groove.
Fix: shorten the amp envelope, trim clip tails, or use clip gain to cut the release earlier.
2. Adding too much low end to “make it heavy”
Why it hurts: the sub and kick lose definition, and the stab becomes muddy instead of brutal.
Fix: high-pass the stab with EQ Eight somewhere around 120–200 Hz, depending on the source.
3. Over-widening the main stab
Why it hurts: oldskool stabs can sound huge, but if the core hit is too stereo, mono playback weakens it and the groove loses impact.
Fix: keep the main body centered and use width only in a send, top layer, or effect return.
4. Using too much reverb on the actual hit
Why it hurts: the result turns dreamy instead of rude, and the rhythm gets blurred.
Fix: shorten decay, reduce wet amount, or automate reverb only on transition hits.
5. Saturating before you check the note content
Why it hurts: distortion can hide the chord identity, making the stab feel like generic noise.
Fix: confirm the chord reads clearly first, then add saturation until it feels sampled rather than broken.
6. Ignoring the bassline interaction
Why it hurts: the stab may sound great solo but fight the bass once the drop starts.
Fix: audition the stab with the bass and drums every time you make a major change. If needed, simplify the voicing or carve the low mids.
7. Keeping every stab identical across the whole arrangement
Why it hurts: the idea becomes static and loses that evolving rave energy.
Fix: create at least one alternate voicing, one filtered version, or one chopped variation for later sections.
Pro Tips for Darker / Heavier DnB
- If you want menace, reduce harmonic “beauty” and increase rhythmic authority. A darker stab often works better as a short, clipped statement than a lush chord. Remove extra notes before adding more processing.
- For more grime without killing punch, use parallel dirt: duplicate the stab, heavily saturate the duplicate, band-pass it, and blend it quietly under the clean core. This keeps the attack readable while adding ugly texture.
- Try a small pitch drift on the printed audio rather than huge modulation in the synth. Tiny detunes or micro pitch moves can create that tape wobble vibe while preserving the actual chord shape.
- If your break is already dense, use the stab as a midrange hook, not a broadband wall. Keep the main energy around 700 Hz to 3 kHz and let the drums own the crack and air.
- For heavier drop impact, automate the stab so it appears more filtered in the intro and more open in the drop. The contrast makes the drop feel bigger without needing a louder sound.
- If you want an authentic oldskool feel, let the stab have a little controlled roughness in the transient, but keep the body stable. That balance is what separates “vintage” from “just distorted.”
- In dark rollers or jungle-tech spaces, a stab can be used as a rhythmic weapon: one or two repeated notes, maybe with a displaced final hit. That minimalism often hits harder than full chord riffs.
- Use only stock Ableton devices
- Start from one simple chord voicing
- Use no more than three processing devices before resampling
- Create only one 2-bar pattern first
- Keep the main stab mono-compatible
Mini Practice Exercise
Goal: Build one usable VHS-rave stab that can sit in a jungle drop with breaks and bass.
Time box: 15 minutes
Constraints:
Deliverable:
A resampled audio stab loop with two variations: one dry/controlled and one dirtier or more filtered.
Quick self-check:
Play it with a break and a sub. If the snare still punches, the sub stays clean, and the stab feels like a rude rhythmic answer rather than a wash of harmony, you’ve got it.
Recap
A good VHS-rave stab in oldskool DnB is short, harmonically clear, slightly degraded, and rhythmically precise. Build it from a simple chord, shape it into a percussive hit, add tape-like character with restraint, then resample and edit it like a sample. Check it against drums and bass early, keep the low end out of the way, and evolve it across the arrangement with small but meaningful variations. If it feels like a battered rave memory that still slams in a modern mix, you’re on the right track.

