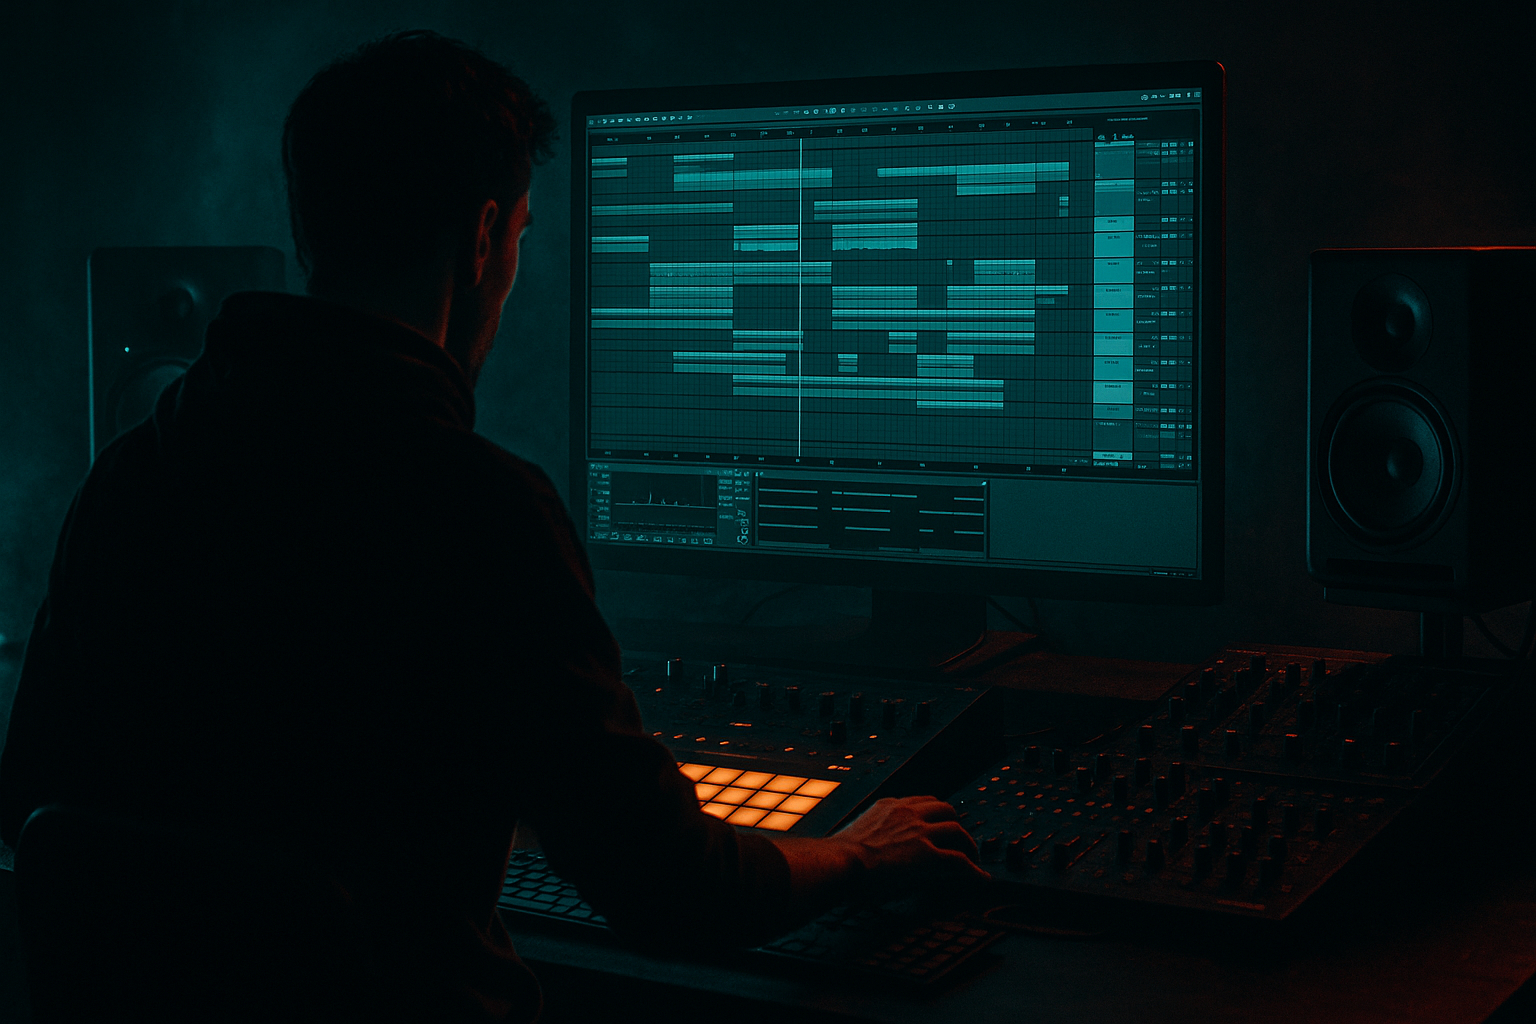
Main tutorial
Lesson Overview
This lesson shows you how to build an oldskool subsine workflow in Ableton Live 12: stacking a clean sine sub with a slightly animated upper-bass layer, then arranging it so the bassline feels like a real DnB phrase instead of a loop that just repeats. In Drum & Bass, this technique lives right at the core of the drop: the sub carries the weight, the upper layer gives the note definition, and the arrangement gives the bassline identity.
Why it matters musically and technically is simple: oldskool jungle and rollers live or die on bassline motion without low-end blur. If the sub is unstable, the whole tune loses authority on a club system. If the upper layer is too wide, too loud, or too long, it smears the groove and fights the kick and snare. A good subsine workflow lets you keep the bottom clean while still getting that moving, rewinding, chest-pressure feel that makes a DnB drop work.
This is especially useful for rollers, jungle-influenced drops, darker minimal DnB, and oldskool-influenced half-step phrasing inside a fast drum grid. By the end, you should be able to hear a bassline that feels solid in mono, has obvious note shape, leaves room for the drums, and can be arranged into phrases that actually push the track forward.
What You Will Build
You will build a two-layer bass patch in Ableton Live 12:
- a pure sub layer that stays centered, simple, and consistent
- a subsine movement layer that adds note character, gentle grit, or a slight harmonic edge
- a short 8-bar bass phrase that repeats with variation
- a basic drop arrangement with call-and-response space for drums and fills
- Use less harmonic content than you think on the sub layer. Darker DnB often feels heavy because the bottom is clean and unmoving, not because it is overloaded.
- Let one note be the “threat note.” In an 8-bar phrase, pick one note that gets a little more saturation or longer sustain. That single moment can make the whole loop feel more menacing.
- Resample the upper layer and chop silence aggressively. Negative space is a huge part of dark bass music. A small gap before a snare or fill can make the next hit feel much bigger.
- Use short filter movement on the character layer, not the sub. This creates motion without destabilizing the floor.
- Nudge one bass note slightly behind the beat if the groove needs more drag. On heavier rollers, a tiny late placement can make the phrase feel meaner, but keep it subtle so the drums do not lose drive.
- If the track is too clean, add grit before adding more notes. A touch of saturation, a filtered resonance bump, or a printed resample usually sounds more convincing than extra MIDI complexity.
- Keep the second drop more aggressive, not just louder. Change one note, shorten one gap, or open the upper layer slightly more. That gives progression without losing the identity of the bassline.
- Use only stock Ableton devices
- Build with two layers only: sub and character
- Use an 8-bar loop
- Include at least one automation move and one arrangement variation
- Keep the sub mono and simple
- One 8-bar bass loop with a clean sub layer
- One processed character layer
- One variation in bars 5–8
- A quick bounce or resample of the character layer if it helps you edit faster
- Does the bass still feel stable when drums play?
- Can you tell where the phrase begins and ends?
- Does the bass keep weight in mono?
- Is the character layer adding note definition without muddying the low end?
The finished result should sound like a focused oldskool DnB bassline: deep, stable, a little animated, and deliberately arranged rather than endlessly looping. It should feel mix-ready enough to sit under drums without taking over the whole spectrum. A successful result sounds like the bass is “speaking” in phrases, not just humming continuously.
Step-by-Step Walkthrough
1. Start with a dry bass MIDI track and keep the sub simple
Create one MIDI track and load Operator. Set it to a single sine oscillator only. This is your pure sub anchor. In Operator, keep the sound clean: no unneeded detune, no chorus, no wide stereo trickery.
A practical starting point:
- Oscillator wave: sine
- Octave: usually 1 octave below your bassline idea
- Amp envelope: fast attack, no long release
- Clip gain or track gain: leave headroom so the sub is not smashing the master
Why this works in DnB: the sub needs to stay readable against fast drums and dense arrangement changes. A clean sine gives the kick/snare and upper-bass layer room to do their jobs without low-end smear.
What to listen for: the note should feel like a solid weight source, not a “tone.” If you can clearly hear harmonics on small speakers, the sub is already too dirty or too high.
2. Program a short bass phrase, not a full-bar loop
Put in a simple 1-bar or 2-bar MIDI idea first. For oldskool DnB, start with a phrase that leaves holes. Think in drum conversation, not constant motion. A good beginner shape is:
- one long note on beat 1
- a shorter answer note before the snare
- a tiny pickup or offbeat note near the end of the bar
Keep note lengths deliberate. Long notes should hold through the space you want; short notes should stop before they blur into the next drum hit.
A useful starting rhythm in a 174 BPM track:
- bar 1: root note on 1, shorter answer around 2&, another note late in the bar
- bar 2: same rhythm, but change one note or end the phrase differently
This is important because oldskool subsine bass works best when the rhythm is clear enough to remember after one pass. If the phrase is too busy, the weight disappears.
What to listen for: the bass should feel like it’s “leaning” against the kick/snare pattern, not sitting on top of it.
3. Split the job into two layers: sub and character
Duplicate the MIDI track or create a second MIDI track that plays the same notes. Keep the first track as the sub only. On the second track, use a bass source with a little harmonic content so the note is easier to hear on smaller systems.
Stock Ableton options that work well:
- Operator with a sine plus a very quiet second oscillator
- Wavetable with a simple waveform and modest filter
- Simpler if you are resampling your own bass hit later
For a beginner-friendly oldskool workflow, a clean split like this is easier than trying to make one patch do everything.
Decision point — A versus B:
- A: cleaner, more classic jungle/roller feel
Keep the upper layer very restrained, mostly just giving note presence.
- B: darker, more aggressive modern edge
Add more harmonic bite and a touch of distortion so the bass reads harder on midrange speakers.
Choose A if your drums are already busy and you want space. Choose B if the track needs menace and the bass must carry more attitude.
4. Shape the upper layer with stock devices
On the character layer, insert EQ Eight and Saturator. This is one of the most useful stock-device chains for this workflow.
Example chain:
- EQ Eight: high-pass around 100–180 Hz to keep the layer out of the sub zone
- Saturator: Drive around 2–6 dB, Soft Clip on if needed
- Optional Auto Filter: low-pass or band-pass movement for phrasing
Keep the upper layer narrow enough that it behaves like a musical support layer, not a second sub. If the character layer still contains strong bass below 100 Hz, it will fight the true sub and make the low end feel unfocused.
Why this works in DnB: the sub gives physical impact, while the upper layer tells the ear where the note is. That separation helps the bass cut through dense breaks without needing to be louder.
What to listen for: on headphones, you should hear the note shape and edge from the upper layer, but the bottom should still feel like it belongs to the sub track, not this one.
5. Use envelopes and note length to create oldskool movement
Oldskool subsine bass often gets its groove from note length and mute space, not from huge modulation. In your MIDI, make some notes slightly shorter so they punch and release cleanly before the snare. Keep others longer to create pressure.
Good starting envelope ideas:
- Attack: as fast as possible or very near instant
- Decay/release on the character layer: short to medium, roughly 80–250 ms depending on tempo and note role
- Sub release: short enough that it stops cleanly, but not so short that it clicks
If you want a more classic rave/jungle feel, use slightly shorter notes and let the drums breathe between them. If you want a more modern roller feel, connect the notes a bit more so the bassline flows across the bar.
This is where the bass starts to feel arranged, not just programmed.
6. Put the two layers in context with the drums before you polish
Drop in your kick, snare, and break elements now. Do not keep designing the bass in isolation. In DnB, the bassline must work with the snare placement and break energy.
Check these relationships:
- Does the bass leave enough room for the snare backbeat?
- Does the sub hit at the same time as the kick in a way that feels strong, not muddy?
- Does the upper layer leave room for ghost notes and break tops?
If the bass feels too heavy on the downbeat, trim the note length or move one note to create more syncopation. If the phrase feels empty, add a short answer note after the snare rather than making the whole bassline longer.
This is the first real “context check” moment. A bassline that sounds impressive solo but weak with drums is not finished.
7. Automate movement instead of stacking more notes
Now add automation to create phrase-level interest. Use Auto Filter or Filter Delay only if it clearly supports the idea. Keep automation musical and repeatable.
Practical starting points:
- Filter cutoff automation: a small movement over 4 or 8 bars, not a huge sweep
- Resonance: modest, just enough to accent the movement
- Saturator Drive: tiny increase into a fill or switch-up
- Volume automation on the character layer: slight dip during sparse drum moments, rise during call-and-response moments
For an oldskool subsine workflow, automation should feel like the bass is “opening up” on the phrase end, then tightening back down for the next cycle.
What to listen for: the movement should be obvious when the drums play, but not so large that the low end changes identity every bar.
8. Arrange the phrase into a real drop shape
Turn your bass loop into an arrangement with function. A common oldskool DnB structure is:
- 2 or 4 bars intro into the drop
- 8-bar first statement
- 4-bar variation
- 8-bar second statement with one more aggressive note or fill
- break or stop
- second drop with a slightly evolved bass shape
Example phrasing:
- Bars 1–4: bass stays simpler, establishing the groove
- Bars 5–8: add one extra pickup note or slightly different ending
- Bars 9–12: strip one element out and let the snare/break speak
- Bars 13–16: return with a stronger ending note or a filtered opening
This is where the bassline becomes a section tool. In DnB, arrangement payoff matters because DJs and dancers need clear movement, not endless sameness.
9. Commit the character layer to audio if the automation is doing the job
If you have a good movement pattern on the upper layer, freeze/flatten or resample it to audio so you can edit the result more precisely. This is a strong workflow move because it lets you chop, mute, reverse, or offset the layer without constantly re-tweaking the synth patch.
Stop here if the idea already works and the movement feels right. Don’t keep over-processing a loop that is already saying the right thing.
Once printed, you can:
- trim gaps between notes more accurately
- cut little call-and-response edits
- place a short reverse or pickup into a transition
- automate clip gain for phrase emphasis
Workflow efficiency tip: once the bass phrase feels musically correct, print the animated layer and move on. In DnB, finishing momentum matters more than endlessly adjusting a single synth patch.
10. Do a mono and balance check, then fine-tune the low end
Keep the sub centered and mono-compatible. The cleanest way to approach this is simple: the sub should not rely on stereo spread at all. The character layer can have some width if it stays above the sub range, but the bottom must stay focused.
In Ableton, check the bass in mono-compatible terms by listening for:
- sub weight remaining stable
- no sudden disappearance of the bass note
- kick and sub not turning into one woolly lump
Useful fixes:
- If the low end feels cloudy, raise the high-pass on the upper layer slightly, often into the 120–180 Hz area
- If the bass feels too thin, lower the sub layer a touch or reduce over-filtering on the character layer
- If the bass disappears on small speakers, add a little more saturation to the upper layer, not more sub level
Successful result: the bass should feel deep and intentional in headphones, but still read clearly in mono and under loud drums.
Common Mistakes
1. Making the upper layer too low
Why it hurts: the “character” layer starts acting like a second sub, which creates mud and phase confusion.
Fix in Ableton: use EQ Eight to high-pass more aggressively, often above 120 Hz and sometimes higher depending on the sound. Keep the sub job and the upper job separate.
2. Letting notes ring too long
Why it hurts: long bass notes can smear into the snare and kill the stop-start punch that oldskool DnB needs.
Fix in Ableton: shorten MIDI note lengths, tighten release, and listen with the drums playing. If the bass still bleeds, reduce the decay or release on the upper layer.
3. Overdoing stereo on the bass
Why it hurts: wide low end can sound impressive in solo but collapse in mono and on club systems.
Fix in Ableton: keep the sub centered. If the upper layer is wide, make sure the width only exists above the low end. If in doubt, narrow the layer rather than widening the sub.
4. Building the whole phrase out of note density
Why it hurts: too many notes can destroy the weight and make the groove feel anxious instead of powerful.
Fix in Ableton: remove notes first, then improve rhythm. In DnB, a stronger phrase often comes from better space, not more activity.
5. Not checking the bass with drums early enough
Why it hurts: a bassline that sounds good alone may clash with the kick/snare and break flow.
Fix in Ableton: bring drums in during programming and use looped 2- or 4-bar playback to test the interaction immediately.
6. Driving saturation on the sub layer
Why it hurts: the sub starts to lose purity and can become inconsistent on bigger systems.
Fix in Ableton: keep saturation mostly on the upper layer. If you need more audibility, add harmonics above the sub instead of distorting the bottom.
7. Automating huge filter sweeps with no phrase reason
Why it hurts: the bass stops feeling like part of the track and starts sounding like a standalone effect.
Fix in Ableton: automate in small phrase-sized movements, usually 4 or 8 bars, and tie the motion to arrangement changes or fills.
Pro Tips for Darker / Heavier DnB
Mini Practice Exercise
Goal: Build a usable oldskool subsine bass phrase that works with drums and feels like a real DnB drop component.
Time box: 15 minutes
Constraints:
Deliverable:
Quick self-check:
Recap
Oldskool subsine workflow in Ableton Live 12 is about separating weight from character and then arranging that bassline like a real DnB phrase. Keep the sub pure, let the upper layer carry movement, and check everything against the drums early. Use automation for phrase-level energy, not random motion. If the result feels deep, clear, and purposeful in mono with a strong snare-pocket and obvious arrangement flow, you’ve got a bassline that belongs in an actual tune.

