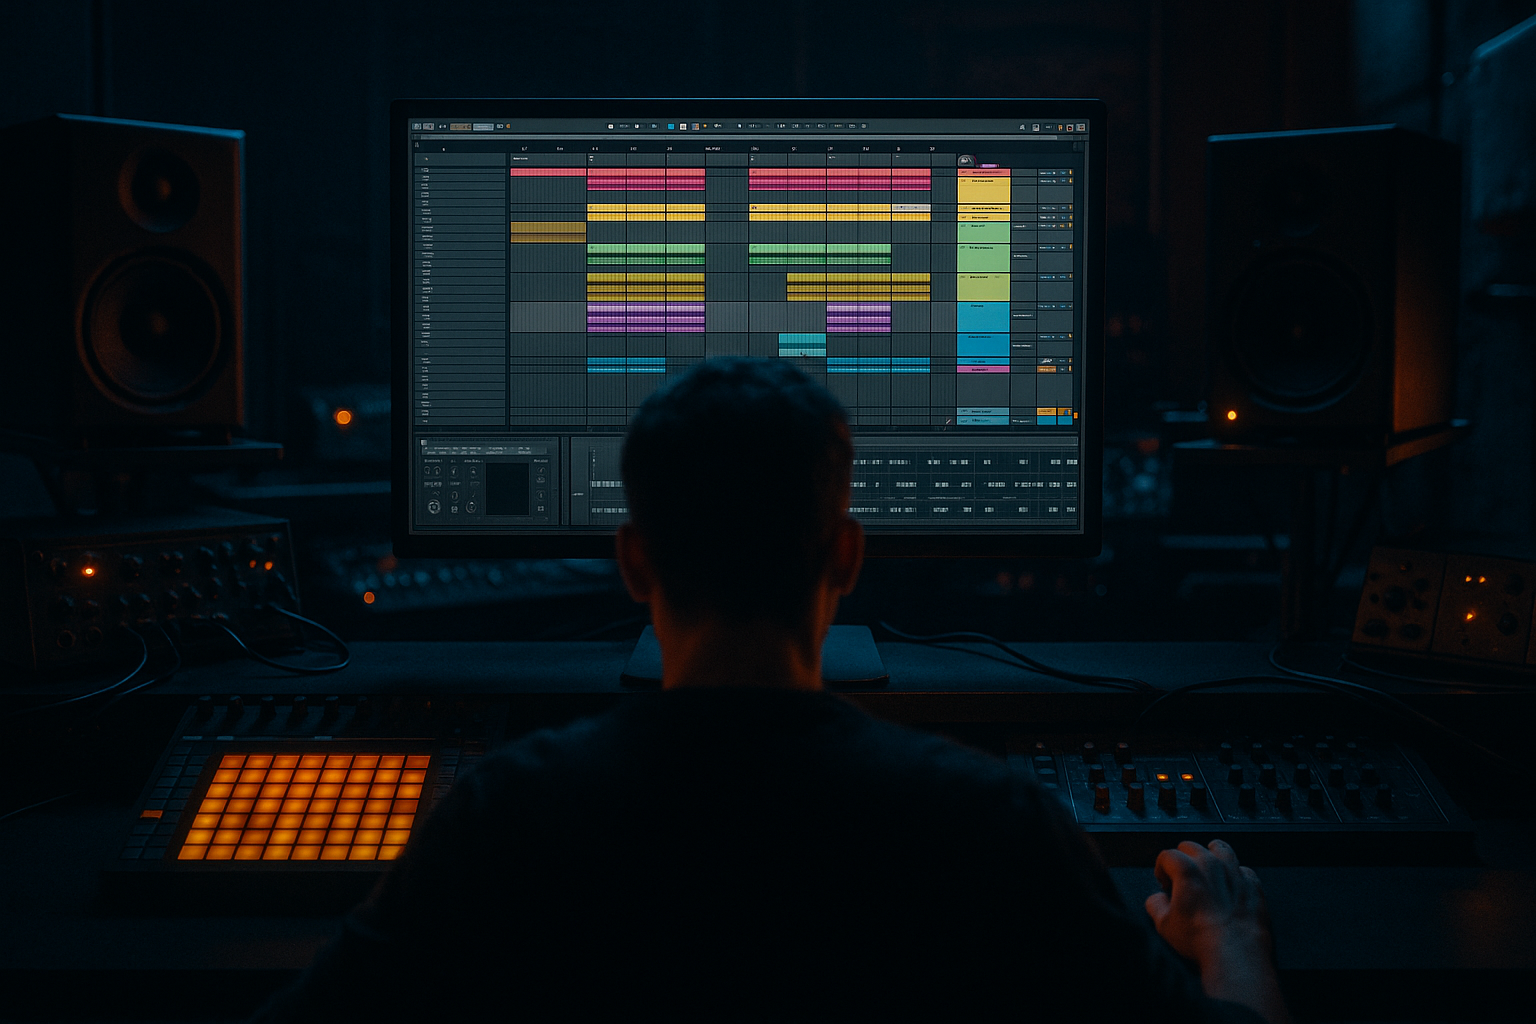
DNB COLLEGE

Drum & Bass Ableton Live 12 Tutorials

LESSON DETAIL

Oldskool Ableton Live 12 air horn hit deep dive for rewind-worthy drops (Intermediate)

An AI-generated intermediate Ableton lesson focused on Oldskool Ableton Live 12 air horn hit deep dive for rewind-worthy drops in the Sound Design area of drum and bass production.

Back to lessons
Oldskool Ableton Live 12 air horn hit deep dive for rewind-worthy drops (Intermediate) cover image

Narrated lesson audio

The voice track includes the tutorial plus extra teacher commentary.

Open audio file

Main tutorial

Lesson Overview

The oldskool air horn is one of those DnB sounds that instantly says: rewind incoming 🔥 It sits in the same cultural lane as jungle reloads, soundclash energy, and rowdy drop resets, but in modern Drum & Bass it works best when it’s controlled, short, and strategically placed.

In this lesson, you’ll build an Ableton Live 12 air horn hit designed specifically for DnB drop moments: the kind of stab you can use to punch through a switch-up, signal a call-and-response, or mark a DJ-friendly rewind phrase. We’re not making a random novelty horn — we’re designing a layered, mix-ready impact that can survive dense drums, sub pressure, reese bass movement, and heavy processing without turning into harsh noise.

Why this matters in DnB: the air horn is not just a sound effect. It’s a structural tool. In rollers, it can announce a bass turnaround. In darker neuro-influenced tracks, it can add tension before the drop lands. In jungle-influenced arrangements, it can echo the old sound system tradition of hype and interruption. If you shape it properly, it becomes part of the arrangement language of the tune rather than a gimmick.

We’ll use stock Ableton devices, resample creatively, and build a version that feels oldskool in attitude but modern in execution. The goal is a horn hit that is short enough to keep the groove moving, aggressive enough to cut through the mix, and controllable enough to automate into drop phrasing.

What You Will Build

By the end of this lesson, you’ll have:

  • A punchy oldskool-style air horn hit in Ableton Live 12
  • A layered sound made from synth tone, noise, and FX shaping
  • A resampled, one-shot-style hit you can trigger on the grid
  • A version with optional pitch fall, filter sweep, and distortion for darker DnB
  • A reusable device chain you can save for future rewinds, switch-ups, and callouts
  • Musically, the finished sound should feel like a short, loud stab with attitude — somewhere between a rude sound system horn and a synthetic brass blast. It should work over a 174 BPM drop without masking the kick/snare or stepping on the sub. Think of it as a punctuation mark, not a sustained lead.

    Step-by-Step Walkthrough

    1. Set up a dedicated horn track

    Create a new MIDI track and name it something obvious like `AIR HORN HIT`. Keeping it separate from your bass and drums makes arrangement and later automation much easier.

    Load an instance of Ableton’s Analog or Wavetable. For an oldskool-style horn, Analog is a great starting point because it gives you a solid, direct oscillator tone without too much complexity. Set the track to a manageable level with plenty of headroom — aim for the instrument output peaking around -12 to -10 dB before processing.

    Why this matters in DnB: you want the horn to hit hard, but DnB mixes are already busy. Starting clean gives you more room to distort, compress, and resample later without clipping the mix.

    2. Build the core horn tone with a simple synth shape

    In Analog, choose a saw or pulse-based oscillator as the foundation. A horn-style stab usually benefits from a bright harmonic source.

    Try this starting point:

    - Oscillator 1: Saw wave, level around 70%

    - Oscillator 2: Pulse or saw, slightly detuned, level around 30–40%

    - Fine detune: small amount, around 5–12 cents between oscillators

    - Filter: low-pass, cutoff initially around 1.5–3 kHz

    - Resonance: moderate, around 10–25%

    Set a fast amplitude envelope:

    - Attack: 0–5 ms

    - Decay: 180–350 ms

    - Sustain: 0%

    - Release: 40–120 ms

    Add a little filter envelope movement so the horn opens quickly at the start, then closes down fast. A filter envelope amount of roughly 20–40% is enough.

    If you prefer Wavetable, use a bright saw-based wavetable and keep the motion subtle. The key is not fancy wavetable movement yet — it’s getting a strong, rude midrange front edge.

    3. Shape the attack with transient bite and pitch movement

    A classic horn hit often feels more aggressive because of a very short pitch rise or drop at the start. In Ableton Live, you can fake this directly with envelope and automation.

    Inside the synth:

    - If available, give oscillator pitch a tiny envelope amount

    - Or automate a quick pitch drop from +5 to +0 semitones over the first 50–120 ms

    Keep this subtle. If the pitch sweep is too wide, the sound becomes cartoonish rather than rewind-worthy.

    For extra front-end snap, add Saturator after the instrument:

    - Drive: 3–8 dB

    - Soft Clip: On

    - Output adjusted to maintain level

    Then add Transient shaping using Drum Buss if you want more smack:

    - Crunch: 5–15%

    - Drive: light to moderate

    - Transients: small boost if needed

    This helps the horn sit like a percussive impact inside a DnB drop rather than a held synth note.

    4. Add noise and harshness carefully for oldskool character

    Oldskool horns often have a bit of bite, hiss, or cassette-like edge. Instead of making the sound overly clean, layer in controlled noise.

    In Analog, turn on a noise source or add a second track with Operator or Simpler containing a short noise burst. If you use noise in the synth, keep it tucked under the main tone.

    Good starting points:

    - Noise level: 5–20%

    - High-pass the noise around 1–2 kHz

    - Shorten its envelope so it only adds attack texture

    Then use EQ Eight:

    - High-pass the whole horn around 120–180 Hz to keep it out of the sub lane

    - If it gets nasal, cut 600–900 Hz by 2–4 dB

    - If it hurts, narrow-cut 2.5–4.5 kHz by 2–5 dB

    Why this works in DnB: DnB mixes depend on clean low-end separation and highly managed upper mids. A horn that is too full or too wide in the wrong region will fight the snare crack and the bass presence. Controlled noise gives attitude without stealing focus.

    5. Create width and presence without wrecking mono compatibility

    Horns can feel huge, but in DnB they should still read clearly in mono because club systems and radio checks can collapse stereo information.

    Use Chorus-Ensemble or Simple Delay lightly:

    - Chorus amount: low

    - Rate: slow

    - Mix: 5–15%

    Or with Echo:

    - Left/right delay times very short

    - Feedback: 0–10%

    - Dry/Wet: 5–12%

    - Filter the repeats so they don’t clutter the mix

    Better yet, keep the main horn mostly centered and use stereo ambience on a return track. That way your attack stays solid in mono, while the tail can spread slightly.

    Check mono with Ableton’s Utility:

    - Width: 0% temporarily for mono check

    - Ensure the horn still feels powerful and recognizable

    If it disappears in mono, reduce widening and simplify the stereo effects.

    6. Resample the horn into a one-shot for precision

    This is where the sound becomes more usable in a real DnB arrangement. Resampling lets you commit to a specific hit shape and gives you the option to warp, slice, or reverse it later.

    Route the horn track to a new audio track set to record from that channel. Print a few versions:

    - Dry horn hit

    - Distorted horn hit

    - Longer tail version

    - One with a tiny delay throw

    Record several performances with slight note length variations. You’ll often find that one version has the exact aggressive timing you want.

    After recording:

    - Trim the clip tightly to the transient

    - Fade out the tail cleanly

    - Consolidate the best hit into a reusable sample

    In DnB, having the sound as a resampled audio hit is great because you can place it exactly on the grid, offset it before the drop, or reverse it into a switch-up without relying on MIDI playback.

    7. Process the resampled hit for drop placement

    Put the printed horn on an audio track and shape it like a production element.

    Suggested chain:

    - EQ Eight: high-pass around 120–180 Hz

    - Saturator: drive 2–6 dB

    - Glue Compressor: 1–2 dB gain reduction, attack slower than ultra-fast if you want the front preserved

    - Limiter if needed for control, not loudness

    If you want a more modern gritty edge, add Overdrive very lightly:

    - Frequency around 1–3 kHz

    - Drive low to moderate

    - Tone adjusted so it doesn’t get fizzy

    Keep checking against the kick/snare and bass. The horn should live above the sub and should not flatten the drum transient.

    8. Automate it into a rewind-worthy drop structure

    Now place the horn in a musical context. This is where it becomes a tool, not just a sound.

    A strong arrangement example:

    - 16-bar buildup with rising tension

    - Drop hits on bar 1

    - Horn appears on bar 4 as a call-out

    - Response from bass stabs or drum fills on bar 5

    - Another horn hit at bar 8 to create a mini reload feel

    Try these uses:

    - Put the horn one beat before the drop to create anticipation

    - Use it on the last hit before a breakdown

    - Layer it with a snare roll or fill for a rewind cue

    - Reverse a copy into the hit for extra tension

    Automation ideas:

    - Filter cutoff opens slightly only on the first 50–100 ms

    - Reverb send rises only on the tail

    - Delay throw only on select hits

    - Pitch automates down by 1–2 semitones for variation

    In DnB, arrangement is everything. A horn is most effective when it interrupts predictably enough to feel intentional, but not so often that it loses impact.

    9. Layer with a bass-friendly response sound if needed

    If the horn is meant to answer the bass, create a second short stab underneath or after it. This can be a filtered reese note, a short noise hit, or a chopped vocal-like texture. Keep it brief and midrange-focused.

    Example:

    - Horn hit on beat 3

    - Short reese stab on the “and” of 3

    - Drum fill on beat 4

    - Drop back in on the one

    This call-and-response pattern works especially well in rollers and darker jump-up-adjacent sections, but even in neuro-influenced tracks it helps break monotony and maintain pressure.

    10. Save a rack and build variations fast

    Group the horn processing into an Audio Effect Rack or Instrument Rack with macros for:

    - Tone

    - Drive

    - Filter open/close

    - Width

    - Reverb amount

    - Delay throw

    Save at least three presets:

    - Short, rude horn

    - Longer, more dramatic reload horn

    - Darker, distorted horn for heavier sections

    This gives you speed when arranging. Instead of designing from scratch every time, you can recall a family of horn hits and choose based on the section of the tune.

    Common Mistakes

  • Making the horn too long
  • Fix: shorten the decay and release. In DnB, the hit should feel like a stab, not a lead line.

  • Letting the horn fight the snare
  • Fix: reduce 2–5 kHz if the crack clashes, and don’t place the horn exactly on top of every backbeat.

  • Too much low end in the source
  • Fix: high-pass the horn around 120–180 Hz. Leave the sub for the bassline and kick.

  • Overdoing stereo widening
  • Fix: keep the main hit centered. Use subtle width only on the tail or FX returns.

  • Harsh upper mids that fatigue the ear
  • Fix: use narrow EQ cuts in the 2.5–4.5 kHz range and tame saturation drive.

  • Using the horn too often
  • Fix: save it for switch-ups, phrase endings, and rewind moments. Impact comes from restraint.

    Pro Tips for Darker / Heavier DnB

  • Pitch it down slightly for a heavier, more menacing feel. Even 1–3 semitones lower can make it less playful and more underground.
  • Run it through Amp or Overdrive subtly to add broken speaker energy without destroying definition.
  • Layer a reverse reverb swell before the horn hit for tension, then cut it sharply on the transient.
  • Use a short delay throw only on the last horn in a phrase so the arrangement breathes.
  • Sidechain the horn lightly to the kick or snare bus if it overlaps too much with drum transients.
  • Resample through a gritty chain, then manually trim the best transient. Committing to audio often gives you more attitude than endlessly tweaking the instrument.
  • Keep the tail darker than the attack: bright front, filtered tail. That preserves punch while keeping the mix clean.
  • Automate a very small volume dip in the bass under the horn if the tune is especially dense. This is a mix decision, not a gimmick — it helps the rewind cue land.
  • Mini Practice Exercise

    Spend 15 minutes building three versions of the same air horn hit in Ableton Live:

    1. Make a clean horn stab with Analog or Wavetable.

    2. Make a dirtier version with Saturator and light Overdrive.

    3. Make a darker version with a lower pitch, shorter decay, and more filtered tail.

    Then place each version in a 16-bar DnB loop:

  • Version 1 on the last beat before the drop
  • Version 2 on a fill before bar 9
  • Version 3 as a rewind cue at the end of bar 16
  • Listen in context with drums and bass. Choose the version that cuts through best without masking the snare or sub. If one version sounds exciting solo but weak in the mix, fix it with EQ and timing, not more volume.

    Recap

    The best DnB air horn is short, controlled, and arrangement-aware.

  • Build the core tone with a simple synth source
  • Shape it with fast envelopes, filtering, and light saturation
  • Add just enough noise and width for attitude
  • Resample it so you can place it like a one-shot
  • Use it sparingly in phrase endings, switch-ups, and rewind moments
  • Keep the low end clean and the upper mids controlled

If you treat the horn like a production tool instead of a novelty effect, it becomes a powerful part of your DnB drop language — especially when you want that oldskool, sound system-style energy with modern mix discipline.

Ask GPT about this lesson

Chat with the lesson tutor, get follow-up help, or use quick actions.

Bigup 👽 Ask me anything about this lesson and I’ll answer in context.

Narration script

Show spoken script
Today we’re building one of those sounds that instantly makes a DnB drop feel like trouble in the best way possible: the oldskool air horn hit.

This is not about making a goofy novelty effect. We’re designing a proper impact sound, something short, rude, and mix-ready, the kind of hit that can announce a rewind, punch through a switch-up, or act like a big red punctuation mark in the middle of a drop.

And the big idea here is simple: think of the horn as an impact object, not an instrument. That mindset changes everything. We’re going to tighten the attack, keep the tail controlled, remove useless low end, and make sure it still works when the drums and bass are going full attack.

So let’s get into it.

First, create a dedicated MIDI track and name it something obvious like AIR HORN HIT. Keeping it separate from your drums and bass will make your life way easier later when you start automating and arranging.

Load up Ableton’s Analog if you want a classic, direct sound with a bit of attitude. Wavetable also works, especially if you want a more characterful, formant-style flavor, but Analog is a great starting point for that oldskool horn vibe.

Before you even shape the tone, leave yourself headroom. You do not want this thing slamming too hot right out of the gate. Aim for the instrument output to peak around minus 12 to minus 10 dB before heavy processing. In DnB, the mix gets crowded fast, so starting clean gives you room to add grit later without wrecking the master.

Now build the core tone. Use a saw wave as your main oscillator, or a saw and pulse combination if you want a slightly rude, synth-brass edge. Keep it simple and aggressive.

A good starting point is oscillator one at around 70 percent level, oscillator two slightly detuned and sitting around 30 to 40 percent. That little detune is important because it gives the horn body and movement without making it sound messy. We’re talking a small amount, maybe 5 to 12 cents. Just enough to get that oldskool thickness.

Next, shape the filter. A low-pass filter works well here. Start the cutoff somewhere around 1.5 to 3 kHz, with moderate resonance, maybe 10 to 25 percent. You want the front of the horn to feel bright and sharp, but you also want control over the harshness.

Now the envelope. This is where the hit starts feeling like a proper stab instead of a sustained note. Set the amplitude envelope with a super fast attack, basically 0 to 5 milliseconds. Decay around 180 to 350 milliseconds. Sustain at zero. Release somewhere around 40 to 120 milliseconds.

That gives you a punchy, compact hit that leaves room for the drums to breathe. In DnB, especially at 174 BPM, that matters a lot. If the sound is too long, it smears into the kick and snare and starts stealing energy from the groove.

You can also add a little filter envelope movement so the horn opens quickly at the start and then closes down fast. That tiny sweep helps the hit feel expressive. A filter envelope amount of around 20 to 40 percent is usually enough.

If you’re working in Wavetable, the same basic approach applies. Use a bright saw-based source, keep movement subtle, and don’t get distracted by fancy modulation. The first job is still to get a strong, rude midrange front edge.

Now let’s give it some attack personality.

A classic horn hit often feels more aggressive because of a tiny pitch movement right at the start. You can do this with an envelope if the synth allows it, or just automate a very quick pitch drop. Try starting around plus 5 semitones and dropping back to zero over the first 50 to 120 milliseconds.

Keep that movement small. If you go too wide, it turns into cartoon territory, and we want rewind-worthy, not silly.

After the synth, add Saturator. This is one of those devices that can really help the sound sit in a DnB mix. Try 3 to 8 dB of drive, turn soft clip on, and balance the output so you’re not just making it louder for the sake of it. We want character, not just level.

If you want even more punch, add Drum Buss after that. A small amount of crunch, maybe 5 to 15 percent, can make the horn feel more percussive. A little transient boost can help too. Again, keep it subtle. The goal is not to turn the horn into a kick drum. The goal is to make it hit like a sound-system stab.

Now comes the oldskool flavor: noise and edge.

A lot of those classic horn hits have a bit of hiss or grit around the attack. That roughness gives them attitude. You can add that by layering noise inside Analog, or by using a second track with a short noise burst from Operator or Simpler.

If you add noise in the synth, keep it tucked under the main tone. You do not want a full blast of hiss. Just enough to sharpen the front. Try a noise level around 5 to 20 percent, high-pass the noise somewhere around 1 to 2 kHz, and keep the envelope short so it only appears as texture.

Then use EQ Eight to clean everything up.

High-pass the whole horn around 120 to 180 Hz. That keeps it out of the sub lane, which is absolutely crucial in DnB. If the horn is carrying too much low end, it will fight your kick and bass and the whole drop will feel muddy.

If the sound gets boxy or nasal, cut somewhere around 600 to 900 Hz by a couple of dB. If it gets painful or too sharp, look in the 2.5 to 4.5 kHz range and make a narrow cut there. That upper-mid zone is where horns can become fatiguing if you push them too hard.

And that’s a good teacher tip in general: if a sound seems exciting in solo but disappears the moment the full tune plays, don’t just turn it up. First ask whether the tone is fighting the mix. Usually the fix is EQ, timing, or arrangement space.

Now let’s think about width.

Horns can sound huge, but in club music you have to respect mono compatibility. If the sound disappears when summed to mono, you’ve gone too far with widening.

A light Chorus-Ensemble or Simple Delay can help, but keep the settings conservative. Low amount, slow rate, mix around 5 to 15 percent. You can also use Echo with very short left-right delay times, almost no feedback, and a filtered repeat so it doesn’t clutter the track.

My favorite approach is this: keep the main horn centered and solid, then put any extra width or ambience on a return track. That way the attack stays focused and mono-safe, while the tail gets a little space.

Always check in mono with Utility. Set width to zero temporarily and listen. If the horn still reads clearly and still feels rude, you’re in a good place. If it collapses, back off the widening and simplify the effects.

At this point, the sound is ready to become useful.

Resample it.

This is one of the best moves in the whole process because it turns your synth patch into a proper one-shot. That means you can place it exactly on the grid, reverse it, chop it, or throw it into transitions without relying on live MIDI playback.

Route the horn track to a new audio track and record a few variations. Print a dry version, a distorted version, a longer tail version, and maybe one with a tiny delay throw. Play the notes with slightly different lengths too, because you’ll often find that one performance has the exact timing and attitude you want.

Once you’ve recorded them, trim tightly to the transient. Cut dead air. Fade the tail cleanly. This is where the sound becomes a production tool rather than just a patch.

Now process the resampled hit like an actual arrangement element.

A solid chain could be EQ Eight, then Saturator, then Glue Compressor, then Limiter if needed. High-pass again around 120 to 180 Hz if necessary, add a bit of drive, and use the compressor lightly so you’re controlling the shape without flattening the front.

If you want a dirtier modern edge, a tiny amount of Overdrive can work well. Just be careful not to make it fizzy. The horn should still have a clear identity.

Now place it in context.

This is where the sound becomes rewind-worthy.

A strong DnB arrangement might go something like this: 16-bar buildup, drop lands on bar one, horn comes in on bar four as a callout, bass answers on the next phrase, then another horn hit on bar eight to create a mini reload feel. That kind of arrangement makes the horn part of the structure instead of random decoration.

You can also use it one beat before the drop to create anticipation. That tiny pocket of space before the hit can make it feel way louder without turning up the fader. That’s a huge production trick: leave a gap and the hit suddenly feels massive.

You can even pair the horn with a drum stop. Kill the drums for a fraction of a beat before the hit, and suddenly the horn lands like a hammer.

If you want more tension, try reversing a copy into the hit. Or automate the filter so it opens just a touch at the start and closes as the tail fades. You can also send more reverb only on the tail, then snap right back to dry for the next phrase. That contrast is what makes the reload moment feel huge.

For a darker or heavier DnB angle, pitch the horn down a semitone or two. Even a small drop can make it feel less playful and more underground. A little Overdrive or Amp can add broken-speaker energy too, but again, keep the definition intact.

Another really useful move is to create a second response sound. Maybe a short reese stab, a noise hit, or a chopped vocal-style texture that answers the horn. So the pattern becomes horn, response, fill, drop. That call-and-response energy works especially well in rollers and darker sections, and it keeps the arrangement from feeling static.

Now, if you want speed, save the whole thing as a rack.

Group the processing into an Audio Effect Rack or Instrument Rack, and map macros for tone, drive, filter, width, reverb amount, and delay throw. Then save a few versions: a short rude horn, a longer reload horn, and a darker distorted horn.

That way, when you’re arranging tracks later, you can pull up the right flavor instantly instead of rebuilding the sound from scratch every time.

Before we wrap up, here are the big mistakes to avoid.

Do not make the horn too long. In DnB, it should feel like a stab, not a lead line.

Do not let it fight the snare. If the crack of the snare and the horn are colliding, soften the upper mids and move the horn away from every backbeat.

Do not leave low end in the horn. High-pass it and keep the sub for the actual bassline.

Do not overdo stereo widening. Keep the main hit centered.

And do not use the horn too often. The whole point is impact. If it happens every few bars, it stops feeling special.

So the big takeaway is this: the best DnB air horn is short, controlled, and arranged with intention.

Build the tone with a simple synth source. Shape it with fast envelopes, filtering, and light saturation. Add just enough noise and width to give it attitude. Resample it into a one-shot so you can place it exactly where it needs to go. And then use it sparingly, at the ends of phrases, in switch-ups, and in rewind moments where the crowd should feel that something just got reset.

If you treat it like a production tool instead of a novelty effect, it becomes a serious part of your DnB drop language.

For homework, build three versions: a clean reload horn, a dirtier switch-up horn, and a bigger transition horn with more tail and more drama. Put them into the same loop, test them in mono, check them at low volume, and listen for which one still punches through when the bass is muted.

That’s the real test.

If it still hits hard on its own, you’ve got a keeper.

mickeybeam

Go to drumbasscd.com for +100 drum and bass YouTube channels all in one place - tune in!

Generating PDF preview…