Main tutorial
Offset Oldskool DnB Sampler Rack for Heavyweight Sub Impact in Ableton Live 12 🥁🔊
1. Lesson overview
In this lesson, you’ll build a sample-based oldskool DnB sub-impact rack in Ableton Live 12 that gives your low end more weight, punch, and movement without turning muddy or floppy.
The core idea is simple:
- use a short, punchy sampled bass hit or sub stab
- offset the sample start so you capture the most useful part of the waveform
- shape it inside an Instrument Rack
- layer in sub control, transient shaping, and saturation
- make it playable across your MIDI keyboard or pads for jungle, rollers, and dark DnB drops
- tight sub hits
- heavy low-end “thuds”
- offset bass stabs
- retriggerable impacts for fills and drop accents 🔥
- Offset start point for optimal sub waveform capture
- Fast envelope for punch
- Mono low end
- Controlled sustain
- Macro controls for:
- drop one-note bass hits
- call-and-response bass stabs
- tension fills
- intro or breakdown motifs
- layered with Reese or breakbeats in a full DnB arrangement
- oldskool bass stab samples
- resampled 808-style bass hits
- a short sine/sub hit
- a muted synth bass note
- a chopped sample from a jungle loop
- a strong fundamental
- a clear attack
- not too much long decay
- ideally a sample that sounds good even when played short
- Simpler for speed and a more hands-on workflow
- or Sampler if you want more detailed modulation
- Mode: Classic
- Warp: Off
- Voices: 1
- Mono: On
- Trigger: Gate or Trigger depending on how you want notes to behave
- a tiny bit of silence
- a click
- an uneven transient
- a phasey “wobble” before the main body
- more hit
- more solid low-end push
- less clicky or soft attack
- less phase weirdness in the note onset
- tight
- full
- instant
- heavy
- Attack: 0–2 ms
- Decay: 150–350 ms
- Sustain: 0 to -inf, or very low if using a one-shot feel
- Release: 20–80 ms
- shorter decay: 120–200 ms
- short release: 10–30 ms
- decay: 250–450 ms
- release: 40–80 ms
- Oscillator A: Sine wave
- Coarse: 0
- Transpose: -12 or -24 semitones if needed
- Voices: 1
- Glide: Off for tight hits, or very subtle for slides
- no filter, or
- a low-pass filter if the sub is too bright
- Attack: 0 ms
- Decay: match the sample layer
- Sustain: 0
- Release: short
- your Simpler
- your Operator
- Sample chain
- Sub chain
- Sample chain at -6 to -10 dB
- Sub chain at -8 to -12 dB
- High-pass lightly only if needed, around 20–30 Hz
- cut a little around 200–400 Hz if the sample is boxy
- if needed, tame harshness around 2–5 kHz
- Drive: 1–6 dB
- Soft Clip: On
- Output: adjust to match level
- Drive: light to moderate
- Boom: very carefully
- Transients: slightly up if the sample needs attack
- low-pass if there’s any unnecessary top end
- remove any resonant weirdness
- keep the sub mostly fundamental-focused
- Drive: 1–3 dB
- Soft Clip: On
- Gain
- Mono width control
- Macro 1: Offset
- Macro 2: Decay
- Macro 3: Sub
- Macro 4: Bite
- Macro 5: Tone
- Macro 6: Width
- Macro 7: Tail
- Macro 8: Punch
- a copy of the sample pitched an octave up and filtered
- a short noise hit
- a resampled distorted version of the bass
- Simpler
- Auto Filter high-pass around 200–500 Hz
- Erosion
- Saturator
- low level in the mix
- single-note drop hits
- offbeat bass stabs
- call-and-response patterns
- syncopated fills before the snare
- end-of-phrase accent notes
- just before the snare
- on the “and” of 1
- on the last 16th before bar 2
- as answer notes after the break
- 1/16 to 1/8 lengths are a good starting point
- use note velocity to vary intensity
- leave gaps for the kick and snare
- Intro: filtered version, lower octave hits
- Build-up: automate start offset and filter openness
- Drop 1: full rack with sub + sample + impact
- Break: only the sampled character layer, reduced sub
- Drop 2: automate drive or decay for variation
- Macro 1: Offset
- Macro 4: Bite
- Macro 7: Tail
- EQ or filter cutoff
- Sample level on transitions
- you commit to the vibe
- you can reverse or slice hits
- you can process the audio more aggressively
- Amen
- Think break
- Top loops with ghost notes
- short attack
- medium release
- only a few dB of gain reduction
- Saturator
- Redux
- Auto Filter
- maybe Echo with very short feedback for texture
- clean
- saturated
- destroyed
- clean for breakdown
- saturated for main drop
- destroyed for fills or second drop
- better waveform capture through sample start offset
- controlled low-end punch with Simpler + Operator
- more translation through saturation and EQ
- fast creative control with rack macros
- arrangement-ready bass hits for jungle, rollers, and dark drum and bass 🚀
- a device-by-device Ableton rack blueprint
- a visual macro map
- or a follow-along project for Live 12 with exact knob values.
This is especially useful if you like that 90s / oldskool / ragga / jump-up / jungle-inspired feel, where the bass has impact but still feels organic and sampled rather than purely synthesized.
By the end, you’ll have a rack that can produce:
---
2. What you will build
You will build an Ableton Live 12 Instrument Rack with three layers:
1. Main sampled bass hit
- a short oldskool bass sample, re-sampled sub stab, or low sine-like hit
2. Sub layer
- a clean oscillator-based sub using Operator or Wavetable
3. Impact character layer
- optional transient or midrange bite using Erosion, Saturator, or a filtered sampler layer
Final rack goals
- sample offset
- decay
- sub level
- punch
- tone
- release
You’ll end up with a rack that works great for:
---
3. Step-by-step walkthrough
Step 1: Choose the right source sample
Start with a sample that already has some low-end character.
Good source choices:
What to look for
You want:
Why this matters
If your source is already “meaty,” the rack will enhance it. If the source is thin and noisy, you’ll fight it the whole way.
---
Step 2: Drop the sample into Simplers or Sampler
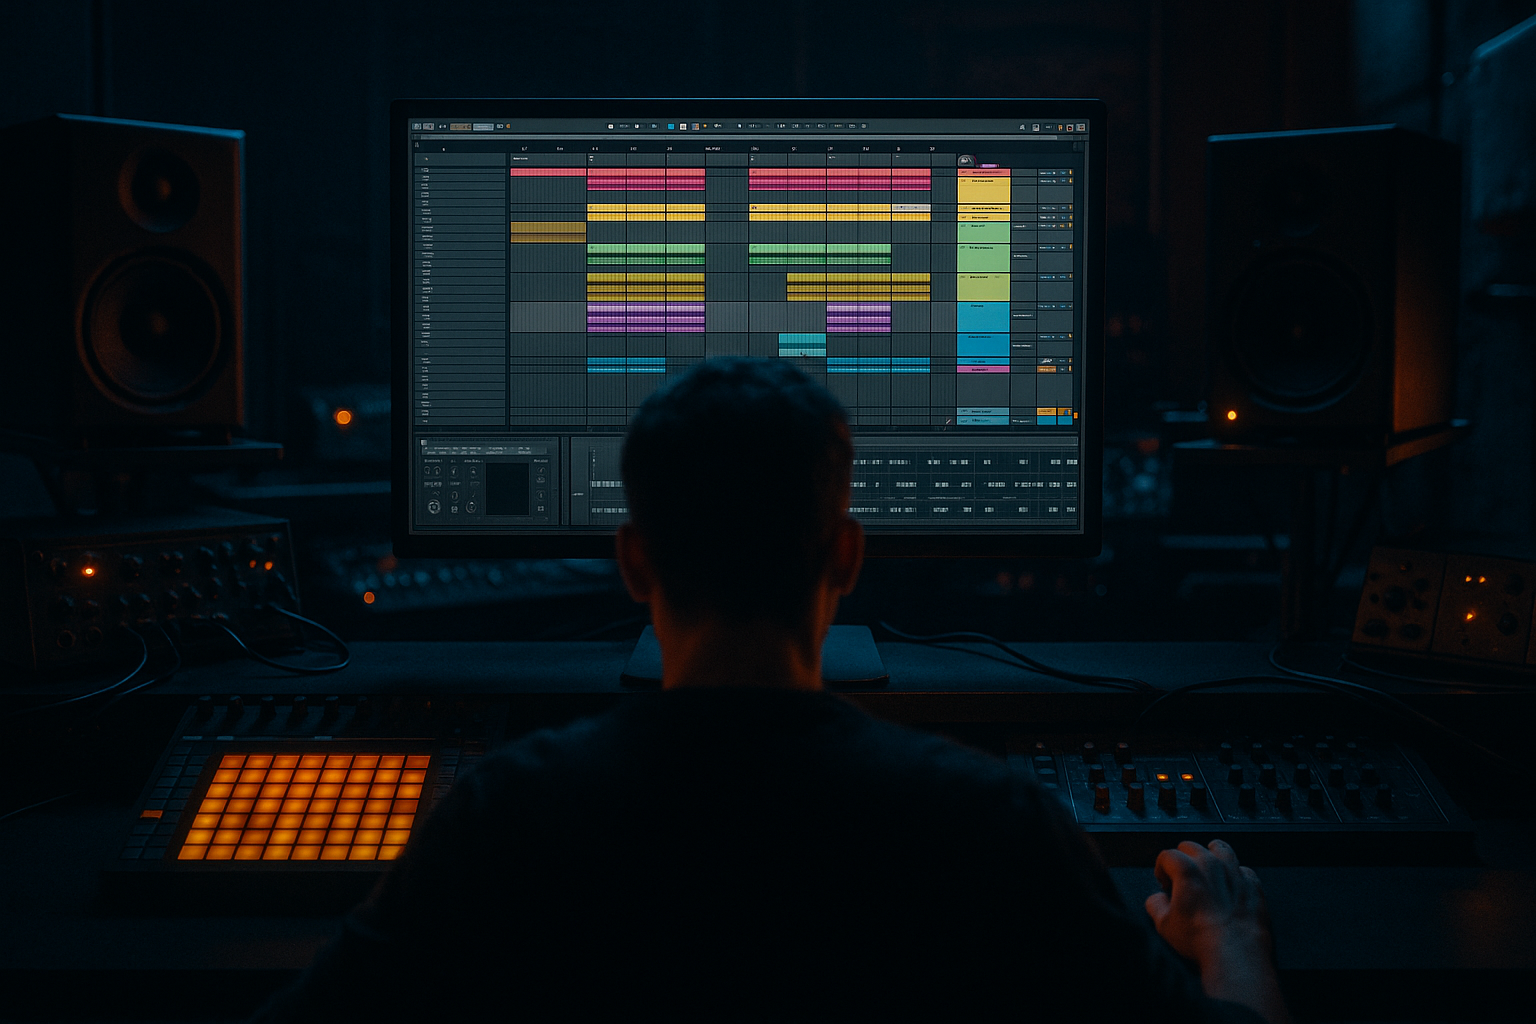
In Ableton Live 12, create a MIDI track and load:
For this lesson, start with Simpler.
Suggested Simpler settings
Why Classic mode?
Classic mode gives you simple, direct sample playback and makes start offset editing easy. Great for drum and bass because you can get straight to the punch.
---
Step 3: Offset the sample start for better sub impact
This is the key move.
The start of a low-frequency sample often contains:
By moving the start marker slightly forward, you can catch the part of the waveform that gives you the strongest impact.
How to do it
1. Open the sample in Simpler
2. Zoom into the waveform
3. Move the start marker forward in tiny increments
4. Play a repeated MIDI note and listen closely
What you’re listening for
You want:
Practical rule
Move the start point until the sample sounds:
If you push it too far, you may lose the low-end body. The sweet spot is usually just after the initial transient, but before the fundamental gets chopped off.
---
Step 4: Build the amplitude envelope
Your DnB sub hit needs to be controlled, not long and boomy.
In Simpler, adjust the amplitude envelope:
Starting point
For more “stab” and less tail
For a heavier, rounder impact
DnB tip
For rolling bass music, a sub hit that decays too slowly will clash with the kick and break the groove. Keep it tight and playable.
---
Step 5: Add a clean sub layer with Operator
To make the impact truly heavyweight, layer a very clean synth sub underneath the sample.
Create a second instrument chain in the same Instrument Rack and load Operator.
Operator settings
Filter and envelope
You often don’t need much here. Keep it simple:
Envelope
Why this works
Your sample provides the character, while Operator supplies the clean, stable low end. This is a classic DnB layering move because it keeps the sub consistent across notes.
---
Step 6: Group both layers into an Instrument Rack
Now select:
Then press Cmd/Ctrl + G to group them into an Instrument Rack.
Inside the rack, you now have two chains:
Balance the layers
Start with:
Then adjust by ear.
You want the sub layer to be felt more than heard, while the sample layer gives character and punch.
---
Step 7: Shape the sample chain with useful stock devices
On the sample chain, try this device order:
1. EQ Eight
2. Saturator
3. Drum Buss or Glue Compressor if needed
EQ Eight settings
Use EQ Eight to clean up the mud:
Don’t over-EQ the sub out of existence. The goal is cleanup, not sterilization.
Saturator settings
Saturation is huge for DnB low end.
Try:
This adds harmonics so the bass reads better on smaller systems while still feeling weighty on a club rig.
Drum Buss settings
If you want more aggressive punch:
Be cautious with Boom on sub-heavy sounds. It can get messy quickly in DnB if you overdo it.
---
Step 8: Shape the sub chain properly
On the Operator sub chain, keep it clean.
Suggested chain:
1. EQ Eight
2. Saturator
3. optional Utility
EQ Eight
Saturator
Use gently:
You want enough harmonics to help the sub translate, but not so much that it becomes a fuzzy midbass.
Utility
Use Utility to control:
For sub, keep it mono.
---
Step 9: Add rack macros for fast control
Map these parameters to macros:
1. Sample Start
2. Sample Decay
3. Sub Level
4. Sample Level
5. Drive
6. Tone
7. Release
8. Impact
Practical macro ideas
- maps to Simpler Start
- maps to Simpler amp decay
- maps to Operator volume
- maps to Saturator drive or EQ tilt
- maps to EQ Eight high shelf or low-pass
- maps to Utility width on the mid layer only, not the sub
- maps to release
- maps to Drum Buss transients or a parallel compressor
This makes the rack practical in arrangement and performance, not just sound-design mode.
---
Step 10: Add a parallel “impact” layer if needed
If you want more aggression, create a third chain in the rack.
Good options:
Example chain for impact
This chain should be felt as attack or texture, not dominate the sub.
Why this helps
A pure sub can feel huge, but it may not sound exciting in the mix. The impact layer gives it the “speaker punch” that helps it cut through drums and breaks.
---
Step 11: Program it musically
Now write MIDI that suits DnB phrasing.
Great use cases
Example rhythmic idea
Try placing hits:
In jungle and oldskool DnB, the bass often works like a rhythmic punctuation mark, not a constant wash.
MIDI note length
Even if the rack has decay, keep MIDI notes short and precise:
---
Step 12: Arrange it inside a full DnB track
A heavy sub-impact rack is most useful when it supports the drums rather than fighting them.
Arrangement ideas
Automation ideas
Automate:
A small automation move can make the drop feel like it “opens up” without changing the core pattern.
---
4. Common mistakes
1. Starting the sample too early
If the waveform start includes a weak transient or silence, the note can feel soft and late.
Fix: move the start point forward in small increments and compare.
2. Cutting too much low end with EQ
Beginners often clean too aggressively and remove the body.
Fix: use gentle high-pass filtering only below the real sub region.
3. Letting the sample and sub fight each other
If both layers are loud in the same range, the low end gets blurry.
Fix: keep the Operator sub clean and the sample layer slightly quieter.
4. Too much stereo width on the low end
Wide bass sounds cool soloed but collapses in a club mix.
Fix: keep sub mono with Utility and only widen upper layers.
5. Overdoing saturation
Too much drive can flatten the impact and make the bass noisy.
Fix: saturate lightly, then level-match the output.
6. Long release times
A long release can smear the groove and clash with the kick/snare pattern.
Fix: keep releases short for tight DnB movement.
7. Ignoring velocity
If every note hits the same, the pattern can feel robotic.
Fix: vary velocity so some stabs push harder than others.
---
5. Pro tips for darker/heavier DnB
Tip 1: Resample your rack
Once you like the sound, resample it to audio and chop it further.
This is very DnB-friendly because:
Tip 2: Layer with a break
Try placing the sub-impact under a chopped break like:
The contrast between break texture and low-end hit is classic jungle energy.
Tip 3: Use subtle pitch movement
Add tiny pitch envelopes or MIDI note variations for movement.
Even a small pitch drop at the start can make a hit feel more brutal.
Tip 4: Sidechain lightly to the kick
Use Compressor or Glue Compressor to duck the bass layer just enough for the kick.
Keep it subtle:
The goal is groove, not pumping for its own sake.
Tip 5: Add controlled distortion on a return
Send your impact layer to a parallel return with:
Blend it in quietly for attitude without ruining the sub.
Tip 6: Print different versions
Make 3 versions:
Then use them in different song sections:
---
6. Mini practice exercise
Build a 4-bar DnB bass phrase using your rack.
Exercise steps
1. Load a short oldskool bass sample into Simpler
2. Offset the start until it feels punchy
3. Layer a sine sub in Operator
4. Create a rack with at least 4 macros:
- Offset
- Sub Level
- Drive
- Decay
5. Write a 4-bar MIDI pattern with:
- 1 note on bar 1
- syncopated answer notes
- one fill note before bar 4
6. Automate the Drive macro slightly on bar 4
7. Export or resample the result
Goal
Make it feel like a roll-in bass phrase that could sit under breaks in a dark jungle tune.
---
7. Recap
You’ve now built a practical offset oldskool DnB sampler rack in Ableton Live 12 that gives you:
Key takeaway
The magic is not just in the sample itself — it’s in where the sample starts, how short it is, and how cleanly the sub layer supports it.
If you want, I can also turn this into:

