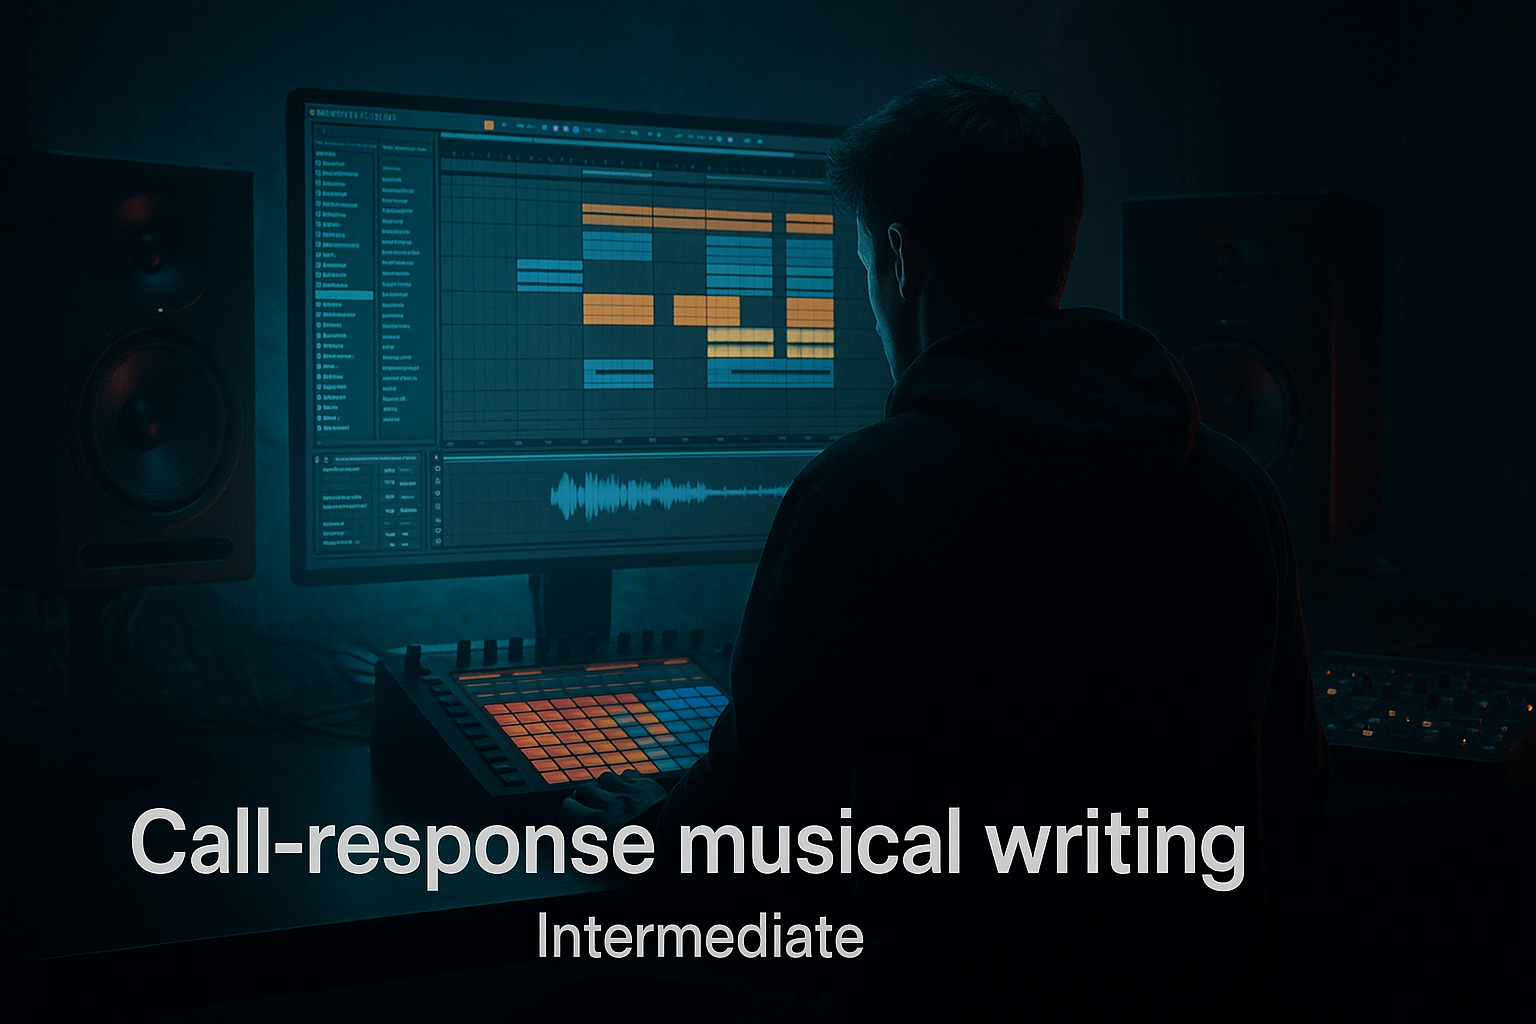
Main tutorial
Lesson Overview
Oldskool DnB percussion is one of the fastest ways to make a roller feel alive without cluttering the drop. In this lesson, you’ll build an offset percussion layer in Ableton Live 12: a second rhythmic texture that sits behind the main drums, nudges the groove forward, and adds that timeless “in-motion” feeling you hear in jungle, halftime-leaning rollers, and darker liquid. 🥁
The key idea is simple: your main break or drum pattern gives the track its spine, while the offset layer creates micro-syncopation. Instead of hitting exactly on the obvious grid positions, you place short percussion hits slightly off the main accents or in the empty spaces between them. That tiny timing shift creates momentum, especially when paired with oldskool break energy and modern low-end control.
This technique matters because DnB lives and dies on groove tension. If your drums are too straight, the drop can feel rigid. If everything is too busy, the low end loses authority. An offset percussion layer lets you add movement, atmosphere, and urgency while keeping the kick, snare, and sub focused. It’s especially useful in:
- rolling intros that need evolution without a full drum change
- drops where the main break is strong but needs more forward push
- darker atmospheres where percussion texture helps fill negative space
- switch-ups before fills, rewinds, or arrangement turns
- shuffled hat ticks
- muted rim or wood hits
- thin break fragments
- filtered shaker texture
- occasional reverse or ghost accents
- sit in the mid-high rhythmic lane without fighting the snare
- add syncopated momentum around the 2 and 4 backbeat
- feel slightly “behind” or “beside” the main grid for human movement
- support a 173–176 BPM roller without making the mix harsh
- be easy to automate into and out of sections for arrangement energy
- Making the offset layer too loud
- Putting hits on every offbeat
- Letting the layer clash with the snare transient
- Ignoring the low mids
- Over-widening the percussion
- Using too much reverb
- Not evolving the pattern across sections
- Resample your percussion bus after saturation, then re-chop it. This can create a gritty, unified texture that feels more underground.
- Use tiny reverse hits before snare phrases or fills. They add tension without needing big risers.
- Layer one metallic tick very quietly with a muted rim. That contrast adds nervous energy in the upper mids.
- Try short Auto Pan movement on the layer only if it stays subtle. Slow phase values can create motion, but don’t let it distract from the snare.
- Automate filter resonance sparingly to create a sharper, more haunted edge during switch-ups.
- Let the percussion get dirtier in the drop A and cleaner in drop B, or vice versa. Contrast keeps the arrangement feeling intentional.
- Match the percussion tone to the bassline character: if the bass is smooth and subby, make the percussion more textured; if the bass is aggressive and reese-heavy, keep the percussion thinner and more precise.
- Use Drum Buss as a glue-and-crunch stage on the percussion group, but don’t overdo Boom unless you want extra low-mid thump.
- Check it against reference rollers and listen specifically to how much information sits between the kick/snare hits. That’s the space you’re targeting.
- use short, clean percussion sources or break slices
- offset the rhythm with deliberate timing shifts
- shape the tone with EQ Eight, Auto Filter, Drum Buss, and Saturator
- keep the layer focused in the mid-high rhythmic range
- automate it across the arrangement so it supports intros, drops, and switch-ups
- always check it against the bass and mono compatibility
We’ll use stock Ableton Live devices and a practical drum programming approach rooted in authentic DnB workflow.
What You Will Build
By the end, you’ll have a tight oldskool-inspired percussion layer that works underneath a roller drop or a moody intro. It will sound like a blend of:
Musically, this layer will:
You’ll end up with a percussion bus that can be reused across intros, drops, and breakdown transitions, making it a proper save-worthy DnB tool.
Step-by-Step Walkthrough
1. Start with your drum foundation and choose a lane for the offset layer
Open a new drum group in Ableton Live 12 and make sure your core kick/snare pattern is already working. For a classic roller, place the snare on beat 2 and 4, then add your kick pattern and main break or ghost drum layer. The offset percussion should not replace this foundation; it should sit around it.
Decide what role the new layer will play:
- if your drop is too stiff, use short shuffled hats and rim ticks
- if it feels empty, use thin break fragments and shaker texture
- if it needs darker motion, use filtered metallic hits with some decay
Keep the main drum bus clean first. The goal is not “more drums,” but more feel.
2. Build the percussion source from stock sounds or a resampled break slice
In a new Audio or MIDI track, load a small collection of one-shots from your library or slice a break into Simpler. A very effective oldskool move is to resample a looped percussion section from a break, then chop it into individual hits.
Practical Ableton route:
- Drop a break into Simpler and switch to Slice mode if needed
- Or load 3–5 one-shots: hat, rim, shaker, tiny tom, metallic tick
- Keep each sound short and dry at the source
Useful stock devices:
- Simpler for slice playback and quick shaping
- Drum Rack if you want each accent on its own pad
- EQ Eight for cleanup
- Utility for mono control
- Saturator for subtle bite
If you’re using a break slice, trim the transient so the hit is crisp, not splashy. A lot of oldskool DnB percussion works because the source is slightly imperfect but still punchy.
3. Program the offset rhythm against the main drum grid
This is the core of the lesson. Create a 1- or 2-bar MIDI clip and place hits where they don’t compete with the main snare pattern. Think in layers of opposition.
A strong starting point at 174 BPM:
- put a light hat or tick just after the kick
- place a rim or shaker on the “and” after 2
- insert a ghost hit before the snare, but keep it very quiet
- add one small hit late in the bar to pull the loop forward
Example rhythmic concept:
- main snare lands hard on 2 and 4
- offset layer hits on the offbeats between 1 and 2, and between 3 and 4
- occasional accents land just before a snare to create anticipation
Don’t make the layer symmetrical. The whole point is to feel slightly asymmetrical and human. In DnB, this creates the illusion that the groove is leaning forward.
4. Nudge timing with groove, humanize, and micro-offsets
In Ableton Live 12, timing is everything. Once your rhythm is in place, use Groove Pool or small note offsets to make it breathe.
Try this:
- add a shuffle groove around 54–58% if the beat needs swing
- move a few hits 5–15 ms late for laid-back push
- move one or two ghost notes 3–8 ms early for urgency
- keep the snare locked, but let the offset percussion float slightly
If you use Groove Pool, choose a groove that gives subtle swing rather than obvious breakbeat wobble. Oldskool momentum often comes from restrained shuffle, not exaggerated triplet feel.
Why this works in DnB: the sub and snare stay stable, while the percussion creates motion in the upper rhythm band. That contrast makes the track feel faster and more energetic without needing more notes.
5. Shape the tone so the layer sits like atmosphere, not clutter
The percussion layer should feel part of the atmosphere category, not like a separate drum loop sitting on top of the mix. Use EQ Eight and filtering to carve its space.
Suggested starting settings:
- high-pass the layer around 200–350 Hz
- if it’s harsh, dip 3–6 kHz by 2–4 dB
- if it needs more texture, add a gentle shelf around 8–10 kHz
- if it feels too thin, add a narrow bump around 1.5–2.5 kHz very carefully
Useful stock devices:
- EQ Eight for precise frequency carve-out
- Auto Filter for motion and section control
- Saturator for edge without needing extra volume
- Drum Buss for transient shaping and grit
Keep this layer relatively narrow and controlled. The main break can have width and character, but the offset percussion should mostly support the groove without clouding the stereo image.
6. Add transient control and controlled dirt for oldskool character
Oldskool percussion often sounds exciting because it has a bit of bite and body, but not full modern polish. Use Drum Buss or Saturator to build this character.
A practical starting chain:
- Drum Buss: Drive around 5–15%
- Transients slightly positive if the hits need more click
- Boom very low or off unless you want extra low-mid thump
- Saturator: Soft Clip on, drive lightly until the layer feels denser
If your source is too clean, resample it through a small amount of saturation, then re-import the result. This is a classic DnB workflow and very effective for dark rollers. The goal is a layer that feels dusty, urgent, and physical rather than pristine.
Keep checking the snare. The offset layer should energize the snare’s arrival, not smear it.
7. Create movement with auto filter, delay throws, and occasional reversal
Because this lesson sits in Atmospheres, the layer should evolve across the track, not just loop mechanically.
Use automation for:
- Auto Filter cutoff opening over 8 or 16 bars
- short Delay throws on selected hits
- reverb only on transitions or fill hits
- occasional reverse hit into a new phrase
Recommended settings:
- Auto Filter: low-pass starting around 6–8 kHz, opening to 10–14 kHz for section lift
- Delay: very low feedback, short time, dry/wet automated only on accents
- Reverb: small room or short plate, decay kept short so it doesn’t wash out the groove
A useful arrangement move is to let the offset layer start filtered and narrow in the intro, then open it more in the drop. This gives you progression without changing the drum pattern itself.
8. Route the layer to its own bus and glue it into the drum family
Route the offset percussion to a separate group or return channel before it hits the drum master. This gives you control over tone, space, and automation.
Good bus chain options:
- EQ Eight for final cleanup
- Glue Compressor for subtle cohesion
- Utility for width management
- Saturator or Drum Buss for final grit
If you use Glue Compressor, keep it gentle:
- ratio around 2:1
- attack slower rather than super fast
- release auto or a medium setting
- only 1–2 dB of gain reduction
This bus should feel like part of the same drum language as the kick and snare. In darker DnB, cohesion matters more than perfect isolation. A unified percussion bed gives the bassline something to push against.
9. Arrange it like a real DnB record, not a loop demo
Build the offset percussion into the structure of the tune. Here’s a practical arrangement idea for a roller:
- Intro: filtered percussion layer at low volume, no full snare energy yet
- Pre-drop: open the filter and add one or two extra ghost hits
- Drop A: full layer active, but keep some hits muted for breathing room
- 8-bar switch-up: remove half the layer, or flip the pattern for variation
- Drop B: bring the layer back with more saturation or slightly different groove
This works especially well when the bassline is call-and-response with the drums. If your reese or sub phrase answers the snare, the offset layer can fill the gaps between those statements. That creates the feeling of a rolling machine rather than a static loop.
For DJ-friendly structure, make sure the intro and outro still leave room for clean mixing. In breakdowns, you can strip the layer back to one hat texture or filtered tick so the atmosphere stays present without overpowering transitions.
10. Reference against the sub and make mono checks part of the workflow
Once the layer is working, test it against the bass and the full mix. In DnB, percussion can sound exciting soloed and still damage the track when the sub arrives.
Do these checks:
- turn on Utility and mono the percussion bus
- confirm there’s no low-end buildup from the layer
- make sure the bassline still owns the center
- lower the percussion if the snare feels smaller
If your track has a reese bassline, the percussion should leave the lower mids clear enough for the reese movement to speak. If it’s a sub-heavy roller, the percussion must stay disciplined and leave space around the kick fundamental and sub body.
This final check is what turns a cool loop into a professional DnB section.
Common Mistakes
Fix: pull it down until you miss it when muted, but don’t consciously hear it dominating the groove.
Fix: leave gaps. The negative space is what makes the rhythm feel intelligent and rolling.
Fix: move offending hits a few milliseconds earlier or later, or delete them if they weaken the backbeat.
Fix: high-pass more aggressively, especially if break slices bring unwanted body around 150–400 Hz.
Fix: keep the layer mostly centered or moderately narrow so the stereo image stays strong and the bass remains stable.
Fix: use short room spaces or automation throws only. Long reverb tails can blur the roller and soften the impact.
Fix: automate filter, mute certain hits, or vary one accent every 8 bars so the layer feels alive.
Pro Tips for Darker / Heavier DnB
Mini Practice Exercise
Set a 15-minute timer and build a working offset percussion layer from scratch.
1. Load a 2-bar DnB drum loop or program a basic kick/snare pattern at 174 BPM.
2. Create a new percussion track using 3 one-shots: hat, rim, and shaker, or slice a short break.
3. Program a syncopated rhythm with at least 6 hits that avoid the main snare accents.
4. Apply EQ Eight with a high-pass around 250 Hz and one small harshness dip if needed.
5. Add Drum Buss or Saturator for mild grit.
6. Use Groove Pool or manual offsets to make at least 2 hits feel late and 1 hit feel early.
7. Automate an Auto Filter opening across 8 bars.
8. Listen in context with the bassline, then mute the layer and ask: does the groove lose motion?
If the answer is yes, the layer is doing its job. If not, simplify the rhythm and remove any hit that competes with the snare.
Recap
The goal of an offset oldskool percussion layer is to create timeless rolling momentum without crowding the drum core. Keep the main kick, snare, and sub stable, then add a syncopated texture that lands around them rather than on top of them.
Remember the essentials:
If you get the spacing right, this technique gives your DnB track that classic forward pull: subtle, dark, and constantly moving.

