Main tutorial
Lesson Overview
An offset jungle ride groove is one of the quickest ways to make a Drum & Bass drum loop feel less “straight looped” and more alive, smoky, and warehouse-ready. In this lesson, you’ll learn how to place a ride cymbal slightly off the grid so it drives the groove without sounding too perfect or too polished.
In DnB, this matters because the drums and bass need motion even when the pattern is simple. A ride that sits a little late or a little early can create tension against the kick, snare, and bassline. That tiny push-pull is a big part of jungle, rollers, darker halftime-inflected DnB, and deep warehouse rollers. It helps the track feel human, urgent, and slightly dangerous 😈
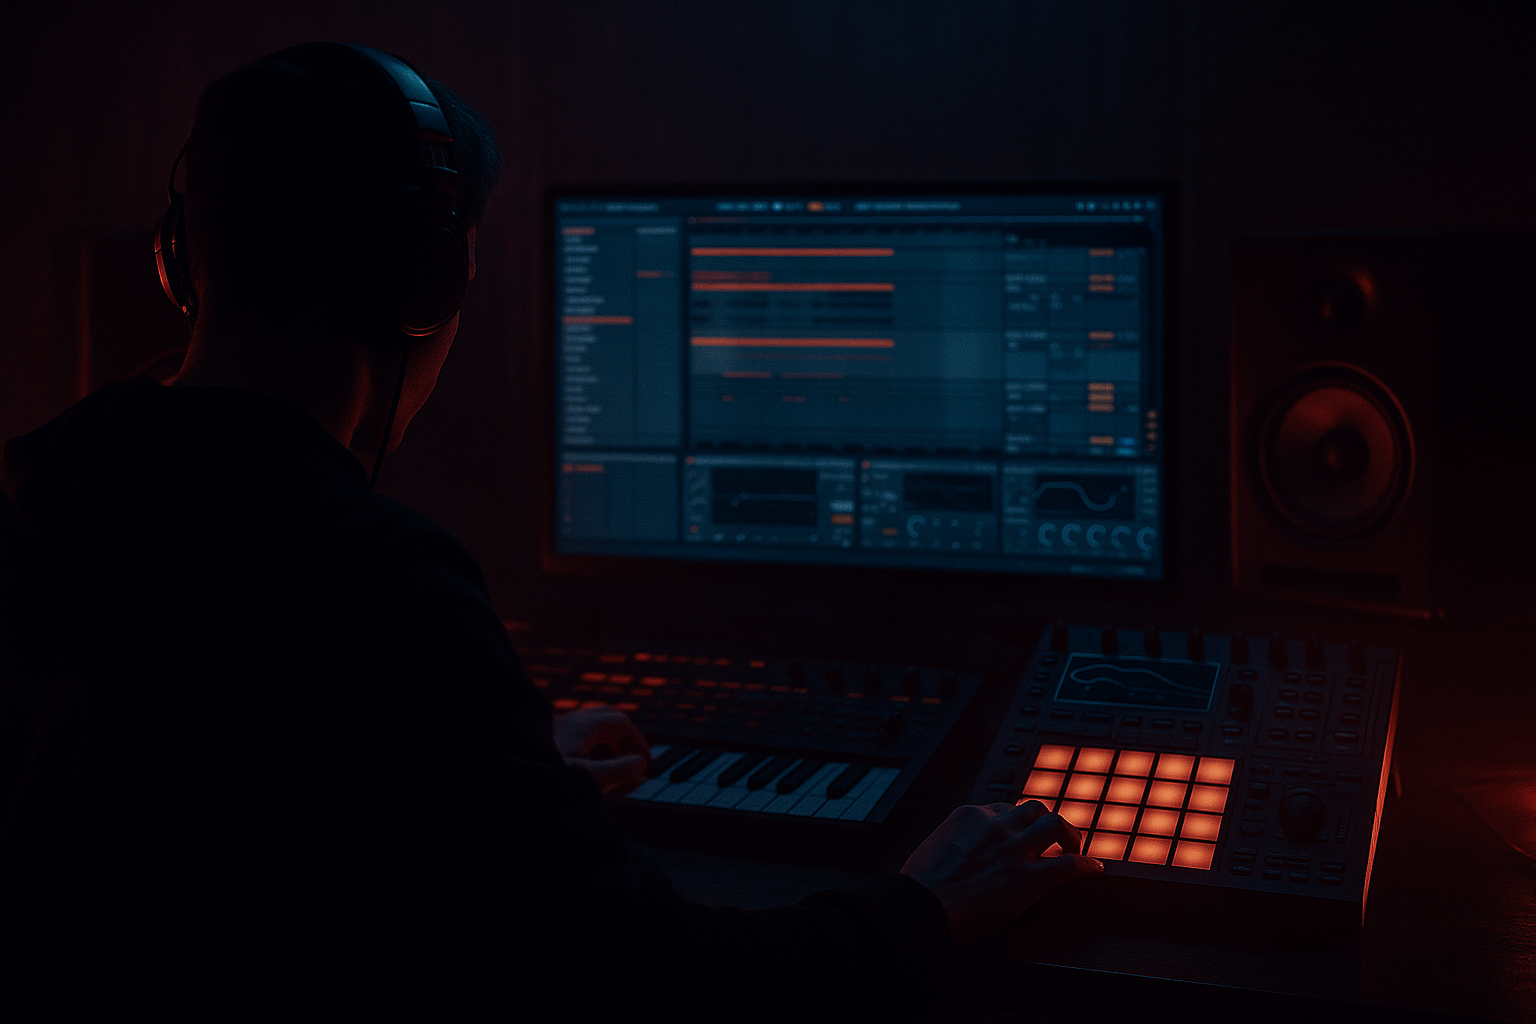
We’ll build this inside Ableton Live 12 using stock devices and basic editing tools, with a mixing-first mindset. That means you’ll not only place the ride groove, but also control tone, stereo width, harshness, and low-end space so the groove feels expensive and not messy.
What You Will Build
By the end of this lesson, you will have:
- A jungle-style ride pattern that sits slightly off the grid
- A dark, smoky top-end texture that works in a DnB drop or intro
- Clean drum-bass separation so the ride doesn’t fight the snare or bass
- A simple processing chain using Ableton stock devices
- A loop that can work in:
- Kick on 1 and a lighter kick variation before the snare if needed
- Snare on 2 and 4
- Optional ghost notes or chopped break bits around the snare
- Keep the drum bus peaking with headroom
- Aim for roughly -6 dB to -8 dB peak on the master before mastering
- Don’t over-compress the drums yet; keep them punchy and flexible
- Short to medium decay
- Clear shimmer, not too washy
- A slightly rough or dusty tone for jungle/warehouse character
- Ride volume lower than the snare by a fair amount
- High-pass or tonal shaping later if it has too much low-mid body
- one slightly louder for accents
- one lower-volume version for constant motion
- Put the ride on the offbeats, but shift some hits a little late
- Try placing certain hits just after the grid line instead of exactly on it
- Leave gaps so the groove breathes
- Hits on the “&” of the beat
- Nudge every second or fourth ride late by 5–15 ms
- Occasionally leave a beat empty to create tension
- Groove Pool
- Clip timing nudge
- Manual note positioning in the MIDI editor
- Audio clip start position adjustments if you’re working with one-shots
- Bar 1: ride on the offbeat
- Bar 2: same pattern, but move the last ride a little late
- Bar 3: add one extra ride hit before the snare
- Bar 4: pull back again to create a loop that breathes
- Open Groove Pool
- Drag in a groove from a swung clip or use one of Ableton’s stock grooves
- Apply it lightly to the ride clip
- Keep the timing amount modest
- Timing: around 10% to 30%
- Random: 0% to 8%
- Velocity: 5% to 15%
- High-pass around 250 Hz to 500 Hz if the sample has unwanted body
- Cut a little around 2.5 kHz to 5 kHz if it’s harsh
- If it feels too thin, add a gentle boost around 8 kHz to 12 kHz
- Turn width down to 100% or slightly less if the ride feels too wide
- Use Mono if the ride is part of a dense drop and you want strict stereo discipline
- If it’s too loud in the top end, simply reduce gain instead of boosting the master chain later
- Saturator
- Drum Buss
- Redux very lightly, if you want dusty texture
- Erosion for subtle high-end corrosion
- Drive: 1 to 4 dB
- Soft Clip: on
- Output adjusted so level stays controlled
- Drive lightly
- Crunch very low, just enough to rough up the tail
- Boom usually off for a ride unless you intentionally want extra thump
- In Simpler, shorten the decay or release
- In audio clips, trim the tail manually
- Use Gate very lightly if needed
- Use Auto Filter with a decaying envelope only if you want a more shaped effect
- Shorten the sample so it stops before the next snare or key bass accent
- Keep it percussive and lean
- Keep the ride out of the low mids
- Make sure it doesn’t distract from the bass movement
- Check that it isn’t masking the snare snap around 2 kHz to 4 kHz
- If the ride disappears completely in mono, it may be too wide or too phasey
- If the ride dominates in mono, it may be too bright or too loud
- Snare remains clearly the loudest drum element after kick
- Ride is present but not attention-grabbing
- Bass remains the emotional center of the drop
- Volume automation for build-ups and drop entries
- Filter automation using Auto Filter to make the ride darker in verses and brighter at impact
- Reverb send automation for short transitional moments only
- Intro: filtered ride tucked low
- First drop: ride pattern enters with restrained brightness
- Second 8 bars: add a second ride layer or brighter variation
- Breakdown: remove the ride or filter it down
- Final drop: bring it back with slightly more saturation or a denser pattern
- You can commit the groove
- You can reverse, cut, or re-layer pieces
- You can process it as a single texture instead of a raw sample
- Create a new audio track
- Set input to resampling
- Record 1 or 2 bars of the ride with drums
- Edit the recorded audio clip
- Chop tiny pieces and rearrange them for fills
- Making the ride too loud
- Using too much swing
- Letting the ride clash with the snare
- Over-brightening the cymbal
- Leaving too much low-mid body in the sample
- Forgetting mono compatibility
- Filling every gap with cymbals
- Layer a very quiet broken-ride texture under the main ride
- Use Drum Buss on a send, not just the channel
- Try tiny automation changes every 8 bars
- Combine the ride with ghost percussion
- Put the ride slightly behind the beat, not ahead of it
- If the bassline is very busy, simplify the ride
- Use short reverbs only on selected hits
- Think like a DJ
- An offset ride creates movement, tension, and human feel in DnB
- Keep the groove subtle: a few late hits are often enough
- Use Groove Pool lightly, not aggressively
- Shape the tone with EQ Eight, Utility, and gentle Saturator drive
- Keep the ride out of the way of the snare and bass
- Automate ride energy across the arrangement for depth and release
- In darker jungle and warehouse DnB, less cymbal can often mean more impact
- a 174 BPM roller
- a dark jungle drop
- a warehouse-style breakdown-to-drop transition
Musically, the result will feel like a ride pattern that “leans” into the beat rather than landing perfectly on it. That offset feel gives the groove a rolling, unstable energy that suits darker DnB and jungle atmospheres.
Step-by-Step Walkthrough
1. Start with a solid DnB drum foundation
Before adding the ride, make sure your kick and snare are working as a loop. In Ableton Live 12, load a simple drum rack or audio drum loop at around 172–176 BPM. If you’re building from scratch, keep it basic:
If you’re using a break, try a classic jungle-style loop with the transient shaping already present. If you’re sequencing one-shot drums, make sure the snare is strong enough to anchor the ride movement.
Why this matters: the ride offset only feels good if the main backbeat is already clear. In DnB, the snare is the spine of the groove. If the snare is weak, the ride will sound random instead of intentional.
Mixing check:
2. Choose the right ride sample and keep it simple
Drag a ride cymbal one-shot into a new audio track or Sampler/Simpler if you want note control. For beginner workflow, audio clips are easiest.
Look for a ride with:
If the ride is too bright, it will dominate the mix. If it’s too dull, it won’t read in the groove.
Place the ride so it can support the energy without sounding like a rock cymbal. In darker DnB, rides often work more like texture and motion than a literal “metal cymbal.”
Good starting point:
If you want a more organic feel, duplicate the ride sample onto two clips:
That gives you a simple call-and-response texture.
3. Program the ride slightly off the grid
Open the MIDI clip or audio clip grid and place the ride pattern in a 1- or 2-bar loop. Start with a very simple pattern:
A good beginner starting point is:
In Ableton, you can do this with:
A simple example:
Why this works in DnB: the rhythm feels more human and forward-moving when the ride is not locked too tightly to the grid. That offset creates a subtle drag against the snare and bass, which is especially effective in jungle and warehouse rollers where tension is part of the vibe.
4. Use Groove Pool for controlled swing, not random mess
Ableton Live’s Groove Pool is very useful here. Instead of manually shifting every note, try a light groove from an MPC-style or swing feel.
Steps:
Beginner-safe settings:
Do not overdo swing. In DnB, too much swing on a ride can fight the straight power of the kick and snare. You want “leaning,” not stumbling.
If your ride is clashing with the snare, reduce the swing amount or manually move only the notes that feel stiff. Sometimes just one late hit per bar is enough to give the groove identity.
5. Shape the tone with EQ Eight and Utility
Now mix the ride so it sits in the track rather than hovering on top of it.
Add EQ Eight to the ride track:
Be careful: the goal is texture, not bright splashy cymbal energy.
Add Utility after EQ Eight:
Mixing note: the ride should complement the snare crack and bass movement. If you can hear the ride clearly when the whole track plays, that’s good. If it takes over, it’s too loud or too bright.
6. Add gentle saturation for smoke and weight
For darker DnB, a totally clean ride can feel too glossy. Add a touch of grit using stock Ableton devices.
Good options:
Start with Saturator:
If you use Drum Buss:
For a smoky warehouse vibe, tiny saturation does a lot. It helps the ride feel less sterile and more like it belongs in an underground system.
Why this works in DnB: distorted or saturated top-end textures can sit more naturally beside heavy bass because the ear perceives them as part of the same energetic field. The ride becomes a texture layer instead of a pristine cymbal sample.
7. Control the ride with a short envelope or gate-like feel
If the ride is ringing too long, it can clutter the mix and mask high hats, breaks, or atmospheric details.
Use one of these approaches:
Beginner-friendly move:
In jungle and rollers, short top-end gestures often work better than long cymbal wash. You want the ride to flicker rather than flood the groove.
8. Balance the ride against the bassline and snare
This is the mixing step that makes the whole idea work.
If your bassline is a sub-heavy roller or a reese:
Do a quick mono check with Utility on the master or ride bus:
A practical balance target:
Try muting the ride for a bar and then bringing it back. If the track loses forward motion, the ride is doing its job. If the track suddenly gets much better when muted, it’s probably too busy or too loud.
9. Automate ride energy for arrangement movement
A smoky warehouse groove works best when the ride evolves across the track.
Use automation to create tension and release:
Arrangement idea:
This keeps the groove from feeling static. In DnB, even small top-end changes can make the arrangement feel much bigger.
10. Resample the groove if you want a more personal texture
Once the ride pattern feels good, resample it to audio.
Why do this?
Workflow:
This is especially useful for darker DnB and jungle because it lets you create unique top-end movement without sounding like a loop pack.
Common Mistakes
Fix: Pull it down until you miss it more than you “hear” it.
Fix: Keep Groove Pool timing subtle. In DnB, a little goes a long way.
Fix: Move only the offending hit, shorten the tail, or reduce high-end brightness.
Fix: Use EQ Eight to tame 2.5 kHz to 5 kHz harshness before adding more top shelf.
Fix: High-pass the ride so it doesn’t cloud the kick and bass.
Fix: Check with Utility in mono, especially if you used width effects.
Fix: Leave space. In warehouse DnB, negative space is part of the groove.
Pro Tips for Darker / Heavier DnB
This can add grit without making the groove obvious.
Send a little ride to a parallel “dirty top” bus for extra smoke.
For example, increase Saturator Drive by 0.5 to 1 dB in the second half of the drop.
A few low-volume shuffled shakers or break ghosts can make the offset feel more intentional.
Late rides often feel deeper and more warehouse-like. Early rides can feel pushy and too eager.
In neuro or darker rollers, a cleaner ride pattern often leaves more room for bass movement and sound design.
A tiny reverb throw on the last ride before a drop can make the next section hit harder.
In an intro or outro, a sparse offset ride can help the track mix well into another tune while still sounding alive.
Mini Practice Exercise
Spend 10 to 20 minutes doing this:
1. Load a 174 BPM drum loop or make a simple kick/snare pattern.
2. Add one ride sample on a separate track.
3. Program a 2-bar ride pattern with offbeats only.
4. Move two ride hits slightly late by 5–15 ms.
5. Add EQ Eight and high-pass the ride around 300–400 Hz.
6. Add a little Saturator drive, around 2 dB.
7. Toggle the ride on and off while listening to the snare and bass.
8. Make one automation move: darken the ride in the first bar, brighten it in the second.
9. Bounce or resample the result and listen back on headphones.
10. Ask yourself: does it feel like a smoky warehouse groove, or just a cymbal loop?
If it feels too obvious, make it quieter and shorter. If it feels too flat, increase the offset or add a little saturation.

