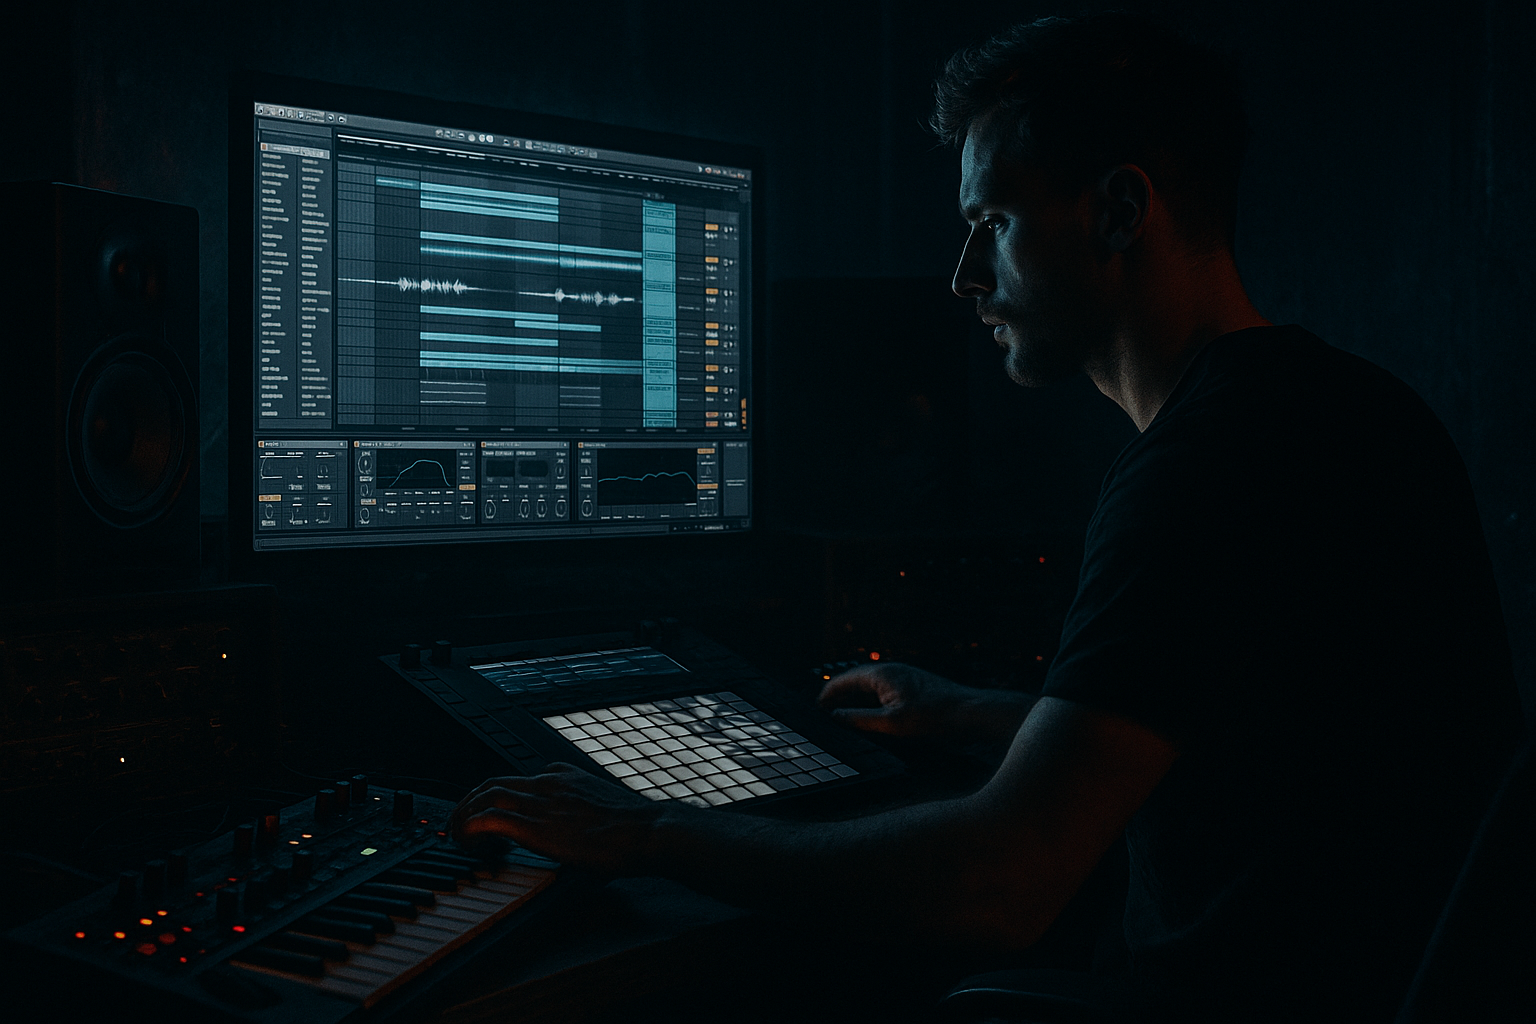
Main tutorial
Offset Jungle FX Chain for Floor-Shaking Low End in Ableton Live 12
1. Lesson overview
In this lesson, you’ll build an offset jungle FX chain designed to make your DnB bassline hit harder, feel wider, and keep the sub clean while adding that gritty, forward-moving jungle energy. 🔥
The core idea is simple:
- Keep the sub low and stable
- Offset the FX from the sub
- Process the top layer for movement, texture, and aggression
- Automate impact so the bassline feels like it’s constantly rolling forward
- floor-shaking low end
- characterful midrange movement
- controlled stereo width
- cleaner mix translation on club systems
- punches on the downbeat
- grows and evolves after the hit
- stays powerful in mono
- sounds aggressive in the mids
- supports rolling DnB drums without masking the kick/snare
- Wavetable for a flexible bass source
- or Operator if you want a more stripped-down sub-first approach
- Oscillator 1: Sine or Saw
- Oscillator 2: optional, turn down or detune lightly
- Filter: low-pass, around 80–150 Hz cutoff if you want it dark
- Amp envelope: short attack, medium decay, low sustain if you want stabby bass
- Play a simple 1-bar or 2-bar bassline in a DnB key like F, G, or A minor
- note on beat 1
- syncopated note before beat 2
- another note around beat 3 or the “and” of 3
- occasional pickup note into bar 2
- Duplicate your bass MIDI track
- Name one SUB
- Name the other MID / FX
- Keep it mostly dry
- Use EQ Eight:
- Add Utility
- Optional: Saturator
- high-pass around 90–140 Hz
- this keeps the mid layer from fighting your sub
- if the bass sounds boxy, dip around 250–500 Hz
- if it’s harsh, soften around 2–5 kHz
- Drive: 4–8 dB
- Soft Clip: On
- Curve mode: leave default or try a gentle waveshaping curve
- Filter type: Low-pass 24 dB or Band-pass
- Cutoff: automate between 200 Hz and 2.5 kHz
- Resonance: 10–25%
- Drive: small amount if needed
- Reduce bit depth slightly
- Keep it subtle:
- Mode: Noise
- Frequency: keep it fairly high
- Amount: light to moderate
- Mix: low, around 10–25%
- Rate: slow
- Width: moderate
- Use it on the mid layer only
- Rate: slow
- Feedback: low
- Mix: very subtle
- Sync: on
- Time: 1/8, 1/16, or dotted values
- Feedback: 10–25%
- Filter the repeats so they’re darker
- Add a bit of modulation if desired
- Low feedback
- Low dry/wet
- Filter the delay to remove low end
- Keep the sub on the grid
- Move the FX layer note a few milliseconds late
- Or nudge it slightly behind the kick/snare pattern
- Open the mixer section
- Use Track Delay on the FX chain only
- Try +5 ms to +20 ms
- Sub: on-grid
- Mid FX: slightly late
- Reverb/delay tails: even later
- Echo
- Reverb
- EQ Eight
- Sidechain input: kick drum
- Attack: fast but not zero if it clicks
- Release: timed to the groove, often 50–150 ms
- Ratio: moderate, around 2:1 to 4:1
- Adjust threshold until the bass breathes with the drums
- Sub: little or no sidechain
- Mid FX: stronger sidechain
- Keep the main sub consistent
- Bring in the FX layer only in certain phrases
- Use more FX in:
- Pull the FX back during busy drum sections
- Bars 1–4: simple bassline, minimal FX
- Bars 5–8: automate filter open slightly
- Bars 9–12: add delay throws or echoes
- Bars 13–16: more distortion or wider FX for tension
- Drop return: strip back to sub + punchy mids for impact
- print the exact FX movement
- chop the bass into audio
- reverse pieces
- add edits and stutters
- create jungle-style callouts
- sub = weight
- mid = attitude
- FX = motion
- Saturator with soft clip
- Overdrive at low mix
- Pedal on low gain for grittier midrange
- Amp very subtly for color
- open slightly before a drum fill
- close back down after the phrase
- add resonance on a transition for tension
- resample the bass
- pitch a copy down a few semitones
- add Redux lightly
- slice and rearrange it
- more aggressive distortion
- darker filtering
- one resampled reverse bass hit before bar 2
- Keep the sub clean and mono
- Process the mid layer for character and movement
- Use delay, track delay, and automation to create offset energy
- Sidechain against the drums so the groove stays clear
- Resample for jungle-style edits and arrangement variation
- a device-by-device Ableton rack preset recipe
- a visual routing diagram
- or a more advanced neuro/DnB version with modulation and macro controls.
This is a classic approach in drum and bass production because it gives you the best of both worlds:
In Ableton Live 12, you can build this with stock devices only, which is perfect for learning and for fast workflow.
---
2. What you will build
You’ll create a 3-layer bass chain:
Layer 1: Sub
A mono low-end layer with no unnecessary FX.
Layer 2: Mid bass
The main “jungle FX” layer that gets distortion, filtering, modulation, and movement.
Layer 3: Offset FX
A separate effects return or duplicated chain that hits slightly after the note or main bass hit, creating the feeling of bounce, smear, and pressure without choking the transient.
Final result
A bass sound that:
Think: clean sub + nasty movement + delayed attitude 🥁
---
3. Step-by-step walkthrough
Step 1: Start with a simple bass MIDI clip
Create a new MIDI track and load a bass instrument. For this lesson, use:
Basic starting sound
In Wavetable:
Rhythm idea
Use a typical rolling jungle/DnB phrasing:
Keep it simple. The groove matters more than complexity.
---
Step 2: Split the bass into sub and mid layers
You want the sub clean, so don’t process everything together.
Option A: Duplicate the track
Option B: Use an Instrument Rack
This is cleaner and more flexible in Ableton Live 12.
1. Select your bass instrument
2. Press Cmd/Ctrl + G to group into an Instrument Rack
3. Create two chains:
- Sub
- Mid FX
Sub chain settings
On the Sub chain:
- low-pass or high-cut the top end
- remove unnecessary mids/highs
- set Width = 0% for mono
- very light drive, around 1–3 dB
- keep it subtle for harmonic support only
Important sub rule
The sub should be solid, narrow, and simple.
If you start adding chorus, reverb, or heavy distortion to the sub, you’ll lose club power fast.
---
Step 3: Build the jungle FX chain on the mid layer
Now for the fun part. This is where the “offset jungle” energy comes in.
On the Mid FX chain, use this order as a starting point:
Suggested FX chain
1. EQ Eight
2. Saturator
3. Auto Filter
4. Redux or Erosion
5. Chorus-Ensemble or Phaser-Flanger (very subtle)
6. Delay or Echo
7. Utility
Let’s break it down.
---
EQ Eight: carve the mid layer first
Before distorting, clean up the low end.
Set EQ Eight like this:
This step is crucial for DnB. A mid layer with too much low end will make your mix muddy and weak.
---
Saturator: add harmonic weight
Add Saturator after EQ Eight.
Good starting settings:
This gives your bass more audible presence on smaller systems and helps it cut through dense breakbeats.
If you want a darker character, keep the drive moderate.
If you want grime and aggression, push it harder.
---
Auto Filter: create movement
Add Auto Filter after distortion.
Try this:
For jungle-style movement, automate the cutoff so the bass opens up slightly on the offbeats or during phrase endings. This gives the line a breathing, stepping quality.
---
Redux or Erosion: add grit
If you want more jungle texture:
#### Redux
- Downsample just enough to roughen the edge
- don’t destroy the bass definition
#### Erosion
Great for adding noisy edge and presence.
Use these sparingly. The goal is character, not digital mush.
---
Chorus-Ensemble or Phaser-Flanger: offset width and motion
This is where the “offset” feel becomes more obvious.
#### Chorus-Ensemble
#### Phaser-Flanger
These effects help the bass feel like it’s moving around the sub rather than sitting directly on top of it.
---
Delay or Echo: create the offset response
This is the key move.
Instead of putting delay on the whole bass, use it only on the mid FX chain.
#### Echo settings
#### Delay settings
Why this works
The dry bass hit stays punchy, and the delayed FX arrive just after it. That offset creates the feeling of a bigger bass hitting the room without blurring the sub transient.
This is especially effective in jungle and rolling DnB where the bassline needs to answer the drums, not fight them.
---
Step 4: Make the FX arrive slightly late
To really sell the offset effect, don’t just use delay. You can also shift the FX layer slightly in time.
Method 1: Duplicate and nudge
If you’re using separate MIDI clips:
Even a tiny offset can make the bass feel more elastic and energetic.
Method 2: Track Delay
Ableton Live has Track Delay on mixer tracks.
This keeps the sub locked to the groove while the FX blooms behind it.
Best practice
That’s the classic “pressure then release” feeling.
---
Step 5: Add a parallel return for jungle atmosphere
Now we’ll add a return track for extra space and movement.
Create a Return Track and load:
Return chain example
1. Echo
- time: 1/8 or 1/16
- feedback: low
- filter highs down for darkness
2. Reverb
- decay: short to medium
- size: small or medium
- low cut: high enough to avoid sub wash
3. EQ Eight
- high-pass aggressively around 200–400 Hz
- keep the return away from the sub
Send only the mid FX layer or occasional bass notes into this return.
This creates that classic jungle haze without smearing the low end.
---
Step 6: Use sidechain compression for drum-and-bass pocket
In DnB, the kick and snare need space, and the bass must duck just enough to keep the groove clean.
Add Compressor to the bass group or mid layer:
For heavier DnB
You can also sidechain the mid FX layer harder than the sub:
That way the sub stays stable, but the aggressive texture ducks out of the way of the kick and snare.
---
Step 7: Arrange the FX for musical impact
A floor-shaking bassline is not just about sound design. Arrangement matters too.
Good arrangement ideas
- bar 4 endings
- 8-bar transitions
- before drops
- call-and-response moments
Example DnB arrangement logic
This keeps the track dynamic and prevents listener fatigue.
---
Step 8: Freeze the energy with resampling
Once the bass is working, resample it.
Why?
Because resampling lets you:
How to do it
1. Route the bass group to a new audio track
2. Record the performance
3. Chop the audio into phrases
4. Reverse a few hits
5. Add tiny fades to avoid clicks
This is a powerful way to turn a simple bassline into a proper jungle weapon. 💥
---
4. Common mistakes
1. Distorting the sub too much
This kills low-end translation.
Fix: keep the sub clean and mono. Put heavy FX on the mid layer only.
2. Too much stereo width in the low end
Wide sub sounds exciting on headphones but weak on club systems.
Fix: use Utility to mono everything below the crossover area. Keep width on the mids only.
3. Too much reverb on bass
This creates mud fast.
Fix: high-pass the reverb return and keep decay short.
4. Delay masking the groove
If the repeats are too loud, the bass will lose punch.
Fix: lower feedback and wet mix. Use the delay as a shadow, not the main sound.
5. Not leaving space for kick/snare
DnB is drum-led. If the bass is constant and dense, the track stops breathing.
Fix: sidechain properly and arrange pauses or thinner sections.
6. Overprocessing every layer
Too many effects can flatten the sound.
Fix: each layer should have a job:
---
5. Pro tips for darker/heavier DnB
Tip 1: Use darker harmonics
For a more menacing tone, try:
Keep the top end controlled. Dark DnB usually lives more in the low mids and restrained high mids than in bright, flashy distortion.
Tip 2: Automate filter cutoff in phrases
A slow cutoff move can make a bassline feel alive.
Tip 3: Combine half-time bass shape with fast drum energy
Even in full-speed DnB, a bass can feel huge if its envelope is shaped like a weighty half-time hit but placed rhythmically against the break.
Tip 4: Use very short echoed pickups
A tiny echo on the last note before a snare can make the phrase feel bigger without crowding the mix.
Tip 5: Resample and degrade
For darker jungle flavor:
That old-school crunchy energy can make a track feel raw and proper.
---
6. Mini practice exercise
Try this in Ableton Live 12:
Goal
Build a 2-bar bass pattern with a clean sub and offset FX movement.
Exercise steps
1. Create a bass MIDI clip in A minor
2. Program a simple rhythm:
- note on beat 1
- note on the “and” of 2
- note on beat 3
- short pickup into bar 2
3. Split it into Sub and Mid FX chains
4. On the Sub:
- mono with Utility
- no stereo widening
- very light saturation only
5. On the Mid FX:
- EQ Eight high-pass at 120 Hz
- Saturator drive 6 dB
- Auto Filter with automated cutoff
- Echo at 1/8 with low feedback
6. Add sidechain compression from the kick
7. Bounce the result to audio
8. Listen in mono and adjust until the bass still feels strong
Challenge version
Do a second pass with:
---
7. Recap
You’ve now built an offset jungle FX chain that is ideal for floor-shaking DnB basslines in Ableton Live 12.
Key takeaways
The big idea
In drum and bass, the bass should feel like it’s driving the track forward, not sitting flat in the mix. By offsetting the FX from the sub, you get a sound that is powerful, detailed, and club-ready 🎛️
If you want, I can also turn this into:

