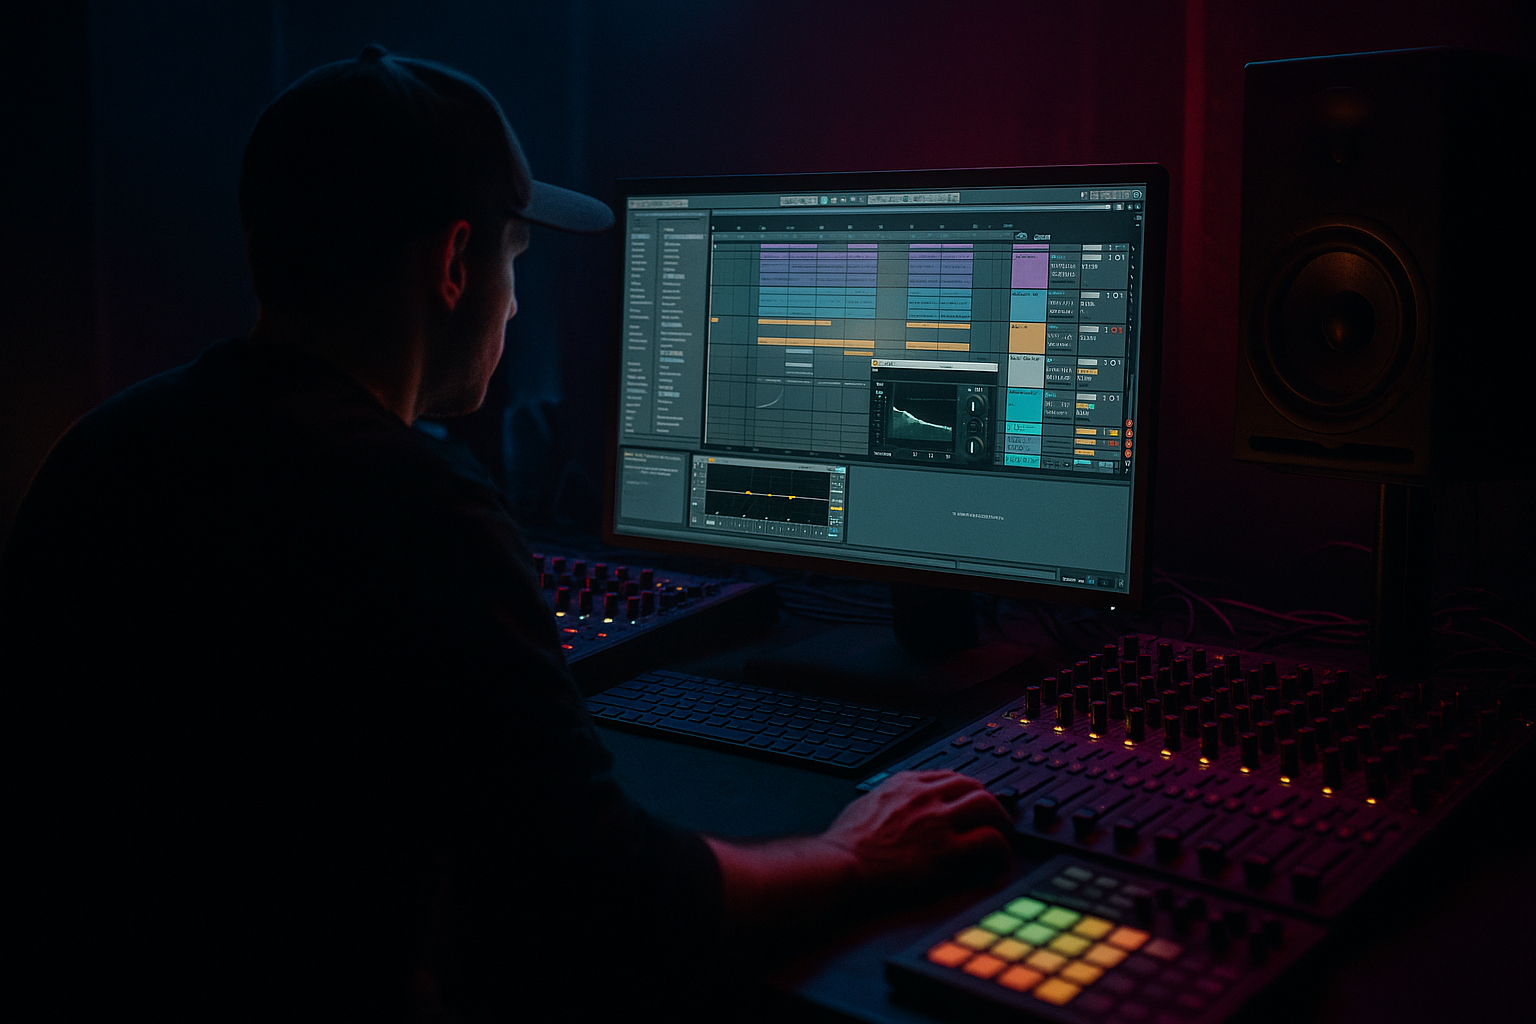
Main tutorial
Lesson Overview
“Nightbus” is the kind of DnB groove that feels like rolling through wet streets at 2am: deep, patient, slightly swung, and full of atmosphere. In Ableton Live 12, the goal is not just to make a bassline hit hard — it’s to make the whole loop breathe like a moving vehicle: drum bounce in the chassis, sub weight in the floor, and a dark jungle mood in the air 🌑
This lesson focuses on a ride groove bounce that sits between deep jungle atmosphere and modern rollers discipline. That means:
- a break-led drum feel with ghost notes and syncopation
- a sub and reese relationship that leaves space for the drums
- subtle modulation and resampling for movement
- arrangement workflow that turns an 8-bar loop into a DJ-friendly, replayable section
- a tight break foundation with edited ghosts, punchy snare layering, and swing
- a ride-led bounce that gives the groove forward motion without crowding the hats
- a sub layer that anchors the low end cleanly in mono
- a mid-bass reese / texture layer with controlled stereo width and motion
- atmospheric FX and transitions that make the loop feel like a moving scene, not just a pattern
- a simple arrangement block that can become an intro, drop, or breakdown seed
- BPM: 172–174
- Key center: minor or modal, often with a dark pedal note
- Vibe: urban, damp, nocturnal, rolling, slightly uneasy
- Use case: opening drop, second drop variation, or a B-section groove after a sparse breakdown
- Making the ride too loud
- Letting the sub overlap every drum hit
- Over-widening the bass
- Using too much distortion on the drum bus
- Building the drop before the loop groove is solid
- Ignoring break timing
- Adding too many FX layers
- Layer a very low, lightly saturated sub harmonic under the main sub only when the note needs extra pressure. Keep it subtle and mono.
- Automate the reese filter opening only on phrase endings so the bass “talks” instead of washing the whole bar.
- Use short echo throws on select drum ghosts to create urban depth without clutter.
- Sidechain the mid-bass gently to the kick/snare pattern so the groove breathes, but don’t over-compress the life out of the break.
- Resample a filtered drum+ride pass and tuck it under the main loop at very low level for movement.
- Use tiny snare pitch differences between layers to create thickness without a fake layered-clap sound.
- Create a contrast rule: if the drums are busy, simplify the bass; if the bass gets more active, strip the ride.
- Darken the ambience, not the entire mix — keep the bass and drums readable while the FX layer carries the mood.
- Start with the drum pocket, not the bass sound.
- Use the ride as a motion layer to create bounce and forward movement.
- Keep the sub mono, simple, and phrase-aware.
- Make the mid-bass answer the drums, not fight them.
- Use resampling, bus processing, and automation to create atmosphere and progression.
- Turn the loop into an arrangement block so the groove survives beyond 8 bars.
Why this matters in DnB: the best nightbus-style tracks don’t rely on constant fills or huge drops. They create motion through micro-changes — hats shifting, rides opening, bass phrasing tightening, atmospheres passing by like streetlights. That’s what makes a loop feel alive and makes a drop carry for 16–32 bars without getting tired.
Use this as a practical workflow for deep jungle / dark rollers / half-step-adjacent pressure inside Ableton Live 12, with stock devices only.
What You Will Build
By the end, you’ll have a focused 8-bar DnB loop that includes:
Musically, think:
Step-by-Step Walkthrough
1. Build a fast, reusable session template first
Before placing notes, set up a working group layout in Ableton Live 12:
- Group 1: Drums
- Group 2: Bass
- Group 3: Atmospheres / FX
- Group 4: Arrangement markers / reference lane
On the Master, place:
- Spectrum for quick tonal checks
- Utility with Width at 0% temporarily for mono checks
- Limiter only for safety while writing, not for loudness chasing
In the Drums group, create separate tracks for:
- Kick
- Main Snare / Clap
- Break
- Hats / Ride
- Percs / Foley
In the Bass group, create:
- Sub
- Reese / Mid Bass
- Texture / Top movement
Why this workflow works in DnB: you need fast decisions. DnB arrangement moves quickly, and a clean template prevents you from overbuilding the loop before the groove is right. Advanced producers often lose time by sound-designing too early; the template forces you to lock the pocket first.
2. Start with a break that already implies motion
Drag in a clean jungle-usable break or chopped drum loop and warp it in Beats mode. If the source is at a different tempo, use transient preservation and keep the groove natural rather than grid-tight.
Practical settings:
- Warp Mode: Beats
- Preserve: Transients
- Transient Loop: off unless needed
- Warp marker cleanup: remove any obvious flams or ugly timing drift
Now slice the break to MIDI or edit it directly. Keep the core accents but carve space for your kick/snare or main snare layer. Aim for:
- strong backbeat on 2 and 4, or a DnB snare placement around the standard 2 and 4 feel
- ghost hits before the snare
- small closed-hat chatter around the off-beats
Add a Drum Buss on the break bus with subtle drive:
- Drive: 5–12%
- Boom: low or off if the break is already heavy
- Crunch: 3–8%
- Transients: slightly positive if the break needs snap
Then use EQ Eight to tighten the loop:
- high-pass the break around 80–120 Hz if sub is separate
- notch any harsh snare ring around 3–6 kHz if needed
Advanced tip: duplicate the break clip and make one version slightly more open for later arrangement sections. Keep the “main” break drier so the groove stays readable.
3. Program the ride groove as the main bounce engine
The “ride groove” in this style is not just a cymbal pattern — it’s the motion layer that gives the track its motorway feel. Use a ride or bright hat sample, then shape it so it pushes the bars forward without turning the top end into static noise.
In MIDI:
- place rides on off-beats or lightly syncopated 1/8 and 1/16 placements
- leave holes around the snare so the backbeat can breathe
- vary velocity significantly: try a range around 55–105
- use slightly shifted timing on ghost rides, but avoid sloppy timing on the main accents
Stock devices and workflow:
- Put Groove Pool swing on a subtle break-friendly groove if the loop feels too grid-locked
- Use Velocity MIDI effect if you want to compress the dynamic spread slightly
- Send the ride to a bus with Auto Filter:
- small high-pass around 150–250 Hz
- very gentle resonance if you want a sharper metallic edge
Two concrete parameter ideas:
- Ride decay on the sample: keep it short to medium, around 150–400 ms
- High shelf on EQ Eight: a slight boost around 8–12 kHz if the ride needs air, but only a dB or two
Why this works in DnB: rides often create the perception of speed more than actual note density. In rollers and deep jungle, a well-phrased ride makes a track feel faster without needing busier drums.
4. Design the sub as a separate, disciplined instrument
Your sub should be simple, centered, and phrase-aware. In dark DnB, the sub often does more emotional work than the mid bass because it defines the weight of the nightbus roll.
Create a Wavetable or Operator sub patch:
- sine or near-sine source
- mono playback
- no stereo widening
- envelope with short attack and controlled release
Good starting settings:
- Attack: 0–5 ms
- Decay/Sustain: use sustained notes with note lengths doing the shaping
- Release: 40–120 ms
- Filter: low-pass if needed, but usually keep it clean
Add Saturator lightly for audibility on small speakers:
- Drive: 1–4 dB
- Soft Clip: on
- Output compensated to match level
Then process with Utility:
- Width: 0%
- Gain: adjust for headroom
- Bass Mono if you’re using Live 12’s utility workflow around mono discipline
Program the sub with fewer notes than you think. Leave rests after snare hits or during busy break moments. That call-and-response space is a huge part of the nightbus feel.
Practical phrasing idea:
- Root note for 1 bar
- small pickup note before bar 3 or bar 4
- occasional octave drop into the next phrase
Keep the sub locked to the kick/break relationship. If the kick is fighting the sub, don’t just EQ harder — change note length and placement first.
5. Build a reese or mid-bass layer that answers the drums
The mid-bass should not carry the entire low end. It should add attitude, stereo movement, and harmonic pressure above the sub.
Start with Wavetable:
- Osc 1: saw or analog-style table
- Osc 2: detuned saw or slightly different wavetable
- add mild unison, but not huge width
- low-pass filter with movement from an envelope or LFO
Suggested settings:
- Detune: subtle, enough for beating but not chorus wash
- Filter cutoff: around 150–600 Hz depending on the tone
- Filter envelope amount: modest, enough for note attack motion
- LFO rate: slow, around 1/2 bar to 2 bars if you want evolving movement
Then process:
- Saturator or Overdrive for bite
- Auto Filter for movement automation
- EQ Eight to remove unnecessary sub under ~100 Hz
- Utility to narrow width below the low mids if the patch gets messy
A strong advanced workflow is to split the bass into layers:
- Sub: mono, clean, simple
- Mid bass: gritty, moving, mid-focused
- Top texture: filtered noise or a resampled layer with transient detail
If you want a darker, neuro-leaning edge, automate a notch or bandpass sweep in the 300–1.2 kHz region so the bass “speaks” in phrases instead of droning constantly.
6. Use resampling to turn static tone into night atmosphere
Resampling is where the nightbus vibe gets cinematic. Create an audio track set to Resampling or route your bass bus to a new audio track, then record 4–8 bars of the bass motion and selective drum ambience.
Once recorded:
- chop out the best moments
- reverse one or two transitional hits
- time-stretch a texture fragment for background haze
- use Warp in Complex or Complex Pro only where needed for texture, not for drums
Practical resampling targets:
- a bass growl tail after a note release
- a ride hit with room tone
- a ghosted drum fill that lands before the snare
- a filtered atmospheric stab
Then process resampled clips with:
- Echo for short dark repeats
- time: 1/8 or dotted 1/8
- feedback: 10–25%
- filter the repeats darker than the dry signal
- Reverb very subtly for distance
- decay: short to medium
- pre-delay: small but present
- Auto Filter automation for pass-bys
This is a workflow move, not just a sound-design trick: resampling gives you unique material that feels like a real performance rather than loop repetition.
7. Lock the drum-to-bass pocket with call-and-response
A nightbus groove needs dialogue. The drums should not simply support the bass; they should speak against it.
Build an 8-bar phrase where:
- bars 1–2 establish the core loop
- bars 3–4 add a small drum or bass variation
- bars 5–6 intensify the ride or ghost percussion
- bars 7–8 create a turnaround into the next section
Example musical context:
- In bars 1–4, the bass holds a root-heavy figure with a small pickup before bar 4
- In bars 5–8, the bass answers the snare with a short two-note sting while the ride opens slightly
Use automation on:
- bass filter cutoff
- ride send to reverb
- drum bus saturation amount
- delay throws on the final snare or percussion hit
A good DnB arrangement choice is to keep the first 4 bars relatively restrained and make bars 5–8 feel like the “night train accelerating.” That way, when the next 16 bars land, the listener feels progression rather than repetition.
8. Shape the buses, not just the individual sounds
Advanced DnB mixing is often about bus discipline. Put the drums through a Drum Bus and the bass layers through a Bass Bus so you can shape groups instead of fixing everything per clip.
On Drum Bus:
- Glue Compressor with gentle gain reduction
- Ratio: 2:1 or 4:1
- Attack: 10–30 ms
- Release: Auto or 0.1–0.3 s
- Drum Buss for glue and density
- EQ Eight for cleanup
On Bass Bus:
- EQ Eight to keep sub and mid roles separate
- Saturator to unify harmonics
- Utility for width control
Check headroom:
- keep your master well below clipping
- don’t chase loudness while writing
- leave space for later arrangement and mastering moves
Mono check:
- collapse to mono periodically with Utility
- verify the sub stays stable
- make sure the ride and mid-bass still feel clear when width is removed
Why this works in DnB: the genre is extremely low-end dependent, and the difference between “massive” and “messy” is often bus discipline, not more processing.
9. Turn the loop into a real arrangement block
Don’t stop at the loop. Build a mini arrangement that could actually sit in a track.
A strong structure for this style:
- Intro (8–16 bars): atmos, filtered drums, tease the ride
- Drop A (16 bars): full groove, restrained variation
- Drop A2 (16 bars): add a bass answer or extra percussion
- Break (8 bars): strip back drums, keep tension with texture
- Drop B (16 bars): altered ride pattern, more bass movement, denser ghosts
In Ableton, use Arrangement View and add markers for:
- intro
- build
- drop 1
- switch
- break
- drop 2
Transition ideas:
- low-pass the bass on the final bar before a switch-up
- automate reverb send up on one snare hit, then hard-cut back to dry drums
- insert a one-beat stop or half-bar mute before the next drop
- use an impact or reversed cymbal sparingly, not constantly
Keep it DJ-friendly by preserving a solid intro/outro with:
- drums only
- filtered bass tease
- no unnecessary melodic clutter
Common Mistakes
- Fix: lower the ride 2–5 dB and use velocity variation instead of volume.
- Fix: shorten note lengths, leave strategic rests, and test in mono.
- Fix: keep sub mono and restrict width to upper harmonics only.
- Fix: reduce drive and compare with the dry bus; preserve transients.
- Fix: finish the 8-bar core first, then arrange.
- Fix: clean warp markers and ghost-note placement so the loop swings naturally.
- Fix: choose one or two atmospheric gestures per 8 bars, not constant noise.
Pro Tips for Darker / Heavier DnB
Mini Practice Exercise
Set a 15-minute timer and build a nightbus loop from scratch in Ableton Live 12:
1. Choose a break and warp it cleanly.
2. Add a ride pattern that pushes the groove but leaves snare space.
3. Write a mono sub line with only 3–5 notes over 4 bars.
4. Create a reese or mid-bass response line with one small variation per 2 bars.
5. Resample 4 bars of the combined groove.
6. Chop one resampled texture into a reverse swell or filtered pass-by.
7. Build an 8-bar arrangement with one intro bar and one switch-up bar.
8. Do a mono check and adjust the bass so the low end stays tight.
Goal: finish with a loop that feels like it could open a DJ set or sit under a dark vocal sample.
Recap
If the track feels like a wet, rolling midnight journey with weight in the floor and tension in the air, you’ve got the Nightbus energy right 🚍🔊

