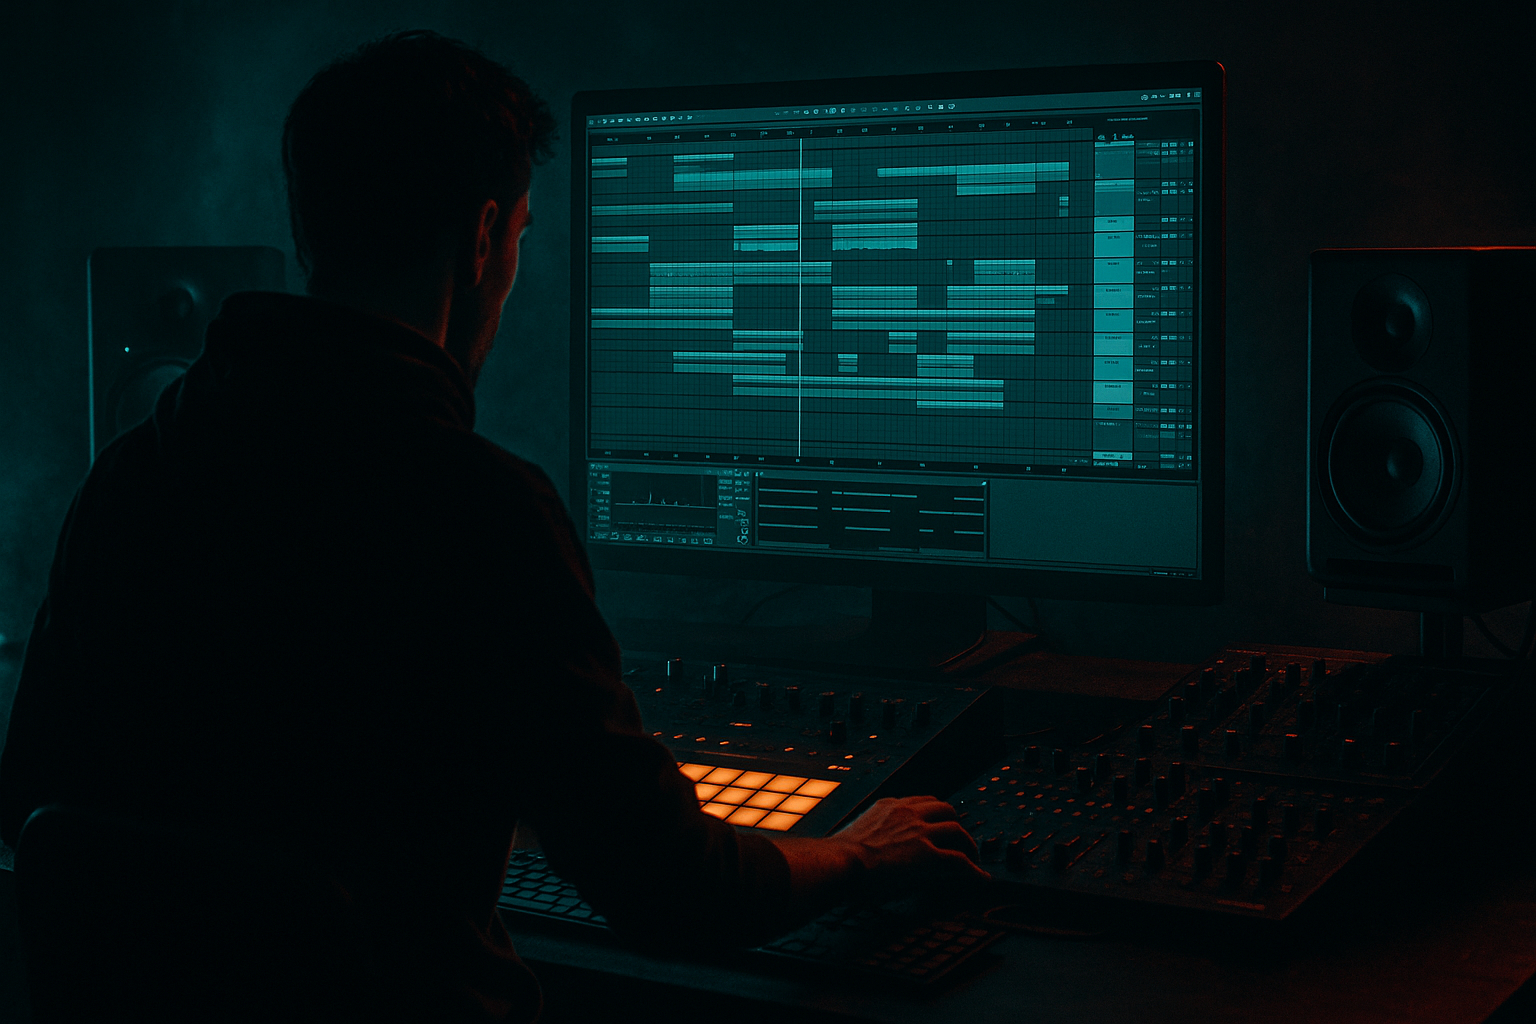
Main tutorial
Nightbus Playbook: Edit Polish in Ableton Live 12 for Jungle / Oldskool DnB Vibes 🚍🌑
1. Lesson overview
In this lesson, you’ll learn how to polish an edit in Ableton Live 12 using resampling so it feels like a proper jungle / oldskool DnB “nightbus” tune — gritty, rolling, and intentional, not just a loop dragged across the timeline.
This is a beginner-friendly workflow focused on:
- turning a rough 8-bar idea into a tight arrangement
- using resampling to create fresh audio from your own drums, bass, FX, and chops
- adding movement, grit, and transition energy
- making the track feel more like a finished DnB record and less like a demo loop
- punchy drums
- chopped breaks
- dark atmosphere
- bass call-and-response
- reverb throws, tape-style edits, and scene transitions
- intro with filtered drums and atmosphere
- main drop with break + bass + stabs
- edit moments using resampled fills and FX
- breakdown / tension section
- final drop variation
- clean outro
- a drum fill
- a bass reverb wash
- a reverse transition
- or a chopped texture layer
- Tempo: `170–174 BPM`
- Time signature: `4/4`
- Turn on metronome
- Set your grid to 1 Bar and use smaller divisions when editing
- Drum Rack
- Simpler
- Sampler if you want more control later
- EQ Eight
- Compressor
- Glue Compressor
- Drum Buss
- Saturator
- Auto Filter
- Reverb
- Delay
- Corpus for low-end texture
- Utility
- Limiter
- Kick on 1
- Snare on 2 and 4
- Add ghost snare before the 2 or 4
- Add a chopped break for movement
- Osc 1: sine or basic square
- Add a second oscillator quietly for grit
- Filter: low-pass with some resonance
- Add a bit of Drive
- Add subtle Unison if it doesn’t blur the low end
- use short notes
- leave space for the drums
- try syncopation against the kick/snare
- use call-and-response phrasing
- Overdrive
- Redux
- or Saturator with modest drive
- chop it
- reverse it
- stretch it
- layer it
- process it differently
- a 1-bar drum fill with reverb throw
- a snare hit through delay
- a bass stab bounced with saturation
- a reverse cymbal made from your own drum sound
- a noisy atmosphere hit
- a 2-bar “pre-drop” tension loop
- double-click the audio clip
- turn on Warp if needed
- set warp mode appropriately:
- cut at transients
- mute or delete boring parts
- take a 1-bar drum loop
- cut the last two hits
- reverse one snare tail
- add a tiny reverb on the final hit
- resample a bass note with delay
- freeze the tail into audio
- reverse it
- place it before a drop or phrase change
- resample a crash + reverb + filter sweep
- high-pass it
- fade it into the next section
- Bars 1–8: intro with filtered drums + atmosphere
- Bars 9–16: drums open up, bass enters lightly
- Bars 17–24: first full drop
- Bars 25–32: variation with extra break chops or a bass switch
- Bars 33–40: breakdown / tension
- Bars 41–48: second drop with a new resampled fill
- Bars 49–56: outro
- drum density
- bass note rhythm
- filter cutoff
- snare fills
- risers and reverse audio
- break layer volume
- reverb tail length
- mute the kick for half a bar
- add a reverse cymbal
- replace one drum hit with a fill
- automate a filter sweep
- introduce a new resampled texture
- automate Auto Filter cutoff on the drum bus
- automate reverb send on the last snare of a phrase
- automate low-pass filter opening before the drop
- slightly increase saturation on the last bar of a section
- automate delay feedback
- automate reverb wet/dry
- automate Utility gain for a fake rise or drop moment
- Split audio clips at transient points
- Consolidate neat sections
- Use fade handles to avoid clicks
- Nudge chopped hits slightly off-grid for feel
- Duplicate a fill and alter one hit each time
- kick and sub should not fight
- use Utility on bass if it’s too wide
- high-pass FX so they don’t muddy the drop
- snare should cut through
- use EQ Eight to reduce boxiness if needed
- keep break layer controlled
- too much reverb can wash out the groove
- short rooms often work better than giant halls for DnB drums
- EQ Eight
- Drum Buss
- Glue Compressor
- EQ Eight
- Saturator
- Compressor or sidechain
- Auto Filter
- Reverb
- Utility
- fill
- transition
- bass throw
- texture
- Saturator on drums and bass
- Drum Buss for extra punch
- Redux very lightly on a resampled texture
- Overdrive on a bass layer, not the whole low end
- mono
- consistent
- not overloaded with effects
- filtered drum loops
- reversed audio
- dubby delays
- reverb tails chopped into rhythm
- the break provides movement
- the kick/snare provide weight
- clear drum groove
- bass movement
- at least one obvious edit moment
- a sense of forward motion
- work at 170–174 BPM
- build a solid drum and bass foundation first
- use Resampling to create your own transition and fill material
- chop, reverse, filter, and automate resampled audio
- shape the track in 8-bar and 16-bar phrases
- use stock Ableton devices like Drum Buss, Saturator, EQ Eight, Auto Filter, Reverb, Utility, and Glue Compressor
- keep the groove strong and the edits purposeful
We’ll use stock Ableton devices and practical edit decisions that fit jungle and oldskool DnB aesthetics:
If your loop already works musically, this lesson will help you make it hit like a tune 🔥
---
2. What you will build
By the end, you’ll have a simple “nightbus” arrangement built from:
You’ll also create at least one resampled audio clip that becomes:
The goal is not a full track from scratch — it’s learning how to polish an edit so it feels like jungle/DnB arrangement language.
---
3. Step-by-step walkthrough
Step 1: Set up a simple DnB project
Start with these basics:
Create these tracks:
1. Drums
2. Break Layer
3. Bass
4. Atmosphere / FX
5. Resample Audio
6. Return tracks for reverb and delay
Useful stock devices:
---
Step 2: Build a basic jungle drum foundation
For oldskool DnB, the drums should feel like they have attitude, swing, and wear.
Easy starter pattern:
In Ableton:
1. Load a Drum Rack
2. Put:
- kick on one pad
- snare on one pad
- hat on one pad
- break slice on several pads or in Simpler
3. Program a 1- or 2-bar loop
Drum polish chain:
On the drum bus, try:
1. EQ Eight
- cut muddy low mids around `250–500 Hz` if needed
- leave room for bass
2. Drum Buss
- Drive: `5–15%`
- Crunch: low to moderate
- Boom: use carefully, often `0–20%`
3. Glue Compressor
- Attack: `10–30 ms`
- Release: `Auto` or `0.3 s`
- Ratio: `2:1`
- Aim for `1–3 dB` gain reduction
4. Saturator
- Soft Clip ON
- Drive: `1–4 dB`
This helps the drums feel more like a finished edit and less like raw samples.
---
Step 3: Create a bass idea that works with the edit
For jungle / oldskool DnB, bass should usually be simple, weighty, and rhythmically clear.
Make a bass sound with stock devices:
Use Wavetable, Operator, or Analog.
#### Quick recipe in Wavetable:
Bass pattern idea:
Bass processing chain:
1. EQ Eight
- remove unnecessary highs if it’s a sub bass
2. Saturator
- Add gentle harmonics
3. Compressor
- sidechain from the kick if needed
4. Utility
- keep sub centered with bass mono below around `120 Hz` if necessary
If the bass is too clean for the vibe, add a little:
That gives you a more gritty nightbus edge 🌒
---
Step 4: Use resampling to create edit material
This is the core of the lesson.
What is resampling?
Resampling means recording the sound of your own project back into a new audio track so you can:
It’s one of the best ways to make DnB edits feel unique.
---
How to set up a resample track in Ableton Live 12
1. Create a new Audio Track
2. Set Audio From to:
- `Resampling` if you want to record the master output
- or choose a specific track if you want to isolate drums, bass, or FX
3. Arm the track
4. Record a pass of:
- a drum fill
- a bass note
- a crash + delay tail
- a break chop
- a filtered loop
Good things to resample for jungle edits:
---
Step 5: Process the resampled audio like a real edit tool
Once you’ve recorded audio, don’t just leave it as-is. This is where polish happens.
Chop it:
- Beats for drums
- Complex or Complex Pro for texture/fx
Common resample edits:
#### A. Drum fill slice
#### B. Bass throw
#### C. FX wash
Post-resample processing chain:
On the new audio clip track, try:
1. EQ Eight
- high-pass unwanted low end from FX
2. Auto Filter
- automate cutoff for movement
3. Reverb
- short for ambience, longer for transitions
4. Saturator
- for dirt
5. Utility
- check width and mono compatibility
---
Step 6: Make the edit feel like a song, not a loop
This is where beginner arrangements often fail: they repeat the same 8 bars without variation.
A simple DnB arrangement idea:
Add polish by changing:
Practical arrangement trick:
Every 8 bars, make one small change:
That tiny movement makes the tune feel alive.
---
Step 7: Automate transitions like a pro
Transitions are where your edit starts sounding finished.
Useful automation ideas:
#### Drums
#### Bass
#### FX
Great “nightbus” transition move:
1. Resample a snare with delay
2. Reverse the audio clip
3. Place it one beat before the next section
4. Add a short crash on the downbeat
5. Filter everything briefly before the drop
This gives you that moody, cinematic, rolling entry into the next phrase.
---
Step 8: Use arrangement editing to create groove and tension
Jungle and oldskool DnB thrive on micro-edits.
Try these edit tools:
A good beginner rule:
Don’t fill every bar.
Let the groove breathe.
If the drums are too busy, the bass loses impact.
If the bass is too constant, the edit loses drama.
Think in phrases, not just loops.
---
Step 9: Final mix polish on the edit
Before calling it done, do a fast mix pass.
Check these areas:
#### Low end
#### Drum clarity
#### Space
Simple bus processing suggestion:
#### Drum bus:
#### Bass bus:
#### FX bus:
Always compare with and without processing to make sure the track gets better, not just louder.
---
4. Common mistakes
1. Resampling without a plan
If you bounce random audio with no purpose, you’ll just create clutter.
Fix: resample something specific:
2. Too much low end in FX
Oldskool DnB gets muddy fast if your reverbs and risers carry bass.
Fix: high-pass FX with EQ Eight or Auto Filter.
3. Over-editing the drums
If every bar is different, the groove can disappear.
Fix: keep a stable core pattern and add variation only at phrase points.
4. Ignoring phrase structure
A loop can sound good alone but weak in a full arrangement.
Fix: work in 8-bar and 16-bar sections.
5. Using too-clean sounds
Jungle often benefits from texture, crunch, and character.
Fix: use gentle saturation, resampled audio, and break layering.
---
5. Pro tips for darker/heavier DnB
Add controlled dirt
Try:
Keep the sub disciplined
For heavy DnB, the sub should be:
Use Utility to control width and EQ Eight to clear out unnecessary lows in other elements.
Build tension with filtered resamples
A dark jungle edit loves:
Layer a break with modern kick/snare impact
Oldskool vibe often sounds best when:
Blend them carefully so the track feels both classic and powerful.
Use silence as an arrangement weapon
A short gap before the drop can be more powerful than another fill.
In DnB, that empty beat can make the next hit feel huge.
---
6. Mini practice exercise
Goal:
Create a 16-bar “nightbus” edit using resampling.
Task:
1. Make an 8-bar drum + bass loop at 172 BPM
2. Resample:
- one drum fill
- one bass note with delay
- one transition FX hit
3. Chop those resamples into new audio clips
4. Arrange them into a 16-bar structure:
- bars 1–4: intro
- bars 5–8: build
- bars 9–12: drop
- bars 13–16: variation with resampled fill
5. Add:
- one filter automation
- one reverb throw
- one reverse audio edit
Success check:
Your mini tune should have:
If it feels like a real section of a track, you’ve done it right.
---
7. Recap
In this lesson, you learned how to use resampling in Ableton Live 12 to turn a basic DnB loop into a more polished jungle / oldskool-inspired edit.
Key takeaways:
The big idea:
resampling is not just a technical trick — it’s an arrangement tool. In DnB, it helps you make the tune feel edited, rugged, and alive 🚦🥁
If you want, I can turn this into a project template checklist for Ableton Live 12 or a step-by-step exercise with exact bar-by-bar arrangement instructions.

