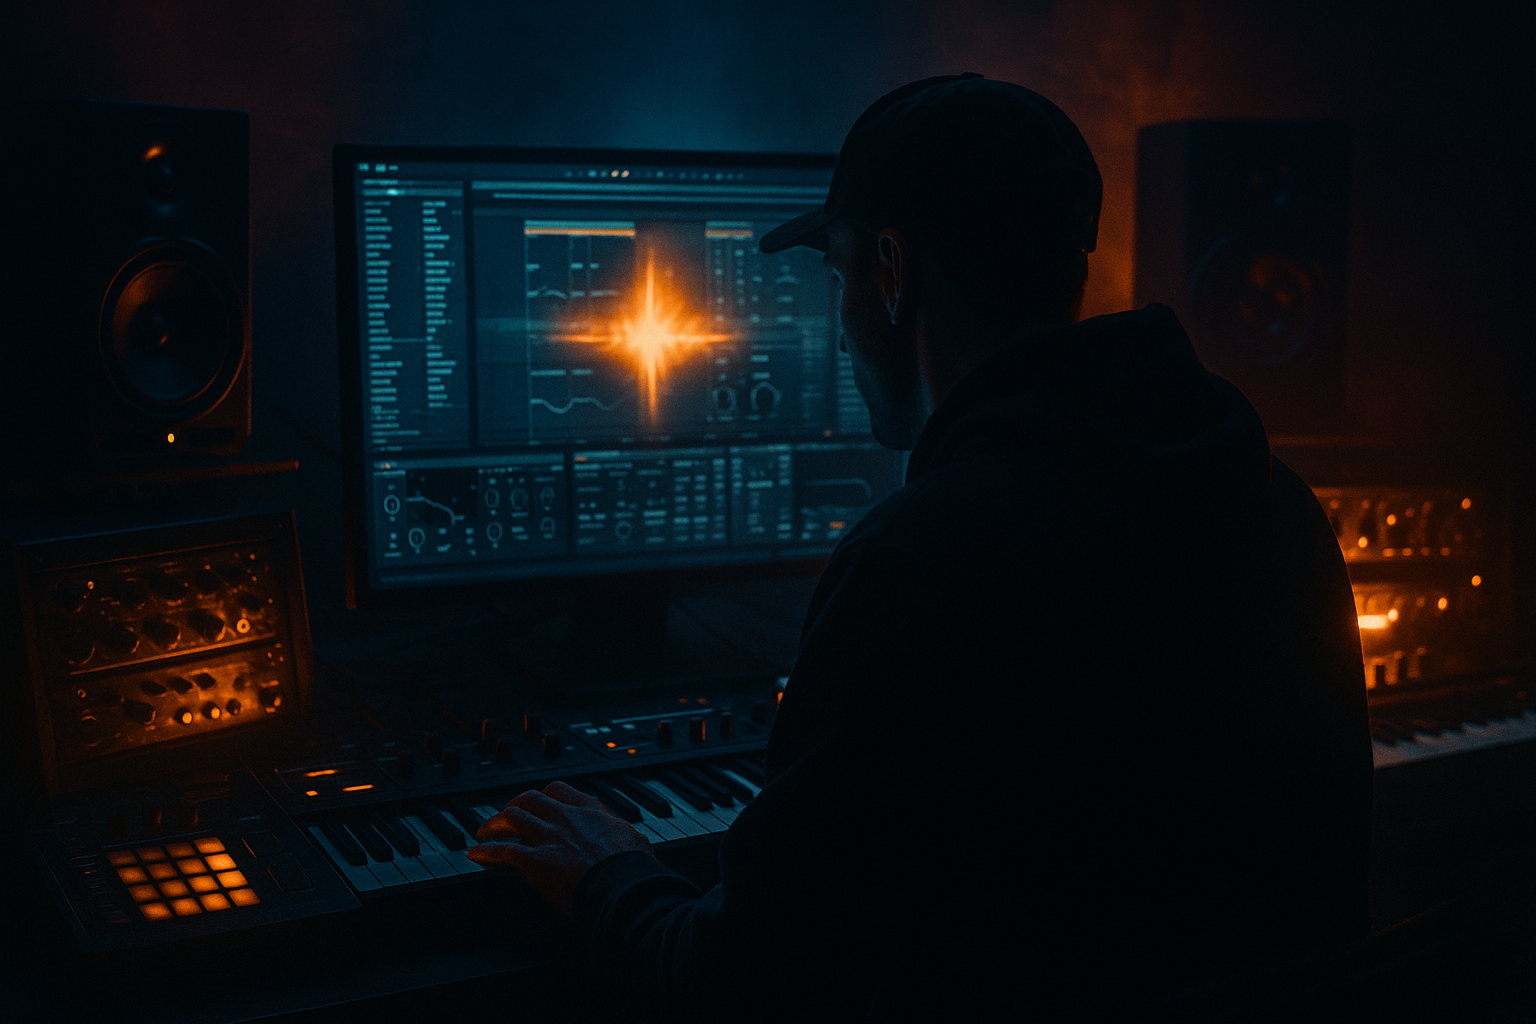
Main tutorial
Lesson Overview
In this lesson, you’ll build a Nightbus-style jungle percussion layer in Ableton Live 12 using swing, resampling, and arrangement thinking. The goal is not just to make drums “busy” — it’s to make them feel like a moving part of a DnB roller or darker jungle track, where percussion adds momentum, tension, and that late-night “city in motion” vibe 🚍🌃
This technique fits right into the midsection and second drop of a DnB tune, or as a supporting layer under your main break and drums. In authentic Drum & Bass, percussion layers do a lot of work: they create forward motion, keep the groove alive during repeated 16-bar phrases, and add human swing so the drums don’t feel flat or programmed.
Why it matters:
- Jungle and DnB often rely on breakbeat energy, but a full track still needs extra texture and variation.
- A carefully swung percussion layer can make a drop feel more alive without crowding the kick, snare, and sub.
- Resampling lets you turn a simple groove into custom audio material you can chop, mute, reverse, pitch, and arrange like an instrument.
- A 1- or 2-bar percussion groove with swung timing
- A resampled audio file that captures the groove’s character
- A set of chops and variations for fills, switch-ups, and drop transitions
- A layer that sits behind your drums and bass without stealing the low end
- A simple arrangement block you can duplicate into intro, build, drop, and breakdown sections
- A night-bus shuffle: shakers, rim clicks, short tom hits, and clipped break fragments
- Slightly off-grid timing for movement
- Enough space to let the snare hit hard on 2 and 4 while the percussion dances around it
- A gritty, moody texture that works in rollers, jungle, neuro-adjacent drum edits, and dark minimal DnB
- Too many hits in the loop
- Swinging everything equally
- Leaving too much low end in percussion
- Making the layer louder than the main drums
- Resampling without organizing clips
- Overprocessing the layer
- Resample twice: one clean version and one grit version. Blend the gritty one quietly for underground texture.
- Filter automation on fills: open the cutoff only in the last half-bar before a switch. That adds tension without clutter.
- Short Echo throws: send just one chop or rim hit into Echo with low feedback for a dark tail.
- Mono discipline: use Utility to keep the low percussion mono, especially if your track has a heavy sub and reese.
- Clip gain over mastering-style loudness: if the percussion feels weak, raise the clip gain slightly instead of smashing it with compression.
- Use ghost notes for nervous energy: tiny hits around the main snare make a roller feel alive without sounding busy.
- Pair with a reese or sub call-and-response: let the percussion fill the gaps between bass phrases. This is classic in dark DnB — drums answer the bass, then the bass answers back.
- Keep the source pattern simple
- Use swing and velocity for human feel
- Resample early so you can chop and arrange freely
- High-pass and control the layer so it supports the kick, snare, and sub
- Use variations to make the track move every 8 or 16 bars
We’ll keep this beginner-friendly and focus on stock Ableton tools, especially Drum Rack, Simpler, Audio recording, Warp, Groove Pool, Auto Filter, Saturator, EQ Eight, Utility, Reverb, and Echo.
What You Will Build
By the end, you’ll have a dark jungle percussion loop built from short hits, ghost notes, and break-style fragments, then resampled into audio so you can arrange it like a proper DnB layer.
Specifically, you’ll create:
Musically, think of this as:
Step-by-Step Walkthrough
1. Set up a clean drum lane in Ableton
Open a blank Live Set and set the tempo to something in the DnB range, like 172–174 BPM. Create a MIDI track and load Drum Rack. Keep the project simple: one track for your percussion layer, one track for resampling, and one reference drum group if you have it.
On your Drum Rack, put a few basic sounds:
- Closed hat or shaker
- Rim click or short wood hit
- Small tom
- Optional: a tiny break slice or percussion stab
Beginner tip: don’t overfill the rack. Four sounds is enough to make a convincing jungle layer.
Why this works in DnB: drum layers in DnB are usually about movement and contrast, not endless sound selection. A few well-placed hits can create momentum if the timing is right.
2. Program a simple 1-bar groove first
Open the MIDI clip editor and draw a 1-bar loop at 16th-note grid resolution. Start with a basic pattern:
- Hat/shaker on the offbeats and a few extra 16ths
- Rim or click on a couple of syncopated spots
- Tom or break hit near the end of the bar for a small push
A beginner-friendly starting point:
- Shaker: light hits on 1e, 2&, 3e, 4&
- Rim: a couple of ghost hits on 2a and 4e
- Tom: one hit on 4& or 4a
Keep the velocities varied. In DnB, velocity changes are a huge part of the groove. For example:
- Main percussion hits: velocity 85–110
- Ghost notes: velocity 35–70
Don’t aim for perfection yet. You want a loop that already feels like it’s “walking.”
3. Add swing with Groove Pool and manual nudging
Open Ableton’s Groove Pool and try a built-in groove such as MPC 16 Swing or a similar swing preset. Start around:
- Swing amount: 54–58%
- Timing: 8–20 ms if you’re using manual nudge later
- Random: very low or off for now
Apply the groove to your MIDI clip, then listen in context. If it feels too loose, reduce swing or tighten the notes manually.
If you want a more natural jungle feel, slightly delay some hits by hand:
- Push one or two shaker notes later by a few milliseconds
- Leave the main snare area clear
- Keep the groove tight enough that the kick/snare still lead the track
Why this works in DnB: swing gives the layer a human push-pull that works especially well in jungle and rollers. DnB often feels best when the percussion is not perfectly rigid, but still locked to the grid.
4. Shape the sound with stock Ableton devices
On the Drum Rack chain or on the percussion group, add:
- EQ Eight
- Saturator
- Auto Filter
- Optional: Drum Buss for extra bite
Starter settings:
- EQ Eight: high-pass around 180–300 Hz to clear low-end clutter
- Saturator: Drive around 2–6 dB, Soft Clip on if needed
- Auto Filter: low-pass around 8–12 kHz if the top end is too sharp
- Drum Buss: Drive low, around 5–15%, and use Transients carefully
Keep the percussion layer thin in the lows so it won’t fight your sub. If the loop sounds harsh, use EQ Eight to tame:
- 2–4 kHz if the clicks are poking out too much
- 6–9 kHz if the hats get brittle
Use Utility if you want to keep it mono or narrower. For darker DnB, a narrower percussion layer often sits better in the mix.
5. Resample the groove into audio
Now the fun part: resampling. Create a new Audio Track and set its input to Resampling. Arm the track and record your 1- or 2-bar percussion groove while it loops.
Record at least:
- 2 bars for a clean loop
- 4 bars if you want variation and little timing differences
Once recorded, you now have audio you can work with like a custom break layer. This is powerful because you can:
- Chop individual hits
- Reverse a note
- Stretch or shorten a fill
- Duplicate the best moments into a new arrangement
Beginner workflow tip: after recording, immediately rename the audio clip something like Nightbus Perc Resample 174bpm. Keeping your files organized matters when you start building full DnB arrangements.
6. Warp and tighten the resampled audio
Double-click the recorded audio clip and make sure Warp is enabled. For percussive material:
- Try Beats mode
- Use transient preservation if available
- Tighten the loop so it lands exactly in time
If the resampled audio feels a little rushed or lazy, zoom in and adjust the warp markers just enough to keep the groove solid. Don’t erase the human swing completely — you want the movement, but not the sloppiness.
Try these simple edits:
- Split the audio clip at the bar line
- Move one transient slightly later for pocket
- Reverse a tiny tail at the end of a phrase for tension
- Duplicate a single hit to create a mini fill
This is one of the biggest advantages of resampling in DnB: the original MIDI loop becomes a new source of arrangement material.
7. Build a 4-bar variation set
DnB arrangements live on variation. Make at least three versions of your percussion layer:
- A loop: original groove
- B loop: fewer hits, more space
- Fill loop: extra chop or reverse hit at the end
You can do this by duplicating the audio clip and editing each copy:
- Remove one or two shaker hits for the B section
- Add a reversed percussion hit into bar 4
- Pitch one tom slice down slightly for a darker accent
- Automate filter cutoff to rise by a small amount in the last bar
Suggested arrangement example:
- Bars 1–8: A loop under the main drum break
- Bars 9–16: B loop with fewer hits for breathing room
- Bar 16: Fill loop with a reverse hit and short echo tail
- Drop 2: Bring back A loop with slightly more saturation
This keeps the track from feeling like an eight-bar copy-paste.
8. Arrange it like a real DnB section
Place the percussion layer in a section of the track where it supports the energy instead of overcrowding the main event. A classic use case:
- Intro: filtered percussion only
- Build: introduce more open hats and ghost hits
- Drop: let the layer sit quietly under the kick/snare and bass
- Switch-up: remove the layer for 2 bars, then re-enter with a fill
Use automation to create movement:
- Auto Filter cutoff opening from 300 Hz to 12 kHz
- Reverb wet rising slightly at the end of 8- or 16-bar phrases
- Echo feedback on one fill hit only
- Utility gain dipping 1–2 dB when the bass gets busiest
In darker DnB, small arrangement moves matter a lot. A percussion layer that disappears and re-enters can create more tension than adding more sounds.
9. Glue the layer into the track
Group the percussion layer and put a few gentle mix tools on the group:
- EQ Eight for cleanup
- Glue Compressor lightly if needed
- Utility for final level control
Keep the level modest. This layer should support the groove, not dominate it. If your kick and snare are getting weaker, lower the percussion layer by 2–4 dB and trim low-mid buildup around 300–600 Hz.
A good checkpoint:
- You should feel the percussion more than clearly hear it
- The groove should move forward even when the main drums are simple
- The sub should remain solid and uncluttered
If you want an extra bit of grime, resample the group again after processing. That second generation of audio often feels more “finished” and less like raw MIDI.
Common Mistakes
Fix: strip the pattern back. In DnB, space is part of the groove.
Fix: keep the snare area clean and swing mainly the smaller percussion hits.
Fix: high-pass with EQ Eight around 180–300 Hz.
Fix: pull it down until it feels supportive, not leading.
Fix: name your clips clearly and separate A/B/fill versions right away.
Fix: use just enough saturation and filtering to add character, not distortion soup.
Pro Tips for Darker / Heavier DnB
Why this works in DnB: darker tracks depend on controlled intensity. A percussion layer that moves in the spaces between the main hits can make the whole tune feel larger and more dangerous without needing more drum layers.
Mini Practice Exercise
Spend 10–20 minutes making a two-bar percussion loop and one resampled variation.
1. Build a simple Drum Rack with four percussion sounds.
2. Write a 2-bar groove with at least 6 ghost notes and 2 stronger accents.
3. Apply a Groove Pool swing around 55–58%.
4. High-pass the layer with EQ Eight and add light Saturator drive.
5. Resample the loop to audio.
6. Chop one bar into smaller pieces and create a fill.
7. Automate a filter opening over the last 2 beats.
8. Bounce or save the result as a new clip named for the track section, like Drop Perc A or Intro Perc Fill.
Challenge: make the loop feel good at low volume. If it still grooves quietly, it will usually work in the full track.
Recap
The key idea is simple: build a small jungle percussion groove, swing it, resample it, then arrange the audio like a musical layer.
Remember:
In Drum & Bass, especially jungle and darker rollers, a great percussion layer is often the difference between a loop that repeats and a track that travels.

