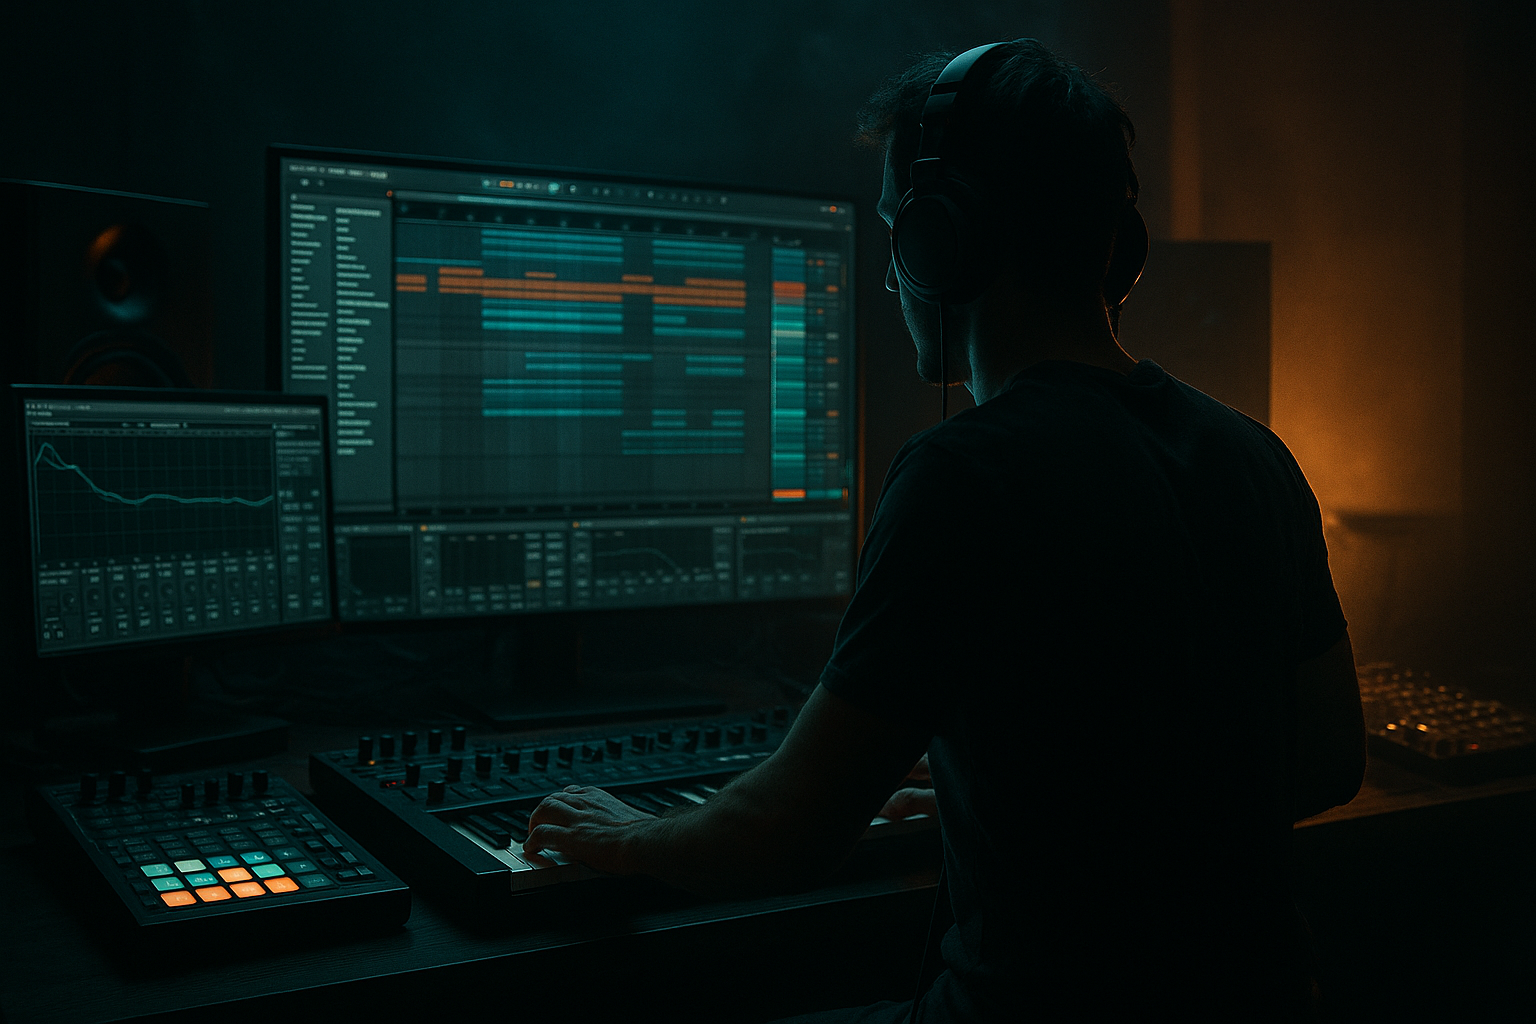
DNB COLLEGE

AI Drum & Bass Ableton Tutorials

LESSON DETAIL

Nightbus approach: percussion layer balance in Ableton Live 12 for jungle oldskool DnB vibes (Beginner)

An AI-generated beginner Ableton lesson focused on Nightbus approach: percussion layer balance in Ableton Live 12 for jungle oldskool DnB vibes in the Composition area of drum and bass production.

Free plan: 0 of 1 lesson views left today. Premium unlocks unlimited access.

Nightbus approach: percussion layer balance in Ableton Live 12 for jungle oldskool DnB vibes (Beginner) cover image

Narrated lesson audio

The voice track includes the tutorial plus extra teacher commentary.

Open audio file

Main tutorial

Nightbus Approach: Percussion Layer Balance in Ableton Live 12 (Jungle / Oldskool DnB) 🚍🥁

1. Lesson overview

The “Nightbus” approach is a simple mindset: your drums sound like a moving vehicle at night—the engine (kick + snare) is constant and powerful, while the street detail (hats, rides, shakers, ghost hits, breaks) flows around it without masking it.

In jungle/oldskool DnB, the vibe often comes from layers of percussion, but beginners frequently make everything equally loud and the groove collapses. In this lesson, you’ll learn how to balance percussion layers in Ableton Live 12 using stock devices, clean routing, and a repeatable workflow.

---

2. What you will build

You’ll build a 4-layer drum system with clear roles:

1) Core hits: Kick + Snare (front of the mix)

2) Break layer: A chopped Amen / classic break for movement and grit

3) Top loop layer: Hats/shakers/rides to “push the bus forward”

4) Ghost percussion: quiet accents and syncopation (the “night air”)

And you’ll finish with:

  • A Drum Bus group with glue + tone
  • A Top Bus that stays bright but controlled
  • A simple arrangement that feels like rolling jungle (intro → drop → variation)
  • ---

    3. Step-by-step walkthrough

    Step 0 — Session setup (so you hear balance clearly)

    1. Set tempo to 165–172 BPM (try 170 BPM).

    2. Set your project to -6 dB headroom mindset:

    - Don’t chase loudness yet.

    3. Put a Spectrum on the Master (Audio Effects → Spectrum) for visual feedback.

    Optional but helpful:

  • On the Master, add Limiter (leave it OFF while mixing, or set Ceiling -1 dB just as protection).
  • ---

    Step 1 — Create your drum routing (“bus like a pro”)

    Create these tracks:

    A) DRUMS (Group)

    Inside it:

  • Kick (audio track or Drum Rack)
  • Snare/Clap (audio track or Drum Rack)
  • Break (audio track for the breakbeat)
  • Tops (audio track for hat loops or programmed hats)
  • Perc FX (ghost hits, bongos, rim clicks, rides, etc.)
  • B) TOP BUS (Group inside DRUMS)

  • Put Tops + Perc FX into a group called TOP BUS
  • This makes balancing easy: you can turn all high-frequency detail up/down together.

    ✅ Why this works: You’ll balance “engine” vs “detail” fast, without losing your snare weight.

    ---

    Step 2 — Pick sound roles (don’t audition randomly)

    For jungle/oldskool vibes, choose:

  • Kick: short, punchy, not too subby (the bassline will own sub).
  • Snare: bright crack with body ~200 Hz and snap 2–6 kHz.
  • Break: classic (Amen, Think, Hot Pants). Even a weak break works if filtered right.
  • Tops: closed hats, rides, shakers—either loops or one-shots.
  • Beginner-friendly sample sourcing:

  • Use Ableton’s Packs if available (Core Library + Drum Essentials).
  • If you’ve got break samples, great—load an Amen loop into Break.
  • ---

    Step 3 — Set the “Nightbus balance” (level targets you can trust)

    Start with faders down, then build:

    1) Snare first: bring Snare to about -10 to -8 dB peak-ish (rough guide).

    2) Kick next: bring Kick so it feels equal power but not louder than snare.

    3) Break layer: bring it up until you notice groove and texture, then pull it back slightly:

    - Typically it ends up 6–12 dB quieter than the snare.

    4) TOP BUS: bring it up until the track “moves,” then back off so the snare remains king:

    - Tops often end up quiet but constant.

    🎯 Rule of thumb: if you mute TOP BUS and the track still feels like DnB, you’re good. If muting TOP BUS kills the vibe, you’re relying on tops too much.

    ---

    Step 4 — Clean each layer with simple EQ (stock devices only)

    #### Kick (EQ Eight)

  • Add EQ Eight
  • High-pass OFF (usually)
  • If muddy: small dip around 200–350 Hz
  • If click needed: gentle boost around 2–4 kHz (small!)
  • #### Snare (EQ Eight)

  • High-pass around 80–120 Hz
  • If boxy: cut 250–500 Hz
  • If needs crack: small boost 3–6 kHz
  • If too fizzy: soften 8–12 kHz
  • #### Break (EQ Eight + Auto Filter)

    Breaks eat space quickly. Control them:

  • EQ Eight: high-pass around 120–200 Hz (yes, that high sometimes)
  • Optional: dip around 3–5 kHz if it fights snare crack
  • Add Auto Filter (low-pass) for oldskool tone:
  • - Low-pass around 10–14 kHz, gentle slope

    - Add slight drive if you like (Filter Drive)

    #### TOP BUS (EQ Eight)

  • High-pass around 200–400 Hz
  • If harsh: dip 6–9 kHz a little
  • If dull: tiny shelf up 10–12 kHz (but be careful)
  • ✅ Goal: tops and breaks supply motion, not dominance.

    ---

    Step 5 — Glue the drums (without crushing them)

    On DRUMS group, add:

    1) Drum Buss

  • Drive: 5–15%
  • Boom: 0–20% (careful—too much mud)
  • Transients: +5 to +20 for snap (or negative if too spiky)
  • Damp: adjust if too bright
  • Output: trim so you’re not getting louder just from processing
  • 2) Glue Compressor

  • Attack: 3 ms (let transients through)
  • Release: Auto or 0.1–0.3s
  • Ratio: 2:1
  • Threshold: aim for 1–3 dB gain reduction on peaks
  • This gives the “bus moving as one unit” effect—classic DnB control.

    ---

    Step 6 — Make percussion tuck behind the snare (sidechain the smart way)

    You want hats/break detail to duck slightly when snare hits.

    #### A) Sidechain TOP BUS to Snare (Compressor)

    On TOP BUS, add Compressor:

  • Enable Sidechain
  • Audio From: Snare
  • Ratio: 2:1 to 4:1
  • Attack: 1–5 ms
  • Release: 60–140 ms
  • Threshold: duck about 1–3 dB on snare hits
  • Optional: Also sidechain Break slightly from Snare if it’s busy.

    This is a big part of that “snare stays on top even in chaos” jungle feel. 🧠

    ---

    Step 7 — Create oldskool swing + ghost notes (the “rolling bus”)

    #### Program or edit a simple pattern

    Start with a 2-bar loop.

    Core (Kick/Snare)

  • Snare on 2 and 4 (classic)
  • Add a kick on 1
  • Add a second kick syncopated (try just before beat 3 or between 3 and 4)
  • Ghost notes (Perc FX or break chops)

  • Add quiet snare ghost hits around 16th notes leading into the main snare
  • Keep ghosts very low (often -18 to -30 dB range depending on sample)
  • #### Groove (Ableton Groove Pool)

    1. Open Groove Pool

    2. Drag in a groove like MPC 16 Swing or any shuffled 16th groove

    3. Apply gently:

    - Timing: 10–25%

    - Velocity: 5–15%

    - Random: 0–10%

    Oldskool jungle is often not perfectly quantized—just don’t make it sloppy.

    ---

    Step 8 — Arrangement idea (simple, effective jungle structure)

    Try this 32-bar sketch:

    Bars 1–8 (Intro)

  • Only break filtered (Auto Filter low-pass around 6–10 kHz)
  • Add atmospheric hits or vinyl noise (optional)
  • Bars 9–16 (Build)

  • Bring in tops quietly
  • Tease snare (every 2 bars or with a fill)
  • Bars 17–32 (Drop)

  • Full drums: kick + snare + break + tops
  • At bar 25: remove tops for 2 bars, then slam them back in (energy trick 🔥)
  • Automation tip:

  • Automate TOP BUS volume up by ~1 dB in the second half of the drop for lift.
  • ---

    4. Common mistakes

  • Tops too loud: makes it sound like “hats music” instead of jungle.
  • Break has too much low end: clutters kick and bass instantly.
  • No hierarchy: kick/snare should be the “driver,” everything else is support.
  • Over-compressing the drum bus: kills transient snap and makes drums feel small.
  • Too many layers doing the same job: e.g., 3 hat loops + ride loop = harsh, messy.
  • ---

    5. Pro tips for darker/heavier DnB 🌑

  • Saturate breaks, not the whole drum mix:
  • Put Saturator on the Break track:

    - Mode: Analog Clip

    - Drive: 2–6 dB

    - Turn on Soft Clip (if needed)

  • Parallel crush for aggression (beginner-safe):
  • - Create a Return track “DRUM CRUSH”

    - Add Drum Buss → Saturator → Compressor

    - Send snare and break lightly (start at -20 dB send and creep up)

  • Tighten harsh highs:
  • - On TOP BUS, use Multiband Dynamics gently:

    - Tame high band a little (don’t overdo)

  • Dark oldskool tone:
  • - Use Auto Filter low-pass automation on breaks during transitions.

    ---

    6. Mini practice exercise (10–15 minutes)

    1. Build a 2-bar loop with kick + snare + break + tops.

    2. Set levels using this order:

    - Snare → Kick → Break → TOP BUS

    3. Add EQ Eight on Break:

    - High-pass between 140–200 Hz

    4. Add Sidechain Compressor on TOP BUS from Snare:

    - Duck 2 dB on snare hits

    5. Export a quick audio loop and listen on:

    - Headphones

    - Phone speaker

    If the snare disappears on the phone, your tops/break are likely too loud in the mids/highs.

    ---

    7. Recap

  • The Nightbus approach = engine (kick/snare) upfront, detail (breaks/tops/ghosts) moving around it.
  • Use groups (DRUMS + TOP BUS) to control balance fast.
  • Filter and EQ your break/top layers so they don’t steal the core.
  • Sidechain tops to snare for clean impact and classic jungle clarity.
  • Arrange with drop dynamics: remove/reintroduce tops and automate subtle level moves.

If you want, tell me what tempo and what break you’re using (Amen/Think/etc.), and I’ll suggest a specific 2-bar drum pattern + exact EQ starting points for that sample.

Ask GPT about this lesson

Chat with the lesson tutor, get follow-up help, or use quick actions.

Bigup 👽 Ask me anything about this lesson and I’ll answer in context.

Narration script

Show spoken script
Nightbus approach: percussion layer balance in Ableton Live 12 for jungle oldskool DnB vibes. Beginner lesson.

Alright, let’s build some rolling jungle drums in Ableton Live 12, but with a really specific mindset that will stop your mix from turning into hat soup.

This is the Nightbus approach. Imagine your drum groove is a bus moving through the city at night. The engine is your kick and snare: steady, powerful, unmistakable. Then you’ve got all the street detail flying past the windows: hats, shakers, rides, ghost hits, and break chops. That detail is what makes jungle feel alive… but it must not cover up the engine.

If you’re a beginner, the classic mistake is making every layer equally loud because each one sounds cool on its own. But together, that destroys hierarchy, and the groove collapses. Today you’re going to set up a clean routing system, pick roles for each layer, then balance and control them using only Ableton stock devices.

By the end, you’ll have four clear drum layers:
Core hits: kick and snare up front.
A break layer for movement and grit.
A tops layer to push the track forward.
And ghost percussion for that late-night air and syncopation.

Then we’ll glue it together, do a simple sidechain trick to keep the snare on top, and sketch a quick 32-bar arrangement that actually feels like jungle.

Let’s go.

First, session setup so you can hear balance clearly.
Set your tempo somewhere between 165 and 172 BPM. Let’s choose 170.
Now adopt a headroom mindset. You’re not chasing loudness yet. Keep things comfortable and not slamming the master.
Drop a Spectrum on your Master so you can see what’s happening. This is not to mix with your eyes, but it’s great for spotting when your breaks and hats are filling up the whole top end or when your low end is getting messy.
Optional: put a Limiter on the master with a ceiling around minus 1 dB, but keep it off while you’re actually balancing. Think of it as a safety bumper, not a mixing tool.

Now routing. This is where the “bus like a pro” part happens.
Create a group called DRUMS.
Inside DRUMS, create five tracks: Kick, Snare or Clap, Break, Tops, and Perc FX.
Now the key move: take Tops and Perc FX and group them inside DRUMS into another group called TOP BUS.

So you’ve got DRUMS as the whole kit, and TOP BUS as all the bright detail together.
This makes balancing insanely fast, because you can turn “detail” up or down with one fader without messing up your kick and snare relationship.

Next: pick sound roles. Don’t audition randomly.
For oldskool jungle, choose a kick that’s short and punchy, not overly subby. Let your bassline own the real sub later.
Choose a snare that has body around the low mids but a clear crack up top. In simple terms: you want weight and snap.
For the break, grab something classic: Amen, Think, Hot Pants… anything with that familiar movement. Even a break that sounds kind of weak can work, because we’re going to shape it.
For tops, choose either a hat loop or a simple set of closed hats, rides, shakers. You’re aiming for consistent forward motion, not a constant spotlight.

If you’re using Ableton’s packs, Drum Essentials and the Core Library are totally fine for this.

Now the big moment: the Nightbus balance. The order matters.
Start with your faders down, then build your groove like a DJ bringing elements in.

Bring your snare up first.
Get it to a level that feels like “this is the leader.” If you want a rough number, you might see peaks around minus 10 to minus 8 dB on that track, but don’t worship the number. You’re listening for confidence.

Now bring in the kick.
Match it so it feels equally powerful, but not like it’s bullying the snare. In jungle, the snare is often the emotional center. If the snare isn’t the thing you notice, the whole vibe tends to shrink.

Now bring in the break.
Bring it up until you clearly notice groove and texture… and then pull it back slightly.
This is the secret beginner move: you want to perceive it, but not identify it as the main drum track.
Most of the time the break ends up something like 6 to 12 dB quieter than the snare. Again, not a law, just a starting zone.

Now bring in the TOP BUS.
Raise it until the track starts to move, like it’s rolling forward. Then back it off so the snare still feels like the boss.

Here’s the rule of thumb I want you to remember.
Mute TOP BUS. If your loop still reads as drum and bass, you’re doing it right.
If muting TOP BUS kills the vibe completely, it might not be a level problem. It might mean your core kick and snare pattern is too plain, or your break is doing all the interesting work.

And here’s a comfort target if you like targets: try keeping TOP BUS peaks about 3 to 6 dB below your snare peaks. That usually lands you in a safe place.

Now let’s clean each layer with simple EQ. Stock devices only.

On the kick, add EQ Eight.
Usually you don’t need to high-pass a kick. If it’s muddy, do a small dip around 200 to 350 Hz.
If you need a little more click so it speaks on smaller speakers, a gentle boost around 2 to 4 kHz can help. Gentle. If you overdo it, it turns into plasticky knock.

On the snare, add EQ Eight.
High-pass around 80 to 120 Hz to keep low end out of the way.
If it sounds boxy, cut somewhere around 250 to 500 Hz.
If it needs crack, a small boost around 3 to 6 kHz.
If it’s too fizzy or sandy, soften a little around 8 to 12 kHz.

On the break, you’re going to be brave with filtering, because breaks eat space fast.
Add EQ Eight and high-pass somewhere around 120 to 200 Hz. Sometimes even higher is correct, because the break is not your kick. The break is texture and rhythm.
If the break is fighting the snare’s crack, try a small dip around 3 to 5 kHz.
Then add Auto Filter after the EQ.
Set it to a low-pass, somewhere around 10 to 14 kHz, gentle slope. This instantly gives you that more authentic, older tone and removes the modern “fizz blanket.”
If you want extra character, add a tiny bit of drive in the filter. Tiny. Just enough to feel like it’s been through hardware or an old sampler.

On the TOP BUS, add EQ Eight.
High-pass around 200 to 400 Hz. You don’t need rumble in your hats and perc.
If it’s harsh, dip around 6 to 9 kHz a bit.
If it’s too dull, a tiny shelf around 10 to 12 kHz, but treat that like hot sauce. A little goes far.

The goal here is simple: tops and breaks supply motion, not dominance.

Now let’s glue the drums without crushing them.
On the DRUMS group, add Drum Buss.
Start with Drive around 5 to 15 percent.
Boom at zero to 20 percent, but be careful. Boom is fun until it turns into mud.
Transients: try plus 5 to plus 20 if you want more snap. If your break gets spiky and papery, you can even go negative, especially if you put Drum Buss on the break track later.
Adjust Damp if it’s too bright.
And make sure you’re not tricking yourself by getting louder. Use the output to level-match.

After that, add Glue Compressor on DRUMS.
Attack around 3 milliseconds so transients still punch through.
Release on Auto, or somewhere like 0.1 to 0.3 seconds.
Ratio 2 to 1.
Lower the threshold until you see around 1 to 3 dB of gain reduction on peaks.
If you’re seeing like 6 dB all the time, you’re probably shrinking your drums. Jungle wants control, but it also wants snap.

Now the classic jungle clarity trick: make percussion tuck behind the snare.
You’re going to sidechain TOP BUS from the snare, just a little.

On TOP BUS, add Compressor.
Turn on Sidechain.
Set Audio From to Snare.
Ratio somewhere between 2 to 1 and 4 to 1.
Attack 1 to 5 ms.
Release 60 to 140 ms.
Then lower the threshold until the TOP BUS ducks around 1 to 3 dB when the snare hits.

What you’re doing is carving a tiny space for the snare’s impact. The hats and shakers can be busy, but the snare still punches through like a headline.

Optional: if the break is extremely busy, you can also sidechain the Break track from the Snare just a touch. Don’t pump it like house music. This is more like polite choreography.

Now we add swing and ghost notes, the “rolling bus” feeling.
Start with a two-bar loop.
Put your snare on beats 2 and 4. Classic.
Put a kick on 1.
Then add a second kick syncopated. Try just before beat 3, or between 3 and 4. That little off-balance push is where jungle starts to grin.

Now ghost notes. These are not extra snares competing with your snare. They’re whispers.
Add quiet ghost snare hits on 16th notes leading into the main snare. Or use tiny break chops or rim clicks in Perc FX.
Keep them very low. A lot of the time they live in that minus 18 to minus 30 dB range depending on the sample. If you clearly hear them as “another snare,” they’re too loud. You should feel them more than you notice them.

Now Groove Pool for that oldskool sway.
Open the Groove Pool and drag in something like an MPC 16 Swing groove.
Apply it gently. Timing around 10 to 25 percent.
Velocity around 5 to 15 percent.
Random from zero to 10 percent if you want a tiny bit of life.
The vibe is human, not sloppy. There’s a difference.

Quick coach trick: micro-fades on chopped breaks.
If you sliced an Amen or Think and moved hits around, add tiny fade-ins and fade-outs on the clips. It prevents cheap clicks and makes the rhythm sound intentional, without removing grit.

Now a super useful ear-training habit: the 10-second reference flip.
Drop a classic jungle track onto a new audio track.
Warp it on, match it to your BPM, and turn it down until it’s roughly the same loudness as your loop.
Now solo your drums and the reference back and forth.
You’re listening for one main thing: when the hats are busy, does your snare still feel confidently forward like the reference?
Watch Spectrum if it helps, but trust your ears. If your tops look like a mountain range compared to the reference, you’re probably overcooking them.

Another coach habit: mute logic.
Mute the Break. Do you still have urgency? If yes, your break might be too loud or too full-spectrum.
Mute TOP BUS. Do you still have momentum? If no, your core pattern might be under-written. That’s a composition fix, not an EQ fix.
Mute Kick. Does the groove fall apart? If yes, your break might have too much low end, or your snare body is too weak.
Mute Snare. If it still sounds like a finished drum track, your break is acting like a second snare. That usually means filter the break more, or notch where it’s fighting.

Let’s do a quick beginner-safe panning rule too.
Keep kick and main snare dead center.
Keep the break mostly center.
Then you can make the tops and perc slightly wide: small pans, like plus or minus 10 to 25, or use Utility on TOP BUS with Width around 110 to 140 percent.
If widening makes the snare feel less punchy, dial it back. Oldskool width is subtle.

Now let’s sketch a simple jungle arrangement so it feels like a track, not a loop.

Make a 32-bar idea.
Bars 1 to 8, intro: only the break, but filtered darker. Use Auto Filter, low-pass maybe 6 to 10 kHz. You can add a tiny atmosphere or vinyl noise if you want, super low.
Bars 9 to 16, build: bring in tops quietly. Tease the snare, maybe every two bars, or do a little fill.
Bars 17 to 32, drop: full drums, kick snare break and tops.
At bar 25, do a classic energy trick: remove tops for two bars, then slam them back in. It feels like the bus hits a smooth road and suddenly accelerates.
Then, for lift, automate TOP BUS volume up by about 1 dB in the second half of the drop. Small automation, big perceived energy.

If you want darker, heavier vibes without wrecking the balance, here are a few safe upgrades.
Saturate the break, not the whole drum mix. Put Saturator on the Break track, Analog Clip mode, drive 2 to 6 dB, soft clip if needed.
Try a parallel “drum crush” return track. Add Drum Buss, Saturator, then Compressor on the return. Send snare and break lightly, starting around minus 20 dB send and creep up until it adds attitude.
If highs are harsh, gently tame the top band with Multiband Dynamics on TOP BUS. Gentle. We’re smoothing, not flattening.
And for that authentic oldskool tone, automate the break low-pass during transitions so the track tells a little filter story.

Now a quick mini practice exercise you can do in 10 to 15 minutes.
Build a two-bar loop with kick, snare, break, and tops.
Set levels in this order: snare, kick, break, TOP BUS.
On the break, EQ Eight: high-pass between 140 and 200 Hz.
On TOP BUS, sidechain Compressor from snare, duck about 2 dB on snare hits.
Export a quick loop and listen on headphones, then your phone speaker.
If the snare disappears on the phone, your tops or break are probably too loud in the mids and highs, or your snare doesn’t have enough presence.

Let’s recap the whole Nightbus approach.
Kick and snare are the engine, up front and driving.
Breaks, tops, and ghosts are the night detail, moving around the engine.
Use groups: DRUMS and TOP BUS, so you can balance fast.
Filter and EQ your break and tops so they don’t steal space.
Sidechain tops to snare so the snare stays on top even when the percussion gets chaotic.
And arrange with dynamics: drop tops out, bring them back, automate small level moves.

If you tell me your tempo and which break you’re using, like Amen or Think, and whether your tops are a loop or programmed MIDI, I can suggest a specific two-bar pattern that’s busy but clean, plus exact starting EQ points and a couple ghost note placements that fit that break.

Mickeybeam

Go to drumbasscd.com for +100 drum and bass YouTube channels all in one place - tune in!

Any 1 Tutorial FREE Everyday
Tutorial Explain
Generating PDF preview…