Show spoken script
Hey — let’s get gritty. This is an intermediate Ableton lesson on neuro bass resampling for drum and bass. We’re going to design a two-layer bass — a clean, solid sub and an aggressive midrange snarler — resample it, chop it, and reprocess it into nasty, rolling textures that translate in the club. I’ll walk you through routing, sound design, bus processing, resampling passes, slicing, arrangement ideas, common mistakes, and a practice challenge to lock it in. Ready? Good. Let’s go.
Lesson overview
The goal here is simple: create a neuro-style DnB bass with a clean low end and an evolving mid/high character, resample it into audio so you capture interesting digital artifacts, then reslice and reprocess those files into playable instruments and rhythmic layers. Resampling is where the magic happens — repeated audio processing and creative warping produce aliasing, formant-like motion, and other irregularities that define the neuro sound. We’ll use Ableton Live stock devices so you can reproduce this on Live Suite or adapt it for Live Standard.
What you will build
You’ll end up with:
- a sub bass that’s tight and mono,
- a mid/high neuro texture built from wavetables or FM,
- a Bass Bus chain that shapes saturation, frequency shifting, bit reduction and resonant metallic character,
- multiple resample passes that become a palette of slices and instruments for a rolling drop.
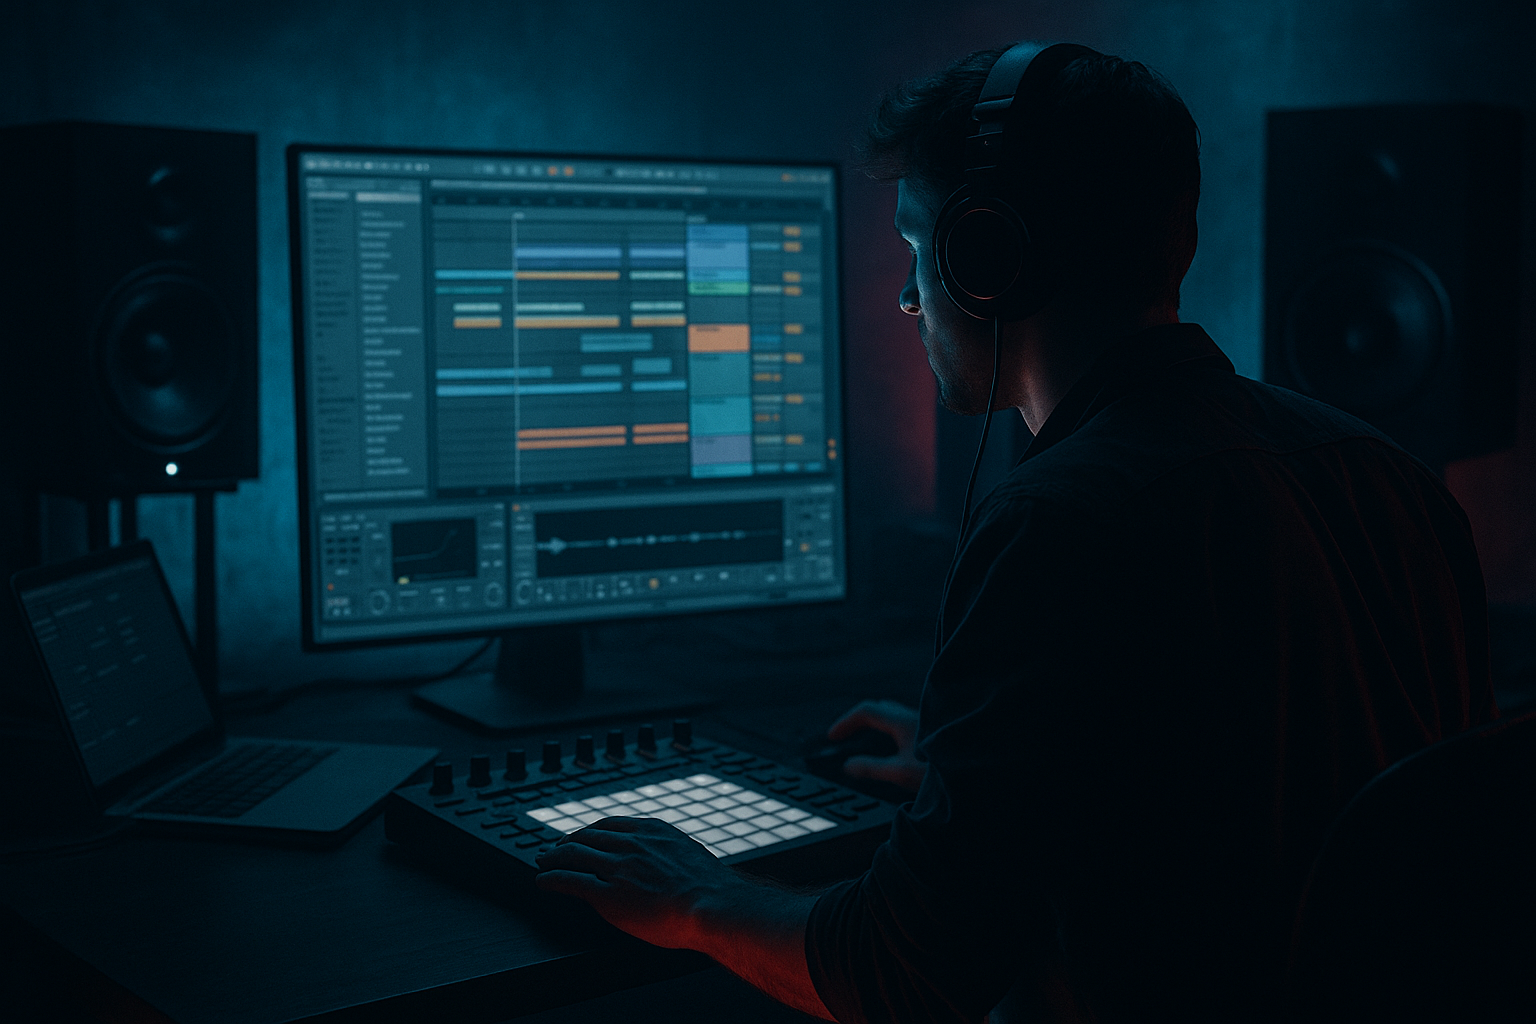
Quick setup and routing
Set your project to a drum and bass tempo — 174 BPM is a great starting point. Create these tracks: a MIDI track named Sub Bass using Operator or Wavetable, a MIDI track named Neuro Source using Wavetable or Operator, and an audio track named Resample with its input set to Resampling. Group the two MIDI tracks into a Group called Bass Bus. Color-code and label everything — trust me, when you have ten resample passes, you’ll thank yourself.
Building the sub
On Sub Bass, use Operator’s pure sine or a Wavetable with a sine or triangle. Keep it monophonic. Program a one- or two-bar pattern that sits under your drums — simple stabs and maybe a short pitch envelope for a click. A useful starting pitch envelope: attack zero, decay around 70 to 120 milliseconds, and a small negative level to create a tight click. Set the octave down one or two depending on your session. Light compression on the sub helps glue it; use Glue Compressor with a gentle 2:1 ratio, fast attack, and short release. Low-pass the sub below about 120 Hz and keep it mono. Do not chew this signal with aggressive distortion. Treat the sub as sacred.
Designing the neuro mid/high source
On the Neuro Source track, use Wavetable or Operator for FM-style harshness. Choose a complex wavetable for Oscillator A and use Oscillator B as a modulator or a narrow-band noise source for metallic attack. Add a little unison — two voices with tiny detune — and put a 24 dB low-pass in front of the bus so you can automate cutoff for movement. Use an LFO synced to musical divisions — try 1/16 or 1/8 — to modulate wavetable position and filter cutoff. Add a filter envelope with a short attack and a medium decay to make it feel rolling. Small amounts of FM modulation and a noise layer for the transient will give the midrange the bite you want.
The Bass Bus processing chain — order matters
Insert devices on the Bass Bus in this order and use these starting points:
1. Utility for gain staging and stereo control. Consider narrowing width to 40–60% for a focused mid.
2. EQ Eight: high-pass below 35 Hz to protect headroom, and a mild bell boost between 600 and 1,500 Hz to emphasize the snarling bite.
3. Saturator: Drive around 3 to 6 dB, type Soft Sine or Analog Clip; adjust output so you’re not clipping.
4. Frequency Shifter: set dry/wet 30–50%. Small shifts like plus or minus 0.3 to 3 Hz create flanging motion; automate larger shifts sparingly for metallic detuning.
5. Corpus: choose String or Beam, set the resonant frequency somewhere between 200 and 800 Hz, dry/wet about 25–40% to add metallic resonances.
6. Overdrive and Redux: Overdrive drive 2 to 4 for grit; Redux bits around 8 to 12 with sample rate down to 10–12 kHz to create digital crunch.
7. Multiband Dynamics: split bands with low under 120 Hz, mids 120 to 1.5 kHz, highs above that. Compress the mid band harder to push character while keeping sub gentle.
8. Glue Compressor to tame and glue the whole group.
9. Final EQ to notch nasty resonances and roll off highs if needed.
Movement before resampling
Automation is your best friend. Map a macro to the filter cutoff so you can sweep 400 to 1,800 Hz. Put LFOs on wavetable position and filter cutoff and sync them to the tempo for rhythmic motion. Use a send with Beat Repeat for glitchy fills on an as-needed basis. Small, musical automations translate into better resamples than wild, random modulation.
Resample pass one
Solo the Bass Bus and arm your Resample track. Record a 4 to 8 bar loop of the bass group into the Resample track. Save and name it clearly — for example NeuroBass_pass1. Trim silences and normalize lightly, but keep headroom. Warp mode: in Live 11, Texture is an excellent creative choice; in Live 10, use Complex or Complex Pro. If you use Texture, try grain size around 40 to 60 and Flux at 20 to 40 percent to start.
Create variants and slice
Duplicate the recorded clip and make variations. Reverse sections. Transpose a copy up or down a few semitones to create formant-like timbres. Change Warp modes between Texture, Tones, and Complex to hear different artifacts. When you find an interesting region, right-click and Slice to New MIDI Track using 1/16 or 1/32 presets to create a Drum Rack of slices, or drag a clip into Simpler in Classic Slice mode for a playable instrument. Map a low-pass filter, distortion, and macros to those slices for performance control.
Resample pass two — compound artifacts
Route a Drum Rack or Simpler output back through the Bass Bus or through a dedicated effects chain with Grain Delay, Frequency Shifter, and Redux, then resample that output to capture second-order artifacts. This is how textures get really unpredictable and organic-sounding. Name it NeuroBass_pass2 and keep organized filenames — this saves time later.
Practical device setting reminders
Start points that work well: Saturator drive ~4 dB, Frequency Shifter dry/wet ~35% and small shifts, Redux bits around 10 and downsample 11 kHz, Auto Filter automating 600 to 1,800 Hz with resonance around 30 to 50%. For Multiband Dynamics mid band try a ratio around 4:1 and fast attack to make the mid aggressive.
Common mistakes and how to avoid them
Don’t lose the sub by processing the whole bus — split sub and mid processing. Avoid using lush reverb on bass; short gated reverb or delay works better on mids. Watch gain staging across resample passes. Keep an eye on phase — always mono-check your loop; keep the sub mono. And don’t overdo every effect at once. Apply in stages and listen.
Extra coach notes for workflow and recall
Duplicate your Bass Bus before major experiments so you always have a safe reference. Map four to six macros to the bus: cutoff, drive, pitch shift amount, redux bit depth, mid level, width. Use Utility at the start and end of chains to control gain while resampling and drop the resample input level by 6 to 12 dB to avoid clipping. Keep reference tracks handy and check in mono often. If you want more aliasing for a nastier sound, disable oversampling while designing and only re-enable for final renders if you need cleaner results.
Advanced variations and sound design ideas
Try spectral gating: EQ a narrow band and stick a gate after it, then automate the EQ center to scan 300 to 3kHz, producing rhythmic resonant pops. Load multiple resample passes into Sampler zones across the keyboard so velocity morphs timbres. For metallic beating, duplicate mid layers and detune by microcents or a few semitones, then offset phase. Grain Delay with Freeze engaged makes awesome pitch-smeared artifacts — resample that and slice it again. For live arrangement, use Follow Actions on slices to create evolving phrases.
Arrangement ideas and energy management
Keep the sub present and simple. Use one resampled long evolving layer for texture, one sliced Drum Rack for punchy stabs, and one short “punch” layer for transient presence. Reintroduce elements in order for impact: sub, punch, snarler, wide texture. For tension builders, collapse stereo width over several bars and then explode it open at the drop. Use reversed tails, slow pitch-ups, and short white-noise bursts to mask edits and make the drop feel huge.
Mini practice exercise
Timebox forty-five to sixty minutes. Build a two-bar bass loop at 174 BPM with a clean Operator sub and a Wavetable mid. Group them and add the bus chain described earlier. Resample eight bars. From that file, create a transposed duplicate, reverse two bars, and slice the original to a Drum Rack at 1/16 for stutter patterns. Arrange an 8-bar loop where the first half is textural and the second half brings in the sliced stabs and full sub. Export and compare with reference neuro-DnB tracks. Check in mono.
Homework challenge
For a deeper test, produce a 16-bar loop in 90 minutes using only stock devices. Do two resample passes: one base mid crunch, one after grain or frequency shifting. Deliver a rendered 16-bar stem at minus six dB headroom, three Simpler or Drum Rack instruments from your resamples, and a short notes file describing your chain and macros. Self-grade on sub clarity, mid character, creative artifacts, and arrangement polish. Bonus: render once with oversampling off and once on, and compare.
Recap and final hype
Remember the basics: separate sub and mid, run a dedicated Bass Bus with ordered effects, resample, warp and slice, then resample again to compound interesting artifacts. Keep your sub mono and clean, map smart macros, manage gain and CPU, and check in mono frequently. Make movement with LFOs and macros so your resamples capture musical motion. Now go make something nasty and rolling. Resample until the textures threaten to eat your mix. When you have a short clip, send it over and I’ll give feedback on glue, dynamics, and club translation. Happy resampling — go wreck the drop.