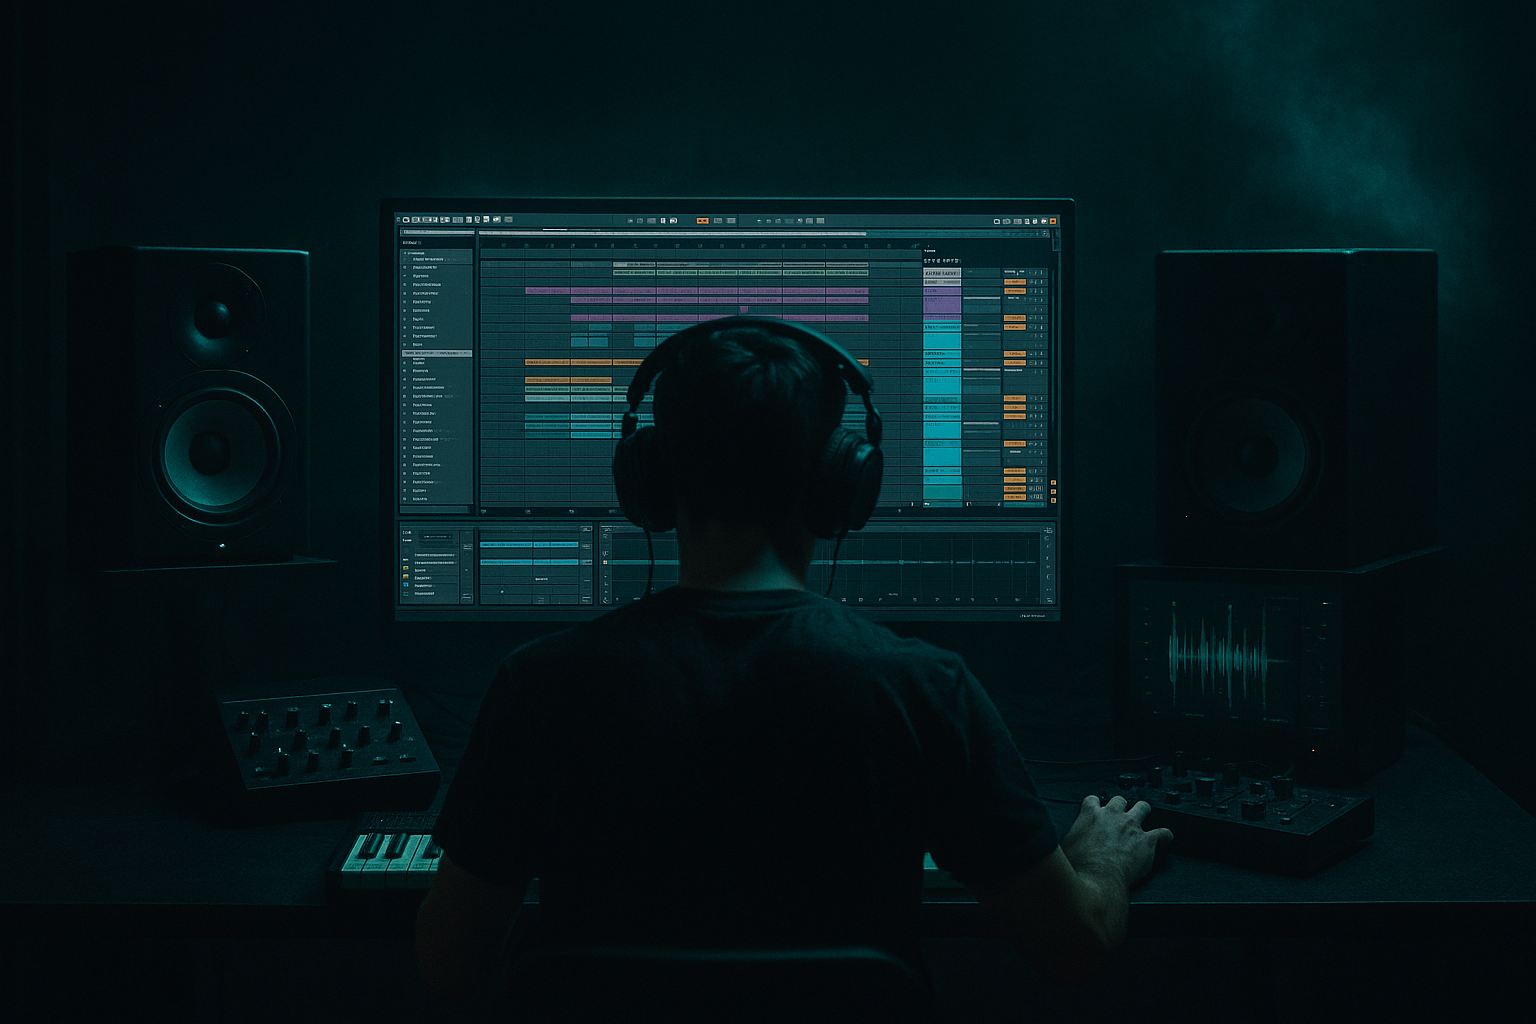
Main tutorial
Moonlit Jungle Masterclass: Kick Weight Distort in Ableton Live 12 🌙🥁
Level: Intermediate
Category: Ragga Elements (but focused on the kick weight + distortion that makes ragga jungle hit hard)
---
1) Lesson overview
In rolling jungle / ragga DnB, the kick has to punch through the break, support the sub, and still feel warm and physical—not just clicky. This lesson is about a very specific technique: Kick Weight Distort—a controlled way to add low-mid heft + harmonics while keeping the sub clean and the top transient sharp.
You’ll build a kick processing chain in Ableton Live 12 using mostly stock devices, then place it into a classic jungle context: breakbeat + sub + ragga stabs. 🎚️
---
2) What you will build
By the end you’ll have:
- A 3-band kick chain:
- A practical group workflow for layering a kick with an amen-style break
- Arrangement-ready ideas for 8/16-bar moonlit ragga jungle (drops, fills, and “sound system” moments)
- A solid fundamental around 45–60 Hz (for DnB),
- Enough body around 120–200 Hz,
- Not too much muddy tail.
- Mode: Soft Clip or OD (Overdrive style)
- Drive: 10–20% (or until it feels “forward”)
- Tone: slightly dark (reduce harshness)
- Dynamics: keep it controlled (don’t explode the transient)
- Mode: Analog Clip
- Drive: 3–7 dB
- Soft Clip: On
- Output: trim so you’re not getting louder just from drive
- Drive: 5–15%
- Crunch: 0–10% (small amounts)
- Boom: 0–10%
- Transients: 0 to +10 (if weight got too smeared)
- Kick should be clearly “in front”
- Break provides movement and grit
- Osc A: Sine
- Level: 0 dB
- Add a tiny bit of Saturator after (Drive 1–3 dB) if needed
- Bars 1–8: filtered break + FX + sparse kick (every 2 bars)
- Bars 9–16: bring kick full, tease sub notes, add ragga vocal shots
- Bars 17–24: full kick weight distort + break + sub
- Bars 25–32: add extra percussion + a ragga stab on offbeats
- At bar 31, do a 1/2-bar stop (mute kick + sub) then slam back in.
- Roar “Dark Drive” approach: drive weight band harder, then low-pass slightly (8–12 kHz overall mix is often enough for dark jungle).
- Resample your kick:
- Parallel smash bus (optional):
- Tuning matters:
- Split the kick into SUB / WEIGHT / CLICK.
- Keep SUB clean, distort WEIGHT, sharpen CLICK.
- Use Roar / Saturator + Drum Buss for controlled jungle heft.
- Make room by high-passing the break and sidechaining the sub.
- Arrange with ragga drops, dubby Echo throws, and stop-start energy.
- Sub band (clean + stable)
- Weight band (distorted low-mids for “chest”)
- Click band (bite + definition)
---
3) Step-by-step walkthrough
Step 0 — Session prep (DnB-friendly defaults) ⚙️
1. Set tempo to 168–174 BPM (try 172 BPM).
2. Turn on View → Mixer → Track Delay if you want to nudge layers later.
3. Make sure Warp is correct on breaks (Beats mode is fine for drums; Complex Pro for vocals).
---
Step 1 — Choose a kick that can take weight
Pick a kick that has:
Tip: 909-ish or punchy acoustic kicks work great, but avoid overly “completed” kicks with baked distortion—you want headroom to shape.
Drop your kick sample on an audio track called:
KICK – MAIN
---
Step 2 — Create the “Kick Weight Distort” rack (3-band split) 🧩
1. On KICK – MAIN, add Audio Effects → Audio Effect Rack.
2. Create 3 chains (right-click → Create Chain):
- `SUB`
- `WEIGHT`
- `CLICK`
Now we’ll isolate frequency bands using EQ Eight on each chain.
#### SUB chain (clean low end)
1. Add EQ Eight:
- Enable HP at 20 Hz (24 dB/oct) to remove rumble.
- Enable LP around 90–110 Hz (24 dB/oct).
2. Optional: Add Compressor (not Glue yet):
- Ratio 2:1
- Attack 25–40 ms (let transient through)
- Release 80–140 ms
- Aim for 1–3 dB GR on the loudest hits.
Goal: stable, clean low fundamental that won’t fuzz out the mix.
#### WEIGHT chain (the distorted “chest” band) 💥
This is the magic. We’ll distort only the low-mids.
1. Add EQ Eight:
- HP at 90–110 Hz (24 dB/oct)
- LP at 280–450 Hz (12–24 dB/oct depending on kick)
- If it’s boxy, dip ~220–260 Hz by -2 to -4 dB, Q ~1.5
2. Add Roar (Ableton Live 12!) or Saturator if you prefer simpler.
Roar settings (starting point):
Saturator alternative:
3. Add Drum Buss after distortion (optional but very DnB):
- Boom Freq: ~120–160 Hz (depends on kick)
Goal: you feel the kick “push air” on small speakers and through the break—even if the sub is low.
#### CLICK chain (definition + cut)
1. Add EQ Eight:
- HP at 1.5–2.5 kHz
- Gentle boost at 3–6 kHz if needed (+2 dB wide Q)
2. Add Transient Shaper (Ableton Live 12 stock):
- Attack: +10 to +30
- Sustain: -10 to -30 (tightens)
3. Optional: Saturator very lightly (Drive 1–2 dB) for edge.
Goal: consistent “tick” so the kick reads in busy breaks.
---
Step 3 — Glue the bands + final control 🎛️
On the Audio Effect Rack (after the chains), add:
1. Glue Compressor
- Attack: 10 ms
- Release: Auto or 0.3s
- Ratio: 2:1
- Threshold: aim 1–2 dB GR
- Soft Clip: On (subtle, helps peaks)
2. EQ Eight (final tone shaping)
- If it’s too thick: small dip 200–300 Hz
- If it lacks thump: tiny lift 80–100 Hz (but be careful—this can fight the sub)
3. Limiter (only if you need safety, not loudness)
- Ceiling: -0.8 dB
- Gain: keep minimal (0–2 dB)
Important: Match output levels when A/B testing. Distortion tricks you because louder sounds “better.” Level-match using Utility.
---
Step 4 — Make it work with a jungle break (Amen / ragga vibe) 🥁
Create another audio track: BREAK – AMEN (or any classic break).
1. High-pass the break:
- EQ Eight HP at 90–140 Hz (24 dB/oct)
- This clears room for your kick + sub.
2. Add Drum Buss on break:
- Drive 5–10%
- Transients +5 to +15
3. Optional: Redux (tiny):
- Downsample to 18–22 kHz
- Dry/Wet 5–12%
Adds that crunchy jungle texture without destroying clarity.
Now balance:
---
Step 5 — Sidechain relationship with the sub (clean but heavy) 🔊
Create a MIDI track with Operator (or Wavetable) for sub.
Operator sub quick patch:
Sidechain the sub to your kick:
1. On the sub track, add Compressor
2. Enable Sidechain, input = KICK – MAIN
3. Settings:
- Ratio: 4:1
- Attack: 0.5–3 ms
- Release: 60–120 ms (tune to groove)
- Threshold: aim 3–6 dB GR
DnB feel tip: Set release so the sub “breathes” in time with the kick pattern (especially if you use two-step or rolling kicks).
---
Step 6 — “Moonlit Jungle” arrangement ideas (ragga-ready) 🌙
Try a simple 32-bar structure:
Intro (1–16)
Drop (17–32)
- Use Echo for dubby throws (1/4 or dotted 1/8)
Classic jungle trick:
---
4) Common mistakes
1. Distorting the sub band
Makes low end smear and disappear on systems. Keep sub clean, distort weight band.
2. Too wide a WEIGHT band
If you distort up to 800 Hz you’ll get cardboard/mud. Keep it focused (usually <450 Hz).
3. Overdoing transient shaping
Too much attack on click chain can sound plastic and fight the break snare.
4. Not level-matching A/B
If your processed kick is louder, you’ll think it’s better even if it’s worse.
5. Ignoring the break’s low end
If break still has 80–140 Hz, your kick will never feel stable.
---
5) Pro tips for darker/heavier DnB 🖤
Freeze/Flatten or resample the processed kick into audio, then:
- Trim tail
- Fade out micro-clicks
- Make it consistent across hits
Send kick + break to a return track:
- Glue Compressor (Ratio 10:1, fast attack, medium release, 5–10 dB GR)
- Saturator (Drive 3–6 dB)
Blend return at -18 to -10 dB for density.
Tune kick fundamental to the key area of your sub (or at least avoid clashes). If sub is around F (43.65 Hz), a kick around 55 Hz (A) might fight—test by ear.
---
6) Mini practice exercise (20 minutes) ⏱️
1. Build the 3-band kick rack as above.
2. Load a break and high-pass it at 120 Hz.
3. Create a sub and sidechain it to the kick.
4. Do three versions of WEIGHT distortion:
- A) Roar Soft Clip mild (10%)
- B) Roar OD heavier (20–30%) with darker tone
- C) Saturator Analog Clip (Drive 6 dB)
5. Bounce 8 bars of each and compare:
- On small speakers: which has the most “push”?
- In mono: which stays solid?
- Under the break: which reads best?
---
7) Recap ✅
If you want, tell me the style you’re aiming for (classic ragga jungle vs modern jump-up vs dark roller) and what kick sample type you’re starting with—I can tailor exact Roar curves + band splits to your sound.

