Main tutorial
1. Lesson Overview
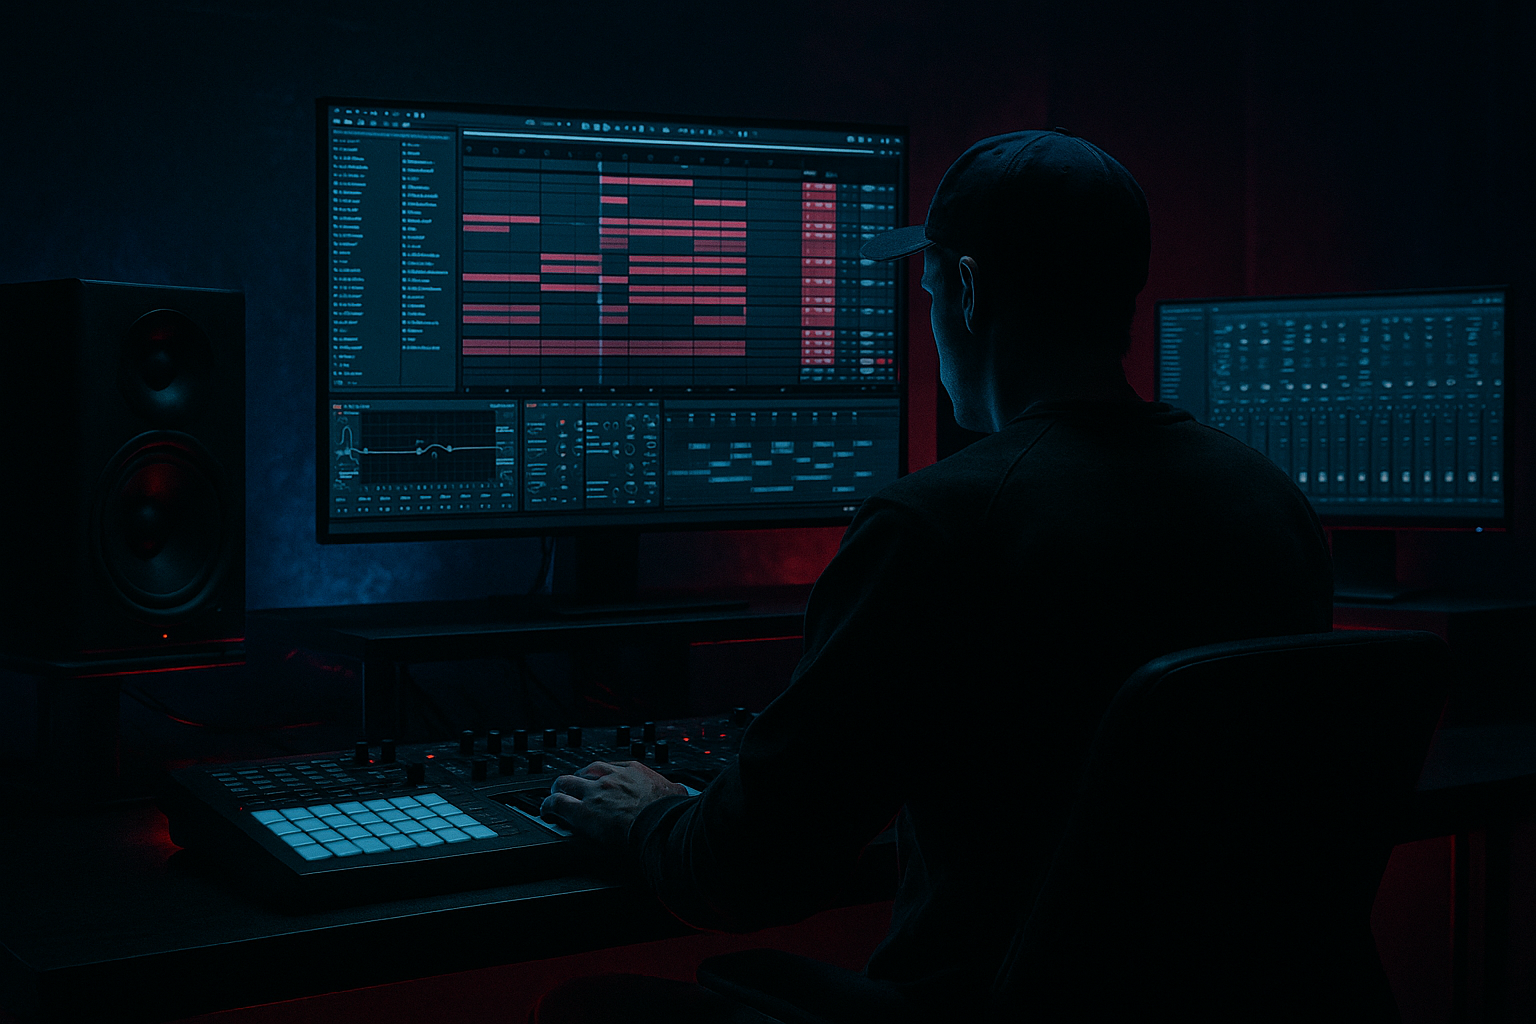
This intermediate FX lesson is titled "Mollie Collins masterclass: slice the ragga toast in Ableton Live 12 with DJ-friendly structure". You’ll learn a practical, Ableton-stock-device workflow to chop a ragga/toast vocal, create rhythmic, performance-ready slices, build a compact effects rack for live manipulation, and arrange the result into DJ-friendly scenes and stems for mixing in a club/DJ set.
2. What You Will Build
- A sliced ragga toast instrument (Drum Rack with individual slices in Simpler/Sampler) with tuned pitch control and humanized groove.
- An effects/performer rack (filter, saturation, delay/reverb sends, Beat Repeat) mapped to four Macros for live DJ control.
- Session-View DJ structure: Intro (filtered dry), Loop (full sliced toast), FX Stutter/Drop, and Outro (filtered/resolved).
- Export-ready stems (dry acapella, processed loop, FX) set up for quick loading into DJ software or USB decks.
- Over-slicing: creating too many tiny slices destroys the phrasing. Slice by transients or musical division that preserves syllables.
- Not naming slices: makes it hard to program phrases or remember which pad holds the main lyric.
- Excessive processing before slicing: heavy reverb or long tails pre-slice will create messy slices. Do gentle EQ and saturation pre-slice; add spatial FX after.
- Forgetting to map performance macros: without macros, live control becomes fiddly in a DJ set.
- Rendering stems without tails: cut reverb/delay tails off accidentally—export with extra bars so tails are preserved.
- Ignoring phase: when layering slices with other elements, check for phase cancellation, especially after heavy filtering or pitch-shifting.
- Use Sampler (instead of Simpler) when you want multi-sample style pitch control, looping options, and an onboard filter that tracks keyboard. Right-click Simpler → "Simpler → Sampler".
- Create a duplicate Drum Rack where each slice is tuned up/down by octaves or semitones for call-and-response effects — map a macro to transpose several Sampler pitch knobs together.
- Use the Crossfader to blend between a totally dry acapella track (assigned to Side A) and your processed sliced rack (Side B) for quick hands-on DJ swaps.
- Use Follow Actions on the MIDI clips for randomized slice patterns or for build-ups before the drop (set probability-based follow actions).
- Keep a “dry” bus (no master saturation) for exports; use a separate master for live preview to keep exports clean.
- Save the entire Instrument Rack as a Live Preset (right-click the rack header -> Save Preset) so you can load this DJ-ready ragga-slicer into other projects.
3. Step-by-Step Walkthrough
Note: follow this exactly in Ableton Live 12. The exact topic phrase appears here: Mollie Collins masterclass: slice the ragga toast in Ableton Live 12 with DJ-friendly structure — we’ll implement slicing, FX chains and scene-based DJ structure.
Step 1 — Prep & Warp the source
1. Drag your ragga toast sample into an audio track.
2. Set the Live set tempo to the Drum & Bass grid you use (170–175 bpm typical).
3. Double-click the clip, enable Warp, choose Complex (or Complex Pro) for vocals, set a 1/16 transient loop/grid if you want micro-timing preserved.
4. Move the 1.1.1 warp marker to the vocal start so it lines up with bar 1; set the clip start to the clean first transient. Trim silence.
Step 2 — Clean & EQ
1. Add EQ Eight on the clip track. High-pass at around 80–120 Hz to remove sub rumble; narrow cuts for any pops.
2. Optional: add a little Saturator (drive 2–4) to bring presence before slicing, but keep it gentle — you’ll add the main character in the rack later.
Step 3 — Slice to New MIDI Track
1. Right-click the clip and choose "Slice to New MIDI Track".
2. In the dialog choose “Slice by” -> Transient (for vocal syllables) OR choose "1/16" if you want evenly spaced rhythmic slices; choose Simpler for each slice (default).
3. Ableton creates a new Drum Rack with each slice mapped to pads (and a MIDI clip in a MIDI track).
Step 4 — Tidy and convert slices for control
1. Open the Drum Rack and click a slice’s Simpler. Switch its mode to Classic or use Sampler (right-click the Simpler and choose “Simpler → Sampler”) if you need extra pitch, loop or filter control.
2. Name key slices (e.g., “Taah”, “Guh”, “Chop1”) so you can remember which pad is the primary lyrical hits.
3. Reduce the start offset slightly on slices that have leading “breaths” or clicks. Trim with fade-ins inside each Simpler to remove pops.
Step 5 — Build your groove & humanization
1. Create a 2-bar (or 4-bar) MIDI clip on the Drum Rack track and program the rhythm — use staggered 1/16 and 1/8 hits to imitate raggamuffin phrasing (accent the off-beats; ragga often locks with the skank rhythm).
2. Open the Groove Pool (Ctrl/Cmd+Alt+G), load a subtle groove (e.g., 16T swing) or extract groove from a reggae/ska loop. Apply it to your MIDI clip and set Timing 60–80, Groove Amount 20–60 for subtle humanization.
3. Randomize velocities (shift+right-click -> randomize? — use the velocity editor to vary; set some hits low and some loud to keep it lively).
Step 6 — Create an FX/Performance Rack for DJ control
1. Convert Drum Rack to an Instrument Rack (select chains -> right-click -> "Group"). Inside the rack, on the chain area, add:
- Auto Filter (Low Pass, 12dB) -> Map cutoff to Macro 1 and Resonance to Macro 4.
- Saturator (gentle) -> map Drive to Macro 2.
- Simple Delay or Ping Pong Delay on a return send; Reverb on another send. Map Return send amounts to Macro 3 and Macro 4 (or assign Reverb to a spare Macro).
- Beat Repeat can sit on the Drum Rack track as an insert (pre-fader), map its On/Off and grid to two Macros for live stutter control.
2. Recommended Macro mapping:
- Macro 1: Filter Cutoff (big DJ sweep)
- Macro 2: Saturation/Character (warmth + grit)
- Macro 3: Delay Send (stereo motion)
- Macro 4: Reverb/Resonance or Beat Repeat Trigger
3. Tweak Beat Repeat defaults: Interval set to 1/4 or 1/8, Grid 1/16 or 1/32 for fast stutters, and set Chance low; map the Repeat gate or chance to a Macro for controlled bursts.
Step 7 — Build DJ-friendly Session View Scenes
1. Create four scenes (clip slots horizontally):
- Scene A: Intro — same sliced pattern but with Macro 1 closed (low-pass) and low wet sends. Use a 16-bar loop.
- Scene B: Loop — full level, filter open, moderate saturation — the primary loop for mixing.
- Scene C: FX/Drop — same clip plus Beat Repeat triggered (Macro 4) and higher delay send; use shorter 8-bar loop.
- Scene D: Outro — filter sweep closing, tails longer (automate reverb send rise then drop), low energy for clean handover.
2. Use duplicate scenes (Duplicate Scene) and tweak Macros per scene so each scene launches a different preset state for instant DJ use.
3. Set the clips’ Launch quantization to 1 bar or to your preferred quantize so scenes snap in when you trigger them live.
Step 8 — Stems and Export for DJs
1. Route your dry acapella: duplicate the original audio ragga track (pre-slice) and mute effects; consolidate and export a dry acapella 16-bar loop with sufficient headroom (-6 dB).
2. Export processed loop stem: solo the Drum Rack + returns you want and Export Audio/Video -> Selected Tracks -> Render as Loop of 16 bars.
3. Export FX stem: solo the returns (Delay/Reverb/Beat Repeat wet) and export 8–16 bar FX clips with long tails (enable "Create tails" or render longer to keep decays).
4. Label files with tempo and key if you know it (e.g. "RaggaToast_175bpm_Amin_Dry.wav").
Step 9 — Final mixing and mastering considerations
1. Add a Glue Compressor on the Drum Rack master chain if you need glue across slices.
2. Keep the exported DJ stems relatively dynamic; avoid heavy mastering so DJs can EQ and blend in their sets.
3. Test scenes in Session View by launching scenes and using Macro twists to ensure the DJ performance flow is intuitive.
4. Common Mistakes
5. Pro Tips
6. Mini Practice Exercise
Goal: Build a 2-bar performance loop and a 4-scene DJ structure in 30–45 minutes.
Steps:
1. Drag a ragga toast sample into Live, warp it, and slice to a new Drum Rack with Transient slicing.
2. Program a 2-bar MIDI phrase that emphasizes the off-beat (use 1/16 and 1/8 notes).
3. Create an Instrument Rack around the Drum Rack and map: Macro 1 = Low-pass cutoff, Macro 2 = Saturator Drive, Macro 3 = Delay send, Macro 4 = Beat Repeat on/off.
4. Duplicate the clip into 4 scenes: Intro (cutoff closed), Loop (open), FX Stutter (Beat Repeat Macro on), Outro (cutoff closed with reverb send up). Test scene launches.
5. Export one dry acapella loop and one processed 16-bar loop.
7. Recap
This lesson walked you through "Mollie Collins masterclass: slice the ragga toast in Ableton Live 12 with DJ-friendly structure" — from warping and slicing a ragga vocal into a Drum Rack, to building a mapped FX/performer rack, programming humanized MIDI patterns, provisioning Session View scenes for DJ performance, and exporting labeled stems for DJ use. Use Simpler/Sampler, Auto Filter, Saturator, Beat Repeat and sends for delay/reverb to keep everything in Live’s stock-device universe. Follow the common mistakes and pro tips to make confident, performable ragga-slice packs that translate cleanly into the DJ booth.

