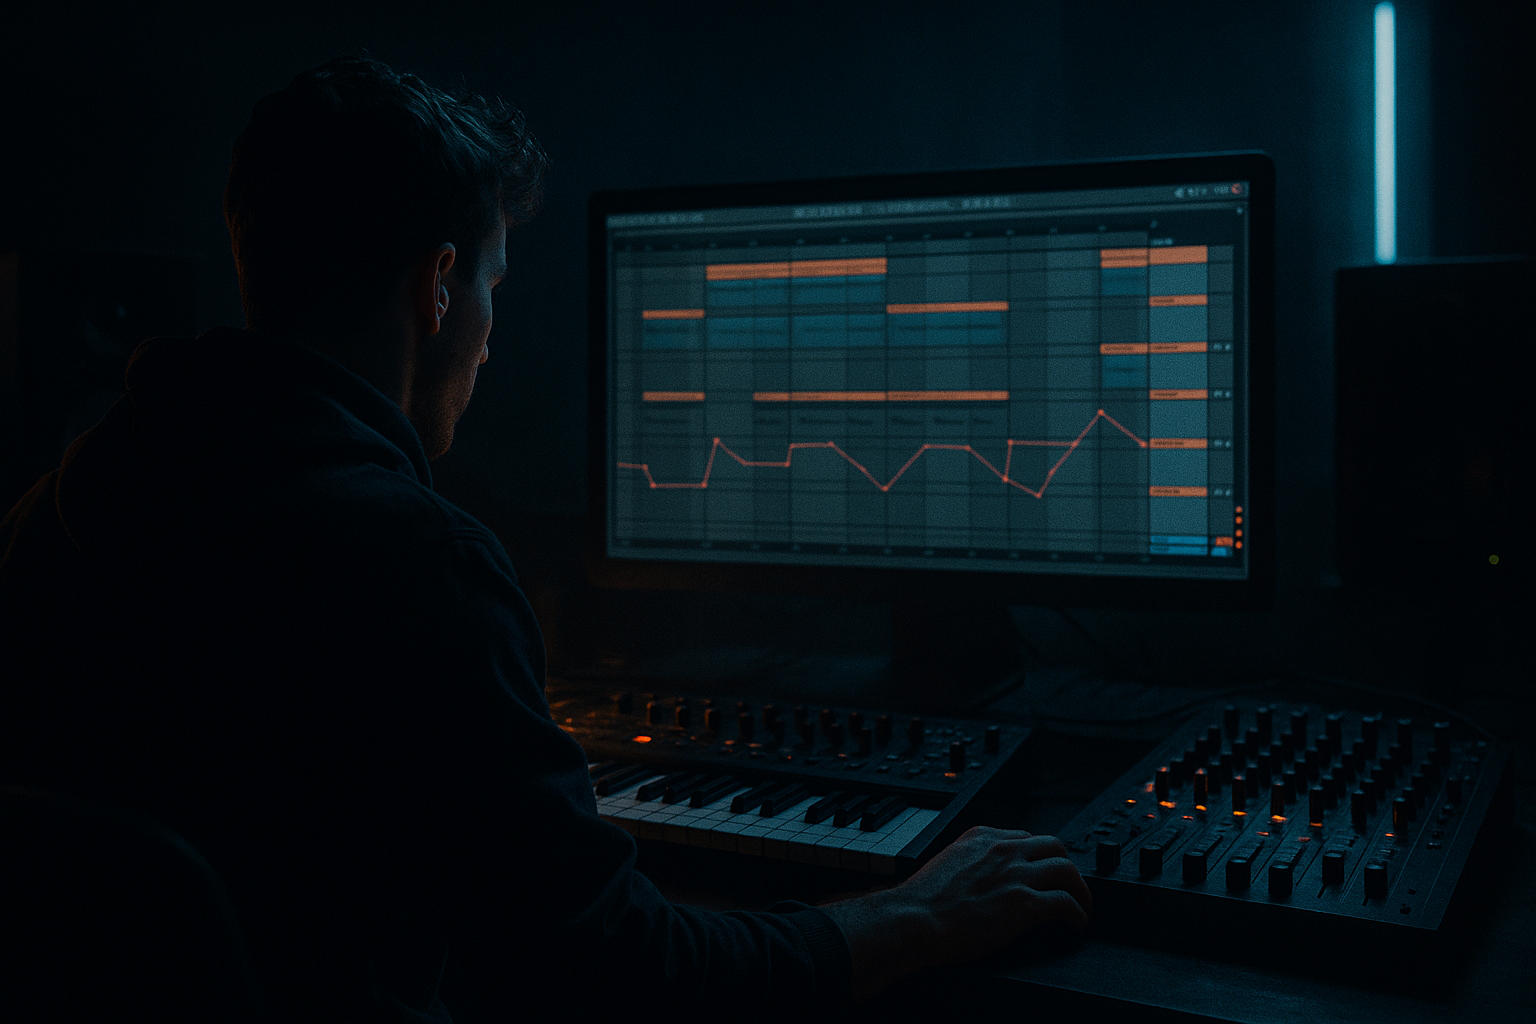
Main tutorial
Modulate Oldskool DnB Swing for Deep Jungle Atmosphere (Ableton Live 12) 🥁🌿
Skill level: Intermediate
Category: Automation (timing + feel modulation)
---
1. Lesson overview
Oldskool jungle swing isn’t just “add groove and done.” The deep atmosphere comes from controlled instability—tiny timing changes that evolve over 8–32 bars, pushing and pulling against a steady bassline and pads.
In this lesson you’ll learn how to modulate swing over time in Ableton Live 12 using Grooves, automation, Velocity, and micro-timing, while keeping your drums punchy and your roll consistent.
---
2. What you will build
A 2-step / oldskool break hybrid that morphs its groove across an arrangement:
- A steady core grid (kick/snare anchors don’t drift)
- A break layer that breathes (swing + timing movement evolves)
- Automation lanes controlling:
- A jungle-ready drum chain using stock Live 12 devices:
- Kick: 1.1.1, and optionally 1.3.1 (classic stepping feel)
- Snare: 1.2.1 and 1.4.1 (hard backbeat)
- Keep these straight (no groove)
- Timing: 55–70
- Random: 2–8
- Velocity: 10–25
- Base: 1/16
- Bars 1–2: 20–30% (tight intro)
- Bars 3–4: ramp to 45–55%
- Bars 5–6: dip to 35–40%
- Bars 7–8: push to 60–70% (pre-drop agitation)
- Start with +5 ms (late feel = heavier) or –5 ms (early = urgent)
- Automate it gently:
- Select only ghost snares and hat ticks
- Nudge them late by 5–15 ms
- Keep main snare slices locked close to the grid (or only slightly late)
- Drive: 10–25
- Random: 5–15
- Automate Drive up slightly in builds (adds “hands-on” energy)
- Return A: Jungle Verb
- Return B: Dark Echo
- Verses: Verb send low (–20 to –14 dB)
- Pre-drop: Verb send rises (–14 to –10 dB)
- Drop: pull it back slightly so drums stay forward
- LP cutoff sweeps between 8–16 kHz during transitions (subtle, not EDM obvious)
- Bars 1–8 (Intro): Break groove amount ~25–35%, more reverb, less hats
- Bars 9–16 (Roll-in): Groove rises to 45–55%, track delay slightly later
- Bars 17–24 (Drop 1): Groove stable 45–55%, reverb send reduced, hats brighter
- Bars 25–32 (Variation): Push groove to 60–70% on fills only (every 4 bars), add extra ghost hits
- Swinging the anchor snare: if your main snare moves, the whole track feels drunk. Keep anchor tight.
- Too much Random in the Groove Pool: Random is great in tiny doses; too high makes breaks sound “broken.”
- Over-compression on the drum bus: it flattens micro-timing and kills the “breath.”
- Late kick + late break + late bass: if everything drags, it loses drive. Offset only one layer at a time.
- Not checking against bass: heavy reese/sub needs stable timing; swing drums around it, not through it.
- Late break, tight sub: Keep bass notes grid-locked, let the break sit +3 to +8 ms late for weight.
- Ghost snare saturation: Put Saturator on the break only, and automate Drive slightly during fills for “ragey” tails.
- Band-limit the break for vibe: Use EQ Eight to LP around 10–14 kHz to get that aged, humid jungle tone.
- Use Utility for mono discipline: Keep lows mono on the DRUMS group (or at least kick region).
- Automate swing only on tops in the drop: If the drop needs punch, reduce swing on snare slices but keep hat swing alive.
- Keep kick/snare anchors tight; swing the break + tops for vibe.
- Use Groove Amount automation (or printed groove stages) to create evolving oldskool feel.
- Add subtle Track Delay and ghost-note micro-timing for deep jungle drag.
- Support the swing with velocity movement and space automation (reverb/echo).
- Don’t over-glue—micro-timing is part of the sound.
- Groove amount (via clip groove strength + resampling workflow)
- Hit timing (Track Delay / micro-shifts per layer)
- Velocity and ghost-note emphasis
- Drum Rack / Simpler
- EQ Eight
- Saturator
- Drum Buss
- Compressor / Glue Compressor
- Utility
- Auto Filter (for atmosphere movement)
---
3. Step-by-step walkthrough
Step 0 — Session setup (so swing feels right)
1. Set tempo: 165–172 BPM (try 170 BPM).
2. Set Global Quantization to 1 Bar (for clean launching) or 1/4 (for fast experiments).
3. Create groups:
- DRUMS (Group)
- `Kick+Snare (Anchor)`
- `Break Layer (Swing)`
- `Hats/Shakers (Top)`
- `BASS`
- `PADS/ATMOS`
Why: you’ll modulate swing mostly on Break + Tops, while Anchor stays tight.
---
Step 1 — Build an “anchor” 2-step that never lies 🎯
On Kick+Snare (Anchor), make a clean 1-bar pattern:
Device chain (Anchor track):
1. EQ Eight
- HP filter at 25–35 Hz (12 dB/Oct)
- Small cut if boxy: 250–400 Hz (–2 to –4 dB)
2. Drum Buss
- Drive: 3–8% (taste)
- Boom: 0–10% (careful in jungle—break already has low-mid)
3. Glue Compressor (optional)
- Ratio 2:1, Attack 10 ms, Release Auto, GR 1–2 dB
This anchor keeps your groove readable even when the break gets slippery.
---
Step 2 — Add a break layer that will carry the swing 🧨
Create a Break Layer (Swing) MIDI or audio track:
Option A: Audio break (classic)
1. Drop a break (Amen, Think, etc.) into Simpler → Slice mode.
2. Slice by: Transient
3. Convert to Drum Rack (right click) if you want per-slice control.
Option B: MIDI break kit
Use Drum Rack with break-style hits: snare ghosts, hat ticks, ride fragments.
Key rule: Keep the break layer slightly quieter than the anchor. Let it be “motion,” not the main snare.
---
Step 3 — Choose a groove (oldskool swing base) 🕺
1. Open the Groove Pool.
2. Load grooves like:
- MPC 16 Swing variants
- SP-1200 / Logic / Swing styles (whatever your library has)
- If unsure: start with 16 Swing 57–63 style territory
3. Drag the groove onto the Break Layer clip (not the anchor).
Groove settings starting point:
This gives you movement without instantly wrecking the pocket.
---
Step 4 — The core trick: “Modulated swing” using clip automation + printing 🎛️
Ableton doesn’t directly let you automate Groove Pool parameters globally in the simplest way across many clips—but you can automate per-clip Groove Amount and print variations to create evolving swing.
#### Method 1: Automate Groove Amount inside the clip (fast + musical)
1. Click your break MIDI clip (or audio clip if warped and grooved).
2. In the Clip View, locate Groove amount (the strength slider for that clip’s groove).
3. In Arrangement View, show automation for the clip:
- Choose the clip’s automation lane
- Find Clip → Groove Amount (or the clip’s groove strength parameter)
Automation idea (8 bars):
This creates an evolving “human push/pull” without changing the anchor.
#### Method 2: Print swing stages (best for consistency + resampling)
1. Duplicate your break clip into 4 versions (A/B/C/D).
2. Set groove amount per clip:
- A: 25%
- B: 40%
- C: 55%
- D: 70%
3. Commit (for MIDI): click Commit in Groove Pool (or “Commit Groove” if available in your version) so timing becomes actual note positions.
4. Arrange clips across a 16–32 bar phrase:
- 1–8 bars: A → B
- 9–16: B → C
- 17–24: C → B
- 25–32: C → D (energy lift)
This is the “oldskool editing” approach—reliable and super DnB.
---
Step 5 — Add micro-timing movement without wrecking the snare 🧩
Now we add subtle drift using Track Delay and/or micro nudges.
#### Track Delay (simple, effective)
On Break Layer, open the mixer (Session view) and find Track Delay.
- Verse: +3 to +7 ms
- Build: drift toward 0 ms
- Drop: lock around +2 ms
Important: Don’t automate huge values. Over ±12 ms gets sloppy fast at 170 BPM.
#### Micro-nudge only the ghosts (surgical jungle)
If your break is MIDI slices:
This creates that deep “dragging” jungle tail behind a solid backbeat.
---
Step 6 — Velocity automation: swing isn’t just timing 🎚️
To make swing feel atmospheric (not just shuffled), modulate dynamics.
On your Break Layer MIDI:
1. Increase ghost note variation:
- Ghost snares: velocity 20–55
- Hats: 30–80 with slight randomness
2. Automate intensity across sections:
- In the MIDI clip, automate Velocity (or use Velocity MIDI effect)
Velocity device (MIDI effect) starting point:
---
Step 7 — Atmosphere swing: filter + reverb sends that follow the groove 🌫️
Deep jungle atmosphere happens when the groove modulates the space too.
#### Create two return tracks:
- Hybrid Reverb
- Algorithmic / Plate or Hall
- Decay: 1.8–3.5 s
- Pre-delay: 15–30 ms
- EQ Eight after reverb
- HP at 200–350 Hz
- Dip harshness 3–6 kHz if needed
- Echo
- Time: 1/8 Dotted or 1/4
- Feedback: 20–35%
- Filter: HP around 250 Hz, LP 6–9 kHz
Now automate the break’s send levels:
Optional: automate Auto Filter on the break track:
---
Step 8 — Glue it like a record: parallel crunch + controlled transients 🔥
On your DRUMS group:
Chain example (stock):
1. Saturator
- Soft Clip: ON
- Drive: 2–6 dB
2. Drum Buss
- Drive: 2–5
- Transients: +5 to +15 (only if you didn’t already over-smack the break)
3. Compressor (not too much)
- Ratio 2:1, Attack 10–30 ms, Release Auto
- Aim 1–3 dB GR
If the swing starts to disappear, you’re over-gluing—back off compression first.
---
Step 9 — Arrangement idea: swing as narrative (32 bars) 📐
Use swing modulation as a storyline:
Pro move: only push max swing on fill bars (end of 8/16), not constantly.
---
4. Common mistakes ❌
---
5. Pro tips for darker/heavier DnB 🖤
---
6. Mini practice exercise 🎯
Goal: Make an 8-bar loop that “breathes” without losing impact.
1. Build a 2-step anchor (kick/snare straight).
2. Add a sliced Amen (or similar) as break layer.
3. Apply a groove (Timing ~60, Random 4, Velocity 15).
4. Automate break clip Groove Amount:
- Bar 1: 25%
- Bar 4: 55%
- Bar 8: 35%
5. Automate Track Delay on the break:
- Bar 1: +6 ms
- Bar 8: +2 ms
6. Add reverb send automation (rise into bar 4, pull back after).
Checkpoint: Mute the break. Anchor should still slam. Unmute the break. The loop should feel more alive, not messy.
---
7. Recap ✅
If you want, tell me whether you’re using audio breaks or MIDI drums, and I’ll tailor a specific groove/modulation template (including exact automation curves for a 32-bar arrangement).

