Main tutorial
Lesson Overview
A jungle air horn hit is one of those signature DnB weapons that can instantly signal attitude, tension, and scene identity. But in 2025, the challenge is not just making it sound hard — it’s making it move in a way that feels alive without burning CPU or turning into an overcooked FX chain.
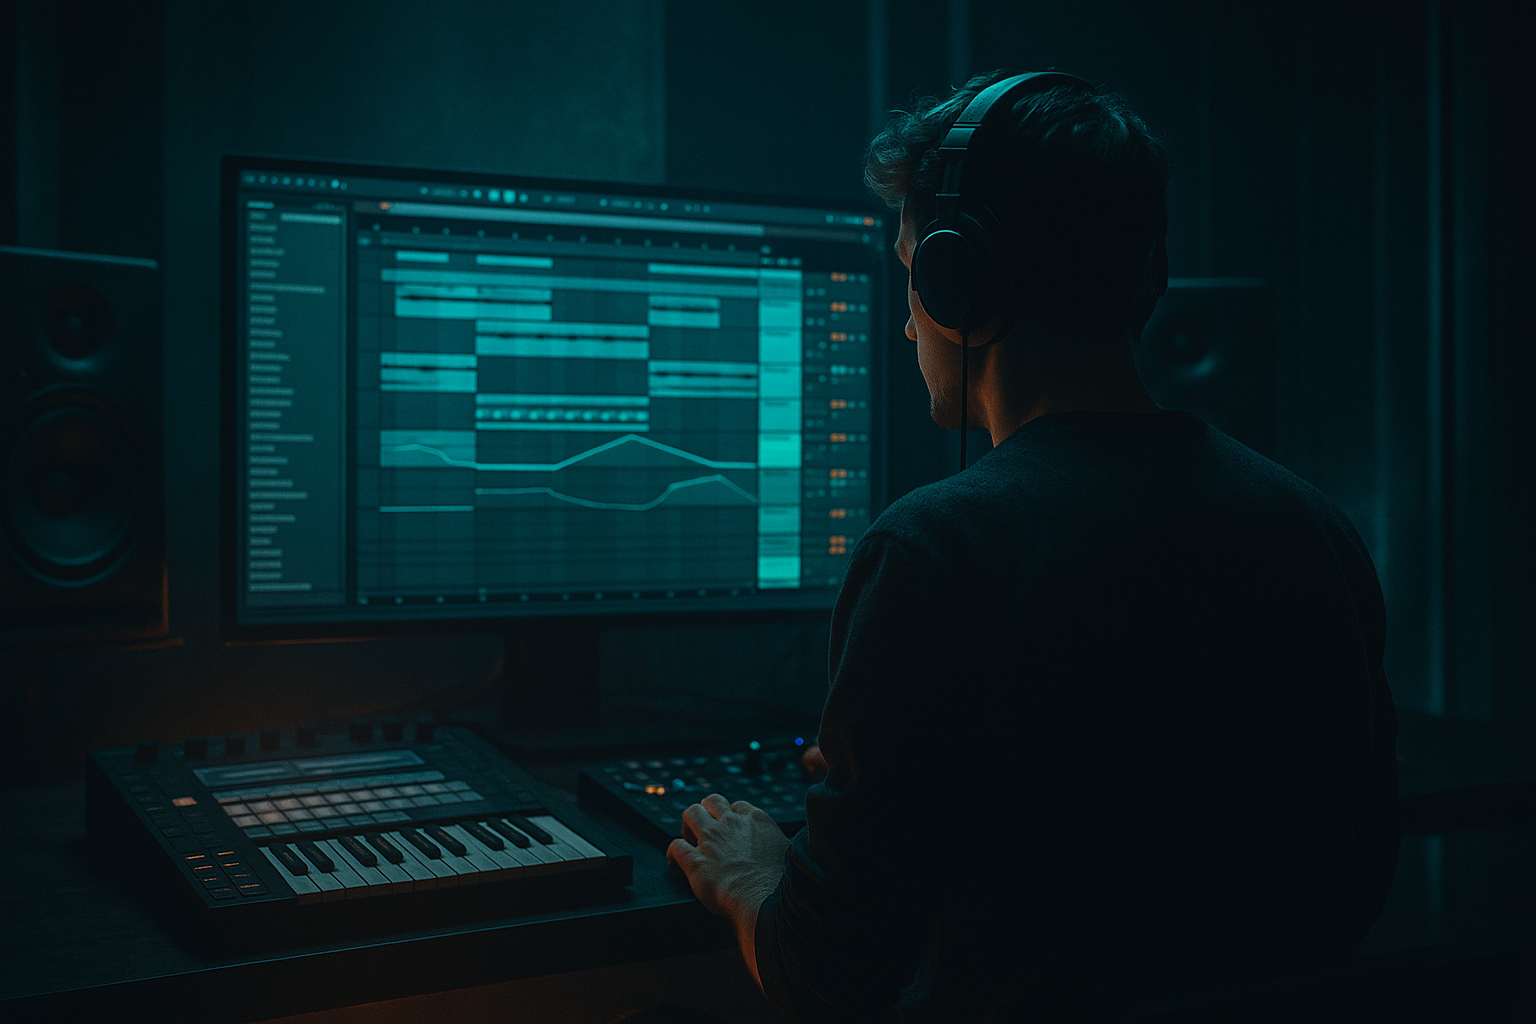
In this lesson, you’ll build a modulated air horn riser/hit hybrid in Ableton Live 12 using mostly stock devices, then shape it so it works as a riser into a drop, a mid-track callout, or a tension hit before a switch-up. The focus is on advanced, practical workflow: light on processing, heavy on impact. That means resampling smartly, using modulation where it matters, and avoiding CPU-hungry “always-on” complexity.
This matters in DnB because horns, alarms, and jungle-style stabs often need to cut through dense drum programming, reese bass movement, and heavy sub pressure. In rollers and darker jungle-inspired tracks, the horn can act like a short narrative event: a warning, a response, or a pressure release before the drop. The better you control it, the more it enhances the arrangement instead of fighting the mix.
Why this works in DnB: the genre thrives on contrast — tight drums vs. wide atmospheres, sub weight vs. upper-mid tension, and repeated groove vs. sudden impact. A modulated horn hit gives you a controllable burst of identity that can sit above break edits and bass automation without needing a huge synth patch running the whole time.
What You Will Build
You’re going to build a compact air horn riser/hit that behaves like a jungle rave signal with modern control:
- A short, punchy horn stab with a slightly dirty attack
- Pitch and filter movement that creates a rising tension moment
- A widened, energetic top layer that stays mono-safe in the low end
- A resampled audio clip you can drop into the arrangement with minimal CPU load
- A version that can be automated as:
- Making the horn too wide too early
- Overusing reverb
- Letting the low end of the horn fight the sub
- Using too much distortion before the movement is printed
- Relying on one static horn hit
- Ignoring the breakbeat context
- Use a band-pass flavor with Auto Filter if you want a more jungle/rave-authentic midrange shout that slices through breaks.
- Layer a very quiet noise burst from Operator or Wavetable at the attack only, then print it. This can add grit without a big CPU footprint.
- Put Drum Buss very lightly on the resampled audio for a more aggressive, broken-system character. Even 5–10% Drive can help.
- If the horn feels too clean, add a tiny amount of frequency focus with EQ Eight:
- For neuro-leaning tension, automate the horn so it “hunts” around the center:
- Use Echo on a send rather than an insert if multiple FX elements need to share the same space. That keeps CPU efficient and the mix cohesive.
- In heavier rollers, let the horn answer the snare: place it on the and of 4 or just after a fill so it feels like part of the drum conversation.
- If the mix gets harsh, darken the horn instead of turning it down. In DnB, a controlled upper-mid horn often reads louder than a bright, piercing one.
- Keep the source simple and let modulation do the work.
- Use Auto Filter, Saturator/Drum Buss, EQ Eight, and Utility for a CPU-light horn riser.
- Print the result to audio as soon as the sound is right.
- Make the horn serve the arrangement: tension, call-and-response, or drop setup.
- In DnB, the best horn hits are not just loud — they are controlled, rhythmic, and mix-aware.
- a one-shot pre-drop riser
- a 1-bar tension swell before a switch
- a call-and-response answer to drums or bass
Musically, think: intro horn tag → 1-bar rising build → clipped hit on bar 16 → immediate drum re-entry. Or in a roller: a horn stab on the last half of bar 8, echoed once, then stripped away so the kick and sub come back in clean.
Step-by-Step Walkthrough
1. Start with a light source instead of a heavy instrument
Keep CPU low by building the horn from a simple source rather than stacking layers or running a huge synth patch continuously.
In Ableton Live 12, create a MIDI track and load:
- Wavetable or Operator as your sound source
- If you want the fastest route, use a simple saw or square-based patch
Recommended starting point in Wavetable:
- Osc 1: Saw
- Osc 2: Off or very low level square
- Unison: 1–2 voices only
- Detune: very small, around 3–8%
- Polyphony: 1 note if you want a more authentic stab behavior
In Operator, a sine or saw-adjacent patch works well if you want the movement to come mainly from filtering and distortion rather than oscillator complexity.
Keep the source lean. The goal is not a giant supersaw — it’s a horn-like midrange event with enough harmonic content to respond well to modulation.
2. Shape the horn with an aggressive but controlled envelope
Air horns in DnB usually work best when they hit fast and decay in a way that feels percussive, not pad-like.
In the instrument:
- Attack: 0–5 ms
- Decay: 300–900 ms depending on whether you want a hit or a mini-riser
- Sustain: 0–15%
- Release: 40–120 ms
For a more authentic jungle sting, keep the amplitude envelope short and let the filter movement create the perceived “rise.”
If you’re using Wavetable:
- Use the Amp Envelope for punch
- Use a Filter Envelope with a moderate amount to open the tone quickly
- Filter type: Low-pass or Band-pass depending on brightness
Suggested filter settings:
- Frequency: start around 200 Hz to 800 Hz for the base tone, then automate upward
- Resonance: 15–35%
- Drive: 5–20% if available
Why this works in DnB: the envelope gives you the impact of a stab, while the filter movement creates tension without needing long reverb tails that muddy the drums.
3. Add pitch modulation for the riser motion, but keep it musical
The easiest CPU-light way to make the horn feel like it’s “climbing” is to modulate pitch subtly over time.
Use one of these approaches in Live:
- Clip envelope on MIDI pitch if your source supports it
- Pitch automation on the instrument parameter
- LFO in a stock device like Auto Filter or Shaper-like modulation via automation if you want movement through timbre instead of pitch
For a classic jungle build:
- Pitch rise: 2 to 7 semitones over 1/2 bar to 1 bar
- If using a stabbier hit, use a quick rise of 1–3 semitones in the first 100–250 ms
- For a more dramatic alarm feel, rise 7–12 semitones over 1 bar, but filter out harshness
Best practice:
- Keep the pitch movement subtle if the horn sits against busy breaks
- Use stronger pitch motion if the arrangement is sparse and the horn is featured
Try this practical move: duplicate the clip and make one version static, one version rising. That gives you arrangement contrast without extra device load.
4. Insert Auto Filter to create the “opening” motion
Auto Filter is your main movement tool here and is much lighter than building complex modulation chains.
Add Auto Filter after the instrument:
- Filter type: Low-pass 12 or 24 dB
- Cutoff: start low, around 500 Hz to 1.5 kHz
- Resonance: 10–25%
- Drive: 3–10%
Automate the cutoff upward over the duration of the riser:
- Short hit: 500 Hz → 3 kHz
- 1-bar build: 800 Hz → 8–10 kHz
- For a dirtier jungle result, stop just before the top end becomes icy
If you want motion without over-automation, use the filter’s built-in envelope follower or LFO sparingly:
- LFO amount: 5–20%
- Rate: slow and synced, or free-run for less obvious movement
- Phase can stay default if the movement is meant to feel organic
Concrete starting point:
- Low-pass 24
- Cutoff at 1.2 kHz
- Resonance at 18%
- Drive at 6%
This gives the horn enough tone-shaping to feel like it’s evolving while still staying manageable in the mix.
5. Add controlled grit with Saturator or Drum Buss
Air horns in DnB often need edge to hold their own next to clipped drums and distorted reese bass. But overdoing distortion can flatten the movement and spike harshness.
Use Saturator for precise harmonic control:
- Drive: 2–7 dB
- Soft Clip: On
- Output: trim to match level
Or use Drum Buss if you want a more aggressive, genre-friendly grime:
- Drive: 5–20%
- Crunch: 5–15%
- Boom: usually off or very low for this use case
- Transients: slightly up if you want the horn to snap harder
Practical advice:
- Put saturation after Auto Filter if you want the filter sweep to feed into distortion
- Put saturation before Auto Filter if you want the filter to tame the harmonics after they’re created
For darker DnB, a good move is:
- Filter open
- Saturation moderate
- Then a second filter tightening the very top end
This makes the horn sound intentional rather than fizzing out.
6. Use Utility and EQ Eight to keep the mix clean and mono-safe
Since this is a riser/hit, you want it loud enough to grab attention but not so wide and bright that it smears the drop.
Add EQ Eight:
- High-pass: 150–300 Hz to clear low-end clutter
- If needed, cut 2.5–5 kHz by 2–5 dB if the horn gets painful
- Gentle shelf boost around 6–10 kHz only if the source needs air
Add Utility:
- Width: 80–120% depending on how much stereo space you want
- Bass Mono: if there’s any low content, keep it centered or just remove it with EQ
- Gain: trim to fit the arrangement
Advanced note:
- If your horn has a stereo widening effect from modulation or chorus, check it in mono
- DnB drops rely on a disciplined center image for kick/sub balance, so this horn should not destabilize the low end
A useful EQ move:
- High-pass at 220 Hz
- Dynamic feel is created with automation, not low-frequency content
- If it needs more cut-through, a narrow boost around 1.5–3 kHz can help, but only if the drums leave room
7. Resample the result to save CPU and commit the sound
Once the horn movement feels right, resample it. This is the key move for keeping CPU low in Ableton Live 12.
Create a new audio track:
- Set input to Resampling
- Arm the track and record your horn performance
- Capture one-shot hits and a few longer rises
After recording:
- Consolidate the best clips
- Warp only if necessary
- Slice the cleanest hit into a drum rack if you want variations later
Why this matters:
- The CPU-heavy instrument and automation chain no longer has to run throughout the whole arrangement
- You gain audio-level control for fades, reverse tails, and arrangement placement
- You can print multiple versions: dry, saturated, filtered, and wider
Advanced workflow:
- Keep a “design” group track for the live patch
- Keep a “print” lane for recorded horn variations
- Mute the live patch after printing to save resources
8. Build arrangement utility: hit, echo, and drop handoff
The horn works best when it does something structural, not just ornamental.
Try one of these DnB arrangement roles:
- Pre-drop riser: 1-bar horn sweep into a full drum re-entry
- Call-and-response: horn at the end of bar 4, bass answers on bar 1
- Switch-up marker: horn hit before the second phrase when breaks thin out
- DJ intro tag: very short horn stab every 8 or 16 bars in the intro
Ableton stock devices to enhance this:
- Echo for a single, tempo-locked repeat
- Reverb with short decay for space without washing out the drums
- Utility automation to reduce width before the drop, then widen after the hit if desired
Strong arrangement example:
- Bars 13–14: break + filtered bass
- Bar 15 beat 4: rising horn begins
- Bar 16 beat 1: horn hits, drums cut hard for a split moment
- Bar 16 beat 2: full drum and sub return
This works in DnB because the ear locks onto a short, dramatic signal before the groove reasserts itself. That tension/release cycle is exactly what makes the drop feel bigger.
9. Automate the final accents instead of adding more devices
Advanced, CPU-smart sound design often comes from automation rather than extra processing.
Automate:
- Auto Filter cutoff
- Saturator drive
- Utility width
- Reverb dry/wet
- Clip gain for the final hit
Good automation ideas:
- Slight volume rise of 1–3 dB during the last half of the riser
- Quick cutoff snap open just before the impact
- Small decay increase on the final version only
- Short mute gap before the drop to create a “vacuum” effect
For darker tracks, automate the horn to become less polite:
- Narrow the filter during the first half
- Overdrive the middle
- Open the top only at the very end
- Then cut it off sharply so the drums land harder
Keep the automation expressive, not busy. One or two decisive moves usually beat five tiny ones.
Common Mistakes
- Fix: keep width controlled until the final 1/4 or 1/2 bar. Use Utility and mono-check the return.
- Fix: use short, dark reverb or a small Echo repeat. In DnB, tails that are too long blur the drop entrance.
- Fix: high-pass at 150–300 Hz with EQ Eight. Air horns do not need bass content.
- Fix: distort moderately, print the result, then refine with EQ. Too much live processing can become brittle and CPU-heavy.
- Fix: create at least three printed variations: short hit, rising hit, and echo hit. DnB arrangement needs contrast.
- Fix: audition the horn against your drums. A horn that sounds huge solo may vanish or mask the snare in a dense 174 BPM arrangement.
Pro Tips for Darker / Heavier DnB
- slight dip around 400–700 Hz
- small boost around 2 kHz if needed
- tiny pitch drift
- slight filter flutter
- then hard-stop it before the drop
Mini Practice Exercise
Spend 10–20 minutes making three printed horn variations for one 8-bar DnB loop.
1. Build the base horn patch with Wavetable or Operator.
2. Create three MIDI clips:
- Clip A: short hit, no rise
- Clip B: 1-bar pitch/filter rise
- Clip C: hit with Echo tail
3. Print each clip to audio using Resampling.
4. Use EQ Eight on each print:
- high-pass 180–250 Hz
- tame any harsh peak around 3–5 kHz if needed
5. Arrange the three prints across 8 bars:
- A on bar 1
- B on bar 5
- C on bar 8 leading into a drop
6. Compare which one creates the strongest tension without cluttering the breakbeat or bassline.
Goal: finish with a small horn toolkit you can reuse in future rollers, jungle rebuilds, and dark halftime-to-DnB transitions.

