Main tutorial
Lesson Overview
In this lesson, you’ll learn how to modulate a top loop in Ableton Live 12 so it feels more alive, more musical, and more like a real oldskool jungle / DnB record instead of a static loop. In DnB, the top loop is often the glue between the kick, snare, bassline, and atmosphere. If it’s flat, the whole drop can feel stiff. If it moves too much, it can fight the drums. The goal is the sweet spot: small, controlled movement that adds energy, grime, and swing.
This technique fits anywhere you need motion:
- in a breakdown to build tension,
- in the drop to keep the groove evolving,
- or in a switch-up to make the same loop feel fresh every 8 or 16 bars.
- starts dry and tight,
- gradually opens up with filter movement,
- gets a little darker or brighter over time,
- uses subtle pitch or warp changes for oldskool character,
- and has optional reverb/delay throws for transitions.
- Auto Filter
- Utility
- Simple Delay
- Reverb
- Redux or Saturator
- Envelope Follower or LFO if you want extra movement
- Clip Envelopes and Automation Lanes
- Making the loop too busy
- Using too much reverb on fast patterns
- Widening the loop too much
- Automating everything at once
- Over-distorting a bright sample
- Forgetting the arrangement
- Leaving low junk in a top loop
- Darken the loop with automation, not just EQ
- Use short, controlled delay throws
- Pair the loop with ghost percussion
- Resample through Saturator
- Keep the bass and top loop separated
- Automate tension in the build, not the drop
- Try a half-time feel in the top layer
- Make one version for a dark roller
- Make one version for an oldskool jungle switch-up
- clean the loop first,
- automate filter movement,
- add subtle pitch or warp variation,
- use short delay/reverb throws,
- control width carefully,
- and resample when the movement feels right.
Why it matters in DnB: jungle and oldskool records were built on variation, edits, and restless movement. Even when the core break stays the same, producers often changed filtering, pitch, reverb size, stereo width, or tape-style wobble to keep the loop breathing. Modern Ableton Live gives you fast stock-device workflows to do this cleanly and repeatably 🎛️
---
What You Will Build
By the end of this lesson, you’ll have a two- to four-bar top loop that:
The result should sound like a busy jungle hat-and-shaker layer or a crispy chopped break top that evolves across a section without losing the main drum punch.
You’ll learn how to create movement using stock Ableton tools like:
The final vibe: a top loop that feels like it’s breathing with the track, not just looping on repeat.
---
Step-by-Step Walkthrough
1. Choose a top loop that already has rhythm
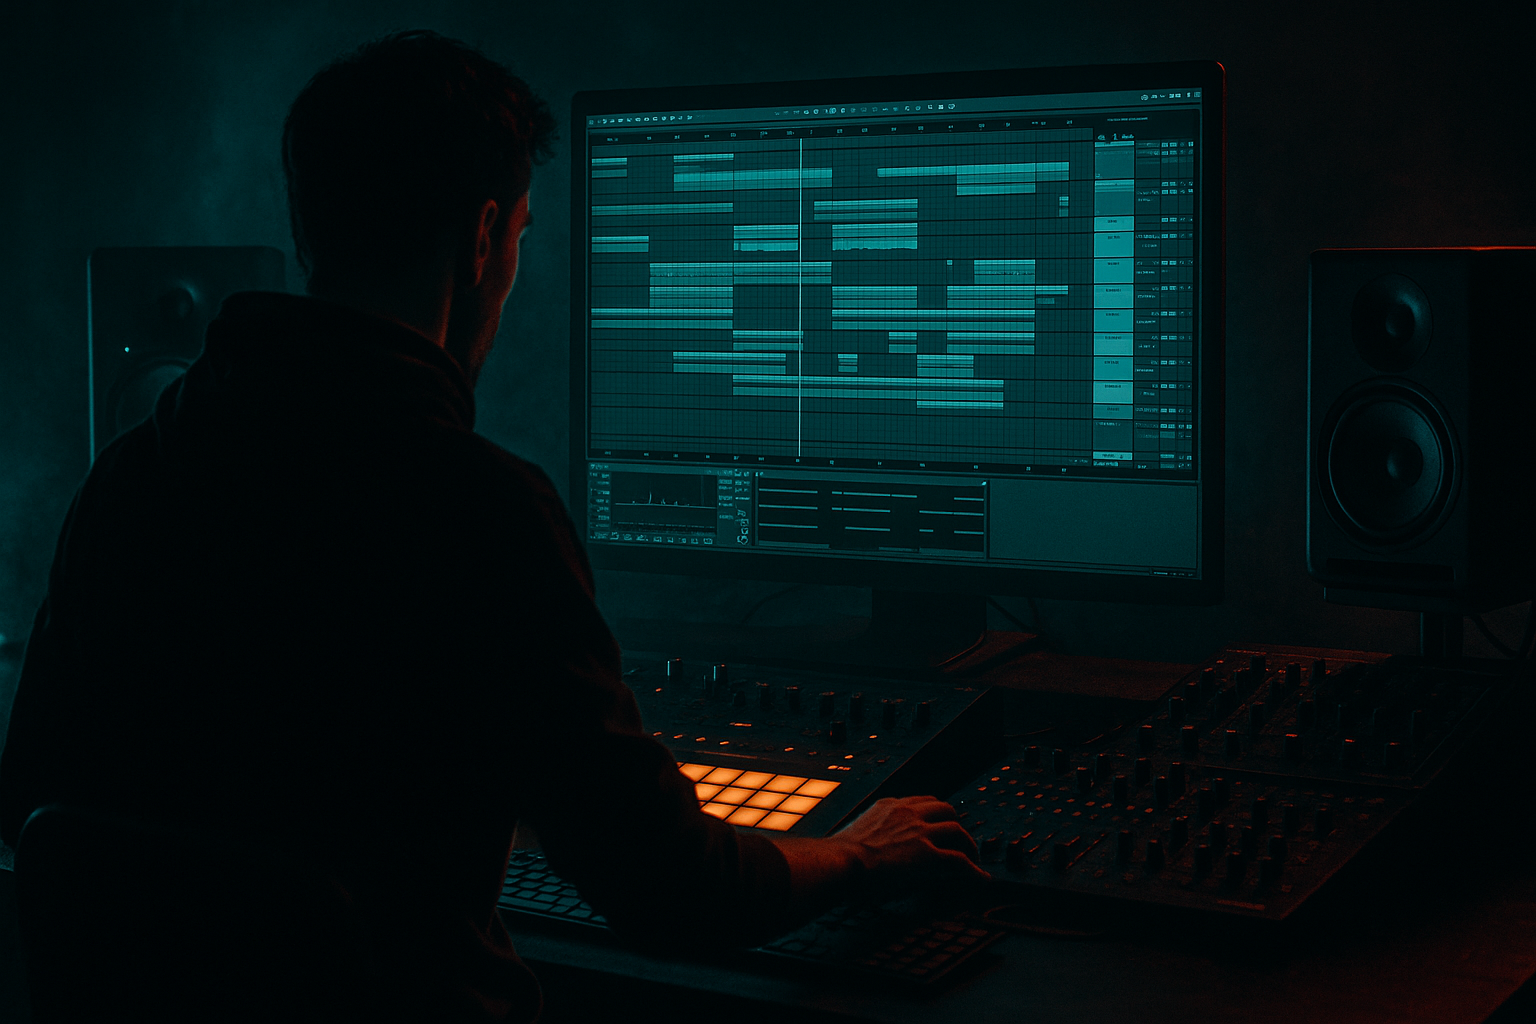
Start with a loop that has clear high-frequency percussion: hats, rides, shakers, break tops, or chopped amen-style top fragments. In Ableton Live 12, drag the sample into an audio track and make sure warp is on.
Beginner-friendly tip:
- If the loop is too busy, use only the top half of it with an EQ or choose a cleaner slice.
- If it’s too dull, try a brighter loop rather than over-processing a muddy one.
Set the clip to the right tempo:
- For oldskool/jungle feel, try 160–175 BPM
- For rollers, 172–174 BPM is a classic sweet spot
Why this works in DnB: top loops need to lock into fast tempos without smearing the kick/snare. A loop with a strong rhythmic identity gives your modulation something musical to push against.
2. Clean the loop before you modulate it
Before adding movement, make the loop behave. Insert EQ Eight first and do a simple cleanup:
- High-pass around 120–250 Hz to remove low junk
- If it’s harsh, dip a narrow area around 6–9 kHz by 2–4 dB
- If it’s too thin, don’t boost too much yet — build movement first
Then add Utility:
- Start with the width at 100%
- If the loop sounds too wide and messy, reduce to 80–90%
- Keep the low end of the loop out of the way; this is a top layer, not a full drum bus
This is important in DnB because the kick, snare, and sub need room. A top loop should add energy without stealing punch or stereo focus from the center.
3. Add gentle filter movement with Auto Filter
Drop Auto Filter after EQ Eight and Utility. This is the main movement tool for the lesson.
Start with:
- Filter type: Low-pass
- Frequency around 8–12 kHz to begin
- Resonance: 10–20% for a little edge, not a whistle
- Drive: small amount if needed, around 1–3 dB
Now automate the filter cutoff over 8 or 16 bars:
- In the first half, slowly close it a little for tension
- In the second half, open it up for release
- For an oldskool lift, go from about 6 kHz to 14 kHz
- For a darker jungle passage, move from 10 kHz down to 4–6 kHz
Use a simple arrangement idea:
- Bars 1–4: filter slightly closed
- Bars 5–8: open gradually
- Bars 9–12: quick dip for a switch-up
- Bars 13–16: open fully into the drop or next phrase
Why this works in DnB: the ear reads filter movement as energy change. At high tempos, tiny automation curves can make a loop feel alive without needing extra notes.
4. Create oldskool wobble with subtle warp or pitch movement
If your loop has a more sample-based jungle vibe, try tiny pitch or warp changes. This is where it starts to feel more “record-like.”
In the clip view:
- Try Warp On
- If the loop is percussive, test Beats mode
- If it’s a looser sample, Complex or Complex Pro can work, but keep changes subtle
Easy movement ideas:
- Automate the clip’s Transpose by +1 to +3 semitones for a short phrase, then back
- Or automate Detune very slightly if the sample supports it
- You can also automate Warp Marker feel by adjusting the clip timing a little for a looser jungle swing
Keep it small. In DnB, too much pitch shift can sound cheesy fast. But a tiny lift before a drop or a slight drop into a breakdown can create the classic tape-worn jungle feel.
Practical parameter range:
- Pitch automation: ±1 to ±3 semitones
- Avoid bigger moves unless it’s obviously a special effect
5. Add rhythmic motion with Simple Delay or Echo-style throws
For beginner workflow, Simple Delay is a fast way to give the loop a ghost trail. Put it after Auto Filter.
Start with:
- Sync on
- Left: 1/8
- Right: 1/8D or 1/16
- Feedback: 10–25%
- Dry/Wet: 5–15%
Use automation only on specific moments:
- the last hit of a 4-bar phrase
- the bar before the drop
- a fill before a snare switch
If you want cleaner control, place the delay on a Return track and send the loop to it only when needed. That’s a more “mix-ready” workflow because the main loop stays stable.
Why this works in DnB: short, rhythmic delay throws add perceived complexity without needing a denser break. They also help transition between drum patterns and build anticipation.
6. Add grit with Saturator or Redux, but keep it controlled
Jungle and darker DnB often benefit from a bit of dirt. Add Saturator or Redux after your movement tools.
With Saturator:
- Try Soft Clip on
- Drive: 2–6 dB
- Output: trim so the level stays balanced
- If needed, use Color slightly to warm it up
With Redux:
- Reduce bit depth or sample rate only a little
- Keep it subtle: enough to roughen the top loop, not destroy it
- Use it on a send or automate it on specific fills if you want more control
Beginner workflow advice:
- Don’t stack too many gritty devices at once
- A little saturation usually works better than heavy distortion on a loop that’s already bright
This gives you that slightly compressed, worn, sampler-like edge that fits oldskool jungle and darker rollers.
7. Use clip envelopes to make the loop evolve inside one phrase
This is where workflow matters. Instead of drawing tons of track automation, use Clip Envelopes inside the audio clip for small changes.
Great first envelope targets:
- Filter Frequency
- Sample Volume
- Transpose
- Send Amount to reverb or delay
A simple 4-bar shape:
- Bar 1: dry and centered
- Bar 2: slightly darker
- Bar 3: a small brightness lift
- Bar 4: short delay throw or reverb swell
Keep the changes subtle:
- Volume changes: 1–3 dB
- Filter changes: modest, not dramatic
- Reverb send: tiny boost only at phrase ends
This is a strong beginner workflow because it keeps all the movement attached to the clip, so your arrangement stays organized and easy to recall later.
8. Shape the stereo image with Utility and automation
A top loop can feel wider as tension rises, then narrower when the drop hits. Use Utility to automate width.
Suggested moves:
- Start around 80–100% width
- Open to 110–130% for an atmospheric section
- Pull back to 70–90% when the drums need focus
Be careful: if the loop is very bright, too much width can make cymbals feel splashy or phasey. Test in mono occasionally.
For arrangement context:
- In a 16-bar intro, keep the loop narrower and filtered
- In the 8 bars before the drop, widen and brighten it
- At the drop, reduce width slightly so the kick/snare and bassline hit harder
Why this works in DnB: width is part of tension/release. Wider top loops often feel more exciting, but controlled narrowing helps the main drum impact feel bigger.
9. Automate a “last bar” transition for arrangement impact
One of the best DnB workflows is to give the last bar of a phrase a noticeable change. You don’t need a giant effect — just enough to signal the next section.
Good last-bar ideas:
- Filter opens quickly in the final 1/2 bar
- Short delay throw on the final hit
- Reverb send jumps briefly, then cuts
- Temporary pitch rise of +1 semitone
- Utility width opens for the final bar, then resets
If you’re building a jungle drop:
- Use this moment to create a call-and-response with the snare or bass
- Let the top loop answer the drum fill, not fight it
Keep your automation curves clean and repeatable. This is a big workflow win because you can duplicate that same phrase logic across the track.
10. Resample the modulated loop if you want easier control
Once the loop is moving well, record it to a new audio track or resample it. This turns your modulation into a new clip you can chop, reverse, or rearrange.
In Ableton:
- Create a new audio track
- Set input to Resampling or route from the top-loop track
- Record 4–8 bars of the movement
Then you can:
- slice the resampled loop into parts
- reverse one hit for a fill
- duplicate the best bars
- build a variation for the second drop
This is especially useful in jungle because so much of the style comes from editing the result, not just leaving one loop untouched.
---
Common Mistakes
- Fix: keep the modulation subtle and let the drums and bass carry the track.
- Fix: use short decay times and low send amounts. Fast DnB reveals muddy tails instantly.
- Fix: keep the loop mostly centered and test in mono. Width should support, not blur.
- Fix: choose one main movement source first, usually filter, then add one extra effect if needed.
- Fix: use gentle saturation before heavy crunch. Harsh highs become tiring very quickly in DnB.
- Fix: make sure the loop changes at phrase boundaries, especially every 4, 8, or 16 bars.
- Fix: high-pass it properly so it doesn’t cloud the kick and sub.
---
Pro Tips for Darker / Heavier DnB
- A slow low-pass closing movement can create pressure before the drop.
- A tiny echo on the last hit can sound more sinister than a huge wash.
- Add one extra shaker or hat layer very quietly to make the modulated loop feel more alive.
- Resampling a loop after gentle saturation can give it a more “printed to tape” feel.
- If the bassline is already active, reduce top-loop brightness a touch so the mix stays focused.
- In darker DnB, the drop often works best when the loop becomes a little simpler and drier right before impact.
- Even if the drums are fast, a top loop that breathes more slowly can make the drop feel heavier.
---
Mini Practice Exercise
Spend 10–20 minutes making a 4-bar top loop variation in Ableton Live.
1. Import one jungle or DnB top loop.
2. Add EQ Eight, Auto Filter, and Utility.
3. High-pass it and lightly tame any harsh highs.
4. Draw one automation shape:
- start slightly filtered,
- open the filter by the end of the phrase.
5. Add a tiny delay throw on the last hit only.
6. Use Utility width to make bar 4 feel slightly wider.
7. If it sounds too clean, add a little Saturator drive.
8. Resample the result and listen back in context with kick, snare, and bass.
Challenge:
Compare which one feels more energetic and which one leaves more space for the bass.
---
Recap
To modulate a top loop for jungle oldskool DnB, focus on small but deliberate movement:
The key takeaway: in DnB, a top loop should support the groove, create tension, and evolve with the arrangement — not just repeat. If you keep your changes musical, restrained, and phrase-based, your loop will instantly feel more authentic, heavier, and more finished 🔥

