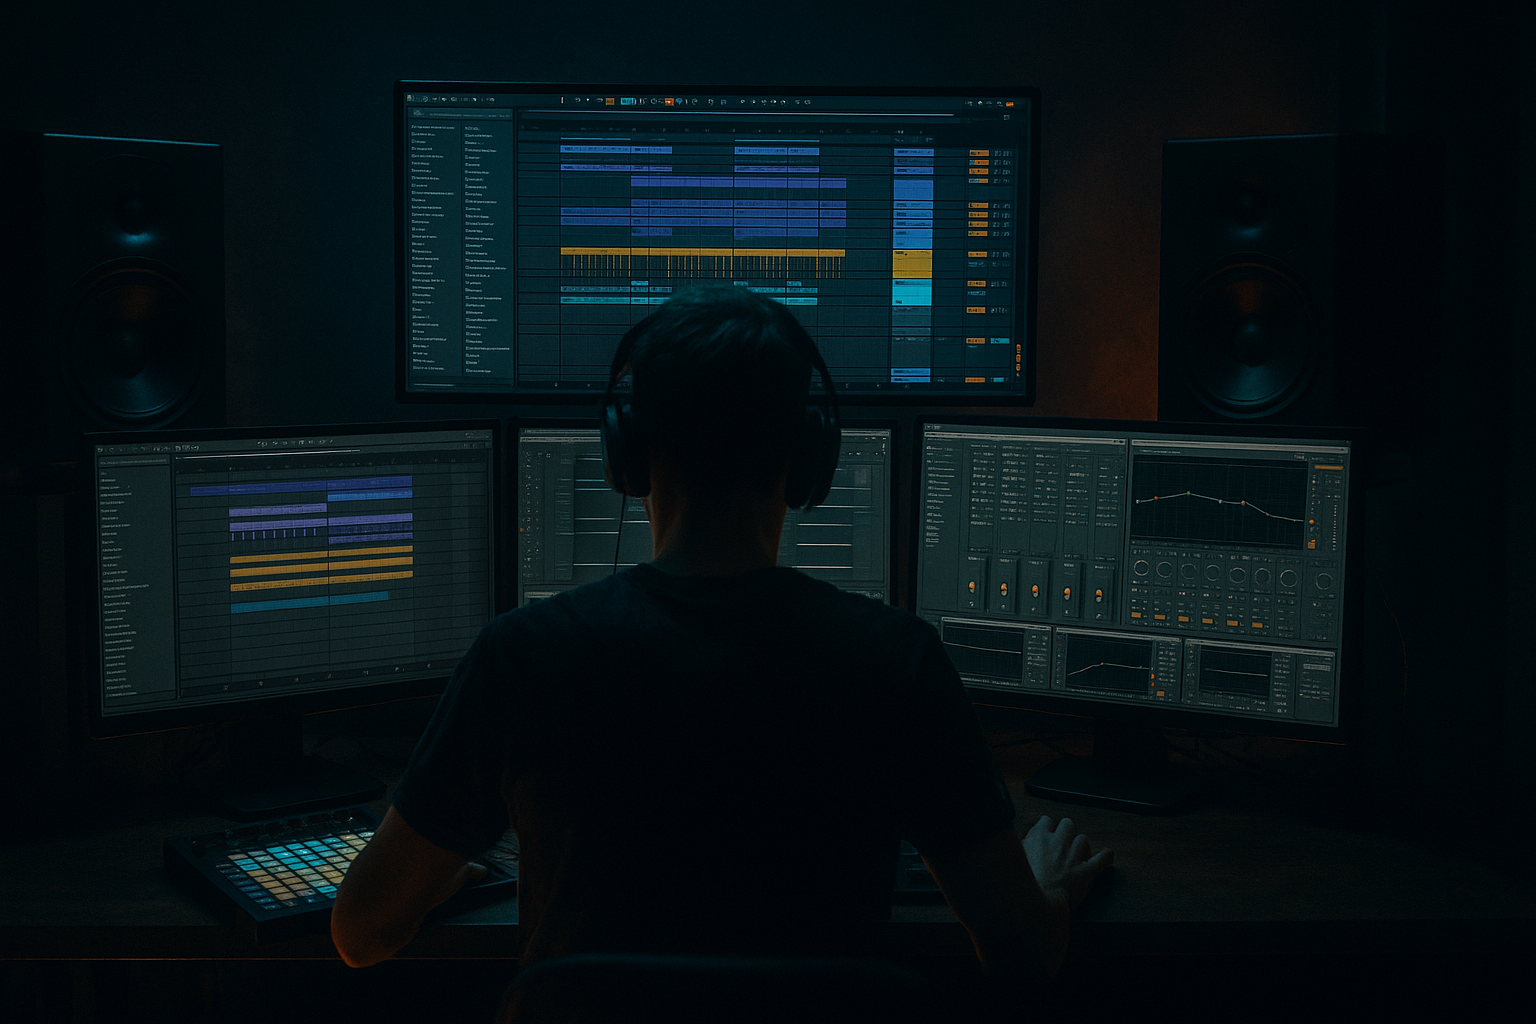
Main tutorial
Mix Bus Restraint for Oldskool Vibes (DnB/Jungle) — Ableton Live 12 Stock Only 🎛️
1. Lesson overview
Oldskool jungle/DnB records often feel big without feeling over-processed. A lot of that vibe comes from restraint on the mix bus: minimal processing, gentle glue, controlled lows, and leaving transient life intact.
In this lesson you’ll build a simple, reliable mix bus chain using Ableton Live 12 stock devices + stock packs and set up a workflow that keeps your track punchy, rolling, and “90s-ish” without sounding weak.
---
2. What you will build
You’ll create:
- A clean mix architecture (Drums / Bass / Music / FX / Vocals groups)
- A light mix bus chain with:
- A gain staging method that makes your mix bus behave like old hardware: it works best when you don’t slam it.
- Load a break from a stock pack (e.g., a classic break-style loop from Ableton’s Packs if available in your library).
- Put it on an audio track: BREAK
- Warp mode: Beats
- Add Drum Buss (on BREAK track):
- Use a Drum Rack with a tight kick + snare one-shot (909-ish or jungle-ish works).
- Keep these quiet. You’re supporting the break, not replacing it.
- Basic levels:
- Create two tracks:
- DRUMS Utility: set so DRUMS group peaks around -8 to -6 dBFS
- BASS Utility: peaks around -10 to -7 dBFS (bass looks loud—don’t chase meter panic)
- MUSIC/FX Utility: keep these lower; leave space for drums/bass
- Gain: 0 dB initially
- Use it later to trim into the chain if needed.
- Why first? It lets you adjust how hard you hit the whole chain without changing your mix balance.
- HP filter: 24 dB/oct at 20–30 Hz (move up only if you must)
- Low shelf (optional): -0.5 to -1.5 dB at 80–120 Hz if your sub is excessive
- Harsh control (optional bell): -0.5 to -2 dB at 3–6 kHz if snares/hats are poking
- Air (optional): +0.5 to +1 dB high shelf at 10–12 kHz if too dark
- Avoid more than 2–3 dB moves on the master.
- If you need more, fix it in the groups.
- Attack: 10 ms (lets drum transients through)
- Release: Auto (usually musical)
- Ratio: 2:1
- Threshold: adjust for 1–2 dB gain reduction on the drop
- Makeup: Off (do manual gain with Utility if needed)
- Soft Clip: On (very handy, but don’t rely on it)
- Type: Soft Sine or Analog Clip
- Drive: 1–3 dB
- Output: reduce to match (level-match!)
- Soft Clip: On (optional)
- Color: Off at first (enable if you want a slightly brighter edge)
- Ceiling: -1.0 dB
- Lookahead: 1 ms
- Release: Auto
- Gain: add until you see 1–3 dB reduction on the loudest hits
- slightly less sub than you think
- more mid “thwack” in the snare (180–250 Hz zone)
- busy high-end, but not harsh
- Bars 1–4: break + sub only (let groove breathe)
- Bars 5–8: introduce reese mid + hats
- Bars 9–12: add a stab/pad call-and-response
- Bars 13–16: add fills + small FX, but not extra low-end layers
- 1-bar break edits
- tiny reverse cymbals
- snare ghost notes
- short dub-delay throws (on FX sends)
- Oldskool DnB vibe comes from balance + transient life, not heavy master processing.
- Keep the master chain simple: tiny EQ, gentle glue, optional light saturation, conservative limiting.
- Gain staging is everything: aim for a calm master input (-10 to -6 dB peaks pre-chain).
- Make energy through arrangement variation, break edits, and sends—not endless layers.
- For heavier/darker DnB, push character on groups and keep the mix bus restrained.
- subtle corrective EQ
- gentle glue compression
- soft saturation (optional)
- conservative limiting for demo loudness
Target vibe: break-led, rolling sub, crisp hats, roomy snare, energetic but not “modern brickwalled.”
---
3. Step-by-step walkthrough
Step 0 — Session setup (so the mix bus stays calm)
Goal: make your mix bus processing work a little, not a lot.
1. Set project sample rate: 48 kHz is fine; 44.1 kHz also fine if you want a more classic workflow.
2. Turn off Normalize (if you’re importing samples):
- Preferences → Record/Warp/Launch → Auto-Warp Long Samples: Off (optional but recommended for breaks)
3. Create groups:
- DRUMS (breaks, tops, one-shots)
- BASS (sub + reese)
- MUSIC (pads, stabs)
- FX (risers, impacts)
4. Rough gain staging (important):
- Aim for Master peak around -10 to -6 dBFS during the loudest section before any master processing.
- If your master is peaking at -2 dB already, your mix bus chain will start fighting you.
DnB arrangement reminder: build your loudest 8–16 bars early (drop section) and mix into that.
---
Step 1 — Build a classic DnB foundation (quick, stock packs)
If you already have a loop, skip this. If not, here’s a quick “from scratch” sketch using Live stock content:
Break layer (oldskool core):
- Preserve: Transient
- Envelope: ~20–40%
- Drive: 2–6
- Crunch: 0–10%
- Boom: Off (keep subs clean; let bass handle it)
- Transients: +5 to +15 (if the break needs bite)
Clean kick/snare support (modern control, oldskool feel):
- Break provides ~70% of drum character
- One-shots provide ~30% “translation” on small speakers
Bass (rolling):
1) SUB (Operator)
- Sine wave
- Add slight saturation later, not here
2) REESE/MID (Wavetable or Operator)
- Simple detuned saw/square
- Low cut so it doesn’t fight SUB
Group SUB + REESE into BASS.
---
Step 2 — Set up pre-master “gain control” (your secret weapon)
Before touching the master chain, add a Utility at the end of each group:
This gives you one knob per group to keep your mix bus stable.
---
Step 3 — The restrained Mix Bus Chain (Ableton stock)
Put this chain on the Master, in this order:
#### 1) Utility (first) — headroom trim
#### 2) EQ Eight — tiny corrections only 🎯
Oldskool vibe comes from not over-EQing the master. Think “tiny nudges.”
Suggested starting points:
Rules:
#### 3) Glue Compressor — gentle glue, not “pump” 🧠
Classic DnB needs punch and forward drums; don’t flatten the transients.
Starting settings:
If your break loses snap, slow the attack or lower GR.
#### 4) Saturator — optional “tape-ish” cohesion 🔥
Use this sparingly. Oldskool isn’t “distorted master,” it’s “slightly warmed.”
Settings:
If hats get fizzy, back off Drive or put saturation on DRUMS group instead.
#### 5) Limiter — demo loudness, not mastering 🚦
Oldskool vibe dies when you over-limit. Use it to catch peaks.
Settings:
If you’re consistently hitting 5–8 dB reduction, your mix needs leveling, not more limiting.
---
Step 4 — Use reference behavior, not reference “loudness”
Pick 1–2 jungle/DnB references (break-heavy, not overly modern).
Workflow:
1. Drop reference onto an audio track.
2. Add Utility on the reference track and pull it down until it feels similar loudness to your mix (don’t chase LUFS).
3. Compare:
- Kick/snare relationship
- Bass weight vs. break brightness
- Amount of room/ambience around snares
Oldskool often has:
---
Step 5 — Arrangement choices that help the master stay restrained
Mix bus restraint starts in the arrangement. For rolling DnB, try:
Drop structure (16 bars):
Classic jungle trick:
Instead of adding more “stuff” for energy, add variation:
This keeps the master from getting congested.
---
4. Common mistakes (and how to fix them)
1. Mixing into a limiter too early
- Fix: keep limiter gain low until your balance is solid. Use it only to catch peaks.
2. Over-gluing the master
- If Glue Compressor is doing 4–6 dB GR, your drums will lose snap.
- Fix: back off threshold, try slower attack, or compress DRUMS group lightly instead.
3. Over-EQing the master
- Fix: do corrective EQ on problem sources (break track, hats, bass) not on the full mix.
4. Too much sub below 35 Hz
- Fix: HP filter at 20–30 Hz on master, and manage sub notes in bass sound design/arrangement.
5. Stacking layers that fight
- Especially: break kick + layered kick + sub transient.
- Fix: pick who owns the transient. Often the break does, and the kick layer just supports.
---
5. Pro tips for darker/heavier DnB 🖤
1. Do “weight” on the DRUMS group, not the master
- Try Drum Buss on DRUMS group:
- Drive 2–5, Crunch 5–15%, Transients +5–10
- Then keep the master calmer.
2. Controlled darkness = less 10–14 kHz hype, more 200–600 Hz intent
- Dark/heavy doesn’t mean dull. It often means:
- less brittle top
- stronger low-mids (but not muddy)
3. Sidechain the SUB to the break kick (subtle)
- Use Compressor on SUB:
- Sidechain from BREAK or KICK
- Ratio 2:1
- Attack 5–15 ms
- Release 60–120 ms
- Aim 1–3 dB GR
- This increases perceived loudness without smashing the master.
4. Use return tracks like an old desk
- Return A: Echo (dub delay)
- 1/8 or 1/4, low-pass to 3–6 kHz, subtle feedback
- Return B: Reverb (short room)
- Decay 0.6–1.2s, low-cut 200–400 Hz
- This gives width/space without master widening tricks.
5. If you want “tape squeeze,” do it on groups
- Put Saturator or Roar (if available stock) on DRUMS or MUSIC—keep master subtle.
---
6. Mini practice exercise (20–30 minutes) 🧪
Goal: achieve oldskool punch and glue with no more than 2 dB GR on the master compressor.
1. Build an 8-bar loop:
- break + kick/snare support
- sub bass + mid bass
- 1 stab or pad
2. Set raw levels until Master peaks around -8 dBFS.
3. Add the master chain:
- EQ Eight (HP @ 25 Hz)
- Glue Compressor (2:1, 10 ms, Auto, 1–2 dB GR)
- Limiter (ceiling -1 dB, 1–3 dB reduction max)
4. Bounce a quick export.
5. Now do one improvement without touching the master chain:
- fix harsh hats on DRUMS group
- tighten sub notes
- reduce muddy music
6. Export again and compare which version feels more “record-like.”
---
7. Recap ✅
If you want, tell me your subgenre (96–99 jungle, techstep, liquid rollers, modern foghorn-y but oldskool drums, etc.) and your typical BPM, and I’ll tailor a specific master chain + drum/bass group chains to match that lane.

