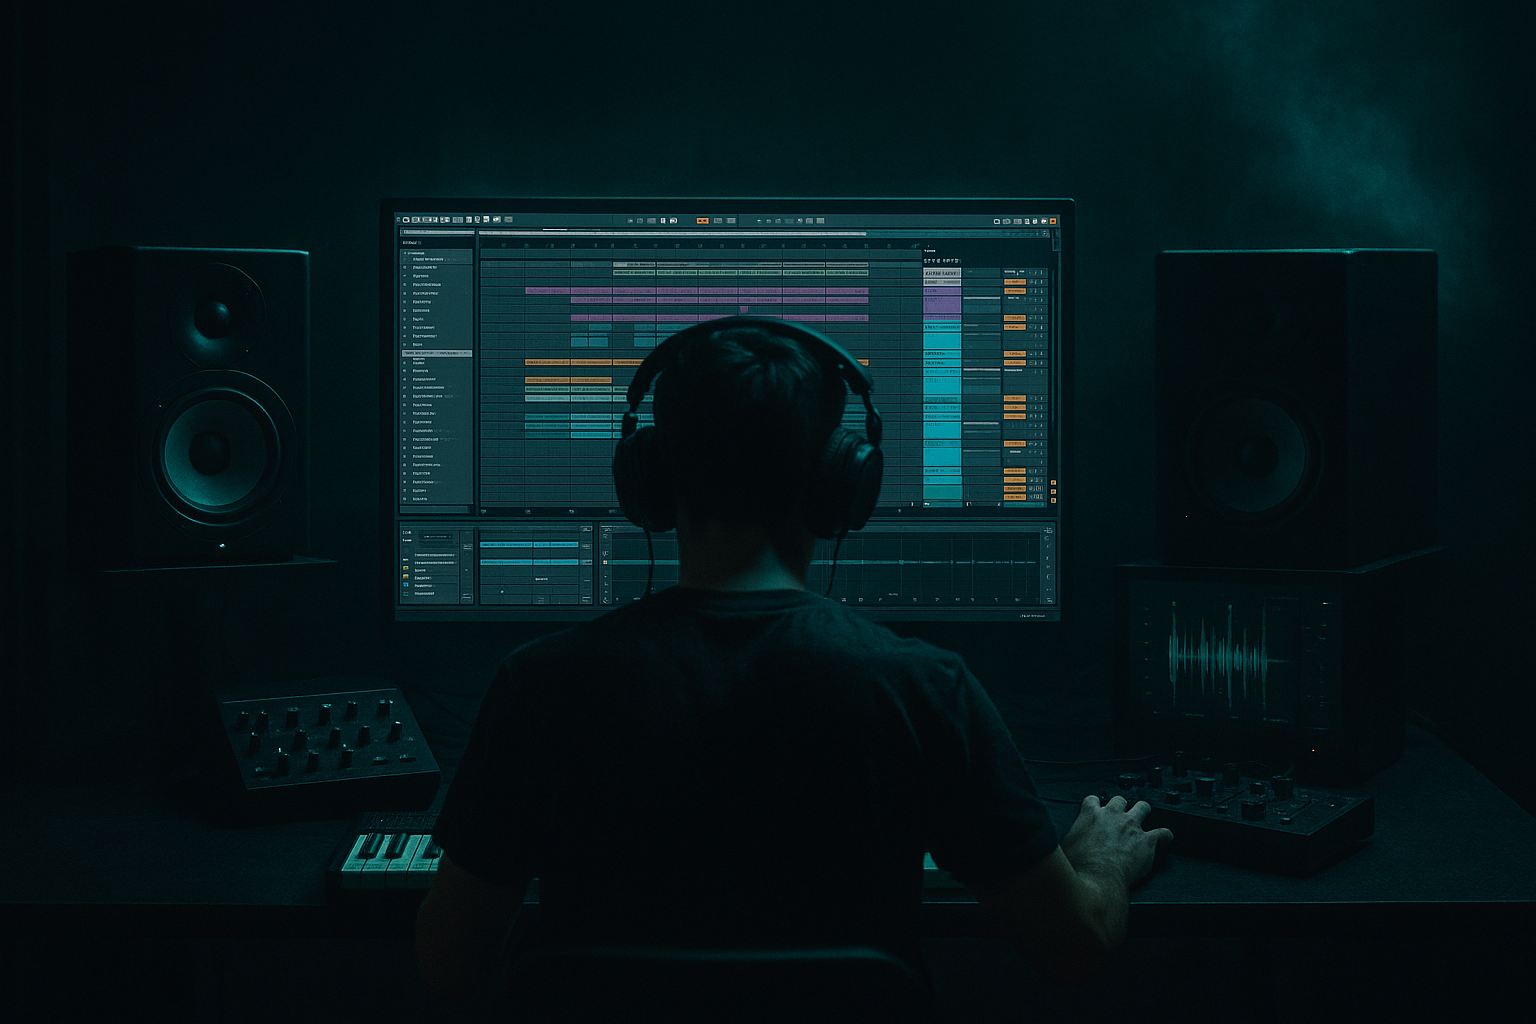
Main tutorial
Midnight Amen Shuffle Clean Guide with Chopped-Vinyl Character in Ableton Live 12 🎛️🥁
1. Lesson overview
In this lesson, you’re going to build a clean midnight-style amen shuffle in Ableton Live 12 that still feels gritty, chopped, and vinyl-influenced—perfect for drum and bass, jungle, and rolling bass music.
The goal is not to make a pristine breakbeat that sounds sterile.
The goal is to make a tight, punchy, DJ-tool-ready amen with:
- clean transient control
- swing and shuffle
- chopped-vinyl attitude
- believable old-school energy
- modern mix clarity
- chop an amen into playable slices
- clean up muddy break audio
- create shuffle without making it sloppy
- add vinyl-style character without destroying punch
- arrange it like a useful DJ tool for mixdowns and transitions
- tempo: 170–174 BPM
- feel: swung, slightly loose, but controlled
- texture: chopped vinyl character, subtle dust, old sampler vibe
- structure: 1–2 bar loop with variation
- use case: intro tool, breakdown bed, transition loop, or layered under bass
- reese bass
- deep sub lines
- distorted neuro layers
- atmospheres and pads
- dubwise FX and delayed stabs
- High-pass around 30–40 Hz to remove unnecessary rumble
- Dip a little around 250–400 Hz if the break sounds boxy
- Small shelf boost around 6–8 kHz if you want more snap
- Drive: 5–15%
- Crunch: very subtle, 1–5
- Boom: usually low or off for a clean amen tool
- Damp: adjust to control harshness
- Soft Clip: On
- Drive: 2–4 dB
- Output: compensate level so you don’t fool yourself with loudness
- a strong kick/snare backbone
- ghosted hat/snare movement
- a little push-pull around the grid
- kick on 1
- snare on 2 and 4
- ghost notes around the back half of the bar
- rolling hats to keep forward motion
- leave the main snare hits firm
- offset ghost notes slightly late
- use 1/16 and occasional 1/32 variations
- avoid making every hit the same velocity
- Timing: 15–30%
- Velocity: 10–25%
- Random: very light, around 0–5%
- Base: usually leave at 1/16 unless the feel demands otherwise
- swing only the ghost hats
- keep main snares tighter
- let percussion breathe more than the backbeat
- sampled record fragments
- slightly worn edges
- old-school sampler bite
- a touch of instability
- Sample Rate: reduce subtly, not to extreme lo-fi
- Bit Reduction: mild, around 10–14 bits
- Mix: 5–20%
- Tracing Model: very light
- Drive: low to medium
- Crackle: subtle
- Wear: enough to add movement, not constant noise
- Mode: Noise or Sine
- Amount: very small
- Frequency: high-mid range if you want crispy dust on top
- Use a very gentle filter automation to mimic a sampled record feel
- Low-pass a little on breakdown bars, then open it up
- Track 1 = clean core break
- Track 2 = vinyl texture layer
- high-pass around 150–250 Hz
- add Vinyl Distortion or Redux
- turn the volume down so it’s felt more than heard
- the downbeat starts exactly on the grid
- the loop length is correct and seamless
- no clicks at slice points
- ghost notes don’t drift too far
- Warp markers
- Clip gain
- Fades
- Consolidate
- Crop Sample if needed
- nudge it slightly earlier or later by a few milliseconds
- don’t always quantize to 100%
- keep some human slippage, especially on hats and ghosts
- shorten overly long hits
- trim tails that clutter the shuffle
- keep kicks punchy, snares sharp, hats tight
- Aim for a light 2–4 dB gain reduction
- Slow attack if you want transient bite
- Medium release for bounce
- Attack: 10–30 ms
- Release: Auto or 0.1–0.3 s
- Soft Clip: On if you want extra density
- shakers
- rim clicks
- tiny percussion hits
- vinyl noise bursts
- reversed ghost chops
- a filtered top loop
- a one-shot shaker pattern
- tiny reverse snare textures
- high-pass everything below 200 Hz
- pan small percussion slightly
- lower their volume until they support rather than distract
- Bar 1–2: stripped intro
- Bar 3–4: full break enters
- Bar 5–6: add variation or extra ghost notes
- Bar 7–8: filter down or remove kick for blend-out
- reverse cymbal into bar 1
- a filtered snare fill in bar 4 or 8
- one-bar drum drop before the loop repeats
- automation of filter cutoff for tension
- Auto Filter for build/drop motion
- Echo for dubby tail-outs
- Reverb very lightly on selective hits
- Utility for width control and mono checking
- high-pass more aggressively if needed
- let the sub own the low end
- keep the kick punchy but not overly boomy
- one clean
- one distorted
- filter cutoff
- saturation drive
- vinyl crackle amount
- reverb send on only certain hits
- light Chorus-Ensemble
- tiny pitch modulation through resampling
- very subtle Frequency Shifter on a texture layer only
- Version A: cleaner and more DJ-friendly
- Version B: dirtier, more chopped, more underground
- start with a clean amen source
- slice carefully and keep the groove alive
- use swing subtly and musically
- add vinyl-style texture in layers, not destruction
- shape the loop so it works as a practical DJ tool
- arrange it with transitions and mixability in mind
- punch
- personality
- mix-ready clarity
- a step-by-step Ableton rack recipe
- a MIDI grid pattern example
- or a full DnB drum rack chain with exact device order and settings 🎚️
We’ll use Ableton stock devices and a workflow that works well for mid-tempo drum programming, breakdowns, intros, and transition tools in DnB sets and productions.
You’ll learn how to:
---
2. What you will build
By the end of this lesson, you’ll have a loop that sounds like a dark, late-night amen tool:
It should sit well under:
---
3. Step-by-step walkthrough
Step 1: Set the project up for DnB
1. Open Ableton Live 12.
2. Set tempo to 172 BPM as a good starting point.
3. Create a new Audio Track and drag in an amen break sample.
4. If the sample is not already at the right tempo, use:
- Warp = On
- Warp mode = Beats
- Preserve = Transients
- Segment BPM adjusted so the break locks to the grid
#### Practical tip:
For breaks, don’t always over-warp everything tightly. A tiny bit of looseness can help preserve the natural groove. You want the break to feel alive, not machine-flat.
---
Step 2: Clean the source before chopping
Before you start slicing, do basic cleanup.
#### Add this stock device chain:
1. EQ Eight
2. Drum Buss
3. Saturator
4. Optional: Gate
#### Suggested starting settings:
EQ Eight
Drum Buss
Saturator
Gate
Use only if there’s too much room noise, vinyl hiss, or bleed between hits.
#### Important:
Keep the break dynamic. You are cleaning it, not sterilizing it.
---
Step 3: Chop the amen into slices
This is where the character starts.
#### Method A: Slice to new MIDI track
1. Right-click the break clip.
2. Choose Slice to New MIDI Track.
3. Slice by:
- Transient
- or 1/8 note if you want a more deliberate chopped pattern
For a clean amen shuffle, I recommend Transient slicing first, then you arrange the pattern manually.
#### Method B: Manual warping and editing
If you prefer more control:
1. Duplicate the audio clip.
2. Turn on Warp Markers.
3. Cut and move hits directly in Arrangement View.
4. Use fades to avoid clicks.
---
Step 4: Build the core shuffle pattern
Now create the rhythm in MIDI or audio arrangement.
A classic midnight shuffle usually has:
#### Basic DnB amen structure to aim for:
#### In MIDI, think like this:
---
Step 5: Add swing with Groove Pool
This is the secret to making it feel like a midnight shuffle instead of a straight loop.
#### Use Ableton’s Groove Pool:
1. Open Groove Pool.
2. Try grooves like:
- MPC 16 Swing
- MPC 16 Swing 55–60
- TR-808 Swing variants if they feel right
3. Drag the groove onto your MIDI or sliced clip.
#### Suggested groove settings:
#### Pro workflow:
Don’t apply full swing to the entire break at once.
Try:
That gives the shuffle a more intentional DnB pocket.
---
Step 6: Create chopped-vinyl character
This is the part that gives the loop its identity.
You want the feel of:
#### Stock devices to use:
Redux
Vinyl Distortion
Erosion
Auto Filter
#### Chopped-vinyl texture trick:
Duplicate the break track:
On the texture layer:
This gives you grime without losing punch.
---
Step 7: Tighten the groove with audio editing
For DJ-tool use, the loop has to be tight enough to mix cleanly.
#### Things to check:
#### Helpful Ableton tools:
#### Practical trick:
If a slice feels late or messy:
---
Step 8: Shape the transient envelope
This is crucial for a clean amen tool.
If you’re using Simpler or a sliced drum rack:
#### Suggested device chain on the drum rack:
1. Drum Buss
2. EQ Eight
3. Compressor or Glue Compressor
4. Optional Saturator
#### Compressor suggestions:
#### Glue Compressor:
---
Step 9: Add shuffle layers and micro-percussion
A clean amen often gets better with a very subtle supporting layer.
Add:
#### Arrangement idea:
Use a second audio track with:
#### Keep them in the high end:
This is how you get that rolling midnight motion.
---
Step 10: Make it usable as a DJ tool
A DJ tool should have clean sections for mixing and transitions.
#### Arrange it like this:
#### Useful transition ideas:
#### Ableton stock devices to help:
---
4. Common mistakes
1. Over-quantizing everything
If every slice is perfectly on-grid, the groove dies.
Leave ghost notes and hats a little loose.
2. Too much vinyl crackle
Vinyl texture should support the vibe, not mask the break.
3. Making the break too muddy
Watch the low-mids. Breaks often pile up around 200–500 Hz.
4. Crushing the transients
Too much compression, saturation, or bit reduction will flatten the amen.
5. Swinging the whole loop too hard
If the backbeat drags too much, the DnB drive disappears.
6. Ignoring loop boundaries
If your chopped loop clicks or misaligns at the bar line, it won’t work as a DJ tool.
---
5. Pro tips for darker/heavier DnB
Tip 1: Layer with sub-control in mind
If the amen sits under a heavy bassline, keep the break’s low end tidy:
Tip 2: Use parallel grit
Create a duplicate track:
Blend the distorted one under the main break for weight without losing clarity.
Tip 3: Automate texture, not just volume
For darker DnB, automate:
This creates movement without clutter.
Tip 4: Use resampling for character
Bounce your chopped loop to audio, then re-import it.
This helps lock in the groove and gives you a more “sampled” feel.
Tip 5: Keep the snare front and center
In DnB, the snare is often the anchor.
Even if you get experimental, make sure the main snare still lands with authority.
Tip 6: Add subtle tape-like instability
Try:
Keep it restrained for a heavier, darker mood 😈
---
6. Mini practice exercise
Exercise: Build a 2-bar midnight amen tool
#### Your task:
Create a 2-bar loop at 174 BPM using one amen break and one texture layer.
#### Requirements:
1. Main break must include:
- 2 main snares
- at least 4 ghost hits
- one fill or variation in bar 2
2. Add one texture layer with:
- high-pass above 200 Hz
- subtle vinyl-style processing
3. Apply Groove Pool swing only to:
- ghost notes
- hats
- percussion
4. Finish with:
- EQ cleanup
- light compression
- subtle saturation
#### Stretch goal:
Make two versions:
Then compare which one works better under a bassline.
---
7. Recap
You’ve now got the workflow for making a midnight amen shuffle with chopped-vinyl character in Ableton Live 12:
The big takeaway:
clean doesn’t have to mean sterile, and dirty doesn’t have to mean messy.
In drum and bass, the best break tools have:
If you want, I can also turn this into:

