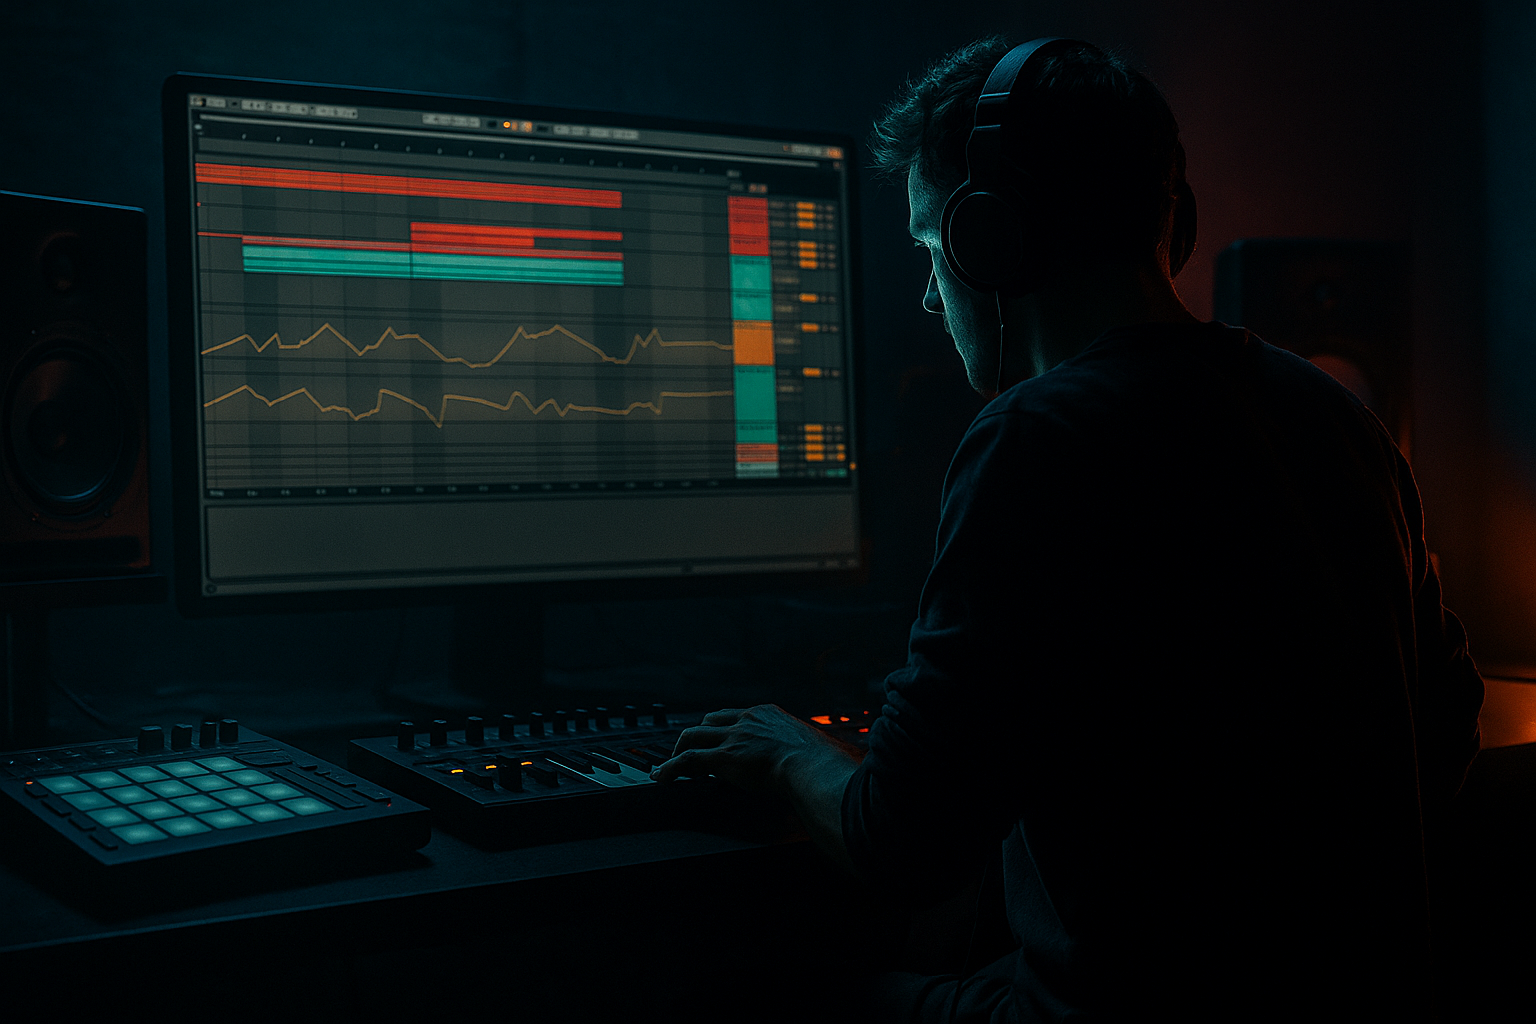
Main tutorial
Midnight Amen Masterclass: Bassline Color in Ableton Live 12
1. Lesson overview
In this lesson, you’ll learn how to turn a plain sampled bass idea into a dark, rolling, “Midnight Amen” style drum and bass bassline in Ableton Live 12. We’re focusing on sampling, but with a modern DnB workflow: chopping, tuning, layering, filtering, saturating, and arranging the bass so it has color — meaning movement, texture, and character, not just low-end weight.
This is perfect for beginner DnB producers who want to move beyond a simple sub and make basslines that feel:
- moody
- gritty
- alive
- properly mixed with drums and atmospheres
- a sample-based bass instrument in Simpler
- a sub layer that stays clean and mono
- a mid-bass layer with color using distortion, filtering, and movement
- a basic call-and-response bass phrase
- a dark DnB arrangement loop with drums, bass, and atmosphere
- a short synth bass stab
- a rewound bass hit
- a resampled Reese
- a vocal-ish bass burst
- a subby synth note with harmonic content
- short
- not too clicky
- has some upper harmonics
- strong in the 80–300 Hz region
- Transpose so the sample sits in key with your track
- Root key if needed
- Voices: 1 for tight bass hits, or a few voices if you want overlap
- Add EQ Eight
- High-pass gently at around 25–30 Hz to remove sub-rumble
- Cut any muddy buildup around 200–400 Hz if needed
- If the sample is harsh, slightly reduce the 2–5 kHz range
- the sub layer
- the mid layer
- or both, if you split it later
- Use a clean sine-based or very simple bass
- Keep it mono
- Keep it below about 120 Hz
- Avoid heavy distortion
- Operator with a sine wave
- or Wavetable/Analog with a pure sine-like tone
- Oscillator: sine
- Filter: open or removed
- Sustain: full
- Mono: on
- Glide: subtle, if desired
- Simpler
- EQ Eight
- Saturator
- Overdrive or Drum Buss
- Auto Filter
- optional Corpus or Redux for extra grime
- edge
- movement
- growl
- attack
- stereo interest above the sub range
- Filter Type: Low-pass
- Cutoff: around 120–250 Hz for a darker sound, or higher if you want more bite
- Resonance: low to moderate
- Attack: 0–5 ms
- Decay: short
- Sustain: low or zero for plucky hits
- Release: short, around 20–80 ms
- turn on LFO in Simpler
- modulate the filter slightly
- keep the movement subtle for dark DnB, not wobble-step chaos
- Use a narrow cut if there’s a boxy area around 250–500 Hz
- Slight boost around 800 Hz–2 kHz if the bass needs more note definition
- Avoid overboosting the high end unless you want more aggression
- Turn on Soft Clip
- Increase Drive until the bass gets harmonics but doesn’t explode
- Keep the output level controlled
- Drive: +3 to +8 dB
- Color: optional, subtle
- Soft Clip: on
- Filter Type: Low-pass or band-pass
- LFO: on if you want slow motion
- Frequency: automate between darker and brighter moments
- Envelope: can make each note breathe slightly
- low-pass closed in the verse
- slightly open on fills or response notes
- Use Drive for extra edge
- Use Crunch sparingly for harmonic grit
- Don’t overdo Transients unless the bass needs more attack
- Drive: 10–20%
- Crunch: low
- Boom: usually off on mid-bass layers
- Set Bass Mono if necessary
- Narrow the bass width for better club translation
- Keep sub completely mono
- leave space for the snare on beat 2 and 4
- answer the kick
- avoid overcrowding the groove
- note on 1
- short note on the “and” after 1
- note just before beat 2
- small tail after the snare hit
- repeat with variation
- add a pickup into bar 3 if looping
- short notes for groove
- occasional longer notes for weight
- rests to let the drums speak
- process
- resample
- re-chop
- rearrange
- vinyl crackle
- field recording
- rain
- tape hiss
- atmospheric pad
- Auto Filter cutoff
- Saturator drive
- Simpler filter
- reverb send on select notes
- stereo width on upper mid layer only
- atmospheric texture
- filtered drums or break
- no full bass yet
- full drum break
- sub layer enters
- mid-bass plays a repeating 2-bar phrase
- remove kick/sub
- leave reverb tail, reverse FX, or atmospheric sample
- tease the bass with filtered hits
- bring back bass with variation
- add a higher octave response or extra chop
- automate filter opening slightly for energy
- root note
- minor 3rd
- flattened 5th
- minor 7th
- tighter control
- more creative editing options
- a more “finished” jungle feel
- trim silence
- add short fades
- adjust clip gain before plugins
- ghost snare placements
- kick syncopation
- break pick-up notes
- Redux for lo-fi bite
- Corpus for resonant metallic texture
- Amp for amp-style drive
- Pedal for aggressive character
- bass level
- sub stability
- mid-bass brightness
- how busy the bassline is
- keep the sub simple
- make the mid-bass syncopated
- leave space for snare hits
- EQ Eight
- Saturator
- Auto Filter
- Drum Buss
- darker at the start
- slightly brighter at the end
- one clean sub
- one textured mid-bass
- one resampled variation
- a groove that feels like it belongs in a rolling DnB track
- Simpler for sample-based bass shaping
- Operator for clean sub support
- EQ Eight, Saturator, Auto Filter, Drum Buss, and Utility for character and control
- resampling and chopping for jungle-style workflow
- rhythmic writing that leaves space for the break
We’ll use stock Ableton devices wherever possible and keep everything practical. 🎛️
---
2. What you will build
By the end of this lesson, you will build:
The goal is a bassline that works in a rolling jungle / deep DnB context, not a generic EDM bass patch.
---
3. Step-by-step walkthrough
Step 1: Choose a strong bass source sample
Start with a sample that already has some character. Good choices:
If you don’t have a bass sample pack, you can make one from scratch:
1. Add Analog or Wavetable
2. Create a short bass note with:
- 1 oscillator
- saw or square wave
- short amplitude envelope
3. Resample the note by freezing/bouncing or recording it to audio
For this lesson, choose a sample that is:
Step 2: Load the sample into Simpler
1. Drag your sample into a new MIDI track
2. Ableton will load it into Simpler
3. Set Simpler to Classic mode for easy sample playback
4. In the Warp section, turn Warp off if the sample is a short one-shot and doesn’t need stretching
Now set:
Step 3: Clean the sample before processing
Before adding color, make the sample usable:
If the sample already has a strong low end, decide whether it will be:
Step 4: Split bass into sub and color layers
A good DnB bassline often works best as two layers:
#### Layer A: Sub
You can create this in a second MIDI track using:
Set:
#### Layer B: Color / Mid-bass
This is your sampled bass tone or processed sample.
Use:
This layer should provide:
Step 5: Shape the sample in Simpler
In Simpler, use the Filter and AMP envelope to make the sample punchier.
Try this starting point:
If the sample feels too static:
Step 6: Add bass color with stock Ableton devices
Now we make the bassline feel alive. Here’s a practical chain:
#### Suggested mid-bass chain
1. EQ Eight
2. Saturator
3. Auto Filter
4. Drum Buss
5. Utility
Let’s dial it in:
##### EQ Eight
##### Saturator
Start around:
##### Auto Filter
Use this to create movement:
For a “Midnight Amen” vibe, keep automation subtle and moody:
##### Drum Buss
This is excellent for DnB bass texture.
Start with:
##### Utility
Step 7: Design a bass rhythm that feels like DnB
Now make a 2-bar MIDI phrase.
In drum and bass, bass rhythm matters as much as sound design. A good beginner pattern:
#### Basic rolling pattern idea
Bar 1:
Bar 2:
Use these concepts:
DnB bass works best when it interlocks with the break, not fights it.
Step 8: Make the bassline “colored” with sampling tricks
Here’s where the lesson gets fun 🔥
Try these sample-based color moves:
#### Reverse a bass tail
1. Duplicate your bass sample
2. Reverse one copy
3. Fade it in as a lead-in to the main note
This creates a dark, sucking motion into the bass hit.
#### Resample your processed bass
1. Record the processed bass output to audio
2. Chop the best moments
3. Reuse those chops like drum hits
This is a classic jungle / DnB workflow:
#### Use a tiny ambient layer
Add a very quiet texture:
Then high-pass it heavily so it stays out of the low end.
Step 9: Add movement with automation
Automate one or two parameters only. Too much movement gets messy fast.
Good automation targets:
Keep the sub stable. The color layer should move.
Step 10: Build a simple DnB arrangement
A beginner-friendly arrangement for this idea:
#### Intro
#### Drop 1
#### Breakdown
#### Drop 2
In DnB, arrangement is often about pressure and release. Let the bass breathe.
---
4. Common mistakes
1. Too much low end in one layer
If your sampled bass and sub both carry heavy lows, the mix will turn muddy fast.
Fix: split sub and mid-bass, and keep the mid-bass high-passed.
2. Over-distorting the sub
Distortion is great for color, but not on your clean sub layer.
Fix: keep sub clean and mono; distort only the mid-bass.
3. No space for the drums
DnB needs the snare crack and kick pattern to breathe.
Fix: write bass notes around the snare hits instead of constantly filling every gap.
4. Bass too long and messy
Long bass notes can blur the groove.
Fix: use short envelopes and trim note lengths in MIDI.
5. Ignoring tuning
A bass sample that’s out of key will make the whole track feel weak.
Fix: transpose the sample and check it against your track’s root note.
6. Too much stereo in the wrong place
Wide low end causes phase problems.
Fix: keep anything below about 120 Hz mono.
---
5. Pro tips for darker/heavier DnB
Tip 1: Use minor keys and simple note choices
Dark DnB often works well with:
You don’t need complex harmony. A few strong notes can be more powerful than busy melodies.
Tip 2: Resample aggression
If a bass patch sounds good after processing, bounce it to audio and chop it again.
This gives you:
Tip 3: Use clip gain and fades
When working with sampled bass hits:
This keeps the chain cleaner and makes processing more consistent.
Tip 4: Let the break and bass share the groove
A classic DnB trick is to make the bass answer the break’s accents.
Listen for:
Write bass so it feels like part of the rhythm section, not a separate synth line.
Tip 5: Add controlled grit
For heavier bass tones, try:
Use these carefully. A little goes a long way.
Tip 6: Use a reference track
Pick a reference in the dark rolling DnB/jungle space and compare:
This keeps you from overbuilding the sound.
---
6. Mini practice exercise
Exercise: Build a 2-bar “Midnight Amen” bass loop
#### Step A
Choose one bass sample and load it into Simpler.
#### Step B
Create a second track with a clean Operator sine sub.
#### Step C
Write a 2-bar MIDI loop:
#### Step D
Add this chain to the mid-bass:
#### Step E
Automate the filter cutoff across 2 bars:
#### Step F
Resample the processed bass to audio and chop one of the best hits into a new call-and-response phrase.
Goal
By the end of the exercise, you should have:
---
7. Recap
Today you learned how to create bassline color in Ableton Live 12 for drum and bass by using:
The key idea is simple:
> Keep the sub clean, give the mid-bass character, and write the rhythm around the drums. 🥁
If you want, I can turn this into a project walkthrough with exact Ableton device settings and a MIDI pattern example next.

