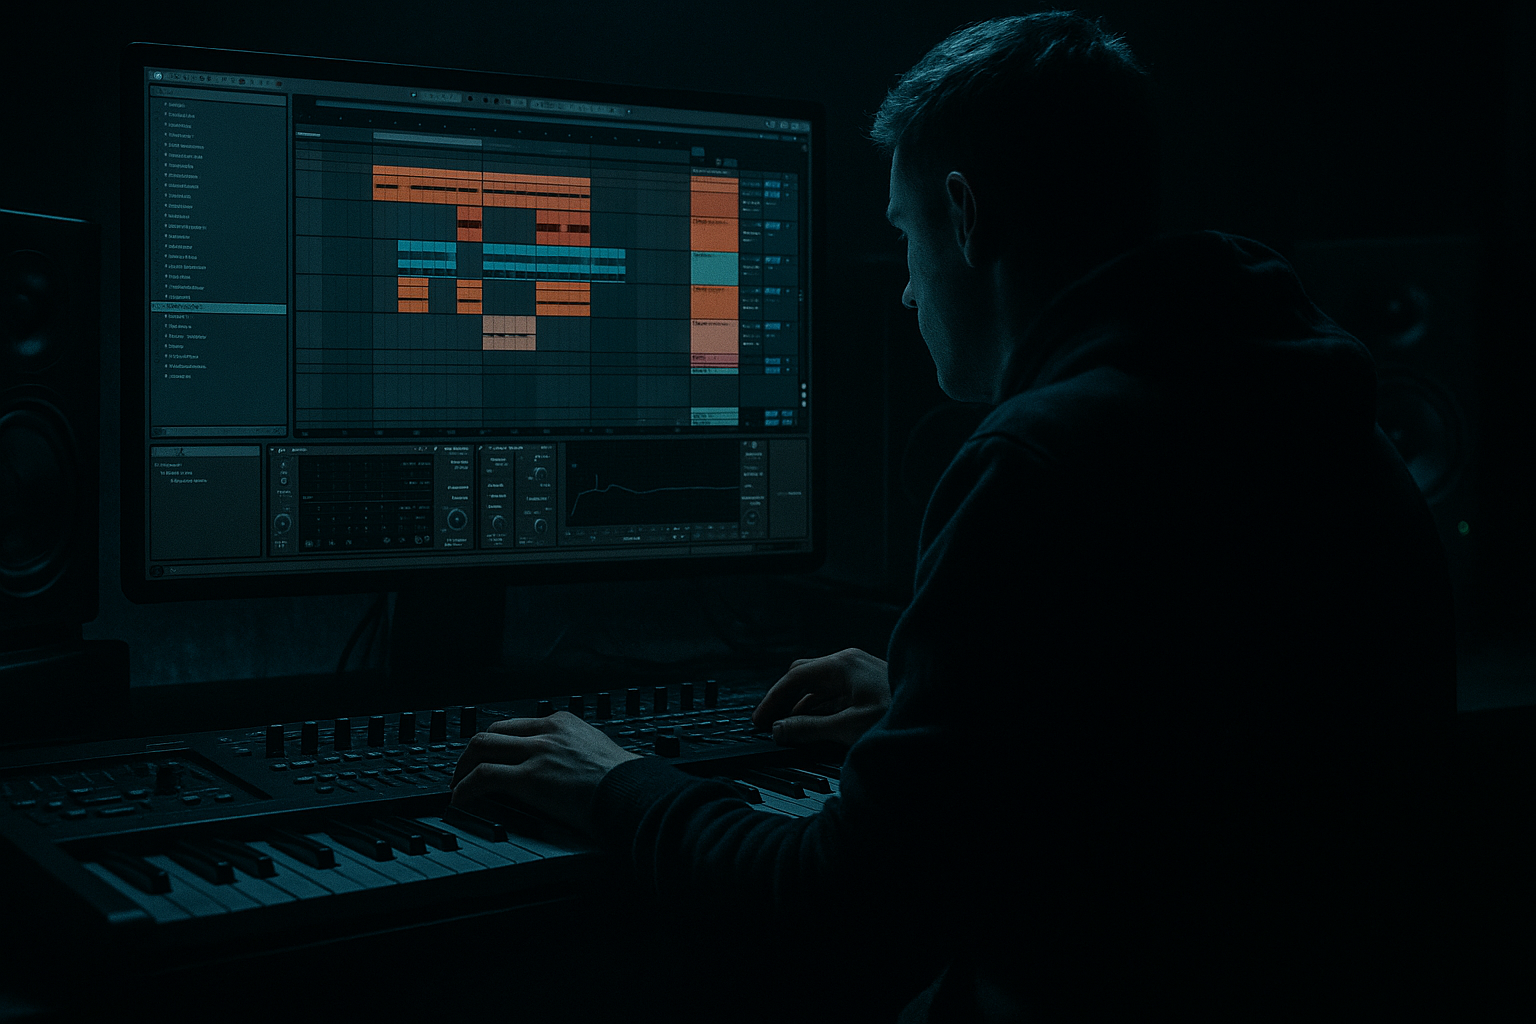
Main tutorial
Midnight Amen Drum Bus Saturate Formula for Smoky Warehouse Vibes in Ableton Live 12 🥁🌫️
1. Lesson overview
If you want that foggy, bruised, late-night drum sound that sits perfectly in drum and bass, jungle, and rolling bass music, the key is not just “distortion.” It’s controlled saturation across a drum bus, with the right balance of:
- weight
- grit
- midrange smoke
- transient retention
- parallel energy
- stock Ableton devices
- parallel routing
- layered saturation stages
- dynamic control
- arrangement-aware processing
- a tight Amen / breakbeat core
- a smoky, crushed edge
- enough drive for club systems
- without losing the impact of the vocal and bassline 🎛️
- Drums feel glued, dusty, and slightly cooked
- Breaks have midrange bark
- Kick and snare remain punchy
- Hats and ride texture become darker, less glossy
- The whole bus sits under vocals without fighting them
- Amen-based rollers
- Half-time / switch-up sections
- Dark liquid with grit
- Jungle edits under vocal chops
- Warehouse-style drop intros and breakdown transitions
- Kick
- Snare / clap layer
- Amen loop or break
- Closed hat
- Ride / open hat
- Percussion / top loop
- Optional: foley hit / rim / ghost snare
- `DRUM BUS - MIDNIGHT`
- `Amen Smoke Bus`
- `Warehouse Drums`
- -12 to -8 dBFS before the chain
- This gives saturation room to breathe
- HPF at 25–35 Hz
- If needed, make a small dip around 250–400 Hz
- If the snare is too aggressive, tame 2.5–5 kHz very lightly
- Attack: 10 ms
- Release: Auto
- Ratio: 2:1
- Threshold: aim for 1–3 dB of gain reduction
- Soft Clip: ON
- Type: Analog Clip or Soft Sine
- Drive: +2 to +5 dB
- Soft Clip: ON
- Output: compensate to match bypass loudness
- Curve: default is fine to start
- Snare gets thicker
- Amen break gains hair and edge
- Hats become less shiny and more smoked-out
- Transients stay present, but not harsh
- Add Audio Effect Rack
- Create two chains:
- Send drums to a return
- Process the return hard
- Blend underneath
- Start around -18 dB to -12 dB relative to the clean chain
- Raise only until the drums feel “photographed at midnight” instead of “overcooked”
- grime
- sustain
- midrange bite
- perceived loudness
- Low-shelf cut or gentle dip at 200–350 Hz if muddy
- Small cut at 6–9 kHz if the hats get glassy
- If needed, add a very slight high shelf down from 10 kHz
- 1.8–3 kHz
- use a narrow boost around 4–5 kHz
- but keep it subtle
- Drive: 5–15%
- Crunch: 5–20%
- Boom: Off or very low
- Transients: 0 to +20
- Damp: darker side if hats are too bright
- Punch: small boost if the kick needs to poke through
- Compress only the low-mid band if it blooms too much
- Keep the high band mostly untouched unless hats are spiky
- the vocal has a busy phrase
- the bassline is very animated
- the break hits differently across the arrangement
- Ceiling around -1 dB
- Avoid more than 1–2 dB of actual limiting
- Pull the dirty parallel chain down by 1–3 dB
- Reduce Drum Buss Drive slightly
- Lower high-end emphasis if the vocal needs space
- Consider automating EQ Eight to soften 4–8 kHz
- Restore full saturation
- Bring the parallel chain back up
- Add a touch more transient emphasis
- Let the snare and break open up
- Filter the drum bus darker
- Let the vocal sit over a ghostly, reduced break texture
- Reintroduce dirt on fills and transitions
- process the Amen/break loop separately
- then lightly glue the full drum bus
- Reverb
- Saturator
- EQ Eight
- Compressor
- verses: less drive
- build-ups: more drive
- drop 2: slightly more aggression
- add Utility
- set Bass Mono or narrow width on the parallel chain only
- low in breakdown
- medium in verse
- high in drop
- Clean first
- Glue lightly
- Saturate in stages
- Use a parallel dirty chain
- Darken the top end carefully
- Keep transients alive
- Automate for arrangement and vocal space 🎚️
- smoky warehouse texture
- DnB / jungle aggression
- vocal-friendly midrange control
- rolling club-ready drum pressure
In this lesson, we’ll build a “Midnight Amen” drum bus saturate formula in Ableton Live 12 that turns clean breaks into a warehouse-ready, dusty, hard-hitting drum foundation. The focus is especially useful for vocal-led DnB arrangements, where the drum bus needs to support the vocal atmosphere without becoming harsh or cluttered.
This is an advanced workflow, so we’ll use:
The result should feel like:
---
2. What you will build
You’ll build a Drum Bus Macro Chain in Ableton Live 12 that includes:
1. Pre-filter cleanup
2. Transient control
3. Soft saturation
4. Parallel dirty crush
5. Glue compression
6. Tone shaping for smoky warehouse vibes
7. Subtractive EQ to keep the vocal/bass lane clear
Target sound
Best use cases
---
3. Step-by-step walkthrough
Step 1: Prepare the drum elements before the bus
Before you saturate anything, make sure your drums are balanced.
Typical DnB drum layout:
Group them:
Select all drum tracks and press Cmd/Ctrl + G to group them into a Drum Bus.
Name it something like:
Gain staging:
Before processing, keep the bus peaking around:
If your loop is already hot, turn down individual tracks first.
Don’t slam the bus from the start — that kills movement.
---
Step 2: Clean the low end before saturation
Insert EQ Eight at the top of the drum bus.
Suggested settings:
- 24 dB/oct slope
- Just remove sub-rumble, not weight
- This is where breaks can get boxy after saturation
Why this matters
Saturation exaggerates whatever is already there.
If the low-end mud is left in place, the whole bus will turn to mush.
---
Step 3: Add gentle glue before distortion
Place Glue Compressor after EQ Eight.
Starting settings:
Goal
You’re not smashing the drums yet.
You’re just stabilizing the bus so the saturation reacts more evenly.
If the break is very dynamic, increase attack to 30 ms to preserve transient snap.
---
Step 4: Apply the first saturation stage
Add Saturator after Glue Compressor.
This is the heart of the formula.
Starting settings:
What to listen for
Pro move
If the drums lose too much top-end sparkle, reduce drive and let the parallel chain add dirt instead.
---
Step 5: Create a parallel dirty crush chain
This is where the “warehouse smoke” really happens.
Method
Use an Audio Effect Rack on the Drum Bus or create a parallel return track.
#### Option A: Audio Effect Rack
- Clean
- Dirty Parallel
#### Option B: Return track
For this lesson, we’ll use Audio Effect Rack because it gives more control.
---
Dirty Parallel chain recipe
On the Dirty Parallel chain, insert:
1. EQ Eight
- HPF at 120–180 Hz
- LPF at 8–10 kHz
- This keeps the dirt in the mids and highs, not the sub
2. Drum Buss
- Drive: 10–25%
- Crunch: 10–30%
- Boom: usually OFF or very low for this style
- Transients: slightly positive if needed
3. Saturator
- Drive +6 to +10 dB
- Soft Clip ON
4. Compressor or Glue Compressor
- Heavy compression for density
- Aim for 6–10 dB gain reduction on the dirty layer
Blend amount
Keep the Dirty Parallel chain low:
This parallel layer should add:
It should not replace the main drum sound.
---
Step 6: Darken the sheen, not the impact
Now add EQ Eight after saturation or on the rack’s main output.
Suggested tonal shaping:
Important
Dark warehouse drums are not dull drums.
You want less shine, not less detail.
If the snare disappears, restore some presence with a tiny boost around:
If the break needs more crack:
---
Step 7: Use Drum Buss for controlled density
Now add Drum Buss after EQ Eight, or before the final EQ depending on taste.
Suggested starting points:
Why Drum Buss here?
It adds that slightly broken, club-focused midrange density that works beautifully for jungle and rollers.
Tip
If your break is already very crunchy, use Drum Buss very lightly.
Too much and the whole groove becomes flattened.
---
Step 8: Add micro-dynamic control with Multiband Dynamics if needed
If the saturation is making the bus unstable, add Multiband Dynamics after Drum Buss.
Use it sparingly:
This is especially useful when:
You want the drum bus to feel alive but not unruly.
---
Step 9: Final limiter only if necessary
If you need a safety net, place Limiter last.
Settings:
This should not be used to make the drums “loud.”
It’s only to catch unpredictable peaks.
---
Step 10: Make it arrangement-aware for vocal sections
This is where advanced DnB production becomes pro-level.
During vocal sections:
During drops:
During breakdowns:
This gives your track motion, not just a static drum tone.
---
4. Common mistakes
1. Overdriving the whole bus
If every stage is clipping, the groove collapses.
Use multiple light stages rather than one brutal one.
2. Saturating before cleanup
If you don’t remove sub-rumble and mud first, saturation magnifies the mess.
3. Crushing transients too early
DnB drums rely on transient definition.
If the kick/snare attack gets flattened, the tune loses momentum.
4. Making the parallel chain too loud
The dirty layer should be felt, not obviously heard as a separate effect.
5. Bright hats fighting the vocal
When vocals enter, harsh hats and saturated top loops can crowd intelligibility.
Tame the top end during vocal phrases.
6. Ignoring phase and mono compatibility
Parallel processing can cause weird width issues.
Check mono regularly and listen for snare thinning or kick softening.
7. Using heavy Boom in Drum Buss on already sub-heavy material
That can make the low end flabby and mask the bassline.
---
5. Pro tips for darker/heavier DnB
Tip 1: Saturate the break, not just the full drum group
For some productions, the best result is:
That lets the kick and snare stay cleaner while the break carries the smoke.
Tip 2: Use a Return track for “room soot”
Create a return with:
Set the reverb to a very short decay and high-pass it hard.
Blend it subtly under the drums for a dusty warehouse halo.
Tip 3: Automate Drive by section
A tiny automaton on Saturator Drive can make the arrangement feel more alive:
Tip 4: Let the vocal own the top front edge
In vocal-led DnB, the drum bus should support the lyric, not fight it.
If the vocal has air around 8–12 kHz, darken the hats and keep the drum bus more mid-focused.
Tip 5: Use Utility to tighten low-end width
If the drum loop is stereo and messy in the lows:
Tip 6: Try sidechain dynamic shaping
If the vocal is dense, use Compressor or Gate subtly keyed from the vocal to duck selected drum bus elements in the exact phrasing zones.
This keeps the drum atmosphere but clears the words.
---
6. Mini practice exercise
Exercise: Build a smoky Amen bus in 15 minutes
1. Load an Amen break and a kick/snare layer
2. Group them into Drum Bus
3. Add:
- EQ Eight
- Glue Compressor
- Saturator
- Audio Effect Rack with a dirty parallel chain
- Drum Buss
- final EQ Eight
4. Set your dirty chain to:
- HPF 150 Hz
- LPF 9 kHz
- Saturator drive +8 dB
- Heavy compression
5. Blend the parallel until the drums feel:
- darker
- thicker
- closer
- more “warehouse”
6. Play the same loop with:
- no vocal
- a vocal top line
- a bassline
7. Adjust the bus so the vocal remains intelligible without the drums losing weight
Challenge variation
Automate the parallel chain volume:
Then compare how the emotional energy changes across the arrangement.
---
7. Recap
Here’s the Midnight Amen drum bus saturate formula in simple terms:
Core chain summary
EQ Eight → Glue Compressor → Saturator → Audio Effect Rack (Dirty Parallel) → Drum Buss → EQ Eight → optional Limiter
This formula gives you that:
If you want, I can also turn this into:
1. a device-by-device Ableton preset blueprint, or
2. a matching vocal bus chain for the same smoky midnight aesthetic.

