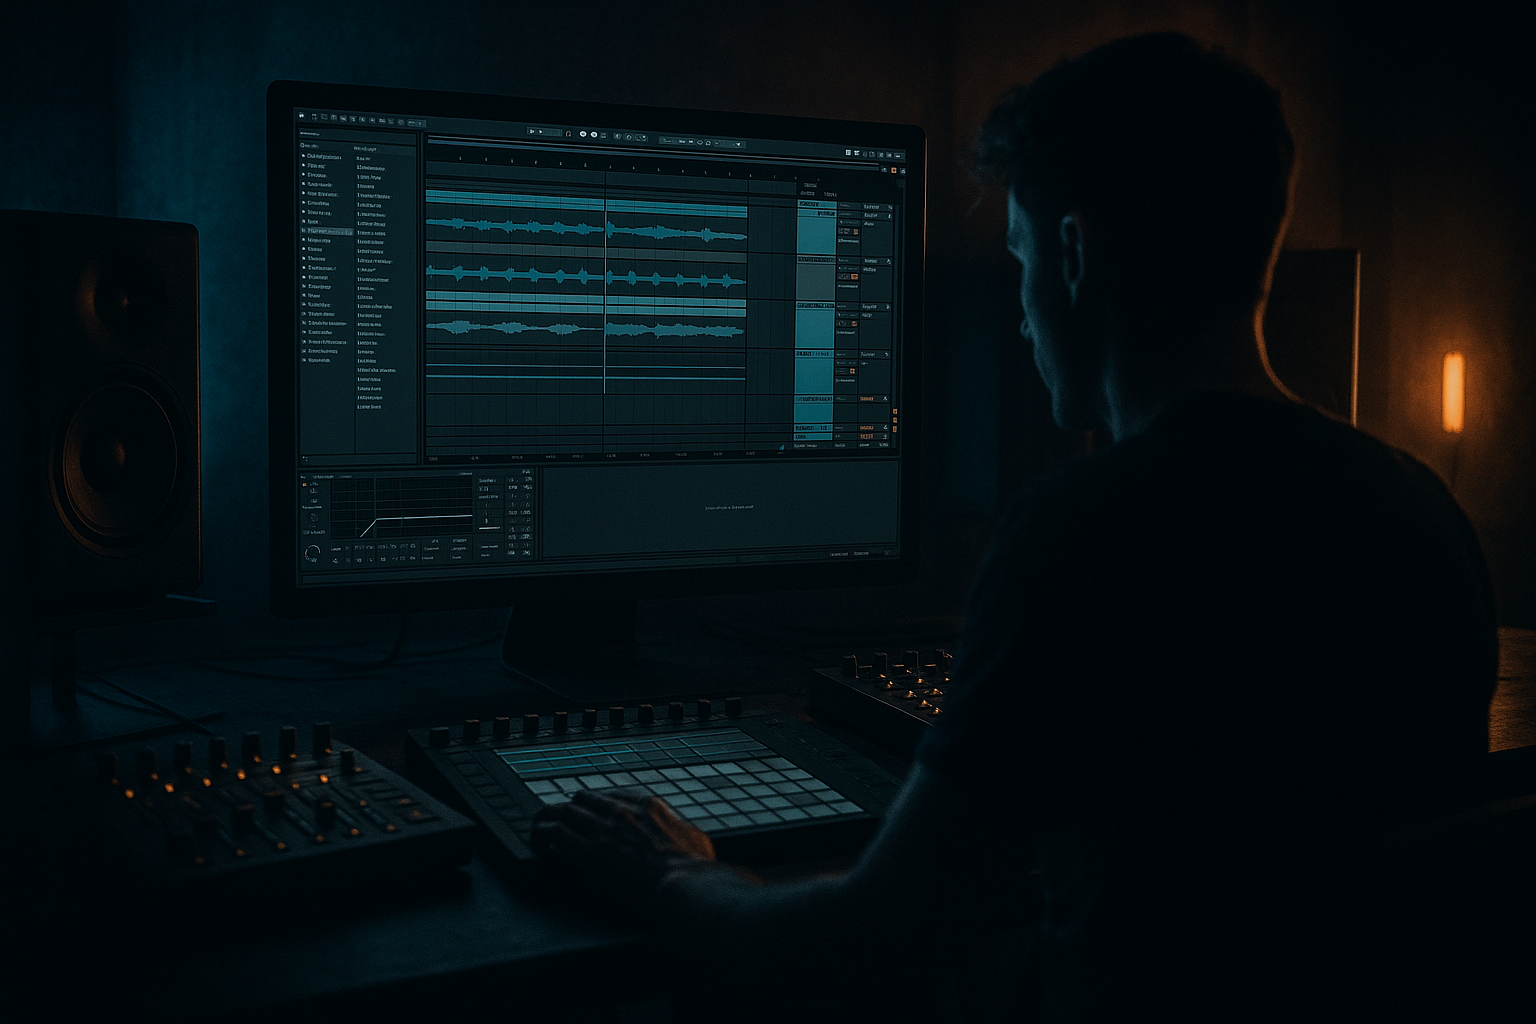
Main tutorial
Lesson Overview
This lesson is about building a mid bass from scratch in Ableton Live 12, then distorting it into a crunchy, oldskool jungle/DnB weapon using a sampling-first workflow. The goal is not just to make something loud and nasty — it’s to make a mid bass that can sit under a sub, drive a drop, and still keep the character of classic jungle, rollers, and darker DnB: gritty harmonics, controlled movement, and enough rhythmic definition to answer the drums.
In real DnB production, the mid bass often carries the attitude of the track. The sub gives weight, the drums give motion, but the mid bass is what makes a drop feel alive. For oldskool jungle vibes, that usually means a bass layer with resampled distortion, filtered harmonics, and chopped arrangement movement rather than a clean “one synth preset and done” approach. In Ableton Live, the advantage is huge: you can design the sound, bounce it, mangle it, and re-edit it all inside the same session.
Why this matters: in DnB, especially jungle and darker rollers, the bass needs to be heavy without being bloated, aggressive without killing the groove, and textural without masking the break. This lesson focuses on exactly that balance. You’ll create a mid bass using stock devices, resample it, then shape it into a dirty, playable element that feels rooted in classic hardware-style pressure but fits modern Ableton workflow.
What You Will Build
By the end, you’ll have a mono-compatible mid bass patch with:
- A thick, slightly detuned core
- Controlled distortion and saturation
- Filter movement and envelope shaping
- A resampled audio version you can chop, reverse, layer, and automate
- A bass part that can work in a jungle break section, a dark roller drop, or a half-time switch-up
- Holds a root note + octave movement
- Uses short rhythmic stabs for call-and-response with the break
- Can evolve into a more aggressive reese-like texture
- Leaves room for a separate sub layer below it
- Sounds dangerous in mono and still has enough edge to cut through on small speakers
- Distorting the sub instead of the mid
- Using too much stereo width on the bass
- Over-processing before resampling
- Leaving the bass too long and stepping on the break
- Harshness from distortion around the upper mids
- No arrangement variation
- Forgetting to check in mono
- Use parallel distortion instead of destroying the main bass. Duplicate the track, filter the copy to mids/highs, and blend it under the clean core.
- Try a band-split approach: low mids stay smoother, upper mids get the aggression. This keeps the drop heavy and readable.
- Resample with different note velocities if the source instrument responds dynamically. Small changes can create more “played” character.
- Use Clip Envelopes to automate filter cutoff inside the audio clip for quick, repeatable phrase movement.
- Add a tiny amount of noise or vinyl-style grit only if it supports the jungle aesthetic; don’t bury the bass in fake texture.
- For neuro-leaning darkness, automate frequency modulation of the distortion stage slightly over 4 or 8 bars so the bass “talks.”
- If the break is iconic and busy, simplify the bass rhythm. The underground feel often comes from restraint, not constant sound.
- Use Utility to control width and gain at the device level before the bass hits the mixer. Clean routing is faster than repair work later.
- For oldskool flavor, let some bass hits feel almost sampled from a cassette or hardware bounce by printing the sound and leaving a little edge in the transient.
- Build the bass from a simple synth source, then shape, distort, and resample it.
- Keep the sub clean and let the mid bass carry the grit.
- Use chops, gaps, and call-and-response so the bass works with the break.
- Control harshness with EQ and disciplined distortion staging.
- Make at least two or three versions so the arrangement can evolve.
- In DnB, the best basses are usually not just sounds — they’re edited performances.
Musically, think of a bass that:
You’re not just making a sound — you’re building a sampled mid bass performance chain that can be reused across the track.
Step-by-Step Walkthrough
1. Start with a clean MIDI instrument and build the raw bass source
Create a new MIDI track and load Wavetable or Operator. For oldskool jungle-style mids, start simple and harmonically rich rather than overly polished.
A strong starting point in Wavetable:
- Osc 1: Saw wave
- Osc 2: Saw or square, detuned slightly
- Unison: 2–4 voices max
- Detune: low to moderate, around 0.08–0.18
- Amp envelope: fast attack, short decay, low sustain if you want stabby phrasing
If you want a more classic digital edge, use Operator with a saw-like FM-friendly starting point and keep the pitch envelope tight.
Keep the MIDI part simple for now: a 1-bar or 2-bar loop built from the root note, octave jumps, and one or two passing notes. In jungle and rollers, the rhythm often matters more than complicated harmony.
Advanced tip: tune your patch against the sub later, not in isolation. A bass that sounds huge soloed can still clash badly once the kick and sub arrive.
2. Shape the tone before distortion so the resample is useful
Add Auto Filter right after the instrument. Set it to LP24 or BP depending on whether you want a smoother or more nasal mid.
Good starting settings:
- Cutoff: around 120–400 Hz for a darker bass source
- Resonance: 10–25%
- Drive: moderate, if needed
- Envelope amount: subtle, enough to give a little bite on notes
Then add Saturator after Auto Filter.
- Drive: +3 to +8 dB
- Soft Clip: on
- Color: off at first, then experiment
- Output: trim so you’re not fooling yourself with loudness
The point here is to create a mid bass that already has some harmonic information before the real distortion stage. This matters in DnB because distortion on a sterile signal often produces weak or harsh top-end. A harmonically alive source gives you a thicker, more controllable grind.
Why this works in DnB: jungle basses historically often feel “dirty” because the source material already had movement and tonal complexity before processing. You’re recreating that behavior in-the-box.
3. Add a distortion chain that sounds like it belongs in a break-led track
Insert Roar if you want Ableton Live 12’s more advanced distortion color, or use Amp, Overdrive, and Saturator if you want a more modular chain. For a practical oldskool approach, a stacked chain often works best.
Suggested chain order:
- Overdrive
- Saturator
- Roar or Amp
- EQ Eight
Starting points:
- Overdrive Frequency: around 400–1.2 kHz
- Overdrive Drive: 10–35%
- Saturator Drive: +4 to +10 dB
- EQ Eight: cut harshness around 2.5–5 kHz if needed, or notch resonances
Don’t chase “maximum dirt” immediately. Instead, listen for the point where the bass gains a grainy midrange bark but still keeps note shape. In jungle, that note shape is important because the bass often needs to answer the break rhythmically.
If you want a nastier neuro-leaning edge, push the distortion harder but keep it band-limited with Auto Filter or EQ Eight so the low end stays stable.
4. Resample the bass into audio so you can treat it like a jungle sample
This is the key sampling move. Create a new audio track and set its input to your bass track, then arm it and resample the MIDI performance.
Record a few passes:
- One clean phrase
- One with higher distortion
- One with filter movement or automation
- One with longer note tails
Once recorded, Consolidate the best takes or drag them into a new audio lane. Now you’re no longer just “designing a synth.” You’re working with a bass sample that can be chopped, warped, reversed, and edited like classic jungle source material.
For Live 12 workflow, use the Clip View and the sample editor to trim starts and ends tightly. You want zero dead air. Oldskool DnB bass edits are often punchy and economical.
Advanced move: render multiple passes at different drive settings, then keep each one as a separate audio layer. You’ll get more arrangement flexibility later.
5. Chop the resampled bass into rhythmic hits and call-and-response phrases
Now take the resampled audio and create a bass phrase that interacts with the drums. Use Slice to New MIDI Track if you want to turn hits into playable pads, or manually cut the audio into regions and arrange them on the timeline.
A strong jungle/DnB pattern might include:
- A short bass stab on beat 1
- A delayed response on the “and” of 2
- A held note into beat 3
- A gap before the next phrase to let the break breathe
This creates call-and-response with the drum break, which is a core technique in oldskool jungle. The bass should feel like it’s weaving around the drums, not sitting on top of them the whole time.
Use Warp carefully if the audio drifts, but avoid over-stretching a bass sample into mush. Tight, well-edited clips usually feel more authentic than heavily time-smoothed ones.
Add Simpler if you want to turn your resample into a playable instrument:
- Mode: One-Shot or Classic
- Start/End: manually tighten
- Filter: small high-cut if the top gets too fizzy
- Glide: only if you want sliding phrases
6. Layer a dedicated sub underneath and keep it disciplined
Your mid bass should not try to be the sub. Create a separate MIDI track with Operator or Wavetable set to a pure sine or very simple triangle-based sub.
Sub rules:
- Mono
- No stereo widening
- No heavy distortion
- Follow the same root notes as the mid bass
- Keep it clean enough to survive club systems
Practical settings:
- Low-pass the sub around 80–120 Hz if needed
- Keep compressor use gentle
- Sidechain to the kick with Compressor or Glue Compressor if the groove needs more breathing room
If the mid bass is resampled and gritty, you can high-pass it around 90–140 Hz to clear room for the sub. The exact split depends on the sound, but the goal is always the same: one element owns the low fundamentals, the other owns the attitude.
This separation is crucial in DnB because dense drums and fast tempos leave little room for low-end mess. Clear low-end management is what makes the track hit hard instead of sounding like a blob.
7. Use modulation to make the bass feel alive without ruining focus
Add Auto Filter, LFO style movement using Shaper, or device automation to create motion across the phrase.
Useful modulation ideas:
- Filter cutoff opening slightly on every second phrase
- Resonance rising before a drop
- Distortion drive increasing on the last note of a 4-bar loop
- Auto Pan used very subtly on a duplicated upper-mid layer only, not the sub
A very DnB-friendly technique is to automate macro controls if you’ve grouped the devices into an Audio Effect Rack. Create macros for:
- Distortion amount
- Filter cutoff
- Frequency of Overdrive
- Output trim
- Stereo width on the top layer only
Keep movement subtle in the lower mids and more obvious above 300 Hz. That’s where you can add aggression without destabilizing the bass foundation.
8. Integrate the bass with break drums using groove, space, and transient control
Place your bass against a jungle break or tight DnB drum loop. The bass should complement the kick-snare pattern, not fight it.
In Ableton:
- Use Groove Pool to match the bass phrase to the break feel if needed
- Trim bass notes so they leave space for snare transients
- Use Envelope Follower or Compressor sidechain if the kick is soft but the bass is crowding it
- Add Drum Buss to the drum bus, not the bass, if you want more punch from the break
If the break is busy, make the bass rhythm more selective. A shorter bass phrase with fewer notes often sounds heavier in DnB because the ear can track the transients. Density is not always power.
Arrangement example: in a 16-bar drop, let bars 1–4 establish the bass phrase, bars 5–8 add a variation with a higher octave hit, bars 9–12 strip the pattern down, and bars 13–16 introduce a more aggressive resample with extra distortion. That arc keeps the drop moving without losing dancefloor logic.
9. Build a final processing chain for mix translation
Put the bass through a sensible cleanup chain, especially if it’s resampled and heavily processed.
Suggested post-processing:
- EQ Eight: remove unnecessary low rumble below the sub range, smooth harsh peaks
- Compressor: light control if the resample has uneven hits
- Utility: force mono below the critical range if needed, or reduce width
- Limiter only if absolutely necessary for safety, not as a sound-design crutch
Check:
- Mono compatibility
- Kick relationship
- Sub separation
- Harshness around 2–6 kHz
- Headroom before the master bus
In darker DnB, the bass often sounds “more expensive” when it’s slightly restrained in the upper mids. You want menace, not fizz overload.
10. Turn it into a usable arrangement element, not just a loop
Now make it musical. Create at least three versions of the bass:
- Version A: basic phrase
- Version B: more distortion and filter movement
- Version C: chopped or reversed resample for transition moments
Use these across the track:
- Intro tease with filtered bass hits
- First drop with simpler call-and-response
- Second drop with a more damaged resample
- Switch-up with a half-time or stripped pattern
If you’re going for oldskool jungle energy, automate a low-pass filter opening as the drop lands, then pull it back before the next phrase. That creates tension/release and nods to the classic “bass reveal” feeling. 🎛️
Common Mistakes
- Fix: keep a separate clean sub layer and high-pass the distorted bass appropriately.
- Fix: keep the core bass mono or nearly mono; only widen high layers if needed.
- Fix: commit to a sound stage by stage. Record multiple passes instead of stacking random devices endlessly.
- Fix: trim note length and cut small gaps so the drums can breathe.
- Fix: use EQ Eight to tame resonances, or reduce Overdrive frequency and drive.
- Fix: make at least two or three bass versions and rotate them every 4–8 bars.
- Fix: mono-check the bass early. DnB club systems will expose phase problems fast.
Pro Tips for Darker / Heavier DnB
Mini Practice Exercise
Spend 10–20 minutes making one loop:
1. Build a basic saw-based bass in Wavetable or Operator.
2. Process it with Auto Filter and Saturator.
3. Resample 2 bars to audio.
4. Chop the audio into 4–6 short hits.
5. Add a clean sine sub underneath.
6. Arrange the bass against a jungle break for 4 bars.
7. Automate one parameter only: filter cutoff, distortion drive, or resonance.
8. Bounce a second version that is more distorted and compare the two.
Goal: make the first version groove-focused, and the second version more damaged and aggressive. Save both as reusable bass folders for future tracks.

