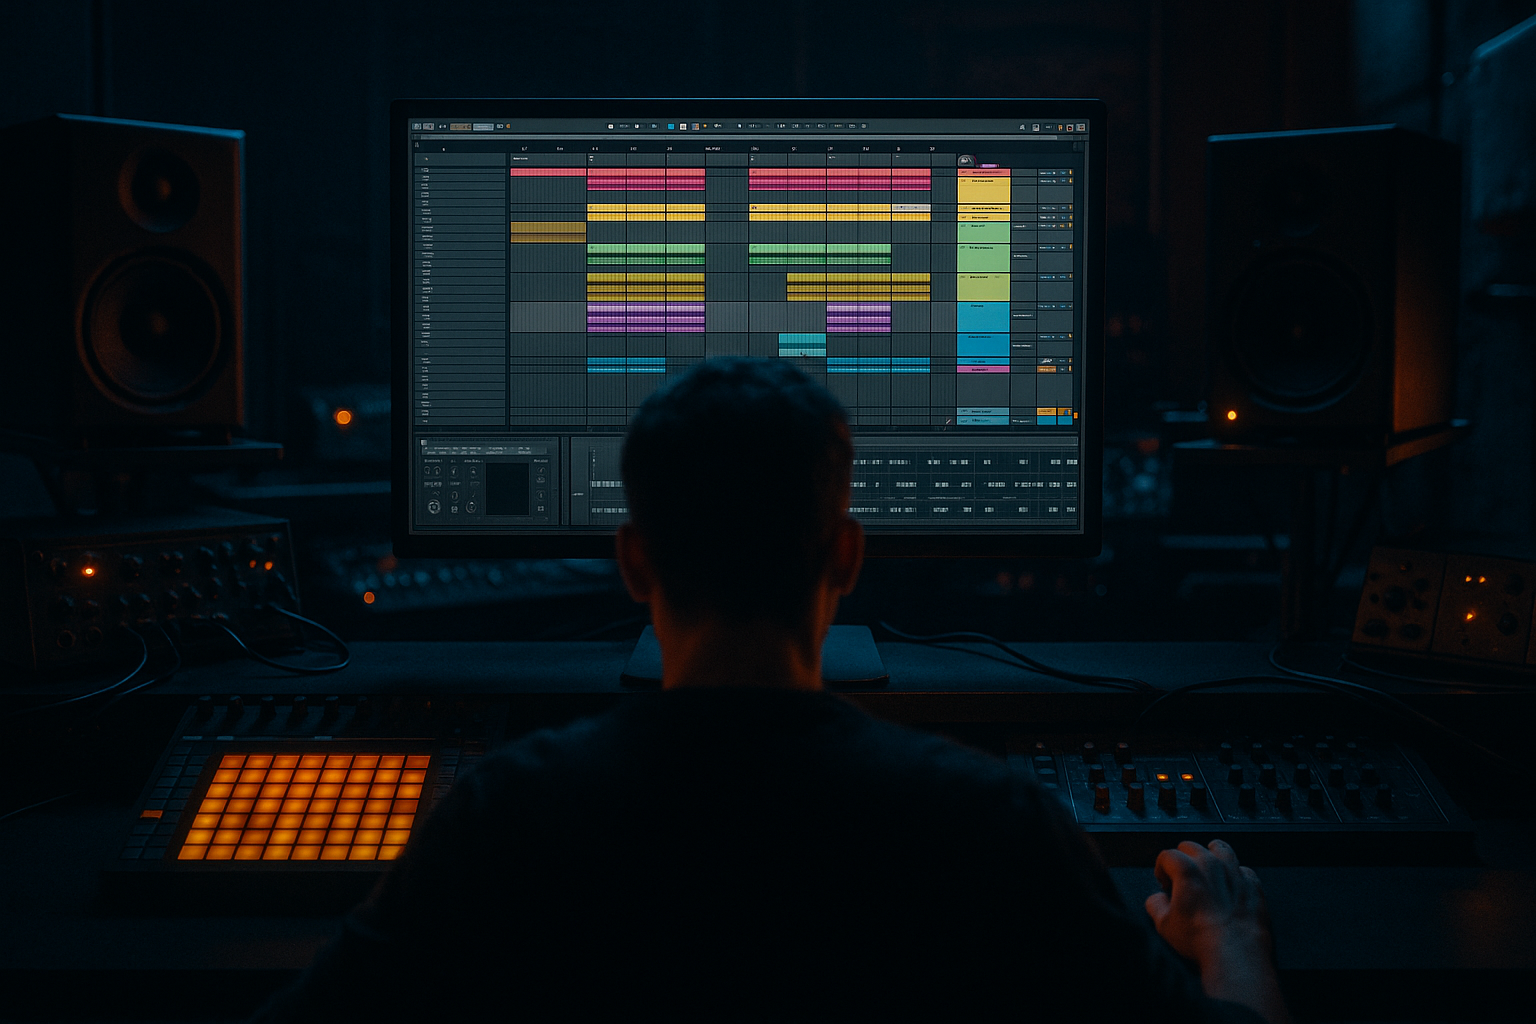
Main tutorial
Lesson Overview
In this lesson, you’ll build a mid bass humanize framework for oldskool jungle / early DnB vibes in Ableton Live 12 without eating up your headroom. The goal is to make a bassline feel played, alive, and slightly unpredictable while still leaving enough space for the kick, snare, and breakbeats to hit properly.
This matters because in Drum & Bass, especially jungle and rollers, the bass is not just a tone — it’s part of the rhythm section. A stiff bassline can feel flat against a chopped break. A humanized bassline can lock into the groove, bounce around the drums, and create that vintage pressure you hear in classic sets. But if you add too much volume, stereo width, or low-end chaos, you lose the punch that makes the drop work.
We’re going to focus on a practical Ableton workflow that gives you:
- movement without mess
- character without clipping
- oldskool phrasing without muddy low end
- bass variation that still leaves headroom for the mix
- sits above the sub layer
- has small timing and velocity variations
- uses call-and-response phrasing
- stays controlled in mono
- leaves enough headroom for breakbeats and snare impact
- sounds like a humanized oldskool DnB bassline, not a static loop
- a chopped Amen-style break
- a funky half-time jungle drop
- a dark roller with sparse drum edits
- an oldskool tension section before the main drop
- one drum rack or audio track for your breakbeat
- one separate track for a kick/snare layer if needed
- one bass group with at least:
- Warp on
- Transient or Beats warp mode
- slice the break so the important hits land cleanly
- place the snare on 2 and 4
- let the break fill in the gaps
- keep the loop short, 1 or 2 bars, so the bass can answer it
- Wavetable or Operator
- Saturator
- EQ Eight
- Utility
- start with a saw or square-based wavetable
- reduce unneeded brightness with the filter
- keep it mono for now
- Filter cutoff: around 150–400 Hz if the patch is too bright
- Saturator drive: about 2–6 dB
- Utility width: 0% or close to mono
- EQ Eight: gentle cut below 100–120 Hz on the mid bass so it doesn’t fight the sub
- slightly detune oscillators
- add a small amount of movement with LFO or oscillator detune
- keep it focused in the low-mid range, not in the sub range
- Sub layer: a simple sine or clean low oscillator
- Mid bass layer: the humanized part with character and movement
- use Operator with a sine wave
- keep it mono
- keep it simple
- avoid heavy saturation
- oscillator sine only
- filter off or very open
- Utility width 0%
- output level conservative, leaving headroom
- high-pass it gently if needed so it doesn’t overlap the sub too much
- use saturation lightly instead of just turning it up louder
- note 1: hits with the first kick or just after it
- note 2: answers the snare gap
- note 3: shorter pickup note before the next drum phrase
- note 4: optional rest for tension
- note 5: stronger note for the turnaround
- root note plus one or two nearby notes
- small jumps, usually within a 5th or octave
- repeated notes with different lengths
- some notes 5–15 ms late
- occasional notes 5–10 ms early
- don’t move every note
- choose a swing/groove lightly
- keep Timing around 10–25%
- keep Random very low or off at first
- let the bass slightly lean behind the snare for weight
- let some pickup notes land a little early to create urgency
- don’t shift the whole line randomly
- strong notes: around 90–110
- medium notes: around 70–90
- ghost notes or pickups: around 40–65
- filter cutoff
- volume
- envelope amount
- distortion drive
- filter cutoff
- filter resonance
- saturator drive
- reverb send very lightly on selected notes or fills
- Auto Filter LFO amount if you want subtle modulation
- filter cutoff moving from 180 Hz to 600 Hz
- resonance kept modest, around 10–25%
- saturation drive automation only by 1–3 dB for emphasis
- keep the bass mostly stable for the first 2 bars
- open the filter slightly on the last note of bar 2 or 4
- add a tiny drive boost only on transition notes
- shorten some notes so they leave space for the snare tail
- let a few notes ring longer to glue the phrase
- avoid every note having the same length
- most notes around 1/8 to 1/4 note length
- occasional held notes for transitions
- leave a gap before or after the snare if the mix feels crowded
- use EQ Eight
- high-pass gently if the patch is too full in the low end
- cut muddy buildup around 180–350 Hz if needed
- tame harshness around 2–5 kHz if the tone gets too aggressive
- high-pass around 90–140 Hz depending on the patch
- small cut at 250 Hz if the bass feels boxy
- small cut at 3.5 kHz if it gets brittle
- keep the mid bass mono or nearly mono
- avoid unnecessary width on low notes
- Intro: drums only or filtered bass hints
- Build: short bass call-and-response teaser
- Drop 1: main bass phrase for 8 or 16 bars
- Switch-up: remove one note or add a rhythmic gap
- Drop 2: return with a variation, not a copy
- 4 bars of main groove
- 2 bars of reduced groove
- 2 bars of fill or turnaround
- then repeat with a filter or note variation
- lower the mid bass track
- reduce saturation
- high-pass the mid layer a bit more
- let the sub do the heavy lifting
- only shift a few notes
- keep timing changes small
- use one or two “human” moments per bar, not chaos
- shorten bass notes before snare hits
- leave a tiny gap around the snare transient
- reduce bass volume on snare-adjacent notes
- mono the sub
- keep the mid bass mostly centered
- check Utility and listen in mono
- write the groove first
- use compression only if needed for control
- focus on arrangement, note length, and velocity before squeezing the sound
- Use call-and-response phrasing between the bass and break. Let the bass answer the snare, not fight every drum hit.
- Add a tiny bit of saturation on the mid bass only, not the sub. This gives grit without losing low-end definition.
- For more underground weight, try a slower filter movement over 8 bars instead of a fast wobble.
- Use resampling: bounce the bass phrase to audio, then slice it and re-edit tiny gaps or note tails for more character.
- In Drum Rack, layer ghost hits or small percussion around the bass rhythm to make the groove feel busier without adding bass clutter.
- Keep a reference track open in Ableton and compare the bass/drum balance at low volume. If your bass disappears quietly, it may not be balanced properly.
- For darker jungle energy, automate the bass filter to open slightly just before a drop, then snap it back down after the first phrase.
- Use sidechain compression lightly only if the kick needs space. In a lot of oldskool DnB, the arrangement and note shaping do more than heavy sidechain ever will.
- keep the sub and mid bass separate
- use small timing and velocity variations
- write short, musical phrases
- leave space for breakbeats and snares
- control the tone with EQ, saturation, and mono discipline
- arrange the bass in call-and-response sections so it stays interesting
You’ll use stock Ableton devices, simple MIDI ideas, and a clean routing setup that works for beginner producers making jungle, rollers, or darker DnB. 🔊
What You Will Build
By the end of this lesson, you’ll have a one-bar or two-bar mid bass groove that:
You’ll build a bass part that could sit under:
The final result should feel like a bassline that “plays with the drums” instead of sitting on top of them.
Step-by-Step Walkthrough
1) Set up a clean DnB skeleton first
Before touching the bass, build a basic drum grid in Ableton Live so the bass has something to react to.
Create:
- a sub track
- a mid bass track
For the breakbeat, use a chopped break or a simple loop. If you’re starting from an audio break, use:
For a beginner-friendly jungle feel:
Why this works in DnB: the bass in jungle and oldskool DnB is usually built around the drums, not against them. A tight drum foundation makes humanized bass feel musical instead of messy.
2) Build a simple mid bass patch with stock Ableton devices
On your mid bass track, start with a straightforward patch using stock devices only.
A good beginner chain:
If you use Wavetable:
Useful starting settings:
If you want a more classic reese-style mid bass:
The main idea: the mid bass should give you texture, note identity, and motion, while the sub handles the true low end.
3) Separate sub and mid so you protect headroom
This is the biggest headroom-saving move.
Make two layers:
On the sub:
Suggested sub settings:
On the mid bass:
A good rule: if your bass sounds exciting only when it’s loud, it’s usually not ready. If it still feels present at a moderate level, you’re in the right zone.
4) Write a short bass phrase, not a full loop
Oldskool DnB and jungle basslines usually work best when they phrase like a conversation.
Start with a 1-bar or 2-bar MIDI clip and write just 3–5 notes. Keep it simple.
Try this structure:
Use these beginner-friendly MIDI choices:
Example musical context:
If your track is in F minor, you might build a phrase around F, Ab, and C with one note held longer and another chopped shorter to create groove. That gives you a classic dark movement without overcomplicating the harmony.
Important: leave gaps. In jungle, silence is part of the rhythm.
5) Humanize timing with small, controlled offsets
Now make the bass feel played.
In the MIDI clip, move some notes slightly off the grid:
You can do this manually in the MIDI editor or by using subtle groove. If you use Ableton’s Groove Pool:
The best humanized DnB basslines are not sloppy. They’re intentionally imperfect. A tiny late bass note can make the groove feel heavy and “draggy” in a good way, especially under a chopped break.
How to think about it:
6) Use velocity to create groove and headroom control
Velocity is one of the easiest ways to humanize bass without making the mix louder.
In MIDI, vary velocities so the phrase breathes:
If your instrument responds to velocity, map it to:
That means lighter notes can sound softer and darker, while stronger notes open up more.
Why this works in DnB: velocity variation adds feel without constant amplitude. That helps preserve headroom and prevents the bass from fighting the drums every time a note hits.
A great oldskool trick is to make the second note in a phrase slightly softer than the first. It creates a “question and answer” feel that sits nicely against breakbeats.
7) Add movement with automation, not just more notes
Now give the bass some evolving character over 4, 8, or 16 bars.
Use automation on:
Try these safe ranges:
A useful approach:
This gives the feeling of a performer leaning into certain moments rather than every note being identical.
8) Shape the bass with transient and tail control
For humanized bass, note length matters as much as pitch.
In your MIDI clip:
If the bass is too long, it will blur the break. If it’s too short, it loses weight.
Beginner-friendly starting point:
If needed, use envelopes or Auto Filter to make notes feel tighter without lowering volume.
9) Keep the mid bass out of the sub zone
This is where headroom gets protected.
On the mid bass track:
A safe starting point:
Then check the group with Utility:
This is crucial in jungle and darker DnB because the drums and bass must share the low-mid space without turning muddy.
10) Arrange the bass like a proper DnB drop
A humanized bassline becomes much stronger when it’s arranged with intent.
Use a simple arrangement idea:
For a beginner, a great oldskool pattern is:
This matters because jungle and early DnB rely on repetition with evolution. The bass stays recognizable, but the details keep the energy moving.
Common Mistakes
1) Making the mid bass too loud
If the bass feels powerful only when turned up, it’s probably too wide, too bright, or competing with the sub.
Fix:
2) Humanizing every note too much
Too much timing variation can make the groove fall apart.
Fix:
3) Letting the bass overlap the snare
In DnB, the snare must stay punchy.
Fix:
4) Making the bass too wide
Wide low-end sounds impressive soloed but weak in a club.
Fix:
5) Over-compressing early
Beginners often compress the bass too hard before the part is even written properly.
Fix:
Pro Tips for Darker / Heavier DnB
Mini Practice Exercise
Spend 10–20 minutes making one 2-bar humanized mid bass loop.
1. Load a breakbeat loop or chopped Amen-style break.
2. Create a sub track with Operator sine and a mid bass track with Wavetable.
3. Write only 4–5 bass notes across 2 bars.
4. Change note lengths so at least two notes are shorter than the others.
5. Move two notes slightly off-grid by a tiny amount.
6. Give each note different velocity values.
7. Add Saturator on the mid bass with 2–4 dB drive.
8. Use EQ Eight to keep the mid bass out of the sub zone.
9. Loop it and listen in mono.
10. Adjust until the bass feels like it grooves with the break instead of sitting on top of it.
Goal: by the end, you should have a bass phrase that feels like a real rhythm part, not a MIDI pattern.
Recap
The key to a strong humanized mid bass in jungle and oldskool DnB is:
If you remember one thing: humanize the groove, not the low-end chaos. That’s how you get basslines that feel alive while still leaving the headroom your DnB mix needs.

