Main tutorial
Lesson Overview
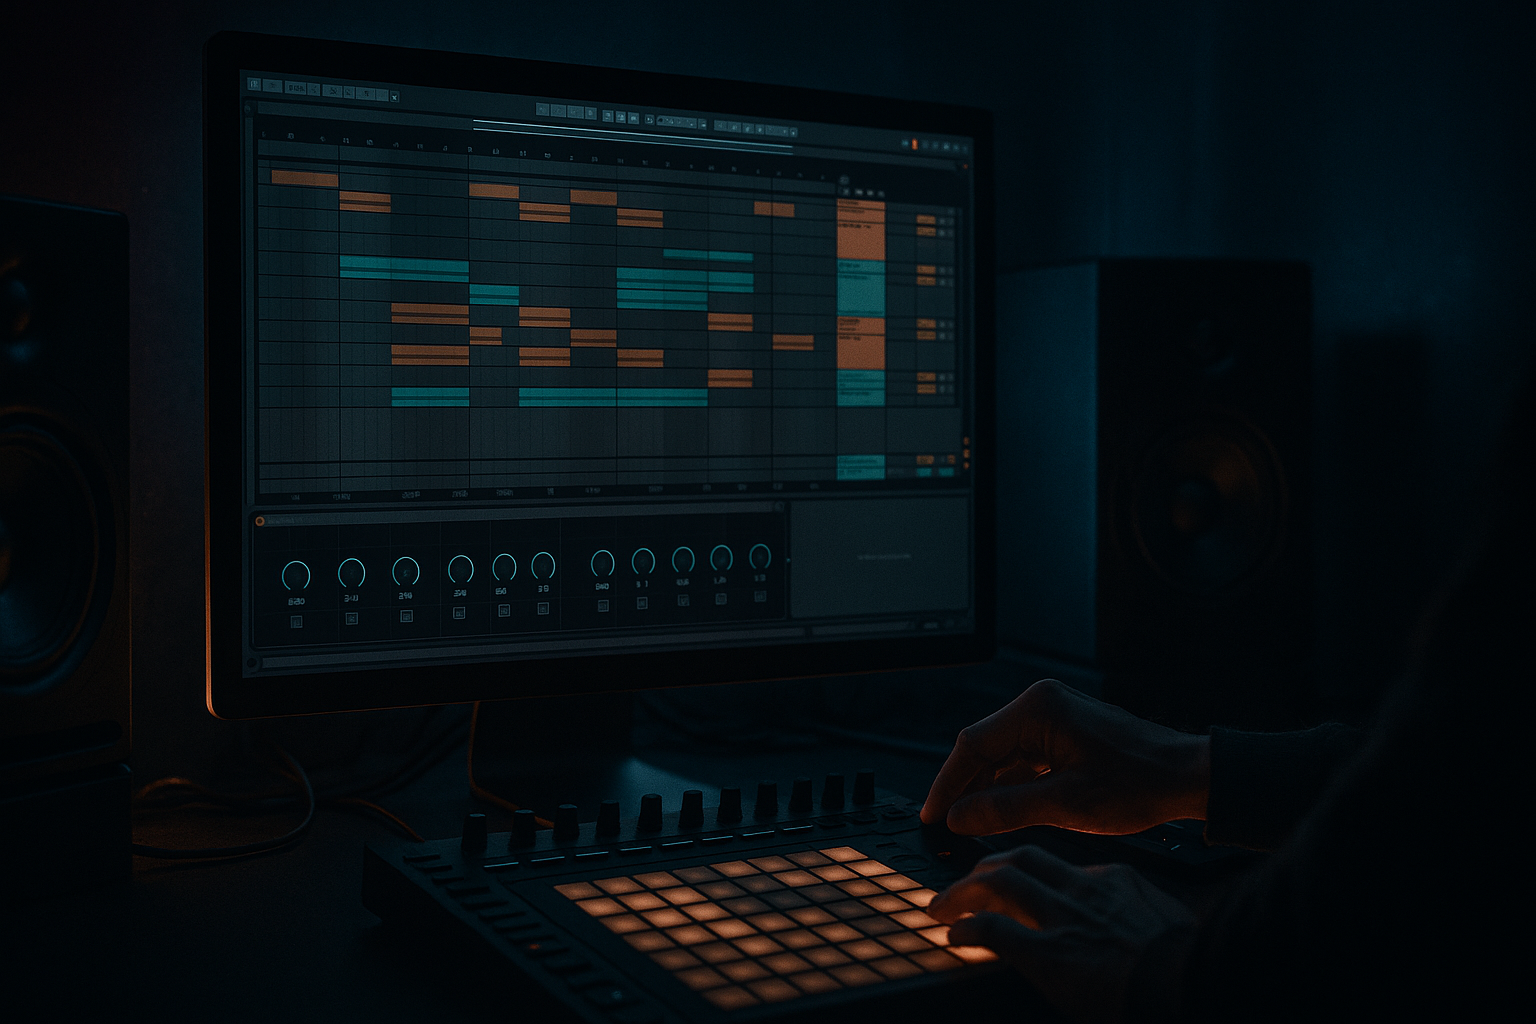
This lesson is about building a mid bass blend for a ragga-infused DnB chaos section in Ableton Live 12 — the kind of bass layer that sits above the sub, adds attitude, and makes the drop feel like it’s spitting fire without turning into muddy noise. In Drum & Bass, the mid bass is often what gives your track its personality: the growl, the reese movement, the ragga-like call-and-response energy, and the gritty edge that keeps the drop interesting after the first bar.
For beginner producers, this matters because a lot of DnB tracks fail for one simple reason: the sub is there, but the mid bass blend doesn’t lock with the drums. The result is either thin and weak, or overloaded and messy. In a ragga-influenced style, the mid bass has to feel rhythmic, rude, and lively while still leaving room for the kick, snare, and sub.
By the end of this lesson, you’ll know how to:
- build a mid bass layer in Ableton Live
- blend it with a clean sub
- make it rhythmically answer the drums
- add movement and grit without destroying low-end clarity
- arrange it into a proper DnB drop section that feels like a real track 🎛️
- Sub layer: clean, mono low-end following the root notes
- Mid bass layer: a gritty, ragga-style moving bass that lives mostly above the sub
- Rhythm: syncopated phrases with short rests so the drums can breathe
- Arrangement: a 4-bar drop loop with a call-and-response feel
- Movement: filter automation, saturation, and reverb throws for energy
- Mix balance: controlled low end, stereo discipline, and space for break edits and snare impact
- Making the mid bass too loud
- Letting the mid bass occupy too much low end
- Using constant notes with no rests
- Over-widening the bass
- Adding too much distortion
- Ignoring the drums
- Automate the filter cutoff at phrase endings so the bass opens up right before a drop reset. That adds tension without extra notes.
- Use short silence before a bass hit to make the next hit feel heavier. In DnB, negative space is power.
- Layer a subtle reese texture under the main mid bass using a detuned saw patch in Wavetable, but keep it quieter than the main sound.
- Try rhythmic LFO movement on the filter or wavetable position at 1/8 or 1/16 for a mechanical neuro edge.
- Keep the sub boring on purpose. The more character you put in the mid bass, the more stable the sub should be.
- Use Drum Buss lightly on the bass group to glue the layers and add a bit of smack, especially if your mid bass feels too polite.
- Reference a dark roller or jungle tune and compare the bass density against the snare space. If your bass is fighting the snare, it’s too busy.
- Resample your best 4-bar loop once it works. Drag it to audio and chop it later for more control and faster arrangement decisions.
- Build the sub and mid bass separately
- Keep the sub mono and clean
- Make the mid bass rhythmic, gritty, and expressive
- Use rests and call-and-response to create ragga-style energy
- Use Ableton stock devices like Operator, Wavetable, Auto Filter, Saturator, Drum Buss, Utility, and Echo
- Check that the bass works with the drums, not against them
- In DnB, the best mid bass blend is powerful, controlled, and full of attitude 🔥
Why this technique matters in DnB: the genre depends on contrast and control. The drums hit hard, the sub anchors the track, and the mid bass supplies tension, aggression, and motion. If the blend is right, the whole drop feels bigger than the sum of its parts.
What You Will Build
You’ll build a 2-layer bass part for a 174 BPM DnB drop:
Musically, imagine a drop where the first bar hits with a raw bass stab, the second bar answers with a wobbling, growling phrase, and the third and fourth bars open up with a quick switch-up before the phrase repeats. That’s the kind of chaos we’re aiming for — tight enough to hit hard, loose enough to feel alive.
Step-by-Step Walkthrough
1. Set up a clean DnB drop loop first
Start with a simple 4-bar loop at 174 BPM in Ableton Live 12. Put down:
- a kick on the first beat or as part of your break pattern
- a snare on beat 2 and 4
- a basic hi-hat or break loop
- an empty bass MIDI track
Keep the drums basic for now. In DnB, the bass should be written against the drum groove, not after you’ve already overloaded the arrangement.
Good beginner habit: loop just 4 bars so you can hear how the bass phrase breathes against the drums.
2. Build the sub separately on a mono-safe instrument
On one MIDI track, load Operator or Simpler for a clean sub.
- If using Operator, choose a sine wave
- Set the oscillator to a simple single tone
- Keep it mono
- Use short note lengths so the sub doesn’t smear into the next hit
Suggested starting points:
- Oscillator level: full or near full
- Amp envelope attack: 0–5 ms
- Release: 60–120 ms
- Glide/portamento: off for now
Write the root notes of your bassline first. A beginner-friendly DnB move is to keep the sub on 1–2 notes per bar at first. That gives the drums space and helps you hear whether the low end is working.
Why this works in DnB: the sub is the foundation. If the subline is too busy, the kick and snare lose impact, and the whole drop feels weak rather than heavy.
3. Create the mid bass as a separate layer
On a second MIDI track, load Wavetable or Operator for the mid bass.
A simple starting patch:
- choose a saw-based or squared waveform
- add a second oscillator slightly detuned
- keep the patch aggressive but not too bright
- use Filter to shape the tone
Beginner-friendly Wavetable starting point:
- Oscillator 1: Saw
- Oscillator 2: Square or Saw, detuned slightly
- Filter: Low-pass or band-pass depending on tone
- Cutoff: around 150–600 Hz to start, then automate later
- Resonance: low to medium, around 10–25%
Then add Saturator after the instrument:
- Drive: 2–8 dB
- Soft Clip: on
- Keep an eye on output level
This layer should sound rude even before effects. Don’t worry if it’s not huge yet — the point is to make a mid bass that can sit on top of the sub and help the drop speak.
4. Write a ragga-style call-and-response phrase
This is the composition part that makes the drop feel like DnB rather than a generic bass loop.
In the MIDI clip, try a call-and-response shape:
- Bar 1: short bass stab on the downbeat, then a gap
- Bar 2: a longer wobble or movement phrase
- Bar 3: a repeated stab with a variation
- Bar 4: a fill or pickup into the loop restart
A strong beginner pattern is:
- note hit on beat 1
- second hit on the “and” of 2
- short answer on beat 3
- rest before bar 2 repeats
Keep note lengths short at first:
- stabs: 1/8 to 1/4 note
- movement notes: 1/4 to 1/2 note
- leave silence between phrases
That silence matters. In ragga-infused DnB, the bass often feels like a vocal conversation: one phrase shouts, the next answers. The rests are part of the groove.
5. Shape the movement with modulation and automation
Now make the mid bass move. In Ableton Live 12, use the stock devices you already have:
- Auto Filter for cutoff sweeps
- LFO if you want easy rhythmic motion
- Frequency Shifter for metallic edge and movement
- Echo for short rhythmic trails
- Utility for width control and mono checking
Start with Auto Filter:
- Filter type: Low-pass or band-pass
- Cutoff automation range: roughly 200 Hz to 2.5 kHz
- Resonance: keep moderate, around 15–30%
Automate the cutoff to open on key moments:
- slightly open on the first hit
- close during busy drum sections
- open more in the final beat before the loop repeats
If you use LFO:
- Rate: sync to 1/8 or 1/16
- Amount: small to medium
- Shape: try a smoother curve first, then sharper shapes for more bite
Keep it controlled. In DnB, movement is powerful when it supports the groove, not when it turns the bass into random noise.
6. Blend the sub and mid bass with space in mind
This is the blend part of the lesson. Your sub and mid bass should behave like one instrument, even though they are separate tracks.
Do this in Ableton:
- put both tracks in a bass group
- use Utility on the mid bass to keep the low end in check
- high-pass the mid bass if needed, usually around 80–150 Hz
- keep the sub in mono with Utility set to Width = 0% if necessary
Check these balance points:
- the sub should be felt more than heard
- the mid bass should supply character, not low-end weight
- the kick should cut through the bass without fighting it
Suggested workflow:
- solo sub and tune it to the kick
- then bring in the mid bass and lower it until it feels exciting but not overpowering
- toggle mono on your bass group with Utility to test compatibility
A good beginner rule: if the bass only sounds good in stereo, it’s probably too wide or too messy for a DnB drop.
7. Add drum interaction so the bass feels alive
In DnB, the bass should interact with the break, not just sit on top of it. Use your drum pattern to influence the bass phrasing.
Try these ideas:
- make the bass hit just after the snare for a push-pull feel
- leave gaps where ghost notes or break edits can speak
- add a bass stab before a snare for tension
- use a short bass fill at the end of bar 4 to lead back to bar 1
If you’re using a breakbeat:
- keep the bass out of the busiest ghost-note clusters
- let the break do some of the rhythmic talking
- use the bass for the bigger accents
Arrangement example:
- Bars 1–2: sparse ragga bass stabs
- Bars 3–4: more movement and a quick fill
- Bars 5–8: repeat with one extra note or filter open
- Bar 9 onward: introduce a switch-up or new drum layer
This keeps the section exciting while still readable for the listener.
8. Use Ableton stock effects for grit and transition energy
Now add a few carefully chosen effects to make the bass feel more underground.
Good stock choices:
- Saturator for density
- Drum Buss for punch and harmonic thickness
- Redux for digital edge
- Auto Pan for subtle movement, if used carefully
- Reverb or Echo on sends for fills and transitions
Beginner-safe settings:
- Drum Buss Drive: low to moderate, around 5–20%
- Redux Downsample: small amounts only, enough to grit up the tone
- Echo feedback: short, around 10–25% for transition throws
- Reverb decay: short to medium for effects, not on the core sub
Important: don’t put heavy reverb on the sub or core bass. Use sends or automate effect throws only on the mid bass at the end of phrases.
Example use:
- last note of bar 4 gets a short Echo throw
- cutoff opens slightly at the same moment
- bass drops back into silence for a half beat before the loop resets
That little gap makes the drop feel harder.
9. Tighten the arrangement into a real DnB section
A solid beginner arrangement for this concept:
- Intro: drums + atmosphere
- Build: bass teases with filtered hits
- Drop 1: full sub + mid bass blend
- Switch-up: remove the mid bass for 1 bar or change the rhythm
- Drop return: bring the original phrase back bigger
In the drop, use contrast:
- bar 1: strong opening hit
- bar 2: more rhythm
- bar 3: brief silence or a stop
- bar 4: fill into the loop
This is especially effective in jungle and rollers because the listener expects movement over repetition. Even a simple 4-bar bass idea can feel massive if the arrangement gives it room.
10. Check the low end and simplify if needed
Before you move on, do a quick practical check:
- mute the mid bass: does the track still have weight?
- mute the sub: does the bass lose its foundation?
- listen in mono: does anything disappear?
- lower the bass group until the drums feel clearer, then bring it back slightly
Use Utility to test mono and control width. Use your ears more than meters at this stage. If the bass feels exciting but the kick and snare still cut through, you’re in the right zone.
Common Mistakes
- Fix: lower the mid bass until it adds character, not dominance. The sub should carry the weight.
- Fix: high-pass the mid bass gently, usually somewhere around 80–150 Hz, depending on the sound.
- Fix: leave space. Ragga-infused DnB needs phrasing, not a wall of bass.
- Fix: keep the sub mono and check the bass in mono. Use width only on higher-frequency movement if needed.
- Fix: use Saturator or Drum Buss in moderation. If the sound turns into fizz, back off.
- Fix: rewrite the bass so it interacts with the snare and break accents. DnB bass is rhythmic, not just tonal.
Pro Tips for Darker / Heavier DnB
Mini Practice Exercise
Spend 10–20 minutes making a rough DnB bass blend loop:
1. Set Ableton Live to 174 BPM.
2. Make a 4-bar drum loop with kick, snare, and a simple break.
3. Create a sub track using Operator with a sine wave.
4. Create a mid bass track using Wavetable with saw or square-based movement.
5. Write a bass phrase with at least:
- 2 short stabs
- 1 longer movement note
- 1 bar of space or a fill
6. Add Auto Filter to the mid bass and automate the cutoff across the 4 bars.
7. Add Saturator lightly to the mid bass.
8. Check the bass in mono using Utility.
9. Bounce the loop if it works and listen back once outside the project view.
Goal: make the bass feel like a real DnB drop idea, not just a sound design test.

