Show spoken script
Micro-fill Design with Stock Devices in Ableton Live, advanced drum and bass drums. Let’s go.
Today we’re designing micro-fills: those tiny, high-impact moments that make a DnB groove feel alive without turning the track into a drum solo. Think 1/16 note flicks, half-bar rollovers, little stutters, reverse sucks, micro-edits. Fast, textural, and groove-preserving. The whole point is to pull the listener into the next phrase while keeping the roll hypnotic.
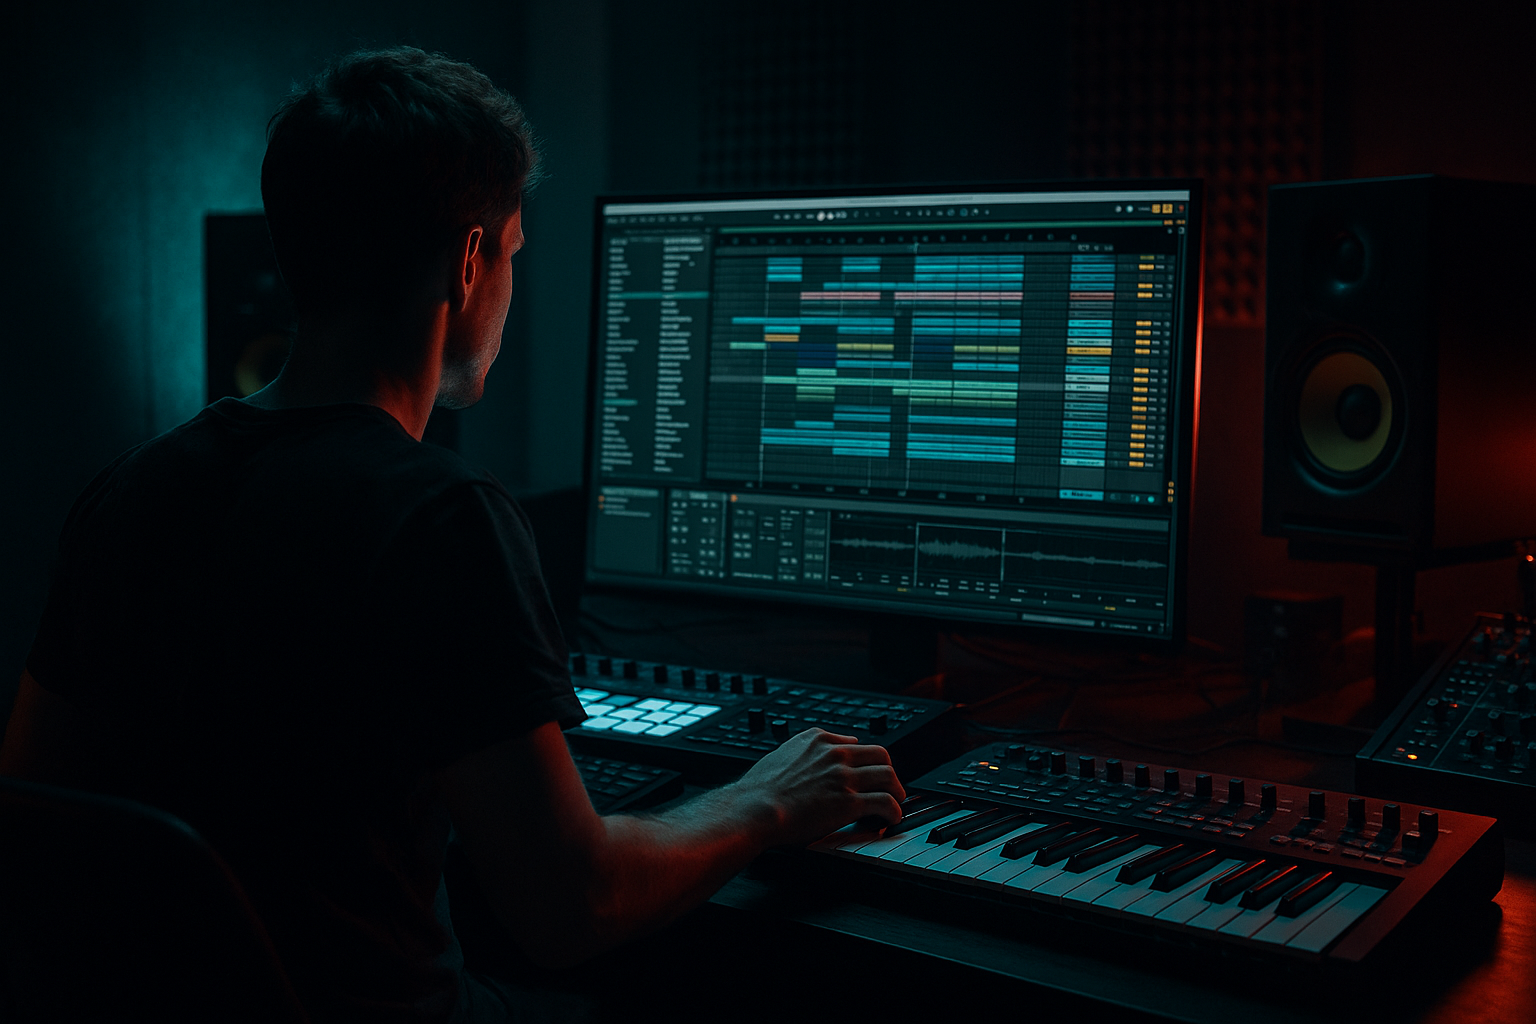
And we’re doing it with only stock Ableton devices.
Here’s the mindset I want you in right away: micro-fills are not “more drumming.” They’re micro-edits. Most pro fills in rolling DnB feel like the loop got interrupted or reshaped for a split second… not like someone added eight new layers. Contrast beats density.
We’re going to build three reusable tools:
First, a Ghost Rollover Fill Rack for subtle snare and kick articulations that tuck into the groove.
Second, a Hat or Break Glitch Lane using Beat Repeat, filtering, and short echo for controlled stutters.
Third, an Impact plus Reverse Suck transition using a resample workflow that sounds way more expensive than it is.
Set your tempo to 174 BPM. Then build a clean drum context, because micro-fills only work when your default groove is stable. Make a drum group with Kick, Snare, Hats, optional Break layer, and then a dedicated Fill track. That last part is important: keep fills on their own track so you can mute them, arrange them, and not destroy your core groove while you experiment.
Loop an 8-bar groove you already trust. Don’t start designing fills on a shaky foundation.
Alright. Tool one: the Ghost Rollover Fill Rack.
Create a new MIDI track and name it FILL - Ghosts. Drop a Drum Rack on it. Load three to five one-shots across pads. The specific choices matter more than people think: you want short sounds that speak at low volume. A softer snare ghost or rim drag, a clicky tight kick ghost, a short tom or blip, a tiny ride or hat tick, and optionally a foley click.
Now we shape it so it behaves like subtle drummer articulation.
On the Drum Rack chain, add Velocity. Set it to Random. Set Random somewhere around 8 to 20. Then cap the output so the ghosts never jump out. Out High around 70 to 90 is a good safety rail. What you’re doing here is creating controlled imperfection. Every time the fill plays, it has movement, but it never becomes the loudest thing in the room.
Next, add Saturator. Turn on Soft Clip. Drive it about 2 to 6 dB. Then trim the output so the level matches. The goal is density and audibility at low level, not loudness.
After that, add Drum Buss. Drive around 5 to 15 percent. Boom at zero to ten percent, but be careful: micro-fills get boomy incredibly fast and step on your sub pocket. Crunch around five to twenty. And then the secret weapon here: Transients. Push it plus five to plus fifteen. That transient emphasis is how you hear ghosts in a heavy mix without turning them up.
Now program a classic half-bar ghost rollover. For example, bar 8 leading into bar 9. Put 1/16 notes on your snare ghost leading into the main snare. Add one kick ghost on an “e” or “a” just before the downbeat. Keep velocities low, like 20 to 55. Only one or two hits should hit 60 to 75, and that’s your little push into the phrase.
Here’s a reality check that saves you years: if you can clearly hear the fill when the bass is in, it’s probably too loud. A micro-fill should feel like the groove is flexing, not like a new part entered.
Now let’s add timing feel without accidentally flamming your main snare.
Select your fill notes and try a groove from Groove Pool. Swing 16-65 at five to twelve percent is a classic starting place. Or an MPC style 16 swing at three to eight percent if you want it more subtle. Then do a tiny bit of manual nudging: push a couple of ghost notes three to eight milliseconds late to get that laid-back drag. But keep anything that lands near your main snare tight. Unless you want an intentional flam, you don’t want phasey, messy overlap.
Quick add-on that keeps everything clean: add Auto Filter after Drum Buss. High-pass, 24 dB slope, and set the frequency around 120 to 250 Hz. That’s your “no mud” switch. Ghost fills do not need sub.
Extra coach move: use choke groups in the Drum Rack. Put your ghost snare and drag samples in the same choke group. Sometimes even short cymbal bites too. That way, when you do fast 1/32 style hits, tails don’t smear over each other and blur the transient.
Also, remember micro-timing isn’t only about moving notes. It’s also about envelopes. If you’re using Simpler or Sampler on a pad, try shortening or lengthening amp decay instead of nudging the MIDI. It stays on-grid, keeps the punch, but the feel changes.
Okay, tool two: the Hat or Break Glitch Lane with Beat Repeat.
Create an audio track named FILL - Glitch. Feed it audio from your hats or break layer. You can route input from the source track, or duplicate the break clip, or even resample later. The key is: this lane is for controlled chaos, not random chaos.
Insert devices in this order: Beat Repeat, Auto Filter, Echo, then Utility.
Beat Repeat starting point: set Interval to 1 bar so it only tries to do its thing once per bar. Offset zero. Grid 1/16. For frantic moments, switch to 1/32, but don’t live there the whole time. Gate around 60 to 85 percent. Chance around 15 to 35, and yes, automate Chance later so it’s intentional. Variation around zero to twenty. Pitch at zero, unless you want one moment of pitch drop, and even then, treat it like a spice. Mix around 10 to 25 percent, because we want it to tuck in, not dominate.
Then Auto Filter. This is what makes it sound like a fill, not like your audio is broken. Use high-pass or band-pass. Automate cutoff during the stutter. High-pass from around 300 up to 2k gives you that thinning lift. Band-pass around 600 to 2k gives that radio bite that reads as “designed.”
Then Echo. Keep it tight. Time on 1/8 or 1/16, feedback 10 to 25 percent. Filter the Echo so it’s not throwing low-end around: high-pass 300 to 800 Hz, low-pass around 6 to 10k. Mix eight to eighteen percent.
Then Utility, because Utility is your discipline device. It’s where you keep the level sane and handle stereo decisions.
Now do the automation move that basically always works: in the last 1/8 bar before a phrase change, ramp Beat Repeat mix from zero to about twenty percent. Open the filter. Bring Echo mix from zero to around twelve percent. Then slam them all back to zero on the downbeat. That reset is what makes it feel intentional and clean.
Extra coach note: build yourself a safe loudness ceiling. Put a Limiter on your fill group. Ceiling at minus one dB, lookahead one millisecond. Now you can push transients, crunch, and automation without surprise spikes destroying your headroom. Mix into that ceiling by ear.
And another advanced trick: sometimes the best fill is negative space. Instead of adding notes, mute hats or the break for a 1/16 to 1/8. Automate Utility gain on your hat group to dip, even to minus infinity for a split second, then slam it back. Leave maybe one tiny ghost snare or a reverse suck underneath. That moment of silence hits insanely hard in DnB because the listener’s brain expects the roll to continue.
Tool three: the Impact plus Reverse Suck micro-transition.
This is the dark, pro-sounding transition into a snare, a turnaround, or a drop. And it’s stock. Choose a short impact source: a snare, a crash, a tom stab, something with a clear transient. Put a Reverb on that channel temporarily. Decay two to 4.5 seconds, size 70 to 120 percent, predelay zero to ten milliseconds, high cut around 4 to 8k so it’s darker, and dry wet around 25 to 45.
Now freeze and flatten that track, or record it to audio. Take the printed audio and reverse it. Trim it down to 1/8 or 1/4 bar. Fade it in cleanly. Place it right before your target hit, like the snare on 2 or 4, or the downbeat of the drop.
Then make it sit. Utility: reduce gain until it’s felt more than heard. Auto Filter: high-pass 150 to 300 Hz to keep it out of the sub. Optional Saturator: one to three dB drive to thicken it so it reads on small speakers.
Extra sound design move: if that reverse has a tonal metallic ring, make it key-aware. Put it into Simpler, one-shot mode, warp on, try Beats or Tones. Pitch it roughly to the root or the fifth of your track. Then add a band-pass Auto Filter and sweep it into the hit. Suddenly it sounds intentional, like part of your track’s identity.
Now, let’s turn all this into an arrangement system, because the real advanced skill is not making one cool fill. It’s building a vocabulary you can repeat.
Think motifs: A fill, B fill, C fill.
A is your subtle ghost rollover.
B is your noticeable hat stutter.
C is your reverse suck transition.
Here’s a practical 16-bar map you can steal: bars one through four, no fills. Establish the groove. Bar four, A fill for 1/8. Bar eight, A fill again but 1/4 and slightly busier. Bar twelve, B fill, 1/8 hat stutter with filter opening. Bar sixteen, C fill, reverse suck into the downbeat, maybe with a tiny stutter right before.
That’s how you keep hypnosis while still adding life.
Now, advanced upgrade: make one Macro do the work. On your fill group, create an Audio Effect Rack and map multiple parameters to one Macro called Intensity. Map Saturator drive from zero to plus six. Map Drum Buss crunch from zero to 25 percent. Map an Auto Filter cutoff either as a low-pass darkener from around 12 to 18k down to 4 to 8k, or as a high-pass lift from 150 up to 800 Hz. And map Utility gain from minus infinity up to zero so the whole fill can rise and disappear with one automation curve. Now, instead of drawing five lanes, you draw one. That’s pro workflow.
Another advanced method: one hit becomes a fill. Add Arpeggiator to a MIDI fill sound, like a tick or ghost snare. Style up, rate 1/16 or 1/32, gate 18 to 40 percent, retrigger on. Now you can place one MIDI note and automate arp rate and gate to create ratchets without manually programming every hit.
And if you like generating variations while staying in control, build a palette of short fill clips in Session View, all 1/8 or 1/4. Use Follow Actions: Next or Random, with a chance around 20 to 40 percent. Now you have a curated fill generator that still speaks your language.
Let’s cover the common mistakes, because these are the traps.
Overfilling every bar. DnB needs hypnosis. Too many fill events kill the roll.
Fills too loud. If it competes with the main snare, it’s not a fill anymore, it’s a new groove.
Low end in ghost layers. Micro-fill plus sub equals messy drop.
Random Beat Repeat with no automation. If it’s chance-based, you still have to frame it with mix moves and resets.
Accidental snare flams. Ghost drags should be clearly behind or ahead, or quiet enough to just texture the transient.
And a quick darker, heavier DnB tip: make fills mid-forward, not top-forward. If everything is bright hats, your fills just sound like more hats. Darken with a low-pass around 8 to 12k, then add bite with Saturator or transient emphasis. You can even use Multiband Dynamics on the fill bus: tame the highs a bit, bring up mids slightly, so it cuts without fizz.
Now a mini practice to lock this in.
Build a 16-bar loop. Start with a clean two-step plus rolling hats. Make three fill clips.
Fill A: 1/8, a snare ghost drag, two to four hits into a main snare.
Fill B: 1/4, Beat Repeat stutter on hats with the filter opening.
Fill C: 1/4, reverse reverb suck into the downbeat plus a single tom hit.
Place them: bar four is A, bar twelve is B, bar sixteen is C.
Then do the real test: turn your monitoring way down and listen. At low volume, a good micro-fill still reads as movement and punctuation, even if you can’t hear every little hit. If it disappears completely, add transient emphasis or mid density. If it still jumps out, pull it down. Micro-fills should feel inevitable, not loud.
Recap to close.
Micro-fills in DnB are tiny, intentional, and they protect the groove.
Use a ghost fill rack with Velocity into Saturator into Drum Buss for subtle rollovers.
Use Beat Repeat into filter into short echo for controlled glitch moments, and automate the mix so it’s framed.
Use a resampled reverse reverb suck for dark, pro transitions.
And arrange fills like motifs across 4, 8, and 16-bar phrases, not constant decoration.
If you tell me what lane you’re writing in—rollers, jungle, neuro, minimal, dancefloor—I can suggest a tight palette of fill “logos” with exact note patterns and exactly what to automate, so your whole track speaks one rhythmic language.