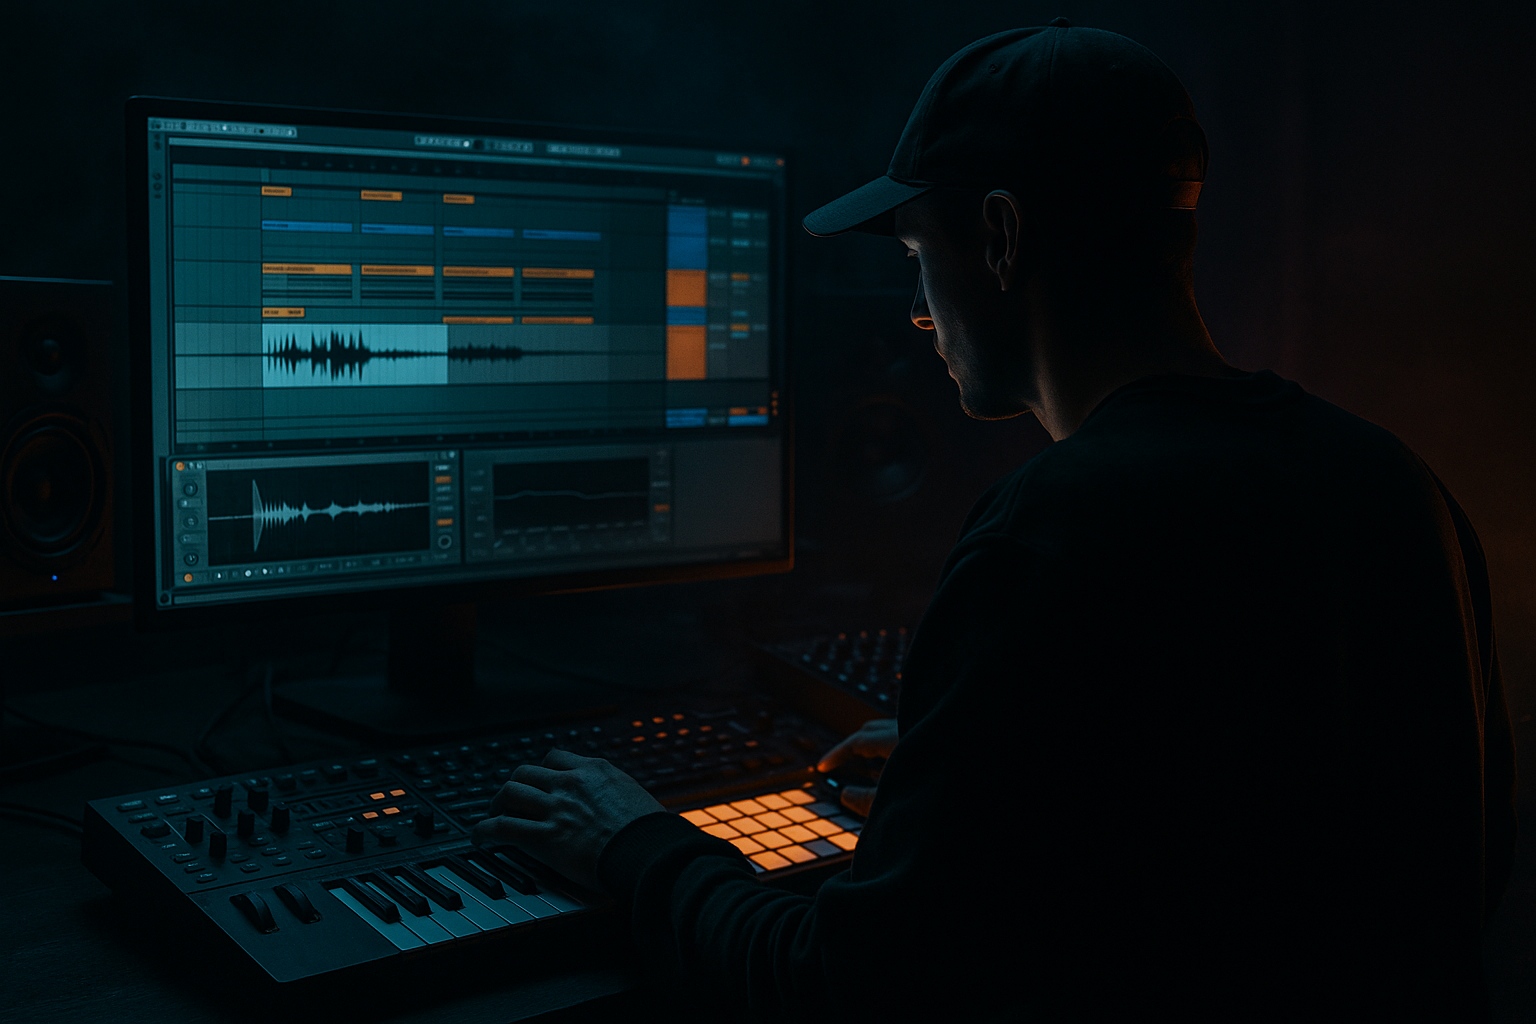
Main tutorial
Masterclass: Creative Bassline Macro Controls in Ableton Live 12 for Jungle / Oldskool DnB 🎛️🥁
1. Lesson overview
In this lesson, you’ll build a powerful, performance-ready bassline patch in Ableton Live 12 using Macro controls in an Instrument Rack. The goal is to create a bass that can move from deep, rude sub to gnarly reese / jungle-style movement with just a few knobs.
This is a core DnB skill because oldskool jungle and rolling drum & bass often rely on:
- fast automation
- filter movement
- layered bass tones
- sub control
- dynamic buildup and drops
- Wavetable
- Operator
- Analog or Drift
- EQ Eight
- Saturator
- Auto Filter
- Corpus or Redux
- Compressor / Glue Compressor
- Utility
- Drum Buss if needed
- dark, round sub for the verse
- moving midbass for the groove
- aggressive bass hits for fills
- filter sweeps for drop transitions
- oldskool jungle-style “talking” movement 🎚️
- one note on the downbeat
- one syncopated note before the snare
- a pickup note at the end of the bar
- Oscillator 1: Basic Shapes or Analog-style saw
- Oscillator 2: Sine or triangle for extra body
- Turn off unneeded noise at first
- Set voices to mono or legato if you want a classic bass feel
- Add a little unison only on the top layer if needed, not the sub
- Osc 1: saw, level around 70%
- Osc 2: sine, level around 30–40%
- Filter: LP24 low-pass
- Cutoff: around 120–200 Hz to begin
- Resonance: light, about 10–20%
- Amp envelope:
- Cut unnecessary mud around 200–400 Hz if it gets boxy
- If needed, gently boost the bass body around 60–90 Hz
- Avoid overboosting sub too much; let arrangement space do the work
- Mode: Analog Clip
- Drive: start around 2–6 dB
- Soft Clip: On
- Choose Low-Pass 24
- Cutoff: set mid position to start
- Add a little resonance if you want that classic sweeping motion
- Keep Width at 0% for the sub-heavy main layer if you’re using only one bass sound
- This helps keep your low end solid and club-safe
- use light compression
- aim for 1–3 dB gain reduction
- don’t squash the groove
- Wavetable Oscillator 1 level
- Wavetable Oscillator 2 level
- Saturator Drive
- EQ Eight mid boost/cut or filter cutoff
- Map Osc 2 level higher as the macro rises
- Map Saturator Drive higher as the macro rises
- Map Auto Filter cutoff slightly higher as the macro rises
- Optionally reduce Osc 1 a little as the macro increases, but do not remove the sub completely
- Macro at 0%:
- Macro at 100%:
- intro vs drop transitions
- more intense fills
- riding energy during a breakdown
- Auto Filter cutoff
- Auto Filter resonance
- Wavetable filter cutoff if you prefer internal filtering too
- When macro is low: dark, closed, moody bass
- When macro rises: opens up and gets more urgent
- Cutoff from around 120 Hz to 2–4 kHz
- Resonance from low to moderate
- Keep resonance under control so it doesn’t whistle too much in the low end
- 8-bar build-ups
- halftime breakdowns
- jungle Reese movement
- Saturator Drive
- Saturator Dry/Wet if using a parallel setup
- Redux bit reduction very lightly
- Drum Buss Drive if you want a rougher edge
- low macro value = clean and deep
- high macro value = gnarlier and more urgent
- ravey bass stabs
- oldskool jungle bass call-and-response
- drops that need more attitude
- Layer A: Sub
- Layer B: Mid/Top bass
- Utility Width
- Chorus-Ensemble if used very lightly
- EQ Eight high shelf or high-pass amount for the top layer
- Keep anything below about 120 Hz mono
- Only widen the mids and highs
- Operator with sine wave, or Wavetable sine
- EQ Eight low-pass around 90–120 Hz
- Utility width set to 0%
- Very little or no saturation
- Wavetable saw / reese layer
- Saturator
- Auto Filter
- Maybe a touch of Chorus-Ensemble
- EQ Eight high-pass around 100–150 Hz
- Macro 1 = sub level vs mid level
- Macro 2 = filter movement
- Macro 3 = drive
- Macro 4 = stereo width on the midbass only
- use short, punchy note lengths
- vary note velocity if the instrument reacts to it
- leave gaps so the breakbeat can breathe
- use offbeat notes for classic rolling tension
- automate Filter Movement during 8-bar build-ups
- increase Drive / Dirt in the drop
- slightly raise Sub ↔ Bite for fills or second phrase energy
- open Width / Character only in sections where the bass is not fighting the kick and snare too much
- Bars 1–8: dark intro, low filter, minimal drive
- Bars 9–16: bass opens gradually
- Bars 17–24: full drop, more bite and dirt
- Bars 25–32: automate filter down for variation, then back up
- Keep sub mono
- Use Utility to collapse width
- Only widen the upper layer
- Add harmonic content carefully
- Check the bass at low volume
- Make sure the sub still punches through
- Keep each macro purposeful
- Make the response musical
- Test macro movements while the full drum loop is playing
- Make sure the bass still feels present at low cutoff settings
- Leave room for the kick and snare
- Let the break breathe around the bass notes
- Monitor the output
- Use Utility or device output controls to manage level
- clean sine sub
- detuned saw layer
- automate the saw layer’s filter for movement
- automate filter cutoff in small curves
- automate wavetable position slightly
- automate saturation amount over 1–2 bars
- sidechain input: kick
- fast attack
- medium release
- only a few dB of gain reduction
- around 200 Hz – 2 kHz is where the character lives
- use EQ and saturation to shape this zone carefully
- keep width and brightness lower in the intro
- raise them slightly at the drop
- pull them back during breakdowns
- clean in the intro
- meaner in the drop
- more animated in the final 2 bars
- how to design a bass sound with stock Ableton devices
- how to group devices into an Instrument Rack
- how to map useful parameters to macros
- how to control sub, bite, filter, dirt, and width
- how to automate macros for arrangement energy
- how to keep the low end mono and powerful
- a ready-made macro mapping template
- a jungle bass rack with exact device settings
- or a follow-up lesson on automating bass and breakbeat together 🎛️
Instead of drawing tons of automation clips, you’ll learn how to map important sound-shaping parameters to macros so you can perform the bassline like an instrument.
You’ll use stock Ableton devices such as:
This lesson is beginner-friendly, but the result can sound very authentic for jungle, 90s rave, and rolling DnB vibes.
---
2. What you will build
You’ll create a Bass Instrument Rack with 4 useful Macros:
1. Sub ↔ Bite
- blends between clean low-end and aggressive midrange
2. Filter Movement
- opens/closes the bass tone for tension and drops
3. Drive / Dirt
- adds saturation and edge
4. Width / Character
- controls stereo movement for the top layer while keeping sub mono
End result:
A bass patch that can do things like:
---
3. Step-by-step walkthrough
Step 1: Start with a clean MIDI track
1. Create a MIDI track.
2. Load Wavetable onto it.
3. Set your project around 160–175 BPM for classic jungle/DnB feel.
4. Write a simple bass MIDI pattern first:
- use short notes
- leave space for the kick and snare
- keep the root notes simple at first
A good beginner pattern is:
For oldskool-style bass, rhythm matters more than complexity.
---
Step 2: Build the bass sound in Wavetable
Start with a solid low-end source.
#### In Wavetable:
#### Suggested starting settings:
- Attack: 0–5 ms
- Decay: short to medium
- Sustain: medium
- Release: short
For jungle bass, you want something that can be tight, punchy, and controlled.
---
Step 3: Add device processing after Wavetable
Now build a simple bass chain after the instrument.
#### Suggested chain:
1. EQ Eight
2. Saturator
3. Auto Filter
4. Utility
5. Optional: Glue Compressor or Compressor
#### EQ Eight
#### Saturator
This gives your bass more presence on small speakers and helps it cut through breakbeats.
#### Auto Filter
#### Utility
#### Compressor / Glue Compressor
If your bass level jumps too much:
---
Step 4: Group the bass into an Instrument Rack
This is where the macro magic happens.
1. Select the Wavetable and all following devices.
2. Press Cmd/Ctrl + G to create an Instrument Rack.
3. Open the Rack’s Macro Controls.
Now you’ll map key parameters to macros.
---
Step 5: Map Macro 1 — Sub ↔ Bite
This macro should let you move from a clean sub to a more aggressive bass tone.
#### Map it to:
#### How to set it up:
#### Example macro range:
- mostly sine/sub
- low drive
- darker filter
- more saw/upper harmonics
- more saturation
- brighter filter
This is great for:
---
Step 6: Map Macro 2 — Filter Movement
This macro gives you the classic DnB “sweep and tension” feel.
#### Map it to:
#### Suggested behavior:
#### Practical range:
This is especially useful for:
---
Step 7: Map Macro 3 — Drive / Dirt
D&B bass often needs controlled aggression.
#### Map it to:
#### Suggested use:
#### Tip:
If using Redux, keep it subtle. Too much bit reduction can destroy the low end fast.
This macro is excellent for:
---
Step 8: Map Macro 4 — Width / Character
Oldskool bass often needs to stay mono in the sub, but you can still add stereo interest higher up.
#### Best way to do this:
Split your bass into two layers inside a Rack:
If you want to stay beginner-friendly, you can keep one instrument and just control width on the higher frequencies.
#### Map it to:
#### Important:
For jungle and DnB, this gives the bass a bigger feel without wrecking club translation.
---
Step 9: Improve the rack with chain splitting
If you want a more pro setup, split the sound into sub and midbass chains inside the Instrument Rack.
#### Chain 1: Sub
#### Chain 2: Midbass
Now map:
This is the cleanest way to keep your bottom end strong while still getting movement on top.
---
Step 10: Add musical movement with MIDI and automation
Now that the rack is built, make the bassline feel alive.
#### In the MIDI clip:
#### Automate macros in arrangement:
#### Arrangement idea:
That kind of macro movement makes the track feel alive and “DJ-friendly” 🥁
---
4. Common mistakes
1. Making the sub stereo
This is one of the fastest ways to weaken your low end.
2. Overusing saturation
Too much drive can make the bass fuzzy but smaller.
3. Mapping too many things to one macro
If one macro changes 10 parameters in a random way, it becomes hard to control.
4. Letting the filter kill the bass
If your filter closes too much, the bass may disappear.
5. Not leaving space in the drum pattern
Even the best bass patch fails if the drums are cluttered.
6. Forgetting gain staging
If your rack is too loud, every macro move can clip badly.
---
5. Pro tips for darker/heavier DnB
Use a layered reese with a hidden sub
A classic trick:
This gives a darker, more cinematic DnB tone.
Add subtle movement with LFO-like automation
If you want more life:
Even tiny changes can make the bass feel “human” and analog-ish.
Use sidechain compression to the kick
Try Compressor or Glue Compressor on the bass bus:
This helps the kick hit hard without the bass masking it.
Use resampling for jungle character
Once your macro automation sounds good:
1. record the bass performance to audio
2. chop it up
3. reverse small sections or duplicate hits
4. add break edits around it
This is very oldskool and can create that raw jungle energy.
Push midrange, not just sub
Dark DnB bass often feels heavy because the midrange is controlled and aggressive.
Use Macro 4 as a “drop energy” control
A really useful arrangement trick:
That makes the track feel like it is expanding and contracting over time.
---
6. Mini practice exercise
Goal
Build a simple 8-bar bass loop with macro automation.
Exercise steps
1. Make a 4-note DnB bass pattern in C minor or F minor.
2. Create an Instrument Rack with these 4 macros:
- Sub ↔ Bite
- Filter Movement
- Drive / Dirt
- Width / Character
3. Program the bass so it hits around the kick/snare rhythm.
4. Automate the macros over 8 bars:
- Bars 1–2: dark, low filter
- Bars 3–4: add drive
- Bars 5–6: open filter
- Bars 7–8: increase bite and width for the phrase ending
5. Export or resample the result and listen back on headphones and speakers.
Challenge
Try making the bass feel:
That’s real arrangement control.
---
7. Recap
You’ve now learned how to build a creative bassline macro rack in Ableton Live 12 for jungle and oldskool DnB.
What you learned:
Final takeaway
In DnB, macro controls are not just convenience tools — they’re performance tools. They let you turn one bass patch into a living part of the track.
If you want, I can also give you:

