Main tutorial
Lesson Overview
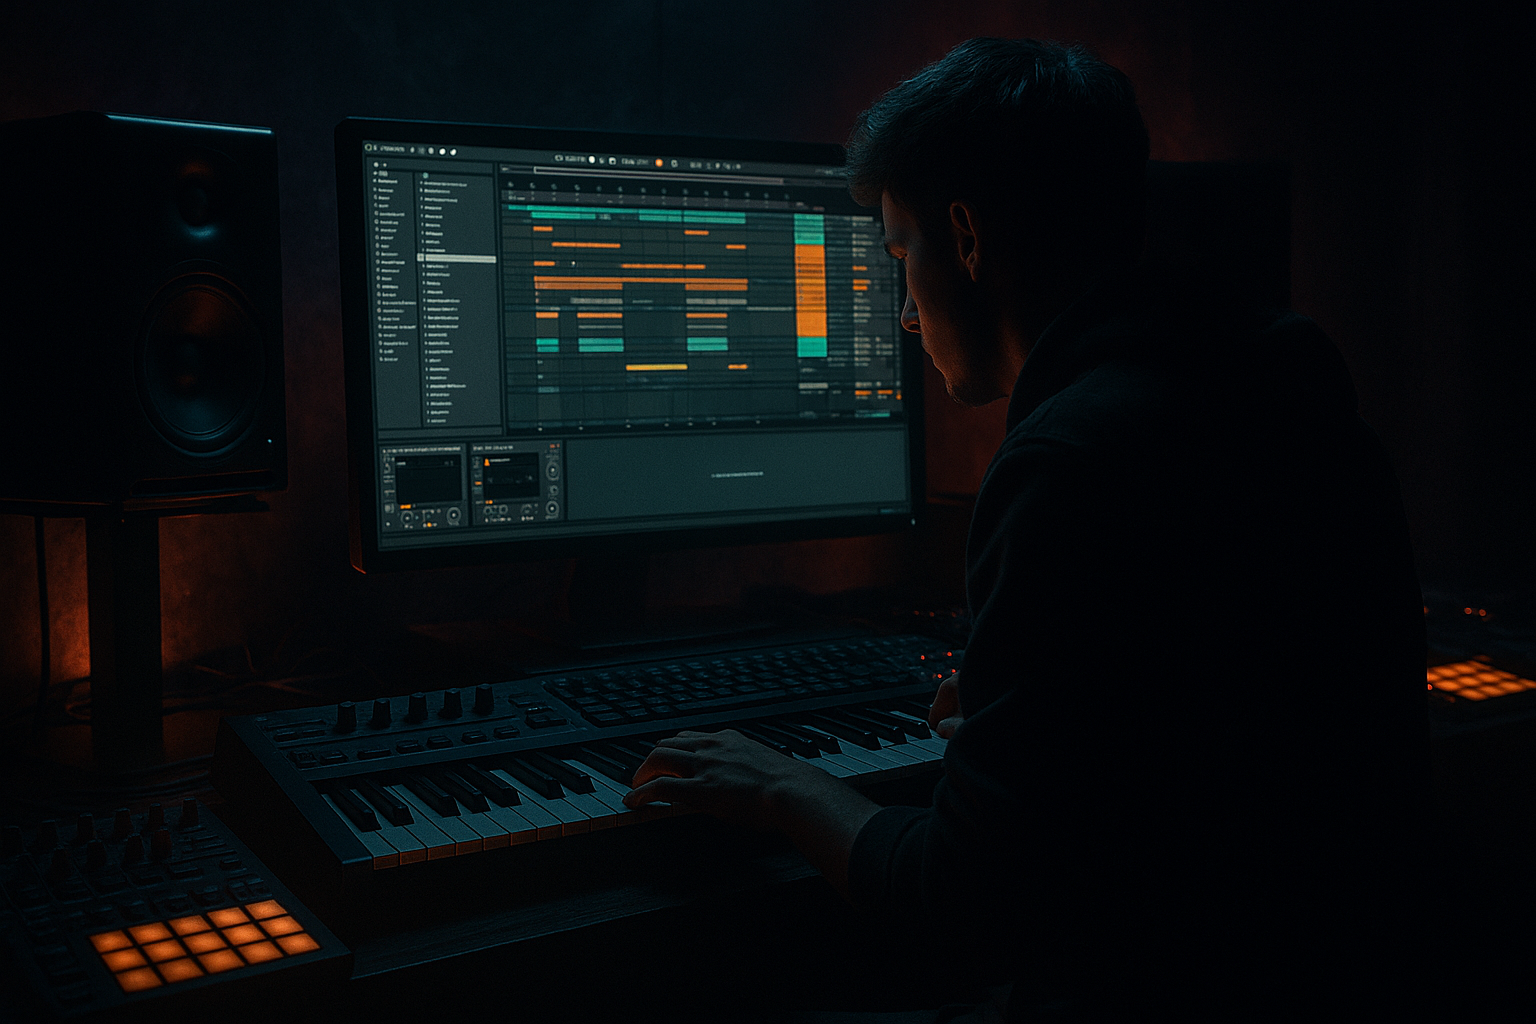
This intermediate lesson teaches how to create an LTJ Bukem dark pad in Ableton Live 12 with automation-first workflow. You’ll design a lush, moody ambient pad tailored for Drum & Bass (170–175 BPM), but the emphasis is on planning and drawing automation before final sound tweaks. Using Ableton stock devices (Wavetable, EQ Eight, Auto Filter, Hybrid Reverb/Echo, Saturator, Compressor/Glue, Utility) you’ll map key parameters to macros and drive movement with clip/arrangement automation to get the evolving, cinematic quality associated with LTJ Bukem-style atmospheres.
What You Will Build
- A dark, evolving pad patch in Wavetable with dual-oscillator layering
- A macro-mapped effect chain (filter, reverb, delay, chorus, saturation)
- Automation-first modulation: pre-drawn envelopes for cutoff, wavetable position, reverb wet, width, and sidechain amount to sync with a Drum & Bass groove
- A looped 4-bar MIDI pad that breathes and ducks with the kick/snare using sidechain compression
- Create a new MIDI track. Load Wavetable (Ableton stock) on it.
- MIDI clip: create a 4-bar loop. Program a simple, dark chord progression—e.g., Am(add9) or Em9 in a mid-high register: root-5-7-9 voicing. Hold notes for full 4 bars so the pad sustains.
- Set Wavetable Global: Voices = 6 (for lushness), Detune = 0.05–0.12, Unison = 4 for a wide pad. Set Glide off.
- Oscillator 1: choose a darker wavetable (e.g., “Analog -> Saw/Brass” or “Soft”); lower octave -12 to -24 if you want a low sub layer. Turn Osc1 Level to ~75%.
- Oscillator 2: pick a different timbre (e.g., “Noise/Cloud” or “Square-ish” wavetable). Tune +7 semitones (a fifth) or +12 semitones for harmonic richness. Set its level to ~35–50% so it complements Osc1.
- Noise: add a small amount of Noise (10–20%) to add air and texture.
- In Wavetable, enable the filter: Lowpass 4-pole (24 dB). Set Cutoff around 900–1500 Hz and Resonance low (0.05–0.12).
- Amp Envelope (Env 1): Attack = 400–700 ms (slow fade-in), Decay = 0, Sustain = 0.8–1.0, Release = 1.5–3.5 s. This creates that slow pad swell.
- Route Env 2 to Filter Cutoff with moderate amount (10–25%) so the filter opens slightly on each note.
- EQ Eight: High-pass at 110–160 Hz (to clear low end for drums), a gentle dip at 300–500 Hz if muddy, and a small high-shelf lift above 8–10 kHz (optional).
- Auto Filter: Lowpass, filter slope 12 or 24 dB, Resonance 0.05. We’ll automate cutoff here rather than Wavetable’s internal cutoff—gives cleaner macro control.
- Chorus-Ensemble: Rate low (0.1–0.4 Hz), Amount moderate for stereo movement.
- Saturator: Drive 1–3 dB with Soft Clip or Analog Clip; set Dry/Wet ~20–30% for subtle warmth.
- Hybrid Reverb (or Reverb): Pre-delay 10–30 ms, Size large; Dry/Wet set in chain to be automated.
- Echo: Sync to 1/4 or dotted 1/8; Feedback 20–30%, Dry/Wet ~15% for stereo texture.
- Compressor (or Glue): For final bus control and to set up sidechain. Activate Sidechain input from your Drum bus (kick/snare bus).
- Utility: Final width control and gain staging.
- Before deep-sculpting the patch, create the automation lanes you want to drive the pad’s motion:
- Create Automation Envelopes (choose either Clip Envelope for looping motion or Arrangement Automation for section-specific changes):
- Draw the envelopes visually first. This is the “automation-first” core: you decide motion and rhythm before final timbral micro-adjustments.
- Map Macro controls to the actual device parameters if you haven’t already (Right-click Control -> Map to Macro).
- Tweak Wavetable oscillator levels, filter envelope amount, and unison detune so the base sound sits well with your automation shapes.
- Make small iterative adjustments: e.g., if the cutoff automation sounds too bright at max, lower the global filter cutoff in Wavetable so the macro’s max still remains dark.
- On the Compressor after the pad chain, enable Sidechain and select the Kick (or Kick+Snare bus) as input. Set Ratio 3:1–6:1, Attack very fast, Release synced to groove (around 120–220 ms) to create rhythmic pumping. Decide whether sidechain amount is entirely automated or static—try automating Macro 5 to blend sidechain intensity (0–100%) depending on section.
- Optionally, automate the Compressor Threshold to duck more in heavy drum sections.
- Return to EQ Eight: carve any conflicting mid-range with gentle cuts. Use mid/side mode on EQ Eight for stereo clarity: reduce the mid-band in center if it conflicts with bass.
- Automate Utility Width macro to make the pad narrow in verses and wide in breaks.
- If CPU is high, Freeze and Flatten or resample the pad to audio. Keep automation intact by resampling multiple takes at different automation states and layer them subtly for depth.
- Over-automation: Automating too many parameters at once makes the pad sound messy. Start with 3–4 strong macros and expand only if necessary.
- Too much low-end: Pads can muddy the bass. Always HP filter around 100–160 Hz and check with the kick/bass loop active.
- Using internal synth modulation and clip automation simultaneously without coordination: this can clash. Decide which device performs continuous micro-modulation (e.g., slow LFO inside Wavetable) and which you will control with clip/arrangement automation. Prefer macro automation for larger movements.
- Harsh resonance peaks: Automating filter cutoff with high resonance can spike frequencies unpleasantly—keep resonance low or automate resonance carefully.
- Ignoring phase/mono compatibility: Wide chorus/unison can collapse badly in mono. Check with Utility Width = 0% occasionally.
- Automation-first mindset: draw the big motion (filter, wavetable position, reverb) before spending time on tiny oscillator tweaks — you’ll save time and hear what matters in the mix.
- Use Clip Envelopes for looped, LFO-like behavior — easier to edit per-bar movement — and Arrangement Automation for transitions and long-term evolution.
- Map multiple parameters to a single macro with inverted mappings for expressive control (e.g., Macro 1 opens cutoff while reducing reverb dry/wet simultaneously).
- For classic Bukem darkness, lean toward minor/modal chords with sparse low-frequency content; emphasize upper-mid harmonics and reverb tails.
- Use subtle pitch modulation (Pitch Bend or a slow oscillator modulating pitch a few cents) to mimic analog drift. Automate pitch amount for occasional detune sweeps.
- When sidechaining, automate the release time (shorter for tighter pockets in verses, longer for lush washes in breaks).
- Save macro-presets: create an “LTJ Pad Macro Rack” template so you can drop it into future projects quickly.
Step-by-Step Walkthrough
Note: keep Live set tempo at 172 BPM (typical Bukem DnB range). Throughout, use Arrangement View if you want section automation over time; use Clip Envelopes for repeating LFO-like motion inside a loop.
1) Track and Source Setup
2) Raw Oscillator Choices
3) Filter and Amp Envelope (initial sound)
4) Build the Effect Chain (stock devices)
Insert after Wavetable (in this order):
5) Automation-First Planning
- Map useful device parameters to Macros in an Instrument Rack: Macro 1 = Auto Filter Cutoff; Macro 2 = Wavetable Position (osc mix/morph); Macro 3 = Hybrid Reverb Dry/Wet; Macro 4 = Chorus Amount or Delay Dry/Wet; Macro 5 = Filter Resonance or Saturator Drive; Macro 6 = Utility Width.
- Open the Instrument Rack and expose these macros.
- Macro 1 (Cutoff): draw a slow 4-bar LFO-like curve that dips on beats 1 and 3 (gives breathing with the drum pocket). Values: start at 40%, drop to 25% on beat 1 (duck), rise to 60% over bars 2–3 for an opening sweep, then return—use smooth curves (Bezier).
- Macro 2 (Wavetable Position): create a long rising sweep across 8–16 bars: start at 20% and end at 70% to evolve harmonic content.
- Macro 3 (Reverb Wet): program peaks at bar boundaries (e.g., 20% steady, jump to 45% at bar 4 for a lift).
- Macro 4 (Chorus/Delay): subtle cyclical automation at 0–30% synced to 1/4–1/2 bar for movement.
- Macro 6 (Width): automate from 70% to 100% on transitional bars for dramatic stereo widen.
6) Map Macros to Parameters and Refine
7) Sidechain and Groove Integration (Drums category focus)
8) Final EQ and Spatial Balancing
9) Bounce/Freeze and Layering
Common Mistakes
Pro Tips
Mini Practice Exercise
1) Set tempo to 172 BPM. Create a 4-bar MIDI clip with an Em9 sustained chord.
2) Load Wavetable, set 4 unison voices, Osc1 at -12 semitones, Osc2 at +7 semitones, Noise 12%.
3) Build the effect chain: EQ Eight (HP 120 Hz) → Auto Filter → Chorus → Saturator → Hybrid Reverb → Echo → Compressor (sidechain to Kick) → Utility.
4) Map Auto Filter cutoff, Wavetable Position, Reverb Dry/Wet to Macro 1–3.
5) Draw a clip envelope loop for Macro 1 such that the filter dips on beats 1 and 3 and slowly rises across the 4-bar loop.
6) Add sidechain compression and tweak release until the pad breathes with your kick.
7) Export a 10–15 second loop and listen back. Adjust Macro ranges to taste.
Recap
This lesson guided you through creating an LTJ Bukem dark pad in Ableton Live 12 with automation-first workflow. You learned to set up Wavetable with layered oscillators, construct a stock-device effect chain, map and pre-draw automation for expressive movement, and integrate the pad rhythmically via sidechain. The automation-first approach forces you to design motion and space before finicky sound-shaping, which is especially useful in Drum & Bass contexts where pads need to sit and breathe with a heavy rhythm section. Use the mini exercise to lock in the workflow and iterate from there.

