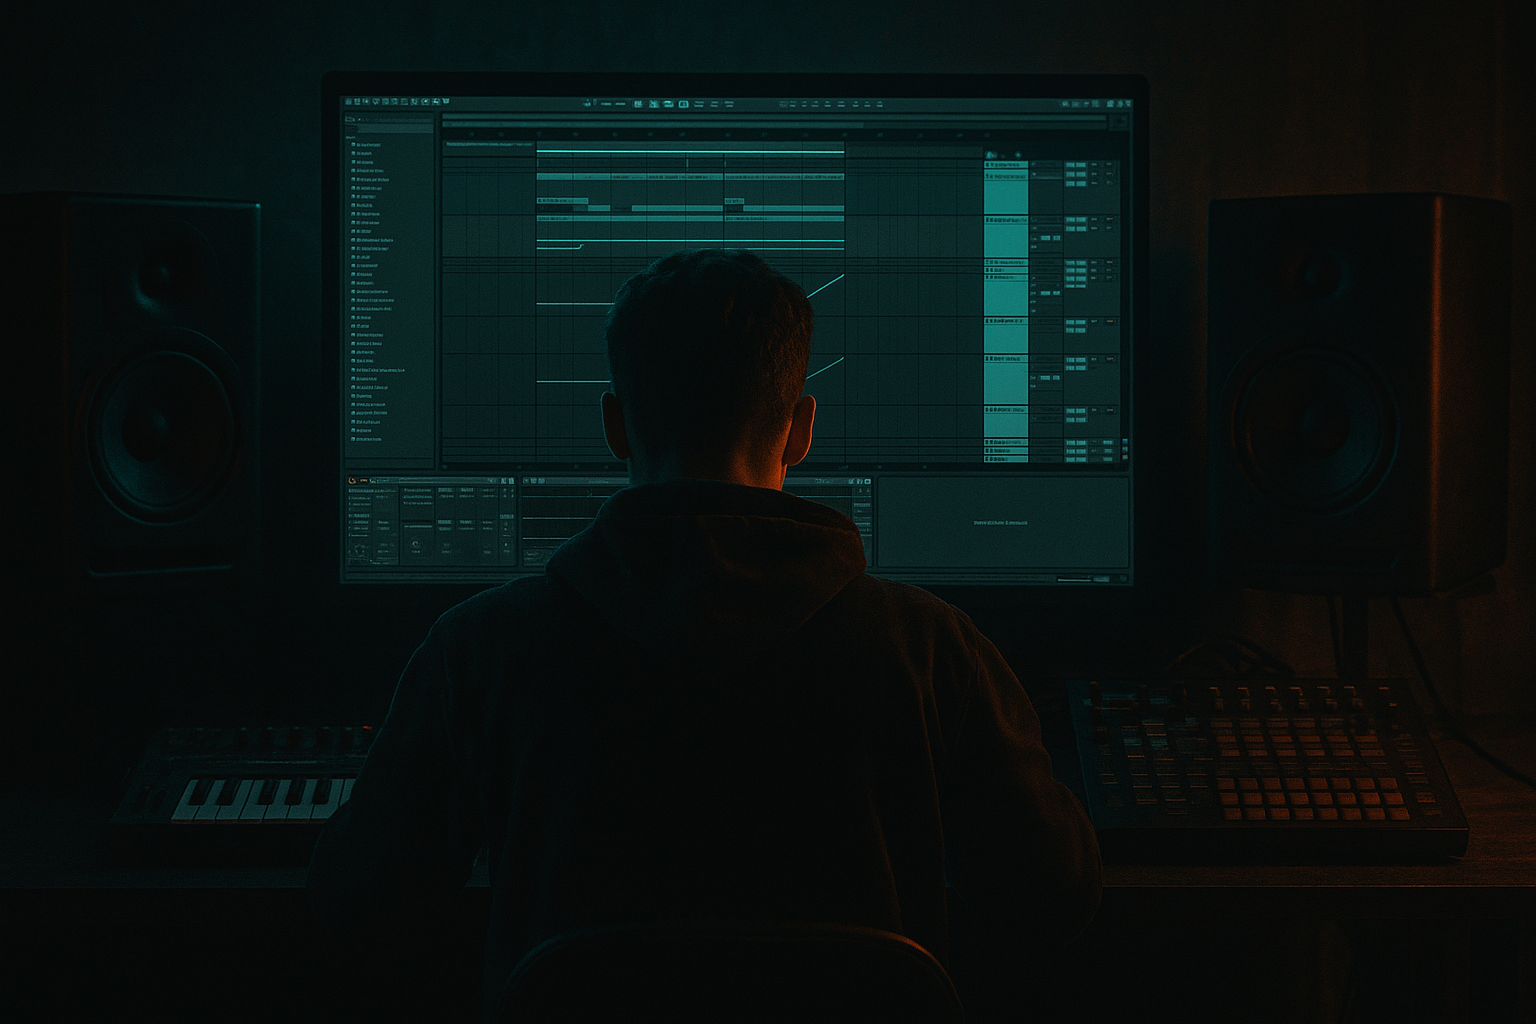
DNB COLLEGE

Drum & Bass Ableton Live 12 Tutorials

LESSON DETAIL

LSB brass stab in Ableton Live 12 with crisp transients and dusty mids (Beginner · Edits · tutorial)

An AI-generated beginner Ableton lesson focused on LSB brass stab in Ableton Live 12 with crisp transients and dusty mids in the Edits area of drum and bass production.

Back to lessons
LSB brass stab in Ableton Live 12 with crisp transients and dusty mids (Beginner · Edits · tutorial) cover image

Narrated lesson audio

The voice track includes the tutorial plus extra teacher commentary.

Open audio file

Main tutorial

1. Lesson Overview

This lesson teaches how to craft an LSB brass stab in Ableton Live 12 with crisp transients and dusty mids. You will take a brass sample (or single-shot brass instrument), edit it into a one-shot stab, and process it using only Ableton stock devices (Simpler/Sampler, EQ Eight, Drum Buss, Saturator, Erosion, Compressor/Glue, Utility, Instrument Rack) so it sits punchy in a Drum & Bass mix while keeping a warm, slightly dirty midrange character.

2. What You Will Build

  • A playable Instrument Rack containing a layered brass stab (two layers: transient-focused and mid-dirty body).
  • Processing chain that delivers:
  • - Fast, crisp initial transient,

    - Controlled low end (mono below ~200 Hz),

    - Dusty mid character (grit/analog warmth),

    - Tight decay appropriate for Drum & Bass stabs (~1–3 hits per bar, dependent on arrangement).

    3. Step-by-Step Walkthrough

    Note: exact phrase appears here by design: we will construct an LSB brass stab in Ableton Live 12 with crisp transients and dusty mids.

    A. Project setup

  • Set tempo to 172–174 BPM (typical DnB range).
  • Create a new MIDI track (Cmd/Ctrl+Shift+T to create a default MIDI track).
  • B. Load and prepare the sample or synth

  • If you have a brass one-shot sample: drag it into Simpler (placed inside the instrument rack later). If you prefer to design, open Sampler and import a short brass sample.
  • In Simpler use Classic/One-Shot mode:
  • - Disable looping.

    - Set Attack to 0–3 ms for instant attack.

    - Set Release to 80–180 ms depending on how short you want the stab (make it short enough to avoid overlap in DnB but not too abrupt).

    - Turn off Warp for one-shot stability.

  • Tune root note if necessary (Sampler: set Root key; Simpler: transpose knob).
  • C. Build two-layer Instrument Rack (transient + dusty mids)

  • Create an Instrument Rack and drop two Simpler devices into separate chains:
  • - Chain A: Transient layer (bright, trimmed for attack)

    - Chain B: Mid/dust layer (darker, full-bodied)

  • Name chains: "Transient" and "Dust".
  • D. Shape the transient layer (Chain A)

  • In Simpler:
  • - Use the sample start to find the exact spike; trim to emphasize the initial lick.

    - Apply a high-pass filter (Simpler’s filter or add an EQ Eight after Simpler) at ~250–350 Hz to remove unnecessary low rumble and let the transient cut.

  • Add Drum Buss after Simpler with settings to emphasize attack:
  • - Drive: 2–4 (light)

    - Transient: +20–40% (this boosts attack/punch)

    - Compression: low to medium to shape (start gentle)

    - Crunch: 0–10% if you want extra bite

  • Optional (if you have Transient Shaper in device list): place Transient Shaper after Drum Buss and increase "Attack" by +20–40% and slightly reduce "Sustain".
  • Insert a Compressor after Drum Buss for tightening:
  • - Mode: Compressor (not Glue, unless you prefer)

    - Ratio: 3:1

    - Attack: 1–5 ms (fast)

    - Release: 40–120 ms

    - Threshold: adjust so 2–4 dB gain reduction on peaks

  • This chain should yield a crisp, present initial hit.
  • E. Shape the dusty mid layer (Chain B)

  • In Simpler:
  • - Keep the full body of the sample (less aggressive trimming).

    - Use the filter to remove extreme highs (low-pass around 8–10 kHz optional) so dust occupies the midrange.

  • Add EQ Eight before saturation:
  • - High-pass at ~100–150 Hz (12 dB/oct) if you still want some bottom energy, or 80 Hz if you need a bit more low-end.

    - Boost a mid band around 300–800 Hz by +2–5 dB to emphasize the “meat” of the brass. LSB style often thrives around 350–700 Hz.

  • Add Saturator (place after EQ Eight):
  • - Drive: 2–6 dB (taste)

    - Curve: Analog Clip or Soft Sine

    - Make-up if needed.

  • Add Erosion (after Saturator) to introduce dust/grain:
  • - Mode: Noise

    - Frequency: lower setting (200–600 Hz) to get a warm grit rather than high-frequency hiss

    - Amount: 10–25% — subtle! You want dusty mids, not harsh noise.

  • Follow with another EQ Eight to tame any offending frequencies:
  • - If saturation + erosion created harshness, cut slightly at 2–4 kHz by -1.5 to -4 dB.

    - Slight boost at 450 Hz if you need more body.

    F. Layer balancing and stereo/mono

  • Keep theTransient chain slightly louder for attack (start +1–3 dB above Dust).
  • Use Utility on the Rack output:
  • - Width: 95–100% for presence but avoid too wide mid energy.

    - Alternatively, add Utility on Dust chain and reduce width to 70–90% to keep grit more in-center.

  • Use Utility to mono everything below 180–250 Hz (enable “Left/Right to Mid/Side” not needed — instead use Utility's "Bass Mono" or place an EQ with a low-mid band and use Utility on a split chain; simpler approach: add Utility and set Width to 0% on a parallel low-frequency chain).
  • Use the Rack’s Chain Volume and Chain Selector if you want to quickly switch emphasis between transient and dust during arrangement.
  • G. Group processing and final glue

  • Create a Return or Group Channel for the Instrument Rack output and add:
  • - EQ Eight: final cleanup (HP at 80–100 Hz if not already done).

    - Glue Compressor:

    - Threshold: set for light gain reduction (1–3 dB).

    - Attack: 10–30 ms (slower than per-layer compressor so initial transient stays crisp).

    - Release: Auto or 100–300 ms.

    - Saturator (subtle): Drive 1–2 dB, output ceiling -0.3 dB to add slight analog sheen.

  • Add a short plate Reverb send if you want space, but keep dry/wet subtle (send to a return: Decay 0.2–0.6 s, Dry/Wet on return ~10–15%) — stabs in DnB are usually dry.
  • H. Parallel transient boosting (optional advanced but still stock)

  • Create a Return track called "Transient Send".
  • Send from Instrument Rack to this return at a moderate level.
  • On return: push Compressor with extreme settings (fast attack, fast release, high ratio) so it becomes a transient snapshot, then mix the return back in low (10–30%) to taste. This emphasizes spikes without permanently crushing the main sound.
  • I. Resample and save

  • Once satisfied, resample (create an audio clip) of the stab to freeze processing and save CPU: select the MIDI note(s) and record the output to an audio track.
  • Save the audio as a one-shot in your library, and also save the Instrument Rack as a preset for reuse.
  • 4. Common Mistakes

  • Over-saturating the mids: too much Saturator/Erosion makes the stab harsh and masks the transient. Keep drive modest.
  • Attack too slow on group glue: set group attack too fast and you will squash the transient you worked to make crisp.
  • Making low end stereo: stereo low frequencies create phase issues and a muddy mix. Always mono the low region.
  • Overly long release: causes overlapping stabs that smear rhythms in DnB — keep release tight.
  • Excessive Erosion/noise: too much erosion turns dust into abrasive static. Use subtle amounts.
  • Boosting highs to make it “crispy”: high frequency boosts can make it brittle; crispness comes from transient energy and proper contouring, not just HF boost.
  • 5. Pro Tips

  • Parallel Processing: Duplicate the stab, heavily compress + saturate the duplicate, then blend in. This keeps the original transient but adds glue and grit.
  • Mid-side EQing: If you want grit centered, process mid channel (Utility > Width or EQ Eight in M/S mode) to emphasize mids in the center and keep highs a touch wider.
  • Layer different samples: sometimes stacking two different brass one-shots—one really clicky and one warm—gets the best LSB vibe.
  • Automate transient emphasis: map Drum Buss Transient knob or compressor attack/release to automation lanes so stabs evolve across the track.
  • Use short gated reverb: a tiny reverb plus a gate (or short decay) can give a sense of space without washing the transient.
  • Resample at high bit-depth and keep a copy of the original rack so you can revisit sound design later.
  • 6. Mini Practice Exercise

    Goal: Create a 1-bar MIDI stab that repeats every quarter-note (4 hits), sounding like an LSB brass stab with crisp transients and dusty mids.

    Steps:

    1. Load two Simplers in an Instrument Rack named Transient & Dust as described.

    2. Trim Transient to the sample’s initial spike; add Drum Buss (Transient +30%), Compressor (attack 2 ms, release 80 ms).

    3. On Dust chain, add EQ Eight (+4 dB at 450 Hz), Saturator (Drive 3 dB), Erosion (Noise, Amount 15%).

    4. Add Glue Compressor on the rack return: Attack 20 ms, Release 150 ms, Gain reduction ~2 dB.

    5. Create a 1-bar MIDI clip with four C3 notes (each 1/4 note). Play back with the project tempo at 174 BPM.

    6. Resample the result to audio and compare before/after resampling to hear the effect of processing.

    7. Recap

    You’ve built an LSB brass stab in Ableton Live 12 with crisp transients and dusty mids by:

  • Editing a brass sample into a short one-shot in Simpler/Sampler,
  • Splitting it into a transient-focused layer and a dustier mid layer inside an Instrument Rack,
  • Using Drum Buss and fast compressors for punch, Saturator + Erosion for analog dust, EQ Eight for targeted mid shaping, and Glue Compressor/Utility for cohesive mix placement,
  • Applying parallel and subtle group processing to preserve crisp attack while adding warmth.

Use the provided practice exercise to lock this workflow into your toolkit and save the Instrument Rack preset so you can call this LSB brass stab into tracks quickly.

Ask GPT about this lesson

Chat with the lesson tutor, get follow-up help, or use quick actions.

Bigup 👽 Ask me anything about this lesson and I’ll answer in context.

Narration script

Show spoken script
Welcome. In this lesson I’ll show you how to build an LSB brass stab in Ableton Live 12 with crisp transients and dusty mids. We will construct an LSB brass stab in Ableton Live 12 with crisp transients and dusty mids. I’ll guide you step-by-step using only Ableton’s stock devices so the result sits punchy in a drum and bass mix while keeping a warm, slightly dirty midrange character.

Lesson overview: you’ll take a brass one-shot or a short instrument sample, edit it into a one-shot stab, and create a two-layer Instrument Rack — one layer focused on the transient, one layer focused on dusty midbody. You’ll use Simpler or Sampler, EQ Eight, Drum Buss, Saturator, Erosion, Compressor or Glue, Utility and basic rack macros to control level, width and decay. At the end you’ll resample and save a reusable preset.

Let’s get started.

Project setup
First, set your project tempo to 172 to 174 BPM — a typical DnB range. Create a new MIDI track with Cmd or Ctrl plus Shift plus T. Name the track so you can find it later.

Load and prepare the sample or synth
If you have a brass one-shot, drag it into Simpler. If you prefer to use Sampler, import the same short brass sample there. In Simpler set Classic or One-Shot mode, disable looping, and turn Warp off. Set Attack between zero and three milliseconds for an instant attack, and set Release somewhere between 80 and 180 milliseconds so the stab is short enough not to overlap at DnB tempos. Tune the root note if necessary with the Simpler transpose or Sampler root key control.

Build the two-layer Instrument Rack
Create an Instrument Rack and drop two Simpler devices on separate chains. Name Chain A “Transient” and Chain B “Dust.” Chain A will be trimmed and bright to deliver the initial click. Chain B will keep the sample’s body and add grit and warmth.

Shape the transient layer — Chain A
In Chain A’s Simpler find the initial spike in the sample and trim the start to emphasize that click. Apply a high-pass filter roughly between 250 and 350 Hertz to remove low rumble so the click can cut through. Place a Drum Buss after the Simpler and use these starting settings: Drive around two to four, Transient around plus twenty to forty percent, Compression set light to medium, and Crunch if you want just a little, between zero and ten percent. If you have Ableton’s Transient Shaper, place it after Drum Buss and raise Attack by about twenty to forty percent while slightly reducing Sustain. Follow with a Compressor on fast settings: ratio about three to one, attack one to five milliseconds, release between forty and 120 milliseconds, and set the threshold for about two to four decibels of gain reduction on peaks. This chain should give you a crisp, present first hit.

Shape the dusty mid layer — Chain B
In Chain B keep the full body of the sample. Use an EQ Eight before saturation: high-pass around one hundred to one hundred fifty Hertz if you want some bottom, or eighty Hertz for more low end. Boost a mid band between three hundred and eight hundred Hertz by around two to five dB — try a bell centered around four hundred to five hundred Hertz for that LSB meat. Add Saturator after the EQ with two to six dB of drive and choose Analog Clip or Soft Sine to taste. Then add Erosion in Noise mode with a lower frequency range around two hundred to six hundred Hertz and an amount between ten and twenty-five percent to introduce subtle dust. Finish with another EQ Eight to tame any harshness: cut two to four kilohertz by one and a half to four dB if needed, and gently boost around four hundred fifty Hertz if you want more body.

Balance, stereo and mono low end
Make the Transient chain slightly louder than Dust — start with Transient one to three dB up over Dust. Add a Utility on the Rack output and set Width to about ninety-five to one hundred percent, but consider setting the Dust chain’s Utility width to seventy to ninety percent so the grit stays more centered. Always mono anything below about one hundred eighty to two hundred fifty Hertz. The simplest approach is to create a parallel low-frequency chain or duplicate the rack chains, low-pass it around the mono cutoff and set that duplicate’s Utility width to zero percent. This keeps the low energy in mono without flattening the entire sound.

Group processing and final glue
Route the Instrument Rack output to a group or add devices directly to the Rack’s return chain. Start with a final EQ Eight for cleanup — a gentle high-pass at eighty to one hundred Hertz if you haven’t already. Add a Glue Compressor with a slower attack than the per-layer compressors: attack between ten and thirty milliseconds, release auto or one hundred to three hundred milliseconds, and target light gain reduction of one to three dB so the initial click remains intact. Add a subtle Saturator after the Glue — one to two dB drive — for analog sheen. Keep the sound generally dry; if you want space, send a tiny amount to a return reverb set to a short plate decay around two tenths to six tenths of a second and keep the wet level low.

Optional parallel transient boost
For extra snap, create a Return track named Transient Send. Send a portion of the rack to it and use an extreme compressor with a fast attack and release and high ratio, then blend that return back in at ten to thirty percent. This emphasizes spikes without crushing the main sound.

Resample and save
When you’re happy, resample the stab to an audio track to save CPU and lock the sound. Record a one-shot or a short loop, then save the rendered audio to your sample library. Also save the Instrument Rack as a preset so you can recall it later.

Common mistakes to avoid
Don’t over-saturate the mids — too much Saturator or Erosion makes the stab harsh and masks the transient. Don’t set the group Glue attack too fast, or you’ll squash the transient you just shaped. Never leave low frequencies stereo, or you’ll risk phase and muddiness. Avoid overly long release times that make stabs overlap and blur in DnB. And keep Erosion and noise subtle — too much turns dust into abrasive static.

Pro tips
Try parallel processing: duplicate the stab, heavily compress and saturate the duplicate, then blend it in for glue and grit. Use mid-side processing to keep grit centered while allowing highs to stay a little wider. Layer different one-shots for a clicky modern transient and a darker vintage body. Automate Drum Buss Transient or compressor parameters to make stabs evolve. Use a short gated reverb for occasional space and energy without washing the attack. Always keep a copy of the original rack before resampling.

Mini practice exercise
Build a one-bar MIDI stab repeating every quarter note. Create the Instrument Rack with Transient and Dust chains. On Transient trim to the initial spike, add Drum Buss with Transient at plus thirty percent, and a compressor with two millisecond attack and an eighty millisecond release. On Dust add EQ Eight with plus four dB at four hundred fifty Hertz, Saturator drive three dB, and Erosion at fifteen percent. Add Glue Compressor on the rack: attack twenty milliseconds, release one hundred fifty, and about two dB gain reduction. Make a one-bar clip with four C3 quarter-note hits at 174 BPM. Resample and compare before and after processing.

Recap
You’ve edited a brass sample into a short one-shot, split it into a transient-focused layer and a dusty mid layer inside an Instrument Rack, used Drum Buss and fast compression for punch, Saturator and Erosion for grit, EQ Eight for mid shaping, and Glue Compressor and Utility for cohesion and low-end control. Save both the Instrument Rack preset and the rendered one-shot for future use.

Quick checklist before you finish
- Transient is audible in the first five to twenty-five milliseconds.
- Decay is short enough to avoid overlaps at your tempo.
- Low end is mono and not conflicting with bass.
- Dust is present but not noisy.
- Stereo width is interesting but low frequencies are centered.

That’s it. Practice the exercise a few times with different samples and variations, save your presets, and you’ll have a solid LSB brass stab ready to drop into your next track.

mickeybeam

Go to drumbasscd.com for +100 drum and bass YouTube channels all in one place - tune in!

Generating PDF preview…