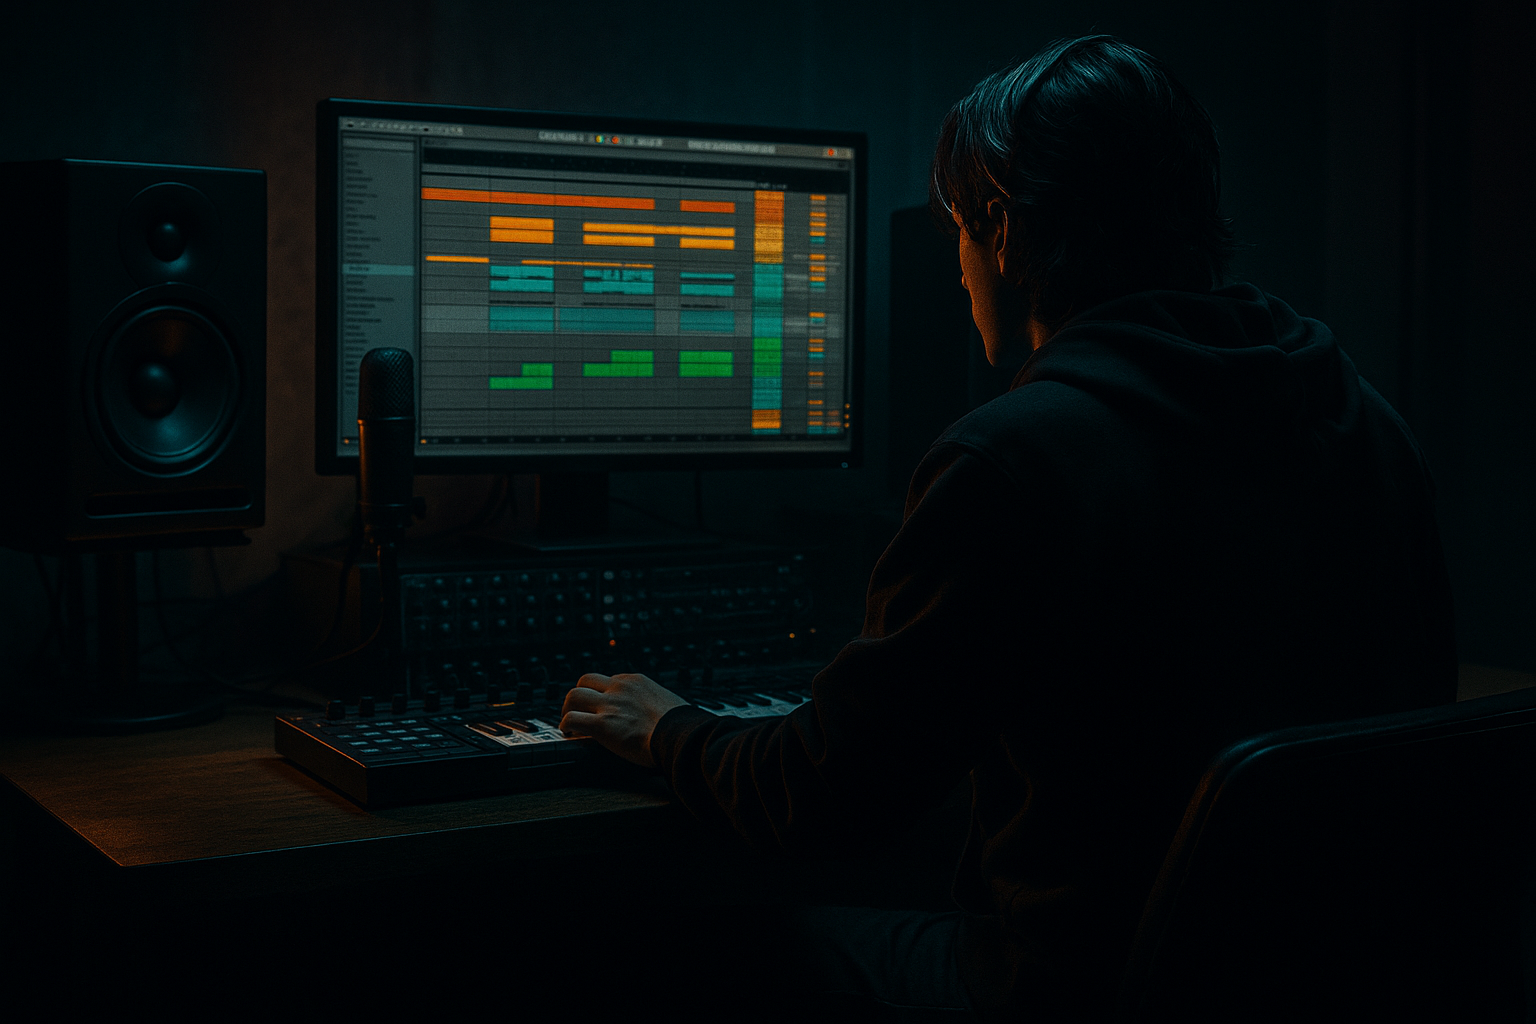
DNB COLLEGE

Drum & Bass Ableton Live 12 Tutorials

LESSON DETAIL

Low-End Pressure jungle kick weight: transform and arrange in Ableton Live 12 (Beginner)

An AI-generated beginner Ableton lesson focused on Low-End Pressure jungle kick weight: transform and arrange in Ableton Live 12 in the Groove area of drum and bass production.

Back to lessons
Low-End Pressure jungle kick weight: transform and arrange in Ableton Live 12 (Beginner) cover image

Narrated lesson audio

The voice track includes the tutorial plus extra teacher commentary.

Open audio file

Main tutorial

```markdown

Low-End Pressure Jungle Kick Weight (Ableton Live 12) 🔥🥁

Beginner • Groove • Drum & Bass / Jungle

---

1) Lesson overview

In jungle/DnB, the kick isn’t just “a thump”—it’s pressure. You want the kick to feel heavy, controlled, and consistent without fighting the sub-bass. In this lesson you’ll learn a practical Ableton Live 12 workflow to:

  • Pick/design a kick with real low-end authority
  • Add weight using stock devices (EQ Eight, Drum Buss, Saturator, Glue Compressor)
  • Make the kick sit with a rolling jungle bassline (sidechain + tuning)
  • Arrange kick patterns for classic jungle momentum 🎛️
  • ---

    2) What you will build

    You’ll create a “Weighted Jungle Kick” chain and use it in a 16-bar loop that feels authentic for:

  • 160–175 BPM jungle / drum & bass
  • Kick + snare (2 & 4), breaks layered, rolling bass underneath
  • End result: a kick that hits hard on small speakers and pushes air on a system—without muddy low end.

    ---

    3) Step-by-step walkthrough

    Step 0 — Project setup (fast + clean)

    1. Tempo: set to 170 BPM (solid jungle/DnB default).

    2. Create tracks:

    - MIDI Track: `KICK (Drum Rack)`

    - Audio Track: `BREAK`

    - MIDI Track: `SNARE/CLAP`

    - MIDI Track: `BASS`

    3. On the Master, keep it clean for now. Avoid limiters while building low-end—hear the truth first.

    ---

    Step 1 — Choose a kick that can carry weight 🎯

    You can’t “plugin” your way out of a weak source.

    Good jungle/DnB kick traits:

  • Short to medium tail (not a long boomy 808 unless you intend that)
  • Clear attack (2–5 kHz click) for definition
  • Fundamental often around 45–60 Hz (varies by key/tuning)
  • How to pick quickly in Ableton:

    1. Load a kick into Drum Rack (one-shot).

    2. In Simpler (inside Drum Rack), set:

    - One-Shot mode

    - Warp: Off

    - Fade Out tiny amount if you hear clicks (start ~2–5 ms)

    3. Decide: does it already feel solid at low volume? If yes, keep it.

    ---

    Step 2 — Tune the kick to the track (big difference) 🎚️

    If your bassline is in (example) F, a kick fundamental near F (43.65 Hz) or F# (46.25 Hz) can feel extra “locked.”

    Method (beginner-friendly):

    1. Add Tuner after Simpler (or on the track).

    2. Play the kick, watch where it stabilizes (it’ll jump—look for the strongest “center”).

    3. In Simpler → Controls, adjust Transp:

    - Try small moves: ±1 to ±3 semitones

    4. Pick the setting that feels heaviest and least “hollow.”

    > Don’t over-obsess—just get it in the neighborhood.

    ---

    Step 3 — Build the “Weight” device chain (stock only) 🧱

    On the KICK track, use this chain:

    #### A) EQ Eight (clean the junk, shape the punch)

    Add EQ Eight first.

    Suggested starting moves (adjust by ear):

  • HP filter: 24 dB/oct at 25–30 Hz (removes rumble you can’t hear but will eat headroom)
  • Mud control: Bell cut -2 to -5 dB at 180–300 Hz (Q ~1.2)
  • Click/presence: gentle bell boost +1 to +3 dB at 2.5–4.5 kHz (Q ~0.7)
  • ✅ Goal: less boxy, more “front.”

    ---

    #### B) Saturator (add harmonics = perceived weight) ⚙️

    Add Saturator after EQ Eight.

    Settings:

  • Drive: start +2 to +6 dB
  • Soft Clip: On
  • Curve Type: try Analog Clip or Soft Sine
  • Output: trim so level matches bypass (important!)
  • ✅ Why: harmonics help the kick speak on smaller speakers while still feeling deep.

    ---

    #### C) Drum Buss (the cheat code for DnB kicks) 🥊

    Add Drum Buss after Saturator.

    Starter settings:

  • Drive: 5–15%
  • Crunch: 0–10% (use lightly for jungle; more for techy DnB)
  • Boom: On
  • - Frequency: usually 45–60 Hz

    - Amount: 5–25% (don’t overdo or you’ll fight the sub)

  • Damp: 10–30% if it gets too fizzy
  • Transient: +5 to +20 if you want more knock
  • ✅ “Boom” is powerful—use it like seasoning.

    ---

    #### D) Glue Compressor (control the peak, add density)

    Add Glue Compressor last.

    Starting point:

  • Attack: 3 ms
  • Release: Auto (or 0.1–0.3s)
  • Ratio: 4:1
  • Threshold: adjust for 1–3 dB gain reduction on the loudest hits
  • Makeup: off initially; match levels manually
  • ✅ You’re not flattening it—just tightening it.

    ---

    Step 4 — Make space for the bass (sidechain done right) 🔄

    If the bass and kick are both heavy, something must move. In rolling DnB, bass usually ducks a touch on kick hits.

    On the BASS track, add Compressor:

  • Enable Sidechain
  • Audio From: Kick track
  • Attack: 1–5 ms
  • Release: 60–140 ms (sync feel: faster for tighter, slower for wobblier)
  • Ratio: 4:1
  • Threshold: aim for 2–5 dB of ducking
  • ✅ The kick feels bigger because the bass briefly gets out of the way.

    ---

    Step 5 — Add “jungle realism” with a break layer (but keep the kick king) 🧬

    Classic jungle energy comes from breaks—but the kick should still feel intentional.

    1. Load a break into the BREAK audio track.

    2. Enable Warp and choose:

    - Beats mode for tight, percussive breaks

    - Set Transient Loop or Forward depending on vibe

    3. High-pass the break so it doesn’t steal the sub:

    - EQ Eight: HP around 120–180 Hz

    4. Optional: Drum Buss on the break (light)

    - Drive 3–8%, Transients +5

    ✅ This gives groove texture while your kick provides the main low-end punch.

    ---

    Step 6 — Arrangement: where kick weight actually “lands” 🧠

    A heavy kick isn’t only sound design—it’s placement.

    #### A) Start with a classic DnB skeleton (1 bar)

    At 170 BPM, program:

  • Snare: on 2 and 4
  • Kick: on 1 (and optionally just before 3 depending on vibe)
  • Simple starting kick pattern (1 bar):

  • Kick on 1.1
  • Optional ghost kick on 1.3.3 (quiet)
  • Optional kick on 1.4 leading into next bar
  • #### B) Use dynamics: main kick vs ghost kick

    In MIDI:

  • Main kick velocity: 100–127
  • Ghost kick velocity: 35–70
  • ✅ Ghost kicks create roll without adding constant sub hits.

    ---

    Step 7 — Micro-timing for groove (beginner-safe)

    DnB can be tight, but tiny movement helps.

  • Turn Groove Pool on and try a subtle swing (e.g., MPC 16 Swing 54).
  • Apply at 10–25% and listen.
  • Alternatively, nudge a ghost kick +5 to +12 ms late for swagger.
  • ✅ Keep the main downbeat kick tight—move support hits, not the anchor.

    ---

    4) Common mistakes 🚫

    1. Boosting 50 Hz on everything

    Kick + bass + break low-end = mush. Choose who owns the sub.

    2. Too much Drum Buss “Boom”

    Sounds huge alone, messy in the mix. Keep it controlled.

    3. No high-pass below 25–30 Hz

    Wasted headroom = quieter masters later.

    4. Over-compressing the kick

    If the transient disappears, it won’t cut through breaks.

    5. Sidechain release too long

    Bass stays ducked too long → groove feels like it’s “breathing” wrong.

    ---

    5) Pro tips for darker/heavier DnB 🕶️

  • Parallel distortion (aggressive but controlled):
  • Create a return track with Saturator (Drive 8–15 dB, Soft Clip on) + EQ Eight (HP at 150 Hz), send the kick a little. You get grit without wrecking sub.

  • Split the kick into “Sub” and “Click” layers (still simple):
  • Duplicate the kick track:

    - Sub layer: low-pass around 120 Hz, keep clean/controlled

    - Click layer: high-pass around 120–200 Hz, distort for cut

    Group them and balance.

  • Shorten the kick tail for faster rolls:
  • In Simpler, reduce Decay / add a short fade—helps at 174 BPM.

  • Make room at 90–130 Hz for reese/low-mids:
  • If your bass has lots of 100 Hz energy, keep kick fundamental slightly lower (45–55 Hz) and let bass own 80–120 Hz (or vice versa).

    ---

    6) Mini practice exercise 🧪 (15 minutes)

    1. Set tempo to 172 BPM.

    2. Build an 8-bar loop:

    - Bars 1–4: simple kick on 1, snare on 2 & 4

    - Bars 5–8: add two ghost kicks (low velocity) + a break layer

    3. Add the Weight chain (EQ Eight → Saturator → Drum Buss → Glue).

    4. Sidechain the bass to the kick.

    5. Export two versions:

    - Version A: Drum Buss Boom = 0%

    - Version B: Drum Buss Boom = 15% at 50 Hz

    Compare on headphones + small speakers.

    Goal: hear what “perceived weight” vs “actual sub clutter” sounds like.

    ---

    7) Recap ✅

  • Pick a kick with a solid source transient and manageable tail.
  • Tune the kick a couple semitones for better “lock” with the track.
  • Use a clean, practical chain:
  • EQ Eight → Saturator → Drum Buss → Glue Compressor

  • Make the bass move (sidechain) so the kick can hit like a weapon.
  • Arrange with main hits + ghost hits, and let breaks add texture—not sub.

If you want, tell me your target sub key (e.g., F, F#, G) and whether you’re using a reese or sub-only bass—I’ll suggest kick fundamental ranges and a tighter sidechain timing for that exact vibe. 🥁

```

Ask GPT about this lesson

Chat with the lesson tutor, get follow-up help, or use quick actions.

Bigup 👽 Ask me anything about this lesson and I’ll answer in context.

Narration script

Show spoken script
Title: Low-End Pressure jungle kick weight: transform and arrange in Ableton Live 12 (Beginner)

Alright, welcome in. Today we’re doing something that sounds simple, but it’s basically the difference between a beginner drum and bass loop and a proper, pressurized jungle groove.

We’re building low-end pressure in a jungle kick in Ableton Live 12, using only stock devices. And not just “make it loud” pressure. I mean controlled weight that feels heavy on a system, still reads on small speakers, and doesn’t pick a fistfight with your sub bass.

Here’s the mindset: in jungle and DnB, the kick isn’t just a thump. It’s a pillar. The break can be messy, the fills can be wild, but the kick is your reference point. When the kick is stable and heavy, everything feels more serious.

Let’s set up the project first.

Set your tempo to 170 BPM. That’s a solid default for jungle and drum and bass. You can go 160 to 175 later, but 170 keeps the math and the feel familiar.

Now create four tracks:
A MIDI track called KICK, and drop a Drum Rack on it.
An audio track called BREAK.
A MIDI track called SNARE or CLAP.
And a MIDI track called BASS.

Quick note on the master: keep it clean for now. No limiter. No “make it loud” devices. When you’re building low end, you want the truth. We’ll leave headroom and let it breathe.

Before we touch any processing, do a really important decision check. I call this “bass ownership.”

Ask yourself: who owns 40 to 70 Hz in this track? The kick, or the bass?

In a lot of jungle, the bass owns the very deepest note, and the kick feels heavy from upper-bass harmonics around 80 to 140, plus a clear transient. If you try to make both dominate the same sub zone, you’ll get this weird result where it feels loud, but not pressurized. It’s like the air isn’t moving properly, and your headroom disappears.

Keep that thought in the back of your mind, because it will guide how much low end you add later.

Now Step 1: choose a kick that can actually carry weight.

This part matters more than any plugin chain. You can’t process your way out of a weak sample.

For jungle and DnB, look for a kick with a short to medium tail. Not a long boomy 808, unless you’re deliberately building an 808-style track. You want a clear attack, often some definition between about 2 and 5 kHz, and a fundamental that tends to live somewhere around 45 to 60 Hz, depending on the kick and the key.

In Ableton, load a kick into a Drum Rack pad. Click into Simpler. Make sure it’s in One-Shot mode. Turn Warp off. And if you hear a tiny click or tick at the end, add a very small fade out. Start around 2 to 5 milliseconds. The goal is just to prevent digital clicking, not to soften the punch.

Now do a quick reality test: turn your monitoring down a little and hit the kick. Does it still feel solid at low volume? If yes, you’re starting with a good source. If it only sounds impressive when it’s loud, it might not translate.

Coach tip: gain stage early. Before you build the chain, aim for the kick peaking around minus 10 to minus 6 dBFS on the channel meter. That gives you room for saturation, Drum Buss, and compression without accidental clipping.

Step 2: tune the kick to the track.

This is one of those “small move, big result” steps. If your bassline is in F, for example, a kick fundamental near F or F sharp can lock in and feel more connected to the song. Not always, but often enough that it’s worth checking.

Drop Ableton’s Tuner after Simpler on the kick track. Play the kick. The tuner will jump around because it’s a short sound, but look for where it kind of centers.

Then go back into Simpler and adjust Transpose. Don’t go crazy. Try plus or minus one to three semitones. Each time, play it in context with your bass idea if you have one. Choose the setting that feels heaviest and least hollow.

And I want to be clear: don’t over-obsess. We’re not doing a physics exam. We’re just getting it into the right neighborhood.

Now Step 3: build the “Weighted Jungle Kick” processing chain. Stock devices only.

The order we’re using is EQ Eight, then Saturator, then Drum Buss, then Glue Compressor.

First, EQ Eight.

We’re doing cleanup and shape, not extreme sculpting.

Start with a high-pass filter at 25 to 30 Hz, 24 dB per octave. That removes rumble you can’t really hear but that absolutely eats headroom.

Then do a mud control cut. Add a bell cut around 180 to 300 Hz, about minus 2 to minus 5 dB, with a Q around 1.2. This area is where kicks often sound boxy or cardboard-like.

Then, if you need definition, add a gentle bell boost around 2.5 to 4.5 kHz, plus 1 to plus 3 dB, with a wide Q around 0.7. That’s your click and presence zone.

Teacher note: if you’re not sure where the “cardboard” is, do a quick resonance hunt. Make a narrow bell, boost it a lot, like plus 8 to plus 12 dB, then sweep from 100 to 400 Hz. When it honks in an ugly way, that’s the spot. Turn the boost into a cut, usually minus 2 to minus 6 dB. That move alone can take a kick from “cheap” to “serious.”

Next, add Saturator after EQ Eight.

This is where the perceived weight comes from. Saturation adds harmonics, which means the kick reads on smaller speakers without you having to crank the sub.

Start with Drive around plus 2 to plus 6 dB. Turn Soft Clip on. Try Analog Clip or Soft Sine. And here’s the big discipline move: adjust the output so the level matches when you bypass it.

If you don’t level match, you’ll always choose “louder,” even if it’s worse. We’re training taste, not just chasing volume.

Now add Drum Buss. This is a cheat code, but you have to treat it like seasoning, not like the whole meal.

Start with Drive around 5 to 15 percent. Crunch very light, maybe 0 to 10 percent, especially for jungle where you want the break to bring a lot of the grit.

Turn Boom on. Set the Boom frequency somewhere around 45 to 60 Hz. Then bring the Boom amount up carefully, maybe 5 to 25 percent.

Pause there and do the bass ownership check again. If your bass is owning the deepest sub, don’t crank Boom at 50 Hz. You might even set the Boom a bit higher, or keep it subtle, and let saturation and transient do the heavy lifting instead.

If Drum Buss gets fizzy, raise Damp to around 10 to 30 percent. And if you want more knock, increase Transients somewhere around plus 5 to plus 20. That can help the kick punch through breaks without having to boost a ton of high end.

Now add Glue Compressor last.

We’re not flattening the kick. We’re tightening peaks and adding density.

Set Attack around 3 milliseconds. Release on Auto, or manually around 0.1 to 0.3 seconds. Ratio 4 to 1. Pull the threshold down until you see about 1 to 3 dB of gain reduction on the loudest hits.

And keep Makeup off at first. Match level manually so you can judge the tone, not the loudness.

Optional, but very effective: add a Utility at the end of the chain and set Width to 0 percent. Making your kick mono often reads as instantly more solid, and it’s club-safe, especially for the low end.

Now, quick verification: drop a Spectrum after your kick chain. You’re not mixing with your eyes, you’re just verifying.

Look for a clear low-end hill where the fundamental sits. Make sure you don’t have a bunch of energy below 30 Hz. And watch for weird spikes around 120 to 250 Hz, because that’s where the “cardboard” lives.

Then go back to your ears. Always back to your ears.

Step 4: make space for the bass. Sidechain done right.

On the bass track, add a Compressor. Turn on Sidechain. Set Audio From to the Kick track.

Set Attack around 1 to 5 milliseconds. Set Release around 60 to 140 milliseconds. Faster release feels tighter and more modern. Longer release feels more wobbly and breathy, but be careful: too long and the groove feels like it’s ducking late.

Set Ratio to 4 to 1. Lower the threshold until you get about 2 to 5 dB of ducking on kick hits.

What you should hear is not obvious pumping. You should hear the kick suddenly feeling bigger, like it has room to exist.

Advanced but beginner-friendly upgrade: if you want cleaner low end without ducking the whole bass sound, split the bass into two tracks. A SUB track low-passed around 120 Hz, and a MID track high-passed around 120 Hz. Sidechain only the SUB track. That way the bass character stays present while the deepest energy gets out of the kick’s way.

Step 5: add jungle realism with a break layer, but keep the kick king.

Load a break into the BREAK audio track. Turn Warp on. Set Warp mode to Beats for a tight, percussive feel. Adjust the transient looping mode to taste, but keep it simple for now.

Then high-pass the break with EQ Eight around 120 to 180 Hz. This is crucial. Breaks can have low end, and if you let that live under your kick and bass, the mix turns to mush fast.

If you want, add a light Drum Buss to the break: Drive 3 to 8 percent, Transients plus 5. Keep it subtle. The break’s job is texture and movement. Your kick is the intentional low-end punch.

Extra trick when the break masks your kick: on the break track, automate a tiny volume dip right where the kick hits. Just a short fade down. You keep the break vibe, but you protect the kick transient.

Step 6: arrangement. This is where kick weight actually lands.

A heavy kick isn’t only sound design. It’s placement and dynamics.

Start with a classic skeleton. At 170 BPM, put the snare on 2 and 4.

For the kick, start with a main kick on beat 1. That’s your anchor.

Then add optional support hits. A quiet ghost kick around 1.3.3 can create that rolling momentum without adding constant sub hits. And you can add a kick on 1.4 as a lead-in to the next bar if it fits the vibe.

Now set velocities. Main kick hits: think 100 to 127. Ghost kicks: 35 to 70.

This is a big beginner upgrade: the pattern can be busy, but the low end shouldn’t be equally loud all the time. Ghosts create roll. Main hits create authority.

Step 7: micro-timing for groove, beginner-safe.

DnB can be tight, but tiny movement adds swagger.

Open the Groove Pool and try a subtle swing like MPC 16 Swing 54. Apply it lightly, around 10 to 25 percent. Or, manually nudge a ghost kick a few milliseconds late, like 5 to 12 milliseconds.

Rule: keep the main downbeat kick tight. Move the support hits, not the anchor.

Now let’s do a quick 16-bar arrangement mindset, because this is how jungle starts feeling like a record.

Bars 1 to 4: sparse. Anchor hits only. Let the break establish the vibe.
Bars 5 to 8: add ghost kicks, maybe the break gets a bit busier.
Bars 9 to 12: add a small kick variation, like one extra pickup, or even remove a kick for tension.
Bars 13 to 16: set up the loop reset. Often you reduce density in bar 15, then bar 16 hits clean and strong so the loop feels like it slams back to one.

That push and pull is “momentum.” And momentum is what makes kick weight feel like pressure, not just loudness.

Common mistakes to avoid while you do this.

Don’t boost 50 Hz on everything. If kick, bass, and break all fight for the same low zone, you get mush.
Don’t overdo Drum Buss Boom. It sounds huge solo and messy in the mix.
Do high-pass below 25 to 30 Hz somewhere. Wasted headroom means quieter masters later.
Don’t over-compress the kick. If the transient disappears, it won’t cut through breaks.
And don’t set the sidechain release too long. If the bass stays ducked too long, the groove breathes in a weird, unmusical way.

Optional sound design extras, if you want the kick to read through a dense break without adding harsh EQ.

You can build a click layer from noise. Make a new MIDI track, add Simpler, load a short noise or hat sample, high-pass it hard around 2 to 4 kHz, make the decay super short, and layer it quietly only on the main kick hits. Now the kick speaks through the chaos without you having to destroy the main kick tone.

Or, if you need more sub movement without turning the kick into an 808, make a Sub Thump layer with Operator. Use a sine wave, a fast pitch envelope dipping slightly, and a short amp decay. Mix it in until you just miss it when it’s muted. That’s the sweet spot.

Before we wrap, here’s a 15-minute practice exercise.

Set the tempo to 172 BPM.
Build an 8-bar loop.
Bars 1 to 4: simple kick on 1, snare on 2 and 4.
Bars 5 to 8: add two ghost kicks at low velocity, plus a break layer.
Add the weight chain to the kick: EQ Eight, Saturator, Drum Buss, Glue Compressor.
Sidechain the bass to the kick.
Then export two versions: one with Drum Buss Boom at 0 percent, and one with Boom at 15 percent at 50 Hz.

Compare on headphones and on a small speaker. You’re training your ear to hear the difference between perceived weight and actual sub clutter.

Let’s recap the whole lesson in one flow.

Pick a kick with a solid transient and a manageable tail.
Tune it a couple semitones so it locks with the track.
Build a clean chain: EQ Eight into Saturator into Drum Buss into Glue.
Make the bass move with sidechain so the kick can hit like a weapon.
Arrange with main hits and ghost hits, and let the break add texture, not sub.

If you tell me your track key, like F, F sharp, or G, and whether your bass is a reese or sub-only, I can suggest a simple frequency split for who owns what, plus a sidechain release timing that matches that exact jungle groove.

mickeybeam

Go to drumbasscd.com for +100 drum and bass YouTube channels all in one place - tune in!

Generating PDF preview…