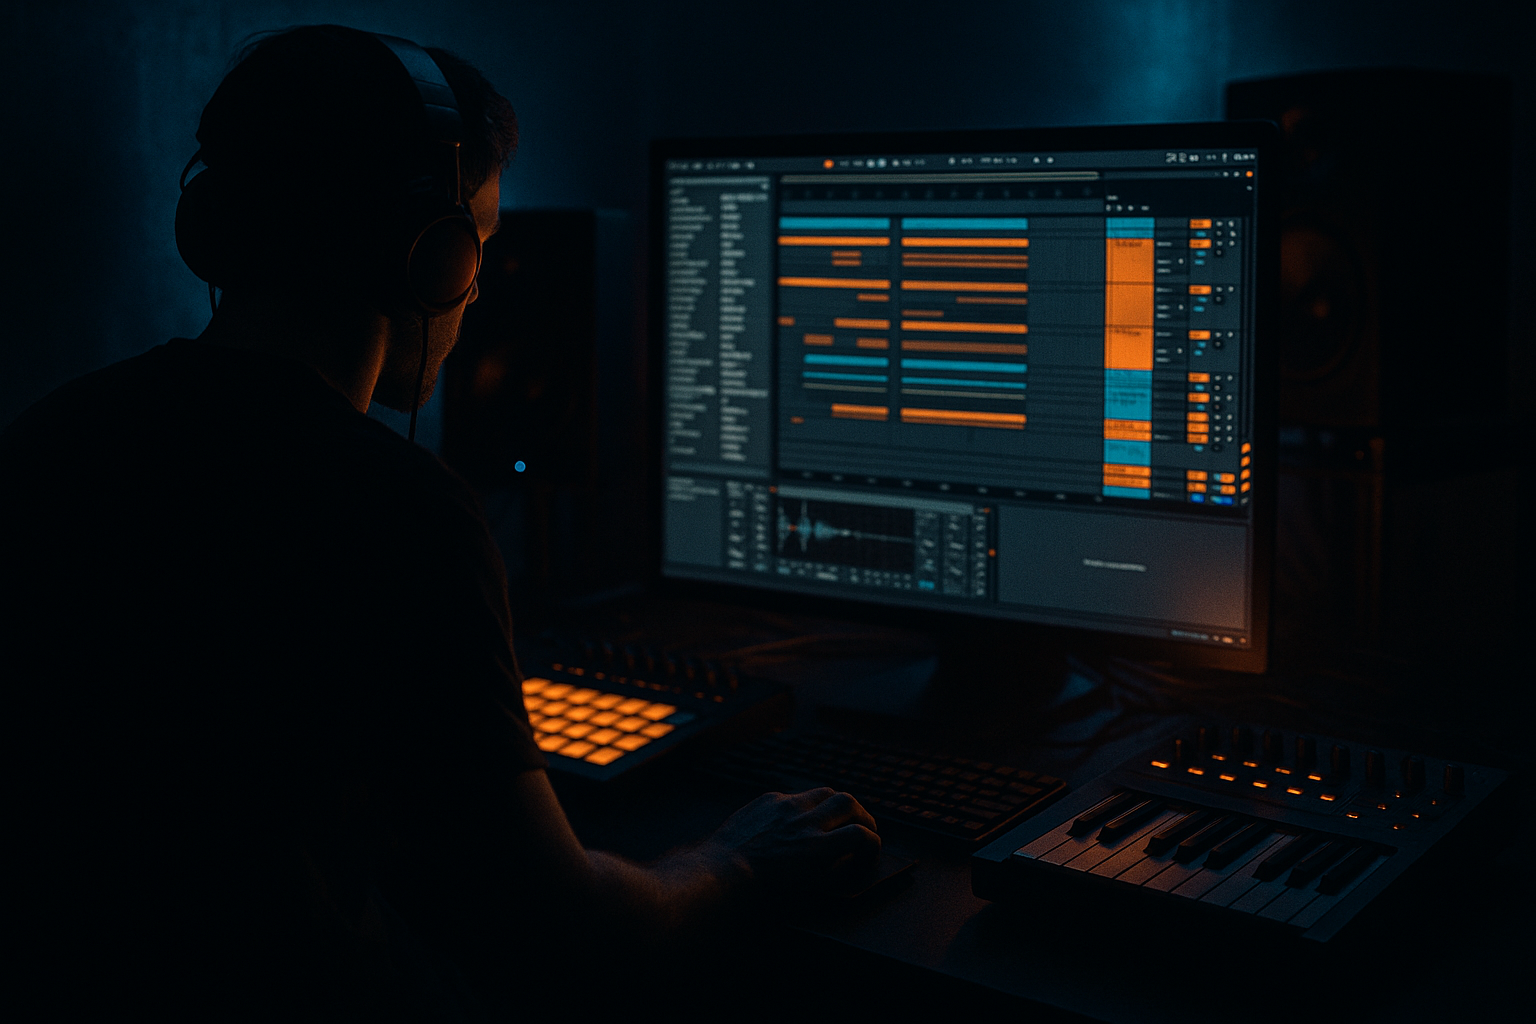
Main tutorial
Lesson Overview
This lesson is about taking a top-loop low-end pressure idea and turning it into something that works like a real Drum & Bass arrangement element in Ableton Live 12: not just a loop with heavy bass, but a controlled, carved, automated feature that pushes the drop forward without swallowing the kick, snare, or sub.
In DnB, that kind of loop usually lives in the drop, pre-drop, or second-drop variation zone. It’s the kind of upper-bass or mid-bass motion that creates pressure on top of the sub foundation: think roller tension, neuro-style forward movement, dark halftime-style breakdown pressure translated back into 174 energy, or a menacing top-layer that makes the DJ section feel alive. The goal is not “more bass.” The goal is more function: movement, contrast, and controlled aggression.
Technically, this matters because top-loop bass often gets too wide, too bright, or too static. In DnB, that instantly blurs the low-end hierarchy. The bass needs to read as powerful in mono, leave room for the kick and snare, and still feel animated enough to stay interesting over 8, 16, or 32 bars. Ableton Live 12 gives you enough stock tools to do this properly: EQ Eight, Auto Filter, Saturator, Utility, Drum Buss, Compressor, and Audio Effect Racks are all enough if you make deliberate decisions.
By the end, you should be able to hear a loop that feels like it has pressure, shape, and arrangement intelligence: the bass opens and narrows in response to the drums, the top end doesn’t constantly fight the hats or snare crack, and the phrase evolves like a real DnB section rather than repeating as a flat pattern.
What You Will Build
You’re going to build a four- to eight-bar top-loop bass phrase for an advanced DnB drop, carved and automated so it works as a pressure layer over drums and sub.
The finished result should have:
- a dark, forward mid-bass character
- rhythmic movement that locks to the kick/snare grid without sounding robotic
- controlled filtering and dynamic motion across the phrase
- enough space for the sub to remain dominant
- a polished, mix-ready feel that can sit in a drop or second-drop variation
- Use darkness through restraint, not just distortion. A loop that leaves negative space around the snare feels heavier than one that fills every gap. In dark DnB, tension often comes from what the bass does not play.
- Automate the top of the bass down before the big hit, then open it after. That reverse-movement sensation makes the drop feel like it’s sucking air, then releasing pressure. Very effective in rollers and neuro-inflected sections.
- Treat width as a reward, not a default. Keep the core loop mono-safe, then only allow width in the more textured bar or the later phrase. That keeps the low-end authoritative while still sounding modern.
- Use saturation for density, then carve the result again. In heavy DnB, saturation often creates new useful harmonics around the kick/snare zone. But those harmonics can crowd the mix, so follow with a surgical EQ pass instead of assuming the distortion is “the tone.”
- Make one bar intentionally less active. A small rhythmic vacancy can feel more menacing than constant activity. If the loop breathes every 4 or 8 bars, the return hits harder.
- Keep the snare sacred. In a club-oriented DnB drop, if the loop competes with the snare’s front edge, the whole tune feels less confident. Protect that pocket with arrangement, not just EQ.
- Use only stock Ableton devices.
- Keep the loop mostly mono-safe.
- Make at least one automation move across the 4 bars.
- Use no more than one saturation stage and one filter stage.
- one 4-bar loop version
- one second version with a single arrangement difference, such as a filter opening, a missing hit, or a different saturation amount
- Can you hear the snare clearly?
- Does the loop still feel heavy in mono?
- Does the phrase feel like it changes by bar 4 without becoming messy?
Success sounds like this: the loop hits hard, breathes with the arrangement, and feels dangerous in mono without collapsing the low end or turning harsh on top. You should hear the bass “speak” in phrases, not just drone.
Step-by-Step Walkthrough
1. Start with the loop as an arrangement element, not a sound design toy
Drop your top-loop bass idea into an audio or MIDI track and place it in a context that already has the drums running. Don’t sculpt it in isolation. Put the kick, snare, and hats on the grid first, then audition the loop against them at the actual drop tempo.
For DnB, the first decision is whether this loop is acting as:
- a supporting pressure layer under the main bass/sub
- or the main bass event while the sub stays more minimal
If it’s a supporting layer, keep it more restrained and let the sub carry the weight. If it’s the main event, you can push more midrange aggression, but you still need the kick/snare pocket.
What to listen for: does the loop make the snare feel smaller, or does it leave the snare’s body intact while still adding menace? If the snare loses impact, the loop is too dense or too wide in the wrong place.
2. Carve the loop before you automate it
Open EQ Eight on the loop. In DnB, this is where you decide what part of the bass is actually useful.
A practical starting point:
- high-pass the loop somewhere around 80–120 Hz if the sub is separate
- if the loop is the main bass layer, be more cautious and keep the roll-off gentler, often closer to 40–70 Hz
- cut mud around 180–350 Hz if the loop clouds the snare or kick body
- tame harshness around 2.5–5 kHz if the bass bites too hard against cymbals
- if there’s a nasal resonance, sweep and notch it with a narrow band rather than broad-stroking the whole tone
This is not about making it thin. It’s about defining the loop’s job. A top-loop pressure layer should usually live in the low-mids through upper mids, where it can create tension without competing directly with sub energy.
Why this works in DnB: the sub is doing the physical weight. The loop’s job is movement and attitude. If the loop tries to be the sub as well, the mix turns into an unfocused wall.
3. Use a controlled saturation chain to give the loop a face
Add a stock chain such as:
EQ Eight → Saturator → Utility
Set Saturator to a modest drive amount, often around 2 to 6 dB, then compare with and without. If the loop needs edge, use Soft Clip carefully; if it’s already hairy, keep it cleaner and use less drive.
Then use Utility to manage width. For heavy DnB, keep the low end of this loop effectively mono. If the sound has stereo information in the lower mids, narrow it. A useful approach is:
- set Utility Width to 0–60% depending on how much stereo texture is needed
- keep the core pressure layer stable in mono
- let only the upper texture or FX layers widen later, if at all
What to listen for: after saturation, the loop should feel more present on small speakers without getting spitty. If the hi-mids become glassy, back off the drive or pull a narrow band down around the harsh area.
4. Automate filter motion across the bar phrase
Add Auto Filter after the saturation if you want the loop to evolve musically. This is where the “top loop” becomes a phrase instead of a static tone.
Try a low-pass or band-pass move depending on the flavour:
- Option A: Low-pass sweep for a cleaner, more suspenseful roller build
- Option B: Band-pass movement for a more focused, nasal, neuro-leaning pressure feel
A useful filter range is often somewhere between 150 Hz and 8–12 kHz, depending on what the loop contains. You do not need a huge sweep. In DnB, small controlled moves often hit harder than obvious EDM-style filter theatrics.
Automate the cutoff so it opens slightly into the snare hits or at the start of the phrase, then tucks back in after the main impact. If the bass loop repeats every 2 bars, make the second bar slightly more open than the first, or vice versa, so the loop breathes.
Decision point — A versus B:
- A: Gentle opening filter = more roller, more tension, more DJ-friendly, less obvious
- B: Aggressive band-pass motion = more neuro, more mechanical pressure, more character, less subtle
Choose A if the track needs groove and long-term usability. Choose B if you want the loop to feel like a focused weapon in a darker drop.
5. Lock the loop to the drums with micro-edits, not over-quantization
If the loop is audio, edit the transients and slice the phrase so it lands around the drum hits in a meaningful way. If it’s MIDI, tighten the note lengths and adjust note starts slightly against the grid.
In DnB, the bass should often lean into the snare, not step on it. A common trick is to let the bass hit just before or just after the snare depending on the groove:
- slightly before the snare for urgency
- slightly after the snare for heavier pocket and drag
Don’t force every hit to be identical. The loop should have hierarchy. Put the strongest bass event where the bar needs emphasis, then make the second event smaller or more filtered.
Workflow efficiency tip: once the rhythmic shape feels right, commit this to audio if the synth movement is already working. Printing it lets you edit the phrase faster and prevents endless micro-tweaking. In a real session, this is often the moment you stop designing and start arranging.
6. Shape dynamics with stock compression or drum shaping if needed
If the loop is too spiky or too flat, use a stock Compressor or Drum Buss carefully.
A useful Compressor approach:
- moderate ratio, around 2:1 to 4:1
- attack not too fast; let some transient through
- release timed to the groove, often roughly 50–150 ms depending on how fast the bass is moving
- aim for subtle gain reduction rather than obvious squash
If the loop needs more punch and density, Drum Buss can add energy, but keep it controlled. A touch of Drive and Transients can help, yet too much will smear the groove and make the loop feel smaller in the mix.
What to listen for: the bass should feel more expensive, not more crushed. If the low mids get cloudy or the groove loses snap, the compressor is clamping too hard or releasing too slowly.
7. Build the phrase with automation over 8 or 16 bars
This is where the lesson becomes arrangement rather than looping.
Automate:
- filter cutoff
- Utility width
- Saturator drive or dry/wet if you’re using a controlled automation lane
- volume rides for phrase emphasis
- occasional mute or drop-out moments for contrast
A strong DnB arrangement example:
- Bars 1–4: pressure loop filtered slightly darker
- Bars 5–8: open the loop a little more, add a small gain lift or harmonic edge
- Bar 8: cut the bass for a half bar or one beat, then re-enter hard on the next downbeat
That kind of phrasing makes the drop breathe and gives the DJ section usable tension. It also prevents the loop from feeling looped.
If the track is more neuro or darker rollers, use automation to create mechanical evolution rather than big melodic movement. Small changes in cutoff, width, and saturation are enough if the rhythm is strong.
8. Check the idea with drums, sub, and arrangement before polishing further
This is the point where you stop pretending the loop exists alone.
Put it in the full drop with kick, snare, hats, sub, and any main bass elements. Then make two checks:
- Low-end separation check: the sub should feel like the foundation, not hidden under the loop.
- Snare check: the snare should still crack clearly on 2 and 4, with the loop supporting the energy rather than flattening it.
If the loop is stealing the snare’s authority, cut more around the snare body zone or reduce the loop’s presence around the hit by editing its note lengths. If the kick feels smothered, especially in the low-mid overlap, carve the loop further and consider a slightly shorter envelope.
Stop here if the loop already reads well in mono and the groove feels heavy with just drums and sub. At that point, over-processing usually makes it worse, not better.
9. Create a second-drop or switch-up version
Advanced DnB arrangement lives or dies on variation. Duplicate the loop and make a second version for later in the track.
Keep the core identity, but change one or two key parameters:
- open the filter slightly more
- reduce width for a tighter, nastier feel
- increase saturation a touch
- remove one hit in the bar for tension
- move a bass accent by a 16th to create a fresh pocket
This gives you a second-drop evolution without rewriting the whole idea. For club tracks, that’s gold: the audience hears continuity, but the energy shifts enough to feel like the tune is progressing.
A strong option is to keep the first drop version more restrained and let the second drop become the “danger” version: darker, drier, and more aggressive.
10. Do a mono and level sanity pass
Before calling it done, check the loop in a mono-compatible context. Use Utility on the group or the bass track to narrow it to mono and compare. The important thing is not whether the sound becomes smaller — it will — but whether the rhythm, note shape, and pressure still read.
Also balance the loop against the drums at realistic club volume, not just loud monitoring. If it sounds huge only when loud, it probably needs clearer harmonic design. If it sounds strong at moderate level and still punches when pushed, you’ve got a reliable DnB loop.
A good result should feel like the bass is gripping the groove, not just occupying space. It should have intent.
Common Mistakes
1. Letting the loop own the sub region
- Why it hurts: the kick/sub relationship becomes undefined, and the whole drop loses weight.
- Fix in Ableton: high-pass the loop more aggressively with EQ Eight, and keep the real sub on its own track or lane.
2. Over-widening the bass pressure layer
- Why it hurts: stereo width in the wrong band makes the low-end unfocused and weak in mono.
- Fix in Ableton: use Utility to narrow the loop, and keep stereo treatment for higher texture only.
3. Automating huge filter sweeps that sound more EDM than DnB
- Why it hurts: the movement becomes obvious and distracts from the drum groove.
- Fix in Ableton: reduce sweep depth, use shorter phrase-length moves, and bias automation around the snare cycle.
4. Compressing the life out of the groove
- Why it hurts: the bass loses transient shape and starts feeling flat behind the drums.
- Fix in Ableton: back off Compressor ratio, slow the attack, and aim for subtle gain reduction.
5. Leaving harsh upper mids uncontrolled
- Why it hurts: the loop fights hats, rides, and snare snap, making the drop tiring.
- Fix in Ableton: use a narrow cut in EQ Eight around the problem resonance, then re-check at volume.
6. Not editing note lengths or audio tails
- Why it hurts: bass overlaps into places where it should breathe, smearing the phrase.
- Fix in Ableton: tighten MIDI note lengths or trim audio tails so the bass stops decisively before the next drum event.
7. Mixing the loop in isolation and forgetting the arrangement
- Why it hurts: the loop may sound good solo but fail to support the drop structure.
- Fix in Ableton: always check the loop with kick, snare, sub, and at least one section of arrangement before finalizing automation.
Pro Tips for Darker / Heavier DnB
Mini Practice Exercise
Goal: build a 4-bar top-loop pressure layer that sits over a full DnB drum pattern without stealing the sub or snare.
Time box: 15 minutes.
Constraints:
Deliverable:
Quick self-check:
Recap
A strong top-loop pressure layer in DnB is not about making a bass sound huge in isolation. It’s about carving the low end, controlling width, automating movement, and arranging the phrase so it works with the drums. Use stock Ableton tools to define the loop’s job, keep the sub separate, protect the snare, and evolve the phrase across the drop. If it feels heavy, readable, and dangerous in context, you’ve done it right.

