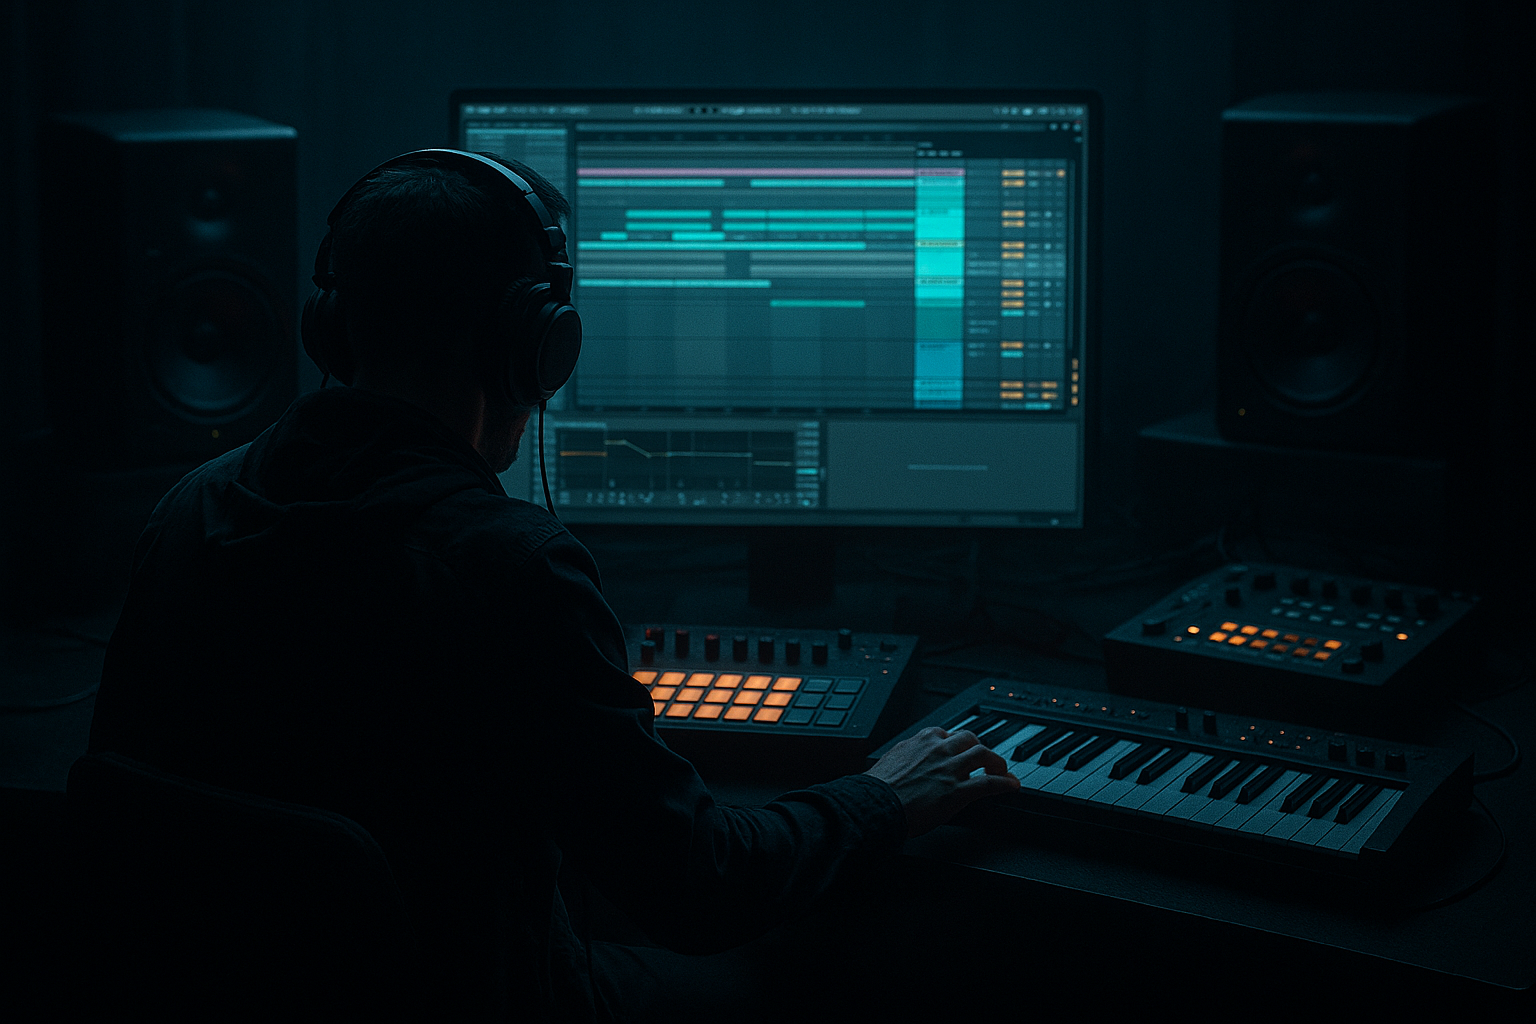
Main tutorial
```markdown
Layer Oldskool DnB Snare Snap Without Losing Headroom (Ableton Live 12) 🥁⚡
Skill level: Beginner
Category: Basslines (because the snare and bass must share headroom in rolling DnB)
---
1. Lesson overview
Oldskool jungle/DnB snares have that crack + snap + weight combo—often from layering breaks, one-shots, and a bit of gritty processing. The beginner trap is stacking layers and turning everything up, which destroys headroom and makes your bassline feel smaller.
In this lesson you’ll learn a headroom-first layering method in Ableton Live 12 so your snare cuts through a rolling bassline without clipping or forcing the master into a limiter.
---
2. What you will build
You’ll create a 3-layer snare designed for jungle/rolling DnB:
1. Body layer (mid/low “thunk”)
2. Snap layer (top-end crack)
3. Break layer (oldskool texture + vibe)
All routed to a Snare Bus with clean gain staging, transient control, saturation, and (optional) parallel bite—while keeping plenty of headroom for a big sub and reese.
---
3. Step-by-step walkthrough
Step 0 — Set your project up for headroom ✅
1. Set tempo to 170–175 BPM.
2. On the Master, temporarily add Spectrum (Audio Effects → Spectrum).
3. Keep your master peaking around -10 to -6 dBFS while building drums.
- You are not trying to be loud yet. You’re trying to be punchy.
Quick rule: If your snare “hits hard” only because it’s loud, it’s not hitting hard.
---
Step 1 — Create your snare group & routing 🧱
1. Create a MIDI track named `SNARE BODY`.
2. Duplicate it twice:
- `SNARE SNAP`
- `SNARE BREAK`
3. Select all three tracks → Cmd/Ctrl + G to group → name group `SNARE BUS`.
Now you’ve got clean control: level each layer quietly, then process on the bus.
---
Step 2 — Choose samples (oldskool-friendly) 🎛️
SNARE BODY (thunk):
- Pick a snare with a solid midrange around 180–250 Hz (not too boomy).
- If it’s too long, that’s OK—we’ll shape it.
- Pick a short, bright snare or rim-like hit with energy around 3–8 kHz.
- Avoid super wide “EDM claps”—you want focused snap.
- Use a snare cut from a break (Amen, Think, Funky Drummer vibes) or a crunchy one-shot.
- This layer is often quieter than you think—it’s for character, not level.
- Set each layer to peak around -18 to -12 dBFS solo’d.
- Start with Utility at:
- High-pass: 30–50 Hz (remove useless sub)
- Gentle dip if boxy: 350–600 Hz (-2 to -4 dB)
- Optional tiny bump: 180–220 Hz (+1–2 dB) if needed
- High-pass: 200–350 Hz (this layer shouldn’t add mud)
- Boost presence: 4–7 kHz (+2–4 dB, wide)
- If harsh: notch around 8–10 kHz (-2 dB)
- High-pass: 150–250 Hz
- Low-pass: 8–12 kHz (depends on how fizzy it is)
- Keep it narrow in role: it’s “dirt + vibe”
- Drive: 2–6
- Crunch: 0–20 (taste)
- Transients: +10 to +25
- Boom: OFF (important—Boom can steal headroom fast)
- Ratio: 4:1
- Attack: 15–30 ms (lets initial click through)
- Release: 50–120 ms
- Threshold: lower until you get 2–4 dB GR
- Type: Analog Clip or Soft Sine
- Drive: 1–4 dB
- Turn on Soft Clip
- Output: reduce so level matches bypass (critical!)
- Ceiling: -1.0 dB
- Gain: 0 dB
- You should see only occasional 1–2 dB limiting on the hardest hits.
- Sidechain: `SNARE BUS`
- Ratio: 2:1
- Attack: 5–15 ms
- Release: 60–120 ms
- Aim for 1–3 dB gain reduction on snare hits
- Intro (bars 1–17): filtered break + hats, no snare snap yet
- Drop (bar 17): bring full snare (Body + Snap + Break)
- Every 8 bars: add a snare flam (duplicate snare hit 10–25 ms later, quieter)
- Every 16 bars: short snare fill using the BREAK layer only (for authenticity)
- Mono the punch:
- Add “metal” without turning up highs:
- Break layer distortion in parallel:
- Tighter tail = louder perception:
- Use 3 layers with clear roles (Body / Snap / Break).
- Start with Utility gain staging so layering doesn’t destroy headroom.
- Use EQ Eight to stop frequency stacking.
- Create snap with timing + transients, not volume.
- Add vibe with Saturator/Drum Buss, but keep output matched.
- Protect your bassline space with subtle sidechain and controlled tails.
SNARE SNAP (crack):
SNARE BREAK (texture):
---
Step 3 — Gain stage each layer before processing 📉
This is where headroom is saved.
On each layer, add Utility first in the chain:
- BODY: -10 dB
- SNAP: -12 dB
- BREAK: -14 dB
> You can always turn the bus up later. Layering works best when each layer is “small” but purposeful.
---
Step 4 — Tighten timing (micro-shift for snap) ⏱️
Oldskool snares often feel snappy because of tiny timing offsets.
1. Put your snare MIDI on beats 2 and 4 (or DnB half-step patterns if you prefer).
2. Nudge `SNARE SNAP` 1–5 ms earlier than BODY.
- In Ableton: use Track Delay (bottom right of mixer)
- SNAP Track Delay: try -3.0 ms
3. Optionally nudge BREAK slightly later (for groove):
- BREAK Track Delay: +2.0 ms
This can add “crack” without adding volume.
---
Step 5 — Filter each layer so they don’t fight 🧼
Use EQ Eight on each layer.
SNARE BODY — EQ Eight
SNARE SNAP — EQ Eight
SNARE BREAK — EQ Eight
This separation prevents stacking energy in the same bands, which is the #1 cause of headroom loss.
---
Step 6 — Shape the attack (snap without volume) 🔪
Instead of turning up SNAP, shape transients.
Option A: Drum Buss (simple + effective)
Put Drum Buss on `SNARE BUS`:
Option B: Compressor as transient shaper
On `SNARE SNAP` add Compressor:
This can make the snap more forward without adding peak level much.
---
Step 7 — Add controlled grit (the oldskool glue) 🧪
Oldskool DnB snares often have saturation/biting harmonics.
On the `SNARE BUS` after Drum Buss:
Add Saturator:
If peaks start rising, don’t lower the sample—lower the bus output or Saturator output.
---
Step 8 — Keep headroom with peak control (gentle, not squashed) 🧯
Add Limiter at the end of `SNARE BUS` only as a safety:
If it’s constantly limiting, you’re too loud somewhere upstream.
Better alternative: reduce the `SNARE BUS` fader and keep transients intact.
---
Step 9 — Make room for the bassline (key for rolling DnB) 🐍
Even though this is a snare lesson, the reason headroom matters is the bass.
Sidechain bass to snare (subtle):
On your Bass Group add Compressor:
This creates a tiny “pocket” so the snare feels louder without actually being louder.
---
Step 10 — Arrangement ideas (oldskool jungle energy) 🧩
Try these DnB/jungle moves:
Pro move: automate `SNARE BREAK` up +1 to +2 dB during fills only.
---
4. Common mistakes 🚫
1. Layering by volume, not by frequency role
Fix: HPF SNAP, control BREAK, keep BODY focused.
2. No gain staging (everything peaks, then you slam a limiter)
Fix: Utility first, keep layers quiet.
3. Boomy “body” layer eating the sub’s space
Fix: HPF at 30–50 Hz, tame 150–250 Hz if needed.
4. Over-saturation making the snare harsh and smaller
Fix: lower Drive, use Soft Clip, match output to bypass.
5. Wide snare top causing phasey highs
Fix: keep SNAP mostly mono (Utility → Width 0–50% if needed).
---
5. Pro tips for darker/heavier DnB 🌑🔥
On `SNARE BUS` add Utility early:
- Width: 70–100% (or 0–50% if your mix is messy)
Dark DnB often benefits from a snare that’s centered and violent.
Use Saturator (Analog Clip) and boost 4–6 kHz slightly rather than boosting 10–12 kHz.
Create a Return track `A: SNARE DIRT` with:
- Saturator (Drive 6–10 dB, Soft Clip ON)
- EQ Eight (HPF 300 Hz, slight boost 3–5 kHz)
Send only `SNARE BREAK` to it at -15 to -8 dB.
Use Gate on `SNARE BODY`:
- Threshold: adjust until tail shortens cleanly
- Release: 80–150 ms
Shorter tail often reads as “punchier” and keeps headroom free for bass sustain.
---
6. Mini practice exercise 🧠🎯 (10 minutes)
1. Build the 3-layer snare as above.
2. Set `SNARE BUS` fader so the snare peaks about -10 to -8 dBFS on the Master.
3. Add a simple rolling bass (any reese/sub) and bring it up until the Master peaks around -6 dBFS.
4. Now improve snare impact without raising `SNARE BUS` by doing only:
- SNAP track delay (-3 ms)
- Drum Buss Transients (+15)
- Tiny EQ boost at 5 kHz on SNAP (+2 dB)
Goal: snare feels more aggressive, but your master peak barely changes.
---
7. Recap ✅
If you want, tell me what style you’re aiming for (jungle, rollers, neuro-ish dark, liquid) and I’ll suggest exact snare sample types + a ready-to-build Ableton device chain for that lane.
```

