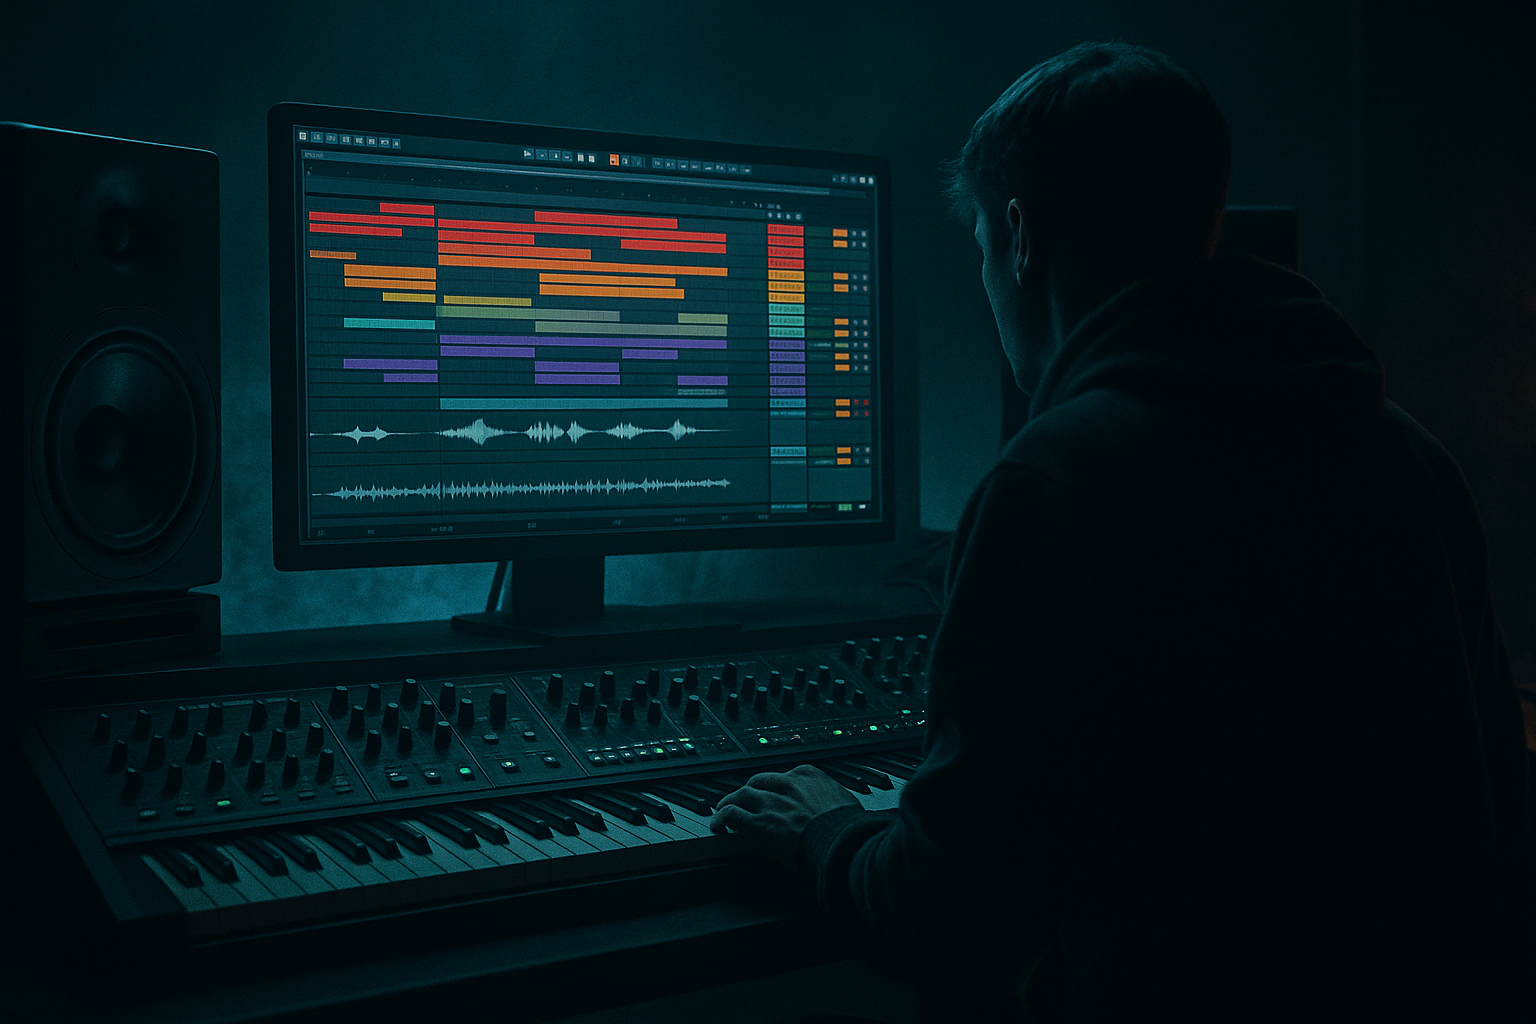
DNB COLLEGE

Drum & Bass Ableton Live 12 Tutorials

LESSON DETAIL

Layer jungle mid bass for heavyweight sub impact in Ableton Live 12 (Intermediate)

An AI-generated intermediate Ableton lesson focused on Layer jungle mid bass for heavyweight sub impact in Ableton Live 12 in the Composition area of drum and bass production.

Back to lessons
Layer jungle mid bass for heavyweight sub impact in Ableton Live 12 (Intermediate) cover image

Narrated lesson audio

The voice track includes the tutorial plus extra teacher commentary.

Open audio file

Main tutorial

```markdown

Layer Jungle Mid Bass for Heavyweight Sub Impact in Ableton Live 12

1. Lesson overview

In jungle/DnB, that “how is the sub so loud but still clean?” feeling usually comes from smart layering, not just turning the bass up. Today you’ll build a two-layer bass system—a pure sub that hits consistently, plus a mid bass that gives character, movement, and perceived loudness without wrecking the low end. 🔊🔥

We’ll do this specifically in Ableton Live 12 using stock devices and a workflow you can reuse in any rolling/jungle tune.

---

2. What you will build

A reusable Bass Group containing:

  • SUB layer: clean sine/triangle fundamentals (mono, stable, sidechained)
  • MID layer: dirty jungle mid bass (reese-ish / talking / growly), controlled lows, width managed
  • Glue + control: group bus processing and clean routing
  • Arrangement moves: call/response, fills, and drops that feel proper in jungle
  • Target vibe: rolling basslines with heavyweight low end and gritty mids that cut through breaks. 🥁🧨

    ---

    3. Step-by-step walkthrough

    Step 0 — Project prep (so your low end behaves)

    1. Tempo: 165–174 BPM (try 170 BPM).

    2. Set up a basic drum context (important for bass decisions):

    - Add a break (Amen/Think) and a punchy kick.

    - Keep kick simple (on 1 and 3, or classic DnB two-step) so the bass has space.

    3. Master channel: keep it clean for now. No limiter while designing bass (you can add one later).

    ---

    Step 1 — Create your Bass Group (clean routing = clean low end)

    1. Create two MIDI tracks:

    - `SUB`

    - `MID`

    2. Select both → Cmd/Ctrl + G to group → name group `BASS`.

    3. Color-code it (you’ll thank yourself later). 🎛️

    Key rule: The sub track should be boring but perfect. The mid track can be wild—but not below the crossover.

    ---

    Step 2 — Write a jungle-appropriate bass MIDI first (before sound design)

    On both SUB and MID, use the same MIDI clip at first:

  • Make a 1-bar loop to start.
  • Use notes around F–G (43–49 Hz fundamental zone) or A (55 Hz) depending on key.
  • Classic rolling/jungle shape:
  • - Hit the root on beat 1

    - Add syncopation on 1.2.3 / 1.3 / 1.4.2 style placements (trust your groove)

    - Keep notes short-ish (1/8 to 1/16), leave gaps for drums

    Tip: If your break is busy, simplify bass rhythm—let the drums do the chatter.

    ---

    Step 3 — Build the SUB layer (pure weight, zero drama) ✅

    On `SUB`, load Operator (stock).

    Operator settings (solid starting point):

  • Oscillator A: Sine
  • Envelope (Amp):
  • - Attack: 0–5 ms

    - Decay: 300–600 ms (depends on note length)

    - Sustain: -inf if you want plucky subs, or 0 dB for held notes

    - Release: 50–120 ms (avoid clicks)

    Add a sub safety chain after Operator:

    1. EQ Eight

    - Enable HP filter at 20–25 Hz (12 or 24 dB/oct) to remove rumble

    - Optional: tiny dip 200–350 Hz if it gets boxy

    2. Saturator (for perceived loudness without flub)

    - Mode: Soft Clip

    - Drive: 1–4 dB

    - Output: adjust so level matches bypass (don’t just get louder)

    3. Utility

    - Width: 0% (Mono)

    - If needed: Bass Mono (Live 12 Utility has mono controls; keep sub fully mono)

    🎯 Goal: Sub should sound clean, centered, and consistent even quietly.

    ---

    Step 4 — Build the MID layer (jungle character + movement)

    On `MID`, choose one of these stock approaches:

    #### Option A: Wavetable Reese (fast + effective)

    1. Load Wavetable.

    2. Osc 1: Saw (or a more complex wavetable)

    3. Osc 2: Saw or Square, detune slightly

    4. Unison: 2–4 voices (don’t go insane yet)

    5. Filter: LP24

    - Cutoff: start around 200–800 Hz (you’ll automate later)

    - Drive: a bit (2–6)

    Now add a MID processing chain (this is where the magic lives):

    1. EQ Eight (very important)

    - High-pass at 90–130 Hz (24 dB/oct)

    This is your crossover zone—adjust to taste, but start at ~110 Hz.

    - Optional: small bell cut if harsh around 2–4 kHz

    2. Roar (Ableton Live 12) 🐗

    - Choose a distortion type like Tube / Saturation / Overdrive

    - Drive: 10–30% depending on source

    - Use Roar’s Tone/Filter to keep lows trimmed and focus on mids

    3. Auto Filter

    - Use as movement: automate cutoff slightly per bar

    - Add subtle Envelope amount so note hits push the filter

    4. Chorus-Ensemble (for width above the crossover)

    - Keep it subtle; you want size, not a phase disaster

    - If it gets messy, reduce mix or use it only in parallel

    Pro move: After Chorus, insert Utility and reduce width if needed:

  • Width: 60–110% (but avoid widening too much)
  • #### Option B: Operator “talking mid” (classic jungle vibe)

    Operator can do aggressive mids too:

  • Osc A: Saw or Square
  • Add Osc B at a ratio (e.g., 2.00) for harmonics
  • Use Filter with envelope for “wah” motion
  • Then use Roar + EQ Eight HP @ ~110 Hz
  • ---

    Step 5 — Glue the layers together (Bus processing on the BASS group)

    On the `BASS` group channel, add:

    1. EQ Eight

    - Optional gentle tilt: small dip around 250–400 Hz if muddy

    - Optional gentle presence: tiny boost around 900 Hz–1.5 kHz if you need more audibility on small speakers (be careful)

    2. Glue Compressor

    - Attack: 10 ms

    - Release: Auto (or 0.1–0.3s)

    - Ratio: 2:1

    - Aim for 1–3 dB gain reduction on peaks

    This helps the two layers feel like one instrument.

    3. Limiter (optional for safety only)

    - Don’t smash it; keep it catching occasional peaks.

    🎯 Goal: You can mute MID and still feel weight; mute SUB and still hear the bassline.

    ---

    Step 6 — Sidechain the sub (and optionally the mid) to the kick 🥊

    DnB needs bass/kick cooperation.

    Simple stock method:

  • On `SUB`, add Compressor
  • - Enable Sidechain

    - Input: your Kick track

    - Ratio: 4:1

    - Attack: 0.5–3 ms

    - Release: 60–140 ms (set to groove with tempo)

    - Threshold: set for 2–6 dB gain reduction

    Do the same on `MID` but lighter:

  • Aim for 1–3 dB GR so the mid doesn’t blur the transient.
  • Alternative: Use Auto Pan as a volume shaper (phase set to 0°, Amount 100%)—but compressor sidechain is usually cleaner for beginners/intermediate.

    ---

    Step 7 — Make it feel like jungle: movement + call/response in arrangement

    Now turn your 1-bar loop into an 8–16 bar section.

    A simple 16-bar plan:

  • Bars 1–4 (Intro of bass): SUB only, MID filtered low (or muted)
  • Bars 5–8: bring MID in with filter opening gradually
  • Bars 9–12 (Drop energy): full MID + subtle automation + occasional fills
  • Bars 13–16 (Variation): change last 2 notes, add a “pickup” hit, or remove bass for 1/2 bar before the next phrase
  • Automation ideas (fast wins):

  • MID Auto Filter cutoff: small rhythmic movement (don’t sweep too wide)
  • Roar Drive: automate up slightly in the last bar of a phrase
  • EQ Eight on MID: automate a tiny notch if resonance gets annoying during certain notes
  • Classic jungle trick:

    On the last 1/8 or 1/16 before bar 9 (or bar 17), mute the sub for a micro-gap—drop feels heavier when it returns. 😈

    ---

    Step 8 — Check your layer balance (how to actually mix this)

    Quick balance method:

    1. Set the whole track playing (drums + bass).

    2. Pull both SUB and MID down.

    3. Bring up SUB first until it feels weighty but not swallowing the kick.

    4. Bring up MID until the bassline is clearly readable on smaller speakers.

    5. Toggle MID off:

    - If the track collapses emotionally, MID is important (good).

    - If the track suddenly becomes clean and punchy, your MID is too loud or too wide.

    Meters to use (stock):

  • Use Spectrum on SUB and BASS group.
  • You want stable energy around your fundamental note, without random sub spikes.
  • ---

    4. Common mistakes

    1. Letting MID produce sub frequencies

    If your MID isn’t high-passed, it will fight the SUB and cause phase/boom.

    2. Widening anything below ~120 Hz

    Wide sub = weak sub (and bad translation in clubs).

    3. Too much distortion on the SUB

    A little saturation is great; heavy distortion makes it flabby and inconsistent.

    4. Sidechain release time not matching groove

    If release is too long, bass “ducks” unnaturally; too short, kick and sub clash.

    5. Overdesigning the mid before the bassline works

    A bad pattern with great sound is still a bad bassline.

    ---

    5. Pro tips for darker/heavier DnB

  • Use parallel dirt on the MID only:
  • Create a return track with Roar + EQ + Compression, send MID into it, and high-pass the return at 200–300 Hz. Keeps low end clean while adding aggression.

  • Resample for control:
  • Freeze/Flatten MID once it’s moving nicely, then chop audio for phrase-based variation—very jungle. ✂️

  • Make “negative space” drops heavier:
  • Remove MID for 1 bar, keep SUB + drums, then slam MID back in.

  • Add a tiny “note-on click” to MID (not SUB):
  • A short noise/transient layer can help bass read on small speakers without touching sub headroom.

  • Keep subs simple in key choices:
  • Notes below ~F can get huge but risky; above ~A is easier to translate. Choose based on the tune’s goal.

    ---

    6. Mini practice exercise (15–25 minutes)

    1. Write a 2-bar bassline with syncopation (at 170 BPM).

    2. Build:

    - SUB with Operator (mono, Saturator soft clip)

    - MID with Wavetable + Roar, high-pass at ~110 Hz

    3. Create a 16-bar loop:

    - Bars 1–4: SUB only

    - Bars 5–8: MID fades in with filter automation

    - Bars 9–16: full power + 2 variations (change ending notes)

    4. Bounce (export) a quick demo and listen on:

    - Headphones

    - Phone speaker (MID should carry the bassline)

    - If possible, a system with sub (SUB should be steady and punchy)

    ---

    7. Recap

  • Build bass in layers: SUB = clean + mono + consistent, MID = character + movement, and keep them separated with a clear crossover (start ~90–130 Hz).
  • Use EQ Eight to protect the low end, Saturator/Roar to add weight and grit, Utility to keep sub mono, and Glue Compressor to make layers feel unified.
  • Arrange like jungle: phrases, gaps, variations, and call/response make the bass feel alive—not just loud. 🥁🔊

If you want, tell me your track key (or your root note) and the BPM, and I’ll suggest a bass note range + crossover point that’s likely to translate best.

```

Ask GPT about this lesson

Chat with the lesson tutor, get follow-up help, or use quick actions.

Bigup 👽 Ask me anything about this lesson and I’ll answer in context.

Narration script

Show spoken script
Layering jungle bass properly is one of those skills that instantly makes your tunes feel more “finished.” And the secret is not just turning the sub up. It’s building a two-layer system where the sub is boring but perfect, and the mid is nasty but controlled. In this lesson we’re doing it in Ableton Live 12 using stock devices, and we’re doing it in a way you can reuse in basically every rolling jungle or drum and bass tune.

Here’s the outcome you’re aiming for: if you mute the mid layer, the track still feels like it has weight and authority. If you mute the sub layer, you still hear the bassline clearly and it has that character and movement. When both are on, it feels like one instrument, not two basses fighting each other.

Let’s set the scene first so your low end behaves.

Set your tempo somewhere in the 165 to 174 zone. I’m going to assume 170 BPM, because it’s a sweet spot for jungle and a lot of DnB. Then get a basic drum context going. This is important: don’t design bass in a vacuum. Drop in an Amen or Think break, and add a punchy kick. Keep the kick pattern simple for now, like on 1 and 3 or a basic two-step feel. You want space so you can actually judge the bass.

And on the master: keep it clean. No limiter while you’re designing. It’s very easy to trick yourself into thinking the bass is “better” just because the limiter is making it louder. We’ll keep headroom and keep our decisions honest.

Now we build the routing.

Create two MIDI tracks. Name one SUB and the other MID. Select them both and group them, so you’ve got a BASS group. Color-code it if you do that kind of thing. It sounds minor, but when you’re deep in arrangement later, you’ll be glad it’s organized.

Here’s your rule for the entire lesson: the sub track should be stable, mono, and consistent. It should not be exciting. The mid track can be exciting, but it is not allowed to own the sub frequencies. We’re going to pick a crossover on purpose and commit to it.

Before we touch any synth settings, we write the bass MIDI.

On both SUB and MID, start with the same MIDI clip. Make it a one-bar loop at first. Choose notes in a safe zone for heavy sub. Around F to G is a classic range, because you’re sitting roughly in that 43 to 49 Hz fundamental area. A is also common, around 55 Hz, and it tends to translate a bit easier. There’s no single correct answer, but pick one and stick with it for the exercise.

Write a classic rolling jungle pattern: a strong hit on beat one, then syncopated notes around the bar. Keep notes fairly short, like eighths or sixteenths, and leave gaps so the drums can breathe. If your break is super busy, simplify the bass rhythm. Let the break do the chatter, and let the bass do the weight.

Quick coach tip that saves time: do a one-note test before you get clever. Literally hold one long root note for two bars and get the balance of sub versus mid feeling solid. If one held note doesn’t feel good, a busy pattern won’t fix it. It will just hide the problem.

Alright. Sub layer time. Pure weight, zero drama.

On the SUB track, load Operator. Oscillator A: sine wave. You can also try triangle later if you want a tiny bit more harmonic content, but start with sine.

Set your amp envelope so it doesn’t click. Attack around zero to five milliseconds. Decay somewhere like 300 to 600 milliseconds depending on your note length. For a plucky sub, you can set sustain all the way down. For held notes, keep sustain up. Release around 50 to 120 milliseconds, just enough to avoid clicks and keep it smooth.

Now add your sub safety chain after Operator.

First, EQ Eight. High-pass at 20 to 25 Hz. This is not a vibe thing, this is cleanup. It removes rumble and keeps the low end controlled. If it feels boxy, you can do a tiny dip around 200 to 350 Hz, but keep it subtle. The sub should mostly be fundamentals and a little bit of harmonic support.

Next, add Saturator. Set it to Soft Clip. Drive around 1 to 4 dB. And here’s a discipline moment: level-match it. Adjust the output so it’s roughly the same loudness when bypassed. If you don’t level-match, you’ll always pick “louder” even when it’s worse.

Then add Utility. Set width to 0 percent. Mono sub. Every time. If you remember one thing from this lesson, remember that widening anything below around 120 Hz is how you get weak sub and bad translation in clubs.

That’s your sub: clean, centered, and consistent even when it’s quiet.

Now the MID layer. This is where the jungle character lives: reese-ish movement, growl, talking vibes, but controlled.

We’ll do a fast stock approach first: Wavetable reese.

On MID, load Wavetable. Start with a saw on Oscillator 1. For Oscillator 2, another saw or a square, and detune it slightly. Add unison, but be reasonable: two to four voices. You can always add more later, but too much unison early makes it wide and phasey and it becomes hard to mix.

Turn on the filter, LP24 is a great starting point. Put the cutoff somewhere like 200 to 800 Hz to begin, and add a touch of drive, maybe 2 to 6. We’ll automate the cutoff later for movement.

Now the most important device for keeping your low end clean on the MID: EQ Eight, and it goes early in the chain.

High-pass the MID at around 90 to 130 Hz, with a 24 dB per octave slope to start. A really common starting point is 110 Hz. But don’t treat that number like a magic spell. Decide where your split is. Is your sub responsible up to 90? Up to 110? Up to 130? Pick it intentionally.

Here’s the quick method: put Spectrum on the BASS group, play the loudest note in your bassline, and watch the 60 to 110 area. If the MID still has strong energy down there, raise the high-pass or steepen the slope. And yes, if you need to, go to a steep slope like 48 dB per octave to really commit to the separation. This is one of those “cleaner is heavier” moments.

After that EQ, add Roar. This is a Live 12 gift for DnB. Pick a distortion type like Tube, Saturation, or Overdrive. Set the drive somewhere like 10 to 30 percent depending on how aggressive you want it. Then use Roar’s tone controls so you’re focusing on the midrange, not creating fizzy top or reintroducing low end. If Roar makes it sound exciting but also kind of brittle, that’s normal. We’ll fix it later with EQ.

Next, add Auto Filter for movement. You’re not trying to do a huge EDM sweep. You want subtle phrase motion and a bit of articulation. Try adding a little envelope amount so each note hit pushes the filter. That gives you that “talking” feel without needing crazy modulation.

Then for width and size, add Chorus-Ensemble. Keep it subtle. You want the mid to feel wide above the crossover, but you do not want a phase disaster. If the low mids start smearing, reduce the mix, or use it in parallel, or keep your chorus movement more restrained.

And after chorus, it’s totally valid to add Utility and pull the width back. Something like 60 to 110 percent is a decent range. Again, you’re protecting translation and mono compatibility.

Now, a really important hidden issue: phase alignment.

Even if your EQ split is perfect, the SUB and MID can partially cancel around the crossover, and that’s when people say “my sub disappears” or “it gets quieter when I add the mid,” which feels backwards and annoying.

Here’s a quick stock-only check. Solo SUB and MID together. On the MID track, add Utility. Toggle phase invert for left and right. If one setting suddenly gives you more punch around the crossover, keep it. If neither setting helps, don’t panic. It just means you should reduce MID low content further: higher high-pass, steeper slope, or less low-mid saturation. Also, keep in mind that chorus and widening can make phase issues worse, which is why we high-pass before we widen, and sometimes we even high-pass again after modulation.

Cool. Now we glue the layers so they feel like one instrument.

On the BASS group, add EQ Eight first. If it’s muddy, try a gentle dip around 250 to 400 Hz. If you need a bit more audibility on small speakers, you can do a tiny boost somewhere around 900 Hz to 1.5 kHz, but be careful. Small moves.

Then add Glue Compressor. Try attack at 10 milliseconds, release on auto, ratio 2 to 1. You’re looking for one to three dB of gain reduction on peaks. Not more. This is just to make the sub and mid feel like they’re breathing together.

Optionally, add a limiter on the group as a safety net, not as a loudness tool. If you’re hitting it hard, you’re solving the wrong problem.

Now we do the thing that makes DnB actually work in a mix: sidechain.

On the SUB track, add Compressor, turn on sidechain, and choose the kick as the input. Ratio around 4 to 1. Attack fast, like 0.5 to 3 milliseconds. Release is the real key, because timing matters more than amount.

At 170 BPM, here are good ballparks. For snappy, try 60 to 90 milliseconds. For rolling, try 90 to 140 milliseconds. Set the threshold so you’re getting about two to six dB of gain reduction. If the bass feels late or lumpy, shorten the release before you start changing EQ.

Do a lighter sidechain on the MID as well. One to three dB of gain reduction is often enough, just to keep the transient of the kick clean and stop the low mid from blurring.

Now we take our one-bar loop and make it feel like jungle in an arrangement.

Stretch it into a 16-bar section.

Bars 1 to 4: sub only, or keep the mid very filtered down, almost like it’s not there. Bars 5 to 8: bring the mid in gradually by opening the filter a bit. Bars 9 to 12: full energy, subtle automation, maybe a couple of fills. Bars 13 to 16: variation time. Change the last two notes, add a pickup hit, or remove the bass for half a bar so the next phrase feels like it slams back in.

Here’s a classic jungle trick: right before a drop point, like the last eighth or sixteenth note before bar 9, mute the sub for a micro-gap. When it returns, it feels heavier without being louder. Negative space is part of the weight.

Also, do “pre-drop thinning.” In the one or two bars before the drop, pull the MID down by one to three dB and close the MID filter slightly. Then put it back on the drop. That contrast is free impact.

For automation, don’t automate ten random knobs. Pick two lanes that matter and make them intentional across the 16 bars. One: MID filter cutoff for phrase movement. Two: Roar drive for end-of-phrase emphasis. Keep changes small. Jungle impact comes from contrast, not constant motion.

Now let’s do a real mix check, the way you actually balance these layers.

Start playing drums and bass together. Pull both SUB and MID faders down. Bring up the SUB first until it feels weighty, but it’s not swallowing the kick. Then bring up the MID until the bassline is readable on smaller speakers.

Then do the honesty test: toggle the MID off. If the track collapses emotionally, that means the MID is doing its job. If the track suddenly becomes clean and punchy and better, your MID is too loud, too wide, or too dirty in the wrong frequencies.

Use Spectrum. Put it on the SUB and on the BASS group. You’re looking for stable energy around the fundamental note and not random sub spikes that jump out on certain notes.

If you want to push this further for heavier DnB translation, here’s a pro approach that stays clean: add a harmonics layer for audibility.

Create a return track, or an extra chain inside a rack, and feed only the MID into it. On that return, band-pass roughly 700 Hz to 2.5 kHz with EQ Eight. Then distort it harder than your main MID using Roar or Saturator. Blend it in quietly until the bassline reads on a phone speaker. That is how you get presence without spending sub headroom.

One more translation check: mono.

Put Utility on the BASS group and toggle mono on and off during the drop. If the bass character disappears in mono, you’ve got too much widening or phasey modulation. Either reduce chorus, move it higher with EQ, or tighten width.

Let’s wrap with the main mistakes to avoid, because these are the ones that waste hours.

Don’t let the MID produce sub frequencies. High-pass it and commit to the crossover. Don’t widen below about 120 Hz. Don’t over-distort the SUB; a little saturation is weight, heavy distortion is flub. Don’t set sidechain release randomly; make it groove. And don’t overdesign the mid sound before the bassline works rhythmically.

Your practice assignment is simple and extremely effective.

At 170 BPM, write a two-bar bassline with syncopation. Build the sub with Operator, mono, soft-clip saturation. Build the mid with Wavetable and Roar, high-pass around 110 Hz. Arrange a 16-bar loop: bars 1 to 4 sub only, bars 5 to 8 mid fades in with filter automation, bars 9 to 16 full power with two variations. Then export a quick demo and listen on headphones and on your phone speaker. On the phone, the MID should carry the bassline. On a system with sub, the SUB should feel steady and punchy.

That’s the whole method: sub equals stability and mono weight, mid equals character and movement, and your crossover plus phase discipline is what makes it sound loud and clean at the same time.

If you tell me your BPM and your root note, and whether your kick is tuned low or not, I can suggest a safe sub note range and a crossover target that usually translates really well.

mickeybeam

Go to drumbasscd.com for +100 drum and bass YouTube channels all in one place - tune in!

Generating PDF preview…